The room feels calmer the moment the walls catch the light. Texture knockdown finishes add depth without demanding perfection.
From subtle spa vibes to bold modern drama, you can shape the look with simple choices and careful timing.
1. Soft Cloud Knockdown
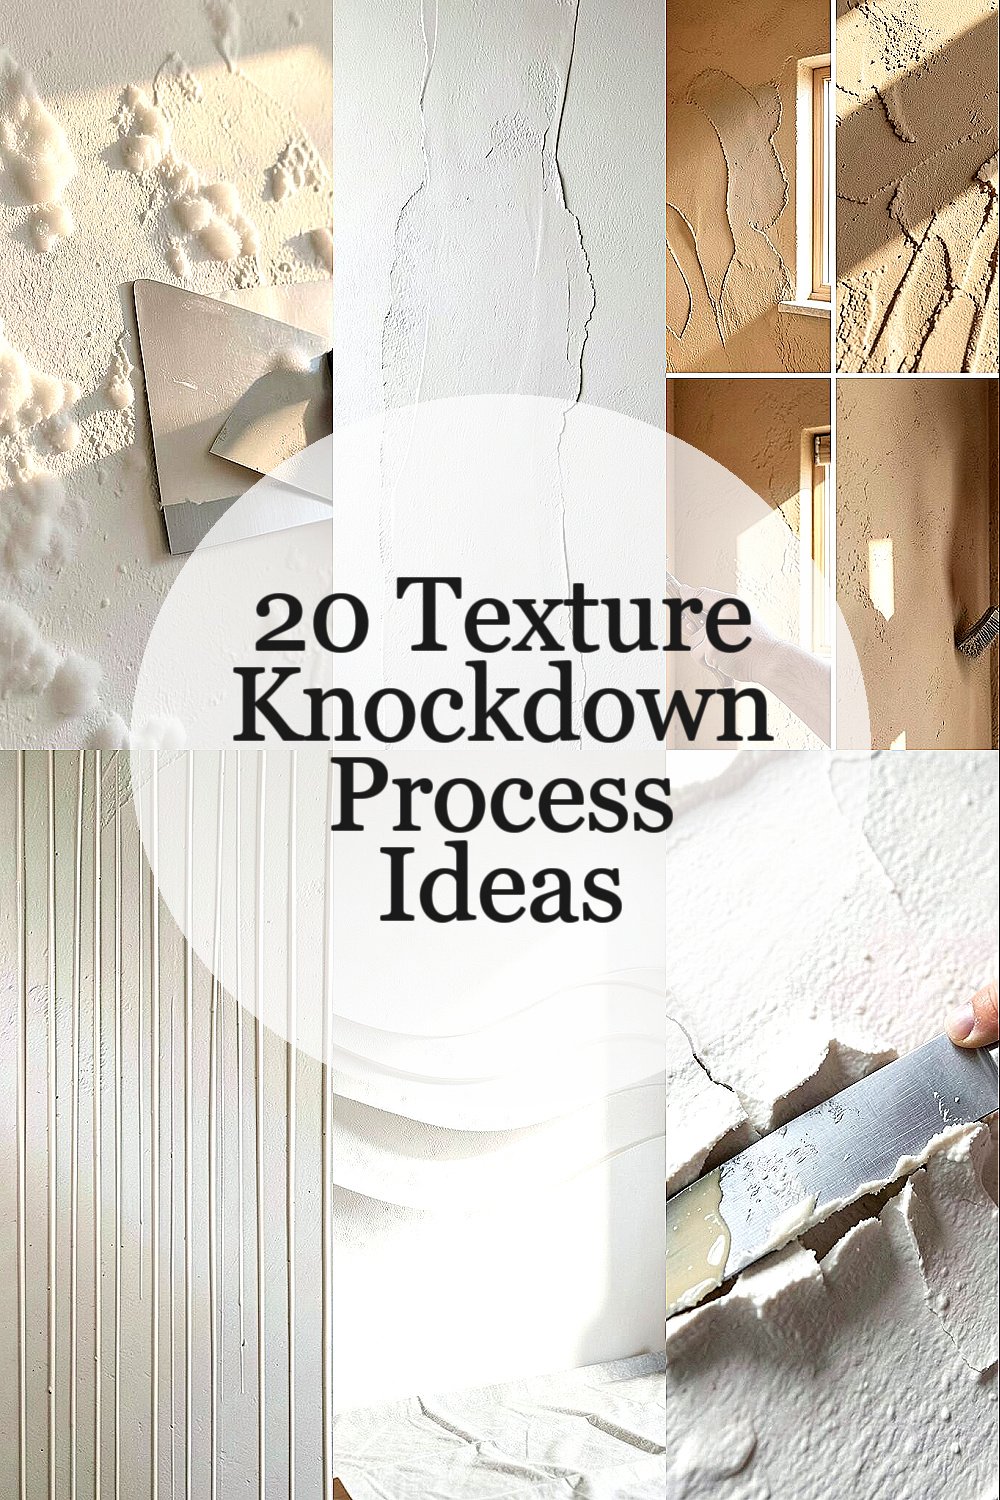
Imagine walking into a space where the walls look like gentle clouds caught in late afternoon light. The surface shows tiny flattened peaks that feel inviting rather than loud.
Use a fast-drying base coat, then knock down lightly with a wide drywall knife so the ridges stay airy. Keep a consistent direction as you work, and overlap each pass while the material is still ready to respond. For a personal touch, tint the base a warm off-white and seal with a low-sheen paint to keep it cozy and clean.
2. Modern Skip-Trowel Knockdown
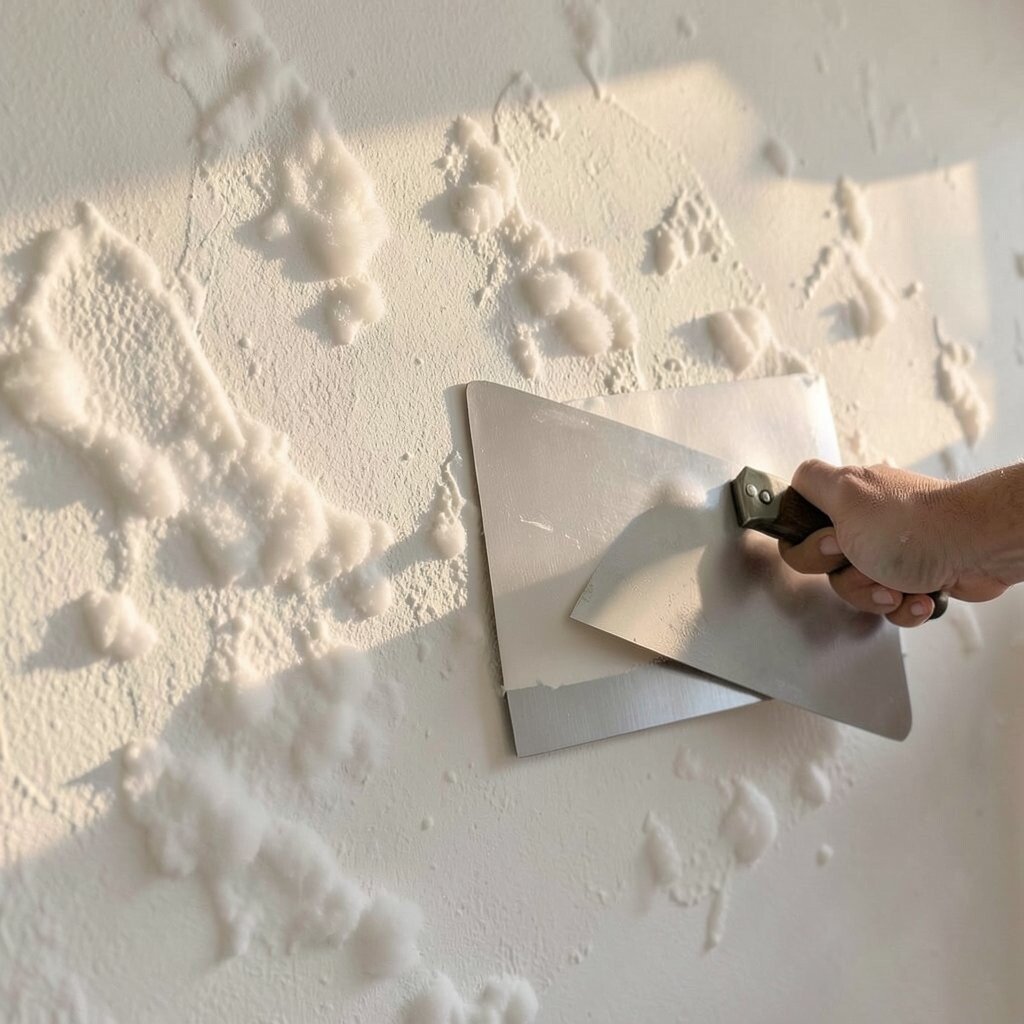
You can get a crisp, contemporary vibe by mixing smooth areas with short, controlled knockdowns. The wall will show a clean rhythm, like the grain of a well-made board.
Apply joint compound in thinner lifts so the peaks form quickly, then knock down with quick, light taps rather than dragging. This keeps the texture from getting too heavy and helps the room feel taller. Choose a matte or eggshell finish for a sleek look, and consider a slightly darker topcoat for extra contrast on the flattened edges.
For cost, buying a quality wide knife and using pre-mixed compound can save time and reduce waste. If you’re doing a small room, renting a mixing tool or using a drill paddle helps you stay consistent without extra expense. Test on a spare board so the height of the knockdown matches your taste before you commit.
3. Mediterranean Sanded Knockdown
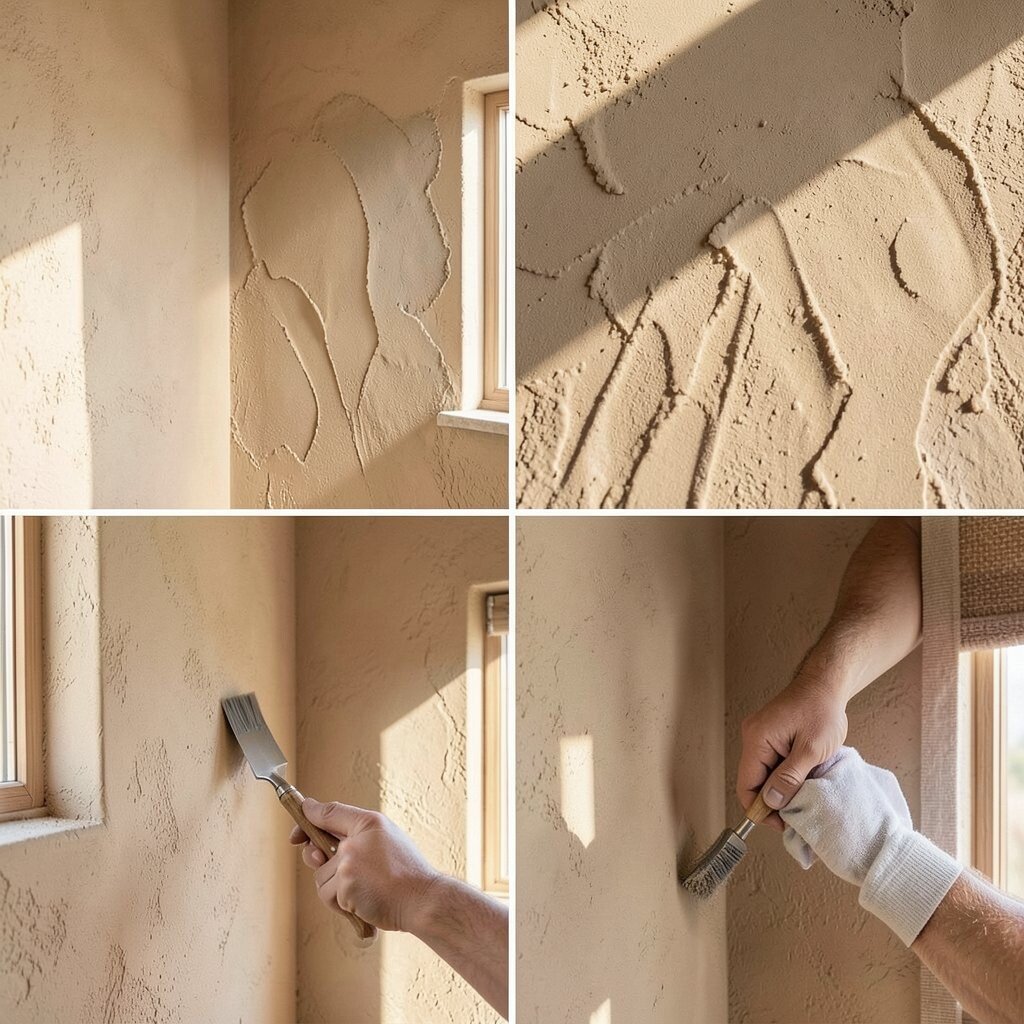
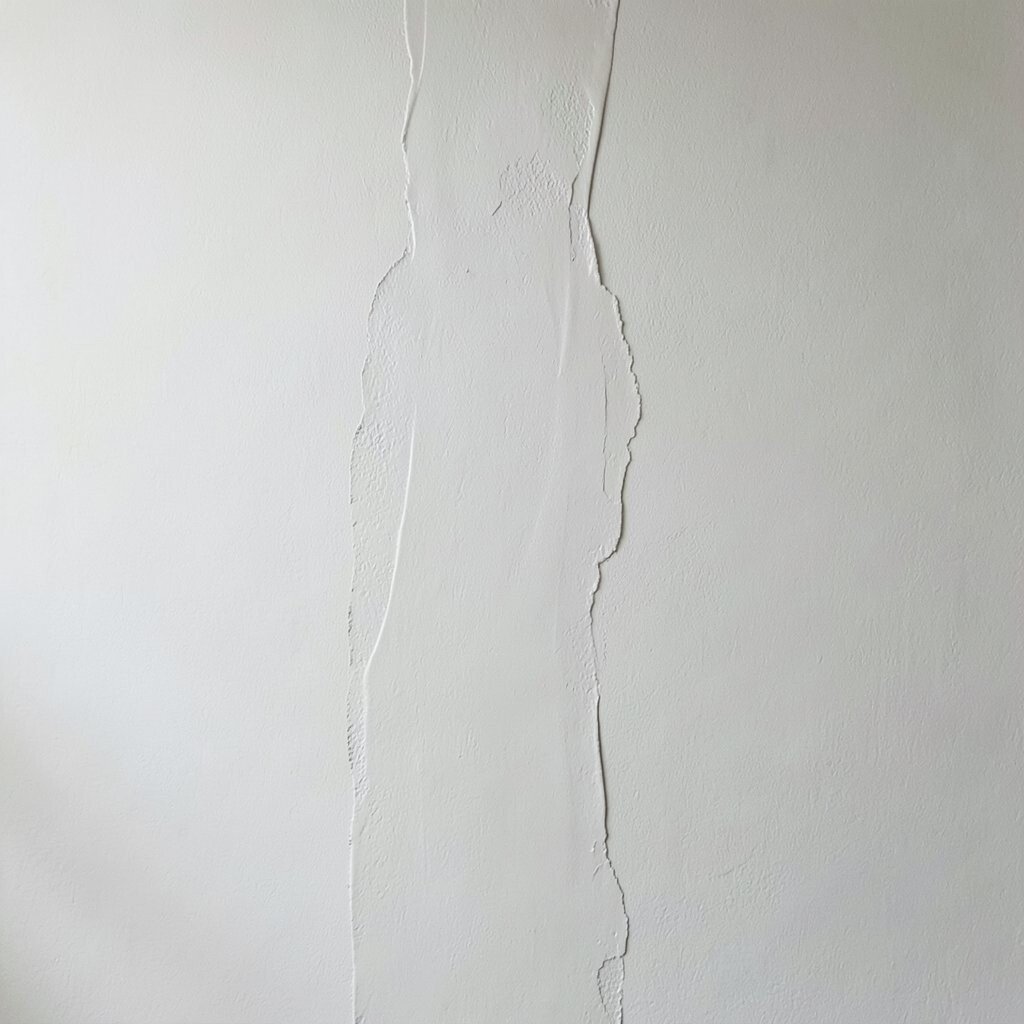
Picture stucco-inspired walls with a warm, sandy feel that reads like sunlight. The knocked-down ridges create a lived-in look that suits kitchens and hallways.
Work in small sections, then knock down using a slightly narrower blade to keep the texture lively. Let the surface dry fully before smoothing any sharp edges, because soft brushing later will make it look polished instead of messy. Add an earthy tint and finish with a durable sealer to help the texture resist smudges and everyday scuffs.
To personalize, blend in a touch of warm gray for a modern Mediterranean tone. For practical results, vacuum the dust after sanding and wipe with a damp cloth so the final coat bonds well. Current trends lean toward warm neutrals, so this style pairs nicely with natural wood, stone, and woven textiles.
If you want a cost-friendly path, choose standard joint compound rather than specialty plaster. Your biggest investment is time and consistent technique, which is why practicing with a few test patches pays off.
4. Vertical Rain Knockdown
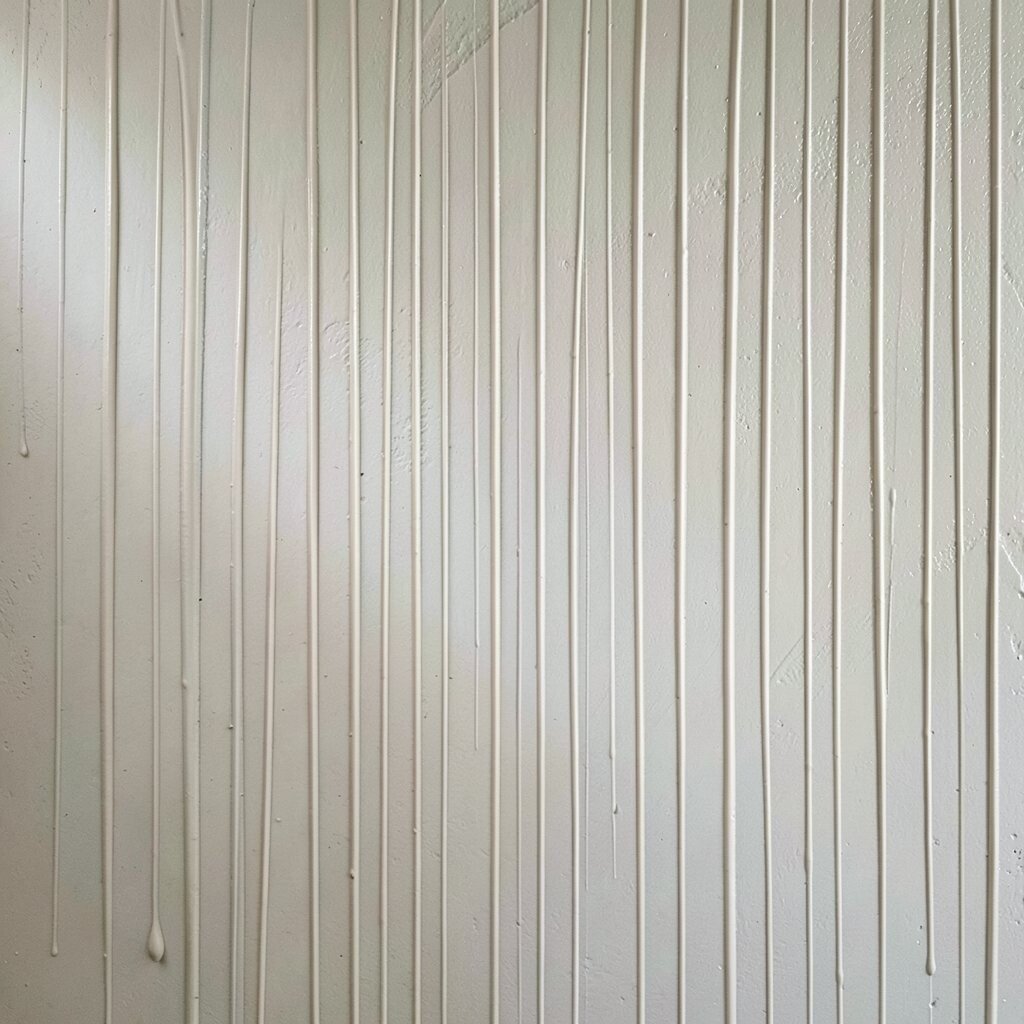
Vertical texture makes the wall feel like it has movement, like rain lines that never fully flatten. It’s a great trick for rooms with low ceilings because the eye naturally travels upward.
Spread the compound horizontally first, then knock down with vertical passes using a consistent stroke length. Keep the pressure even so each line lands at a similar height, and don’t overwork the same area. If you want extra visual punch, use a slightly tinted base and a lighter topcoat so the knocked-down ridges catch light.
5. Horizontal Wave Knockdown
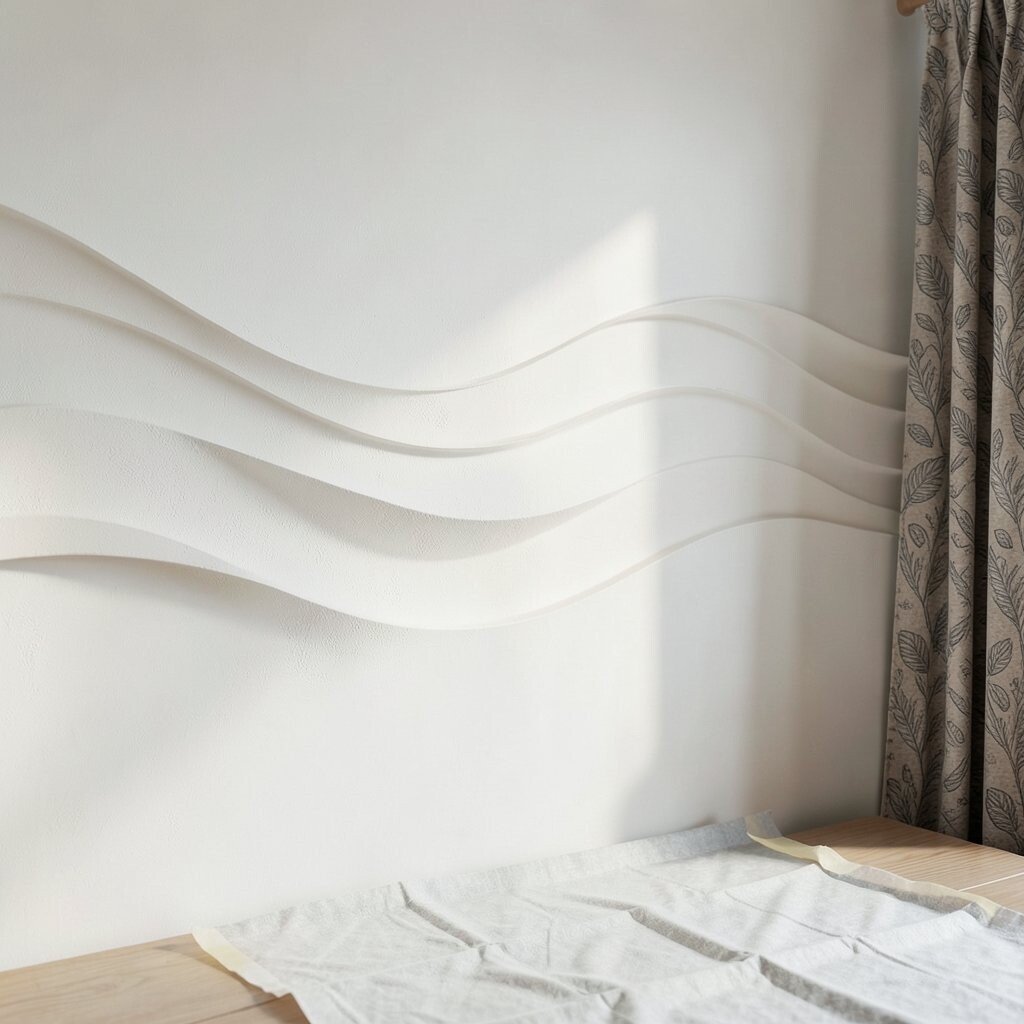
Soft waves across a wall look calming, especially in bedrooms and reading nooks. Light bounces along the arcs, creating gentle shadows that change as you move.
Apply the material in a smooth band, then knock down with a wider knife in slow horizontal sweeps. Stagger your starting points so the texture never looks copy-pasted from one section to the next. For a personalization idea, pair the wave direction with a matching pattern in curtains or bedding to make the whole space feel intentionally designed.
To keep costs under control, buy enough compound for one project day at a time to avoid leftovers drying out. Use a quality drop cloth and tape, since prep mistakes are the most expensive part of texture work. A current favorite is warm white walls with subtle movement, and this finish fits right in.
6. Knockdown with Ragged Edges
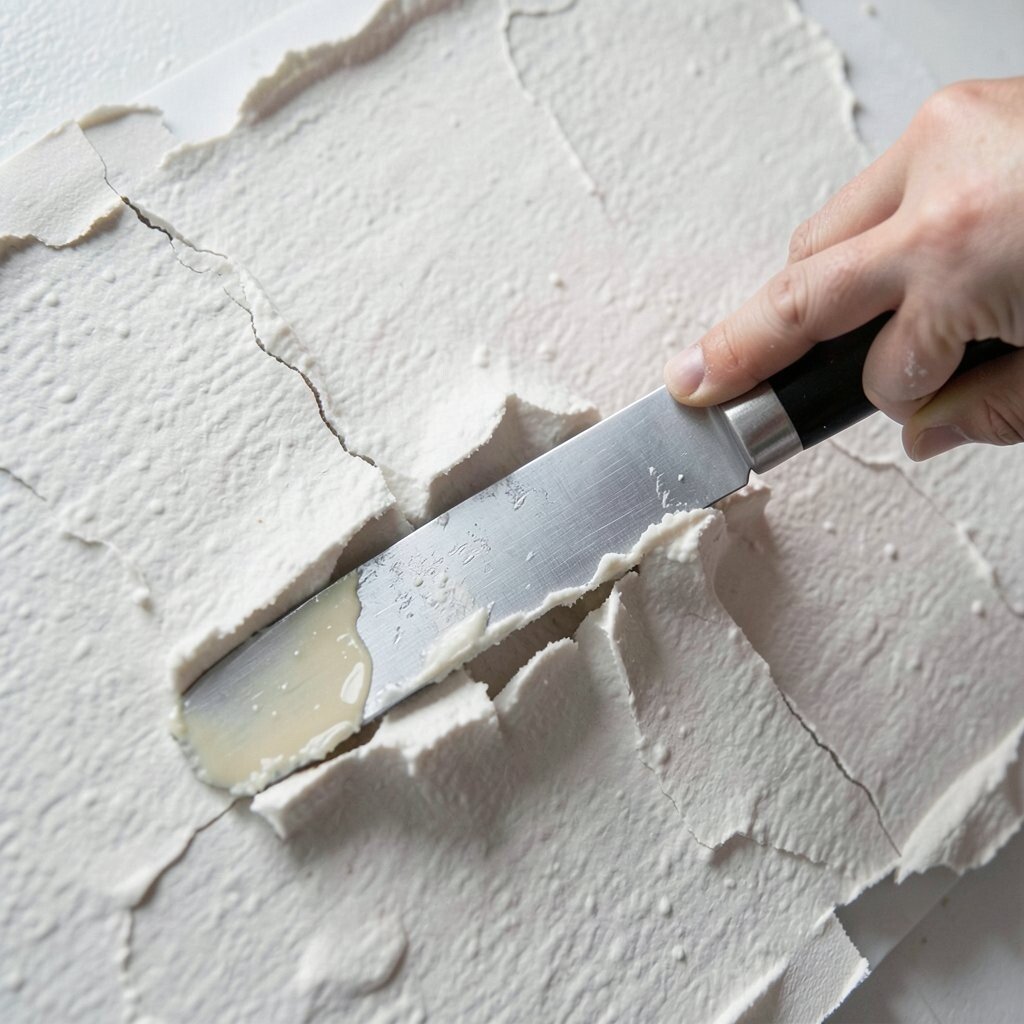
Instead of aiming for uniform peaks, you can create charm with uneven, ragged edges. The wall gains a handmade personality that looks high-end even when viewed up close.
Load the knife with less material and knock down at slightly different angles so some peaks flatten more than others. Work with a gentle hand and let the pattern breathe rather than trying to control every ridge. For uniqueness, finish with a glaze coat so the shadows show through without making the surface too dark.
7. Fine Popcorn-Style Knockdown
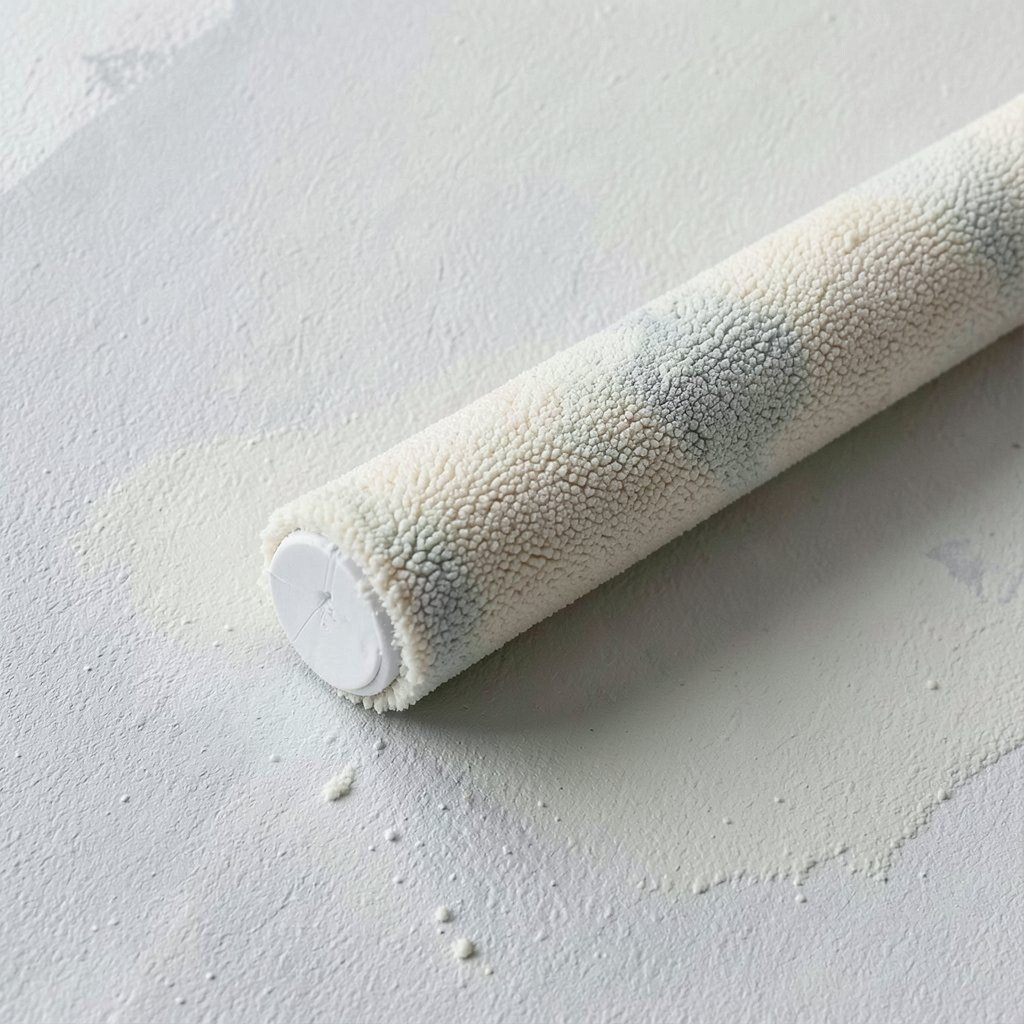
When you want a lively texture that still feels smooth, go for a fine pop-in look. The flattened specks create a playful surface that hides minor wall flaws nicely.
Thin the compound slightly so it spreads like a soft coat, then apply and knock down with light, repeated passes using a textured roller. Keep the roller pressure light so you don’t crush everything into a flat plane. For personalization, choose a cool gray tint for modern contrast or a creamy beige for a warm, gentle feel.
8. Mixed Pattern Checker Knockdown
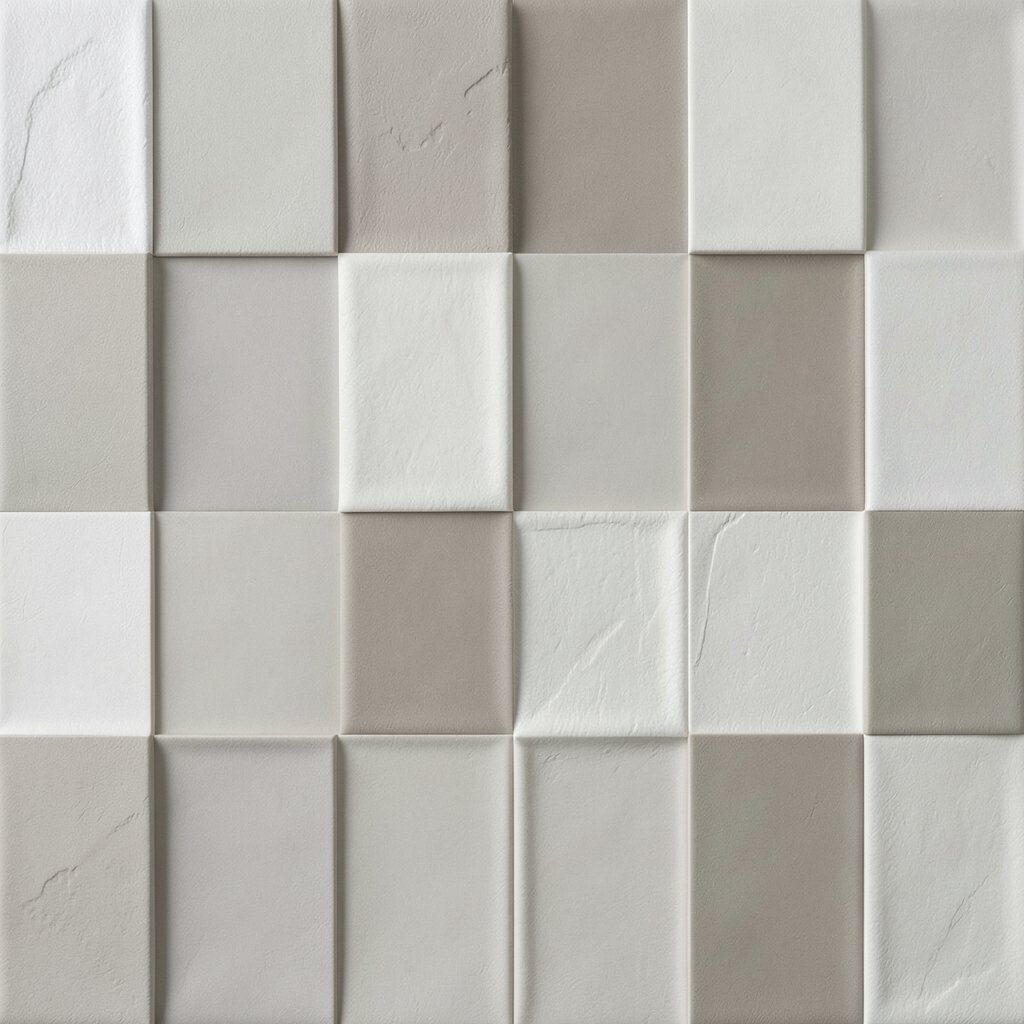
A checker-like texture can look bold while staying tasteful if you keep the knockdown subtle. You’ll see alternating zones of smoother and more flattened ridges that add structure.
Mask off small squares, apply compound within each area, and knock down with short, clean passes. Remove masking while the surface is still workable so edges stay crisp. For cost considerations, masking adds time, but it’s usually cheaper than hiring help and it gives you precise control.
Current trends often mix texture and clean lines, so this is a great choice for feature walls. Personalize by choosing two close shades of the same color family to keep it stylish and not overwhelming.
9. Corner-to-Corner Glow Knockdown
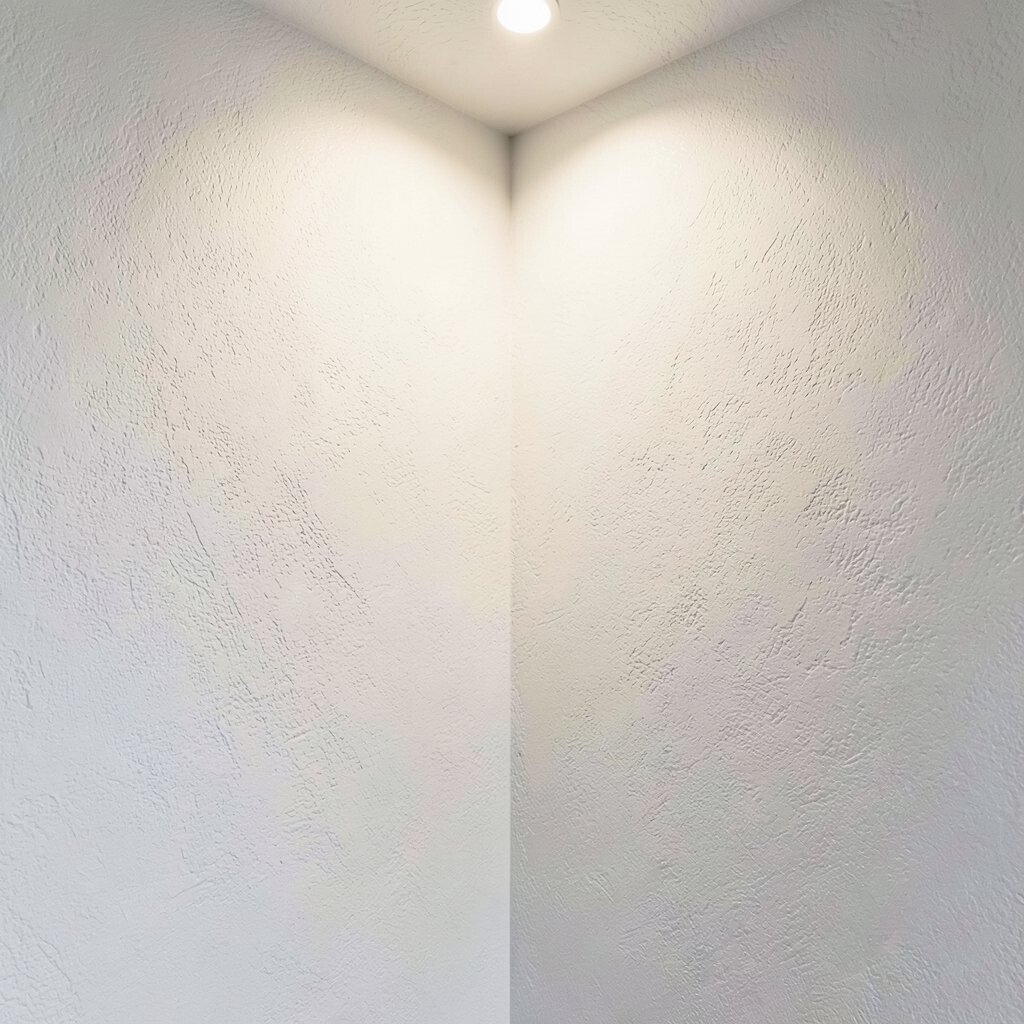
Lighting plays a major role in how texture reads, and this finish is made for it. When the knocked-down surface catches light from a sconce or ceiling wash, it creates a glowing effect across the whole wall.
After knocking down, use a gentle smoothing knife to soften the highest ridges while keeping depth. This helps the shadows look silky instead of sharp. Seal with a product recommended for textured walls so the sheen level stays consistent and wipes clean.
10. Diagonal Facet Knockdown
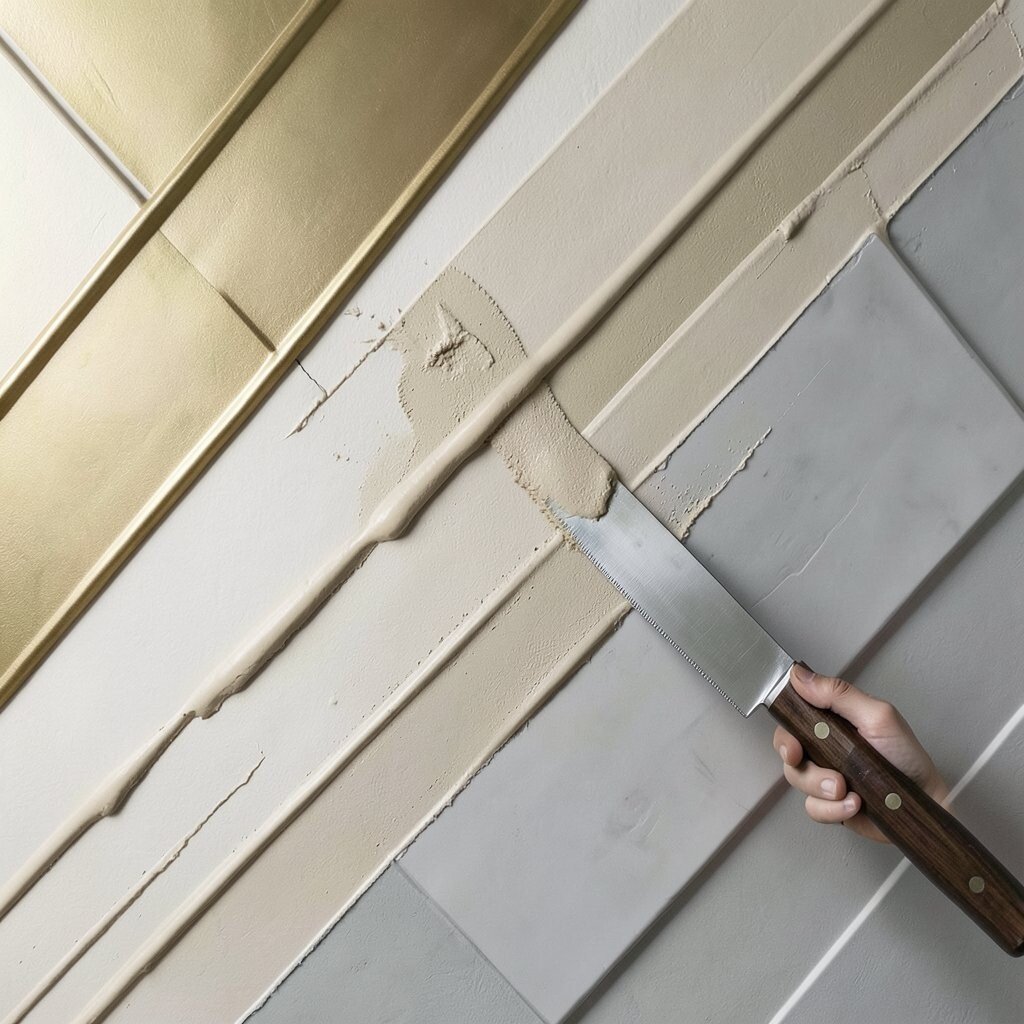
Diagonal patterns add a designer feel, like facets on a gemstone. The wall becomes more dynamic without turning into a busy mural.
Apply compound and knock down diagonally using a long knife, then refine by lightly re-knocking the same line with less pressure. Keep your angles consistent so the pattern feels intentional. For personalization, choose a color that matches your room’s metals, like warm brass tones with a cream base or chrome-friendly grays with a cool tint.
To manage cost, plan your layout first so you don’t waste compound on cuts and edges. A tape guide and careful measurements can reduce rework, which is the most budget-bending part of texture projects.
11. Knockdown with Feathered Edges
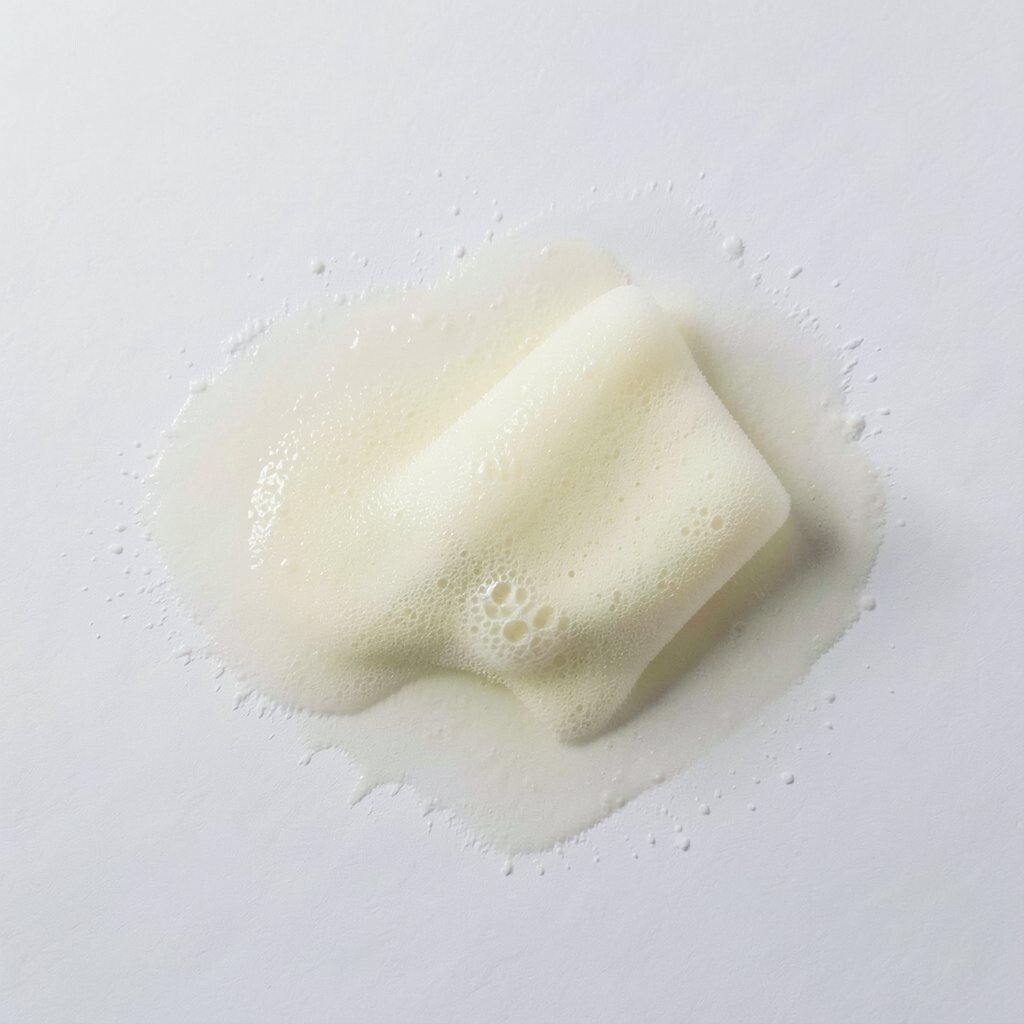
Feathered edges make each section blend into the next like soft brushstrokes. The wall looks seamless, which is great if you dislike visible patch lines.
As you work, overlap your knockdown just slightly so the ridges merge instead of stopping abruptly. Use a damp sponge lightly on the knife tip to keep the knockdown from leaving harsh marks. Personalize by creating a slightly brighter center strip and blending outward with glaze so the texture feels dimensional.
12. Oversized Knife Swirl Knockdown
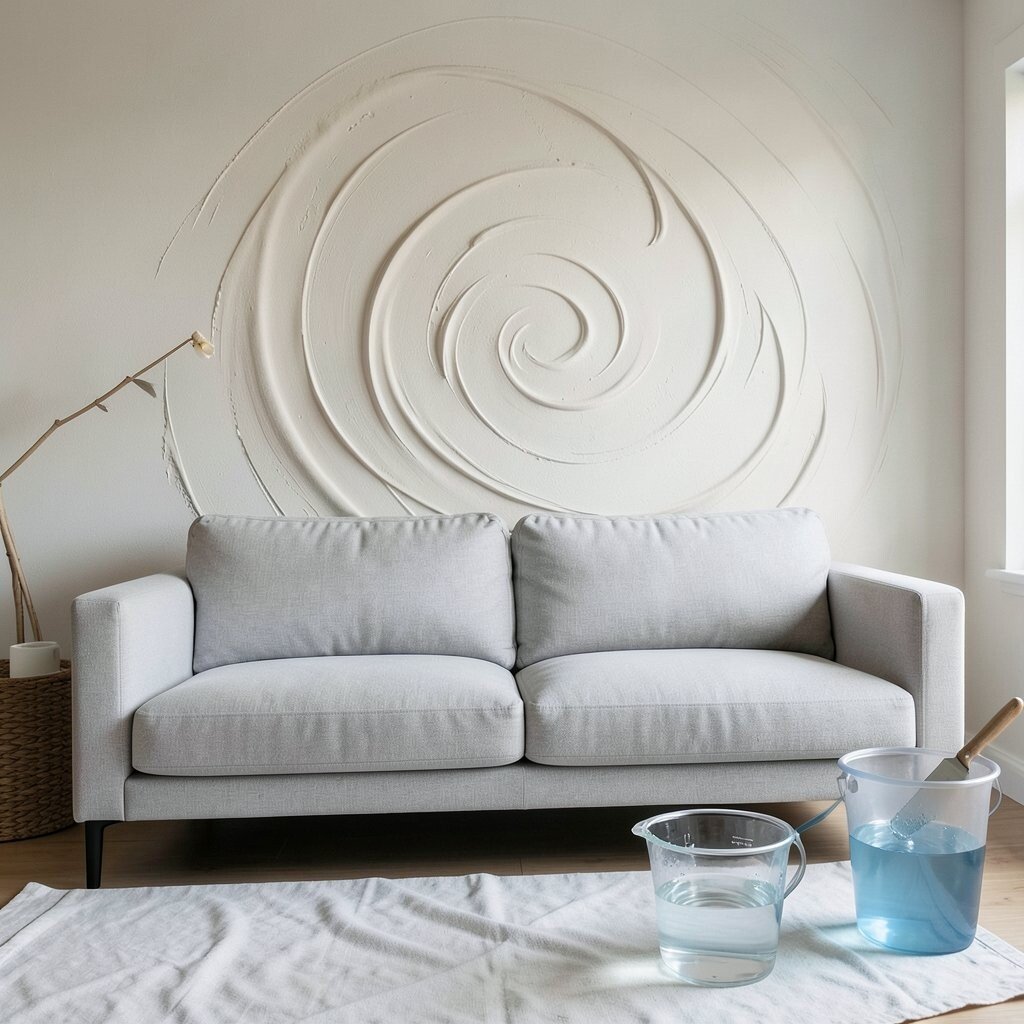
Large swirls can look artistic and elegant when they’re kept gentle. Think of a slow-moving spiral that catches light and turns plain walls into a focal point.
Use a wider knife and keep your motions slow, forming broad arcs as you knock down. Avoid going back and forth too much because overworking makes the texture flat. For practical tips, keep a bucket of clean water nearby for knife cleaning, since buildup can ruin the crispness of your swirl.
If you’re concerned about cost, a simple drop cloth and careful cleanup will prevent the compound from hardening on floors, saving time later. This look also fits current trends toward statement textures on behind-the-sofa walls.
13. Stacked Peaks Knockdown
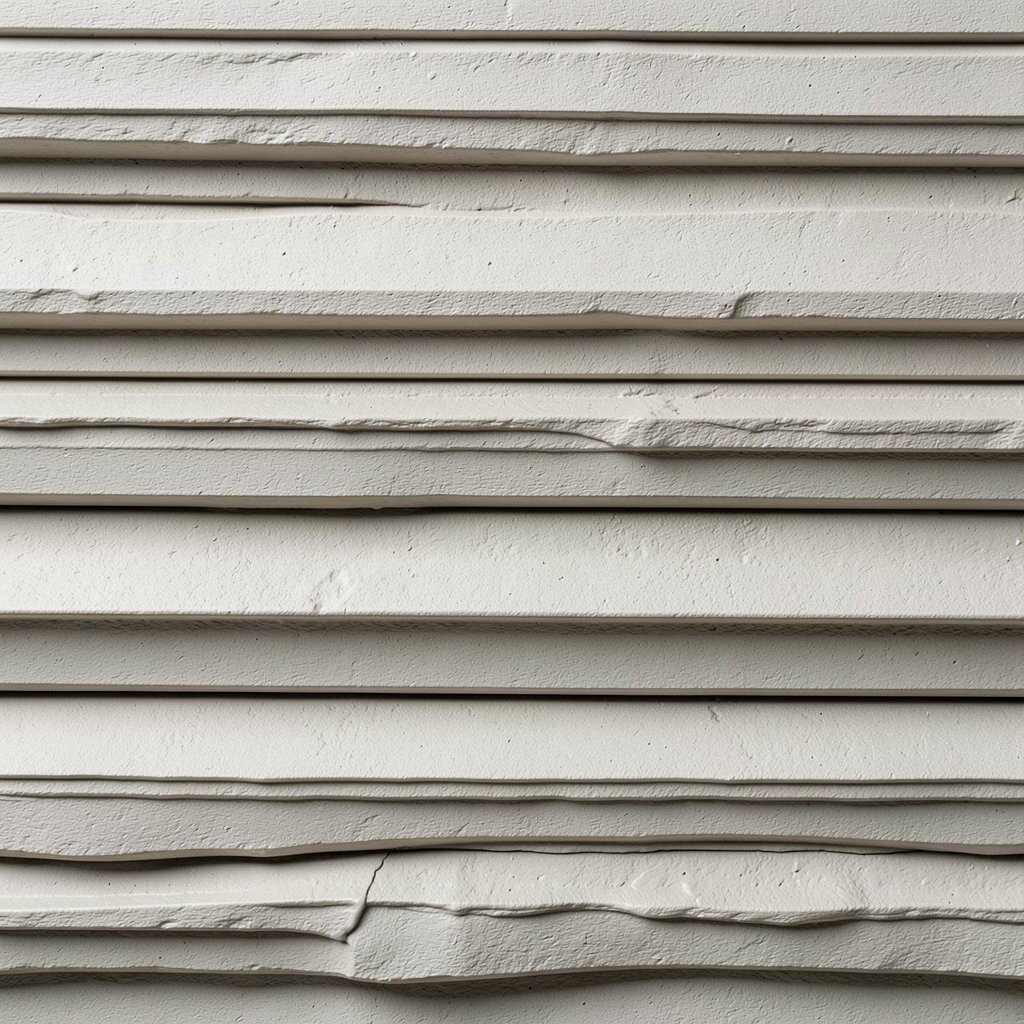
This style gives the wall a layered feel, like stacks of flattened peaks. The texture looks bold from the side and softer from straight on, which makes it feel dimensional.
Apply compound in slightly raised bands, then knock down each band without flattening the whole wall. Let each band set just a little before continuing so layers stay visible. Personalize by varying band thickness across the wall, such as thicker near the bottom and thinner higher up for a subtle sculpted look.
14. Limewash-Inspired Knockdown
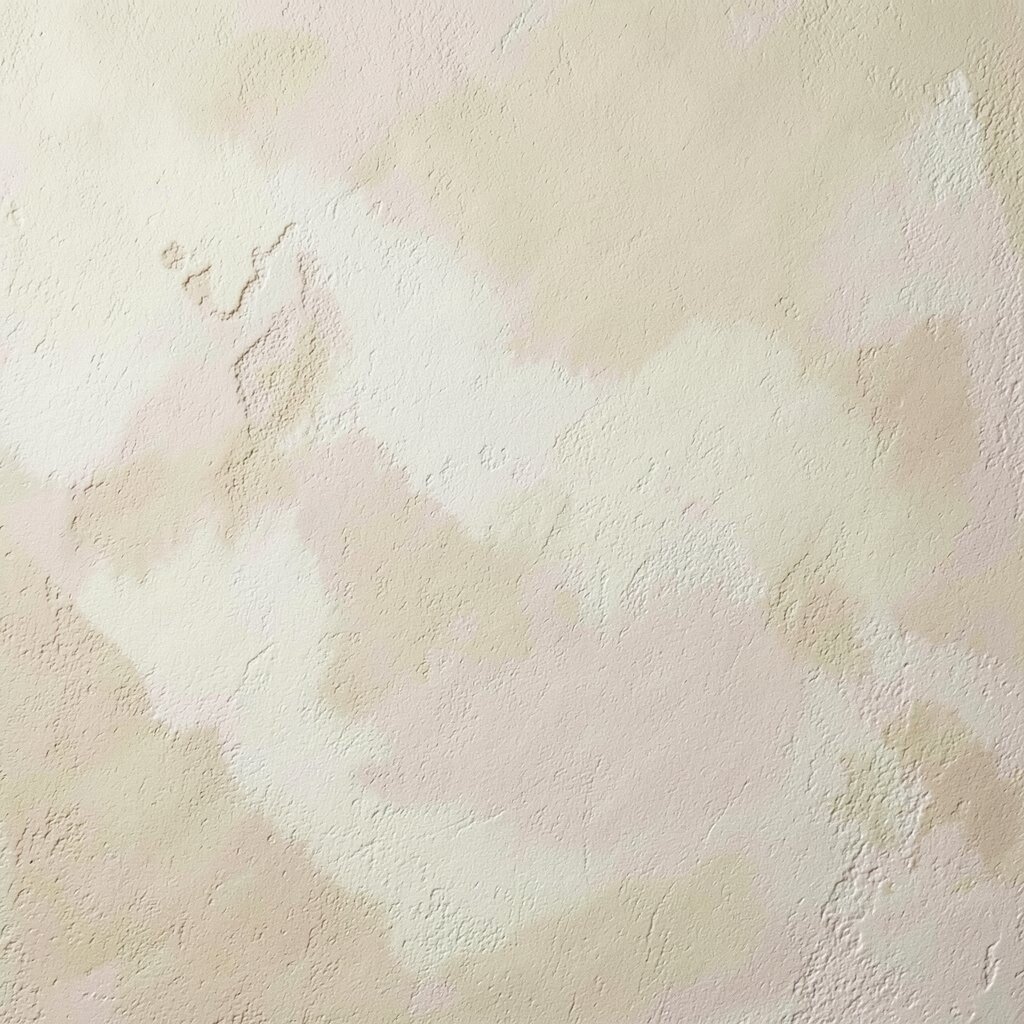
Limewash style texture looks airy and old-world, with a gentle variation in tone. Even with modern walls, you can get that natural, breathable look.
Use a knockdown texture base, then apply a limewash-like top coat with a sponge brush and light knockdown touchups. Keep the topcoat thin so the ridges show through instead of disappearing. For uniqueness, use a couple of close shades and blend them so the wall never looks perfectly uniform.
For cost considerations, you can use readily available paint products and techniques rather than specialty plaster. A sealer that won’t trap a heavy coating helps the finish stay fresh-looking over time.
15. Bamboo Lattice Knockdown
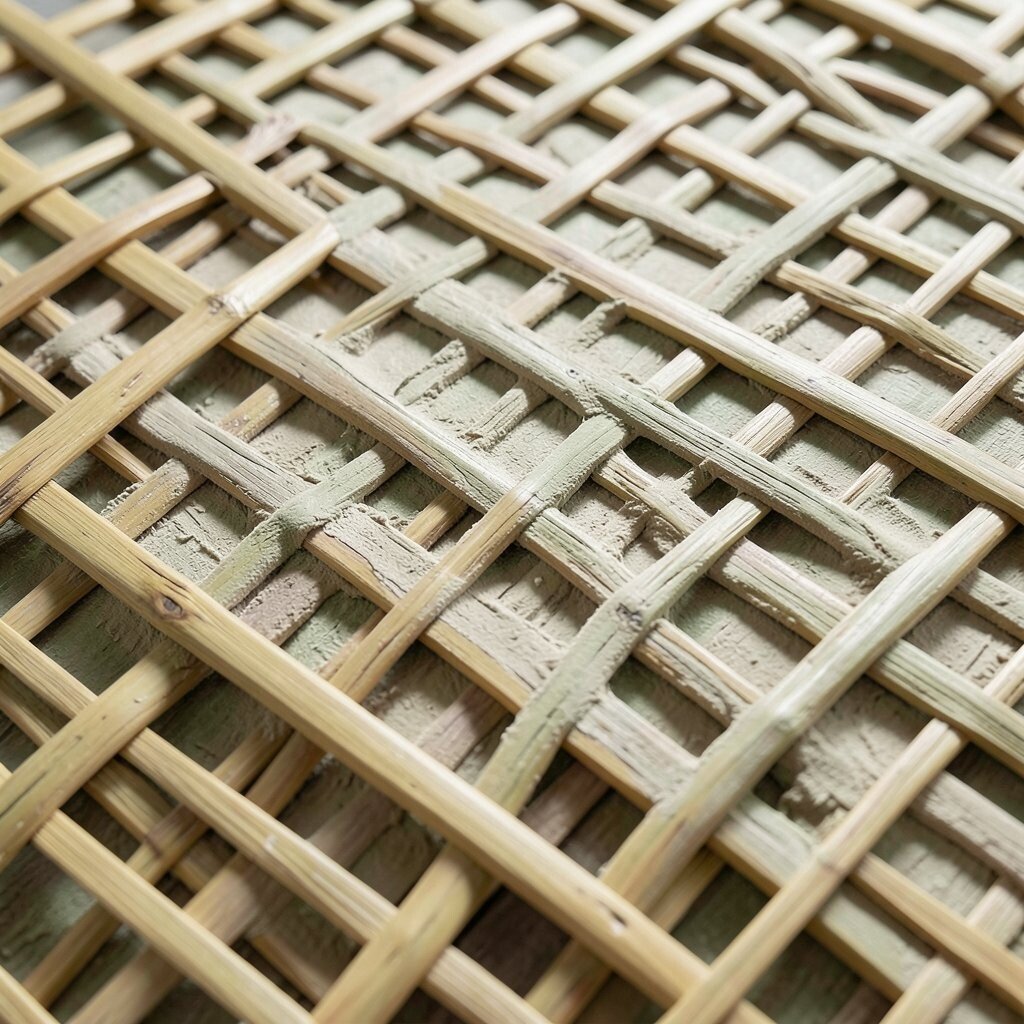
Bamboo lattice texture adds a natural pattern without requiring complicated carpentry. The knocked-down surface creates small shadows that mimic woven lines.
Use a stamp tool or a custom-cut flexible template to lightly imprint linework, then knock down over it so the pattern softens instead of looks stamped-on. Apply in consistent directions so the “lattice” reads clearly. For personalization ideas, choose earthy greens or warm creams based on your decor, and seal with a clear finish rated for interior walls.
16. Textured Foam Roll Knockdown
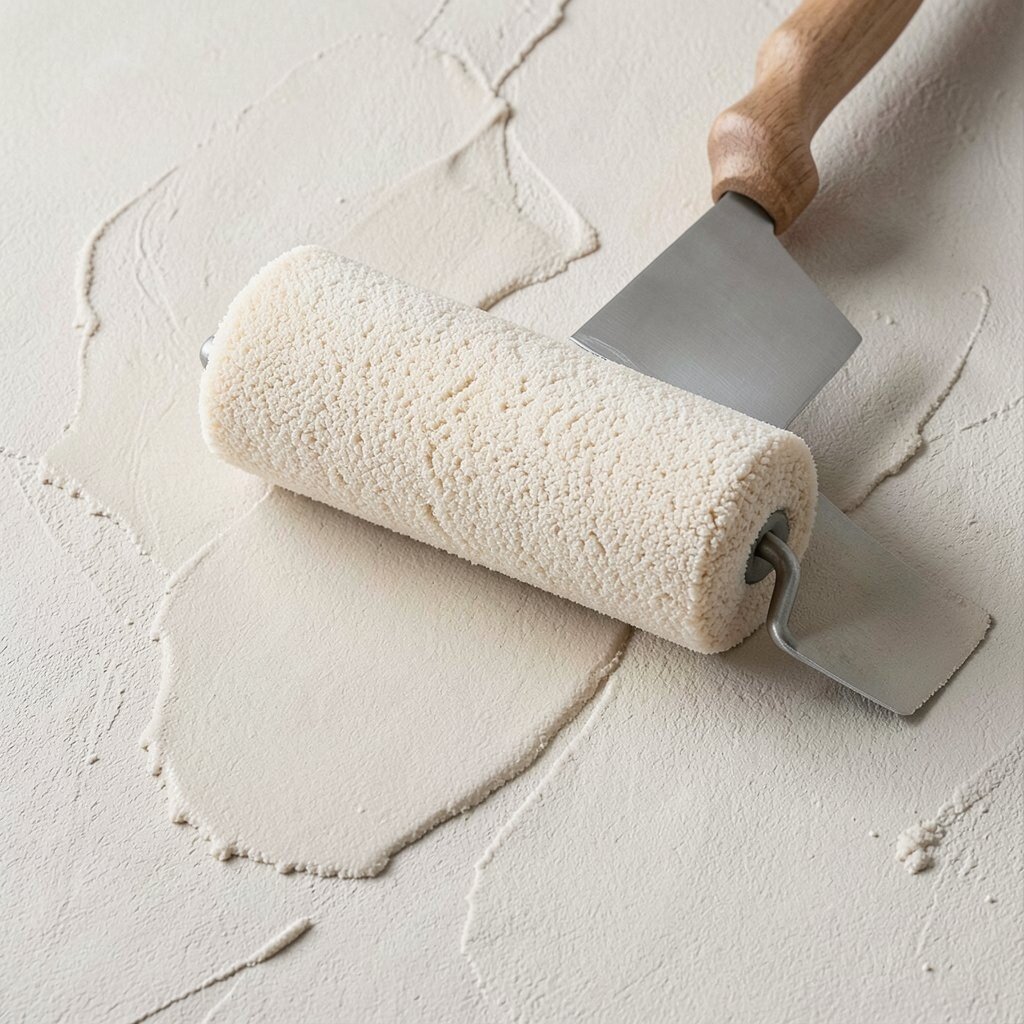
Foam rolling makes a cozy texture that feels soft to look at and easy to maintain. It’s a great option when you want a consistent finish across large walls.
Apply compound with a roller, then knock down lightly with a broad knife to soften the raised areas. Go section by section and keep your edge wet so you avoid banding. This is budget-friendly because rollers cost less than specialized tools, and you’ll work faster with fewer steps.
For current trends, many homes lean toward comfortable neutral textures, and foam roll knockdown fits that mood. Personalize by adjusting the thickness, since thicker coats create deeper shadows while thinner coats stay subtle.
17. Knockdown with Micro-Trowel Polish
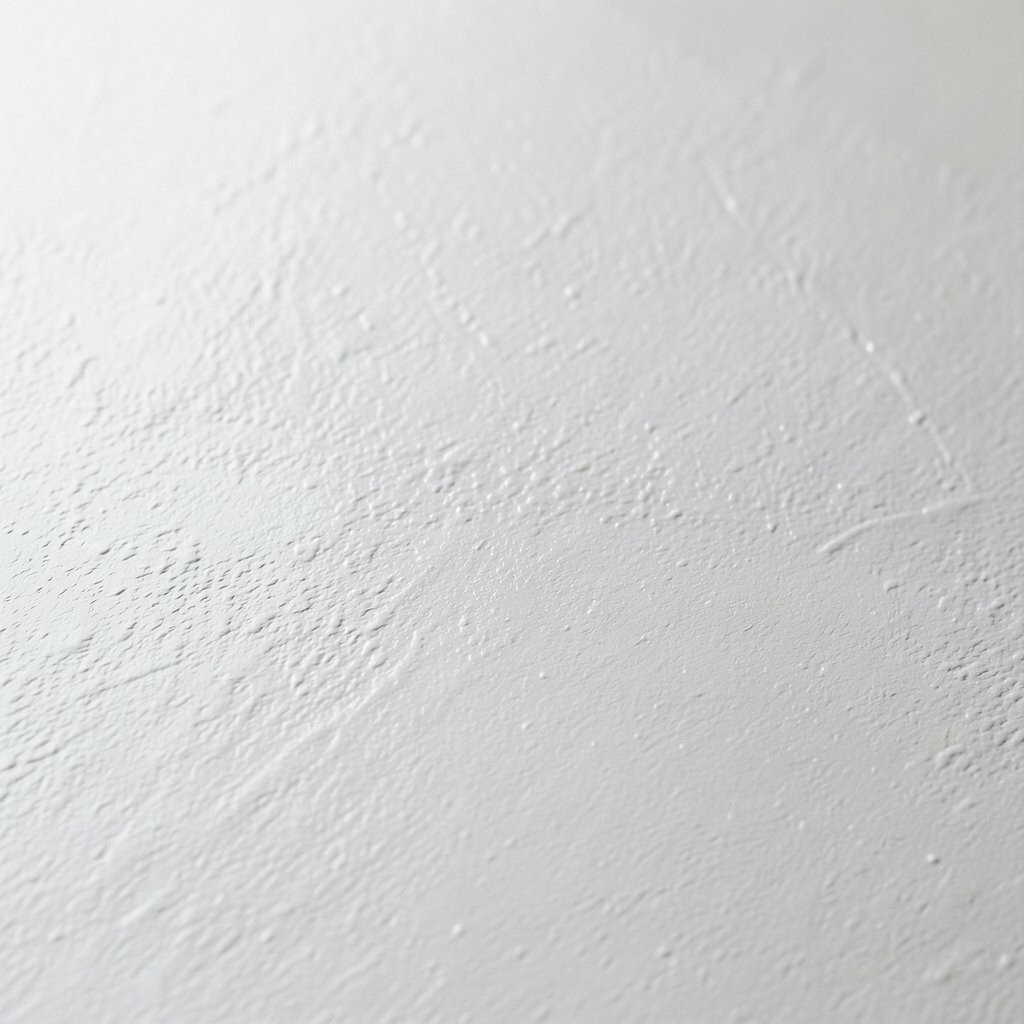
If you love smooth walls but still want depth, micro-trowel polishing is the sweet spot. You’ll see a refined finish with tiny flattened peaks that glow under light.
Knock down as usual, then after drying, lightly trowel the surface with minimal pressure to knock off the highest ridges. This adds a premium feel and helps the wall look more even. Use a primer made for textured surfaces before repainting, because it keeps the final color from soaking in unevenly.
18. Ombre Knockdown Lighting Effect
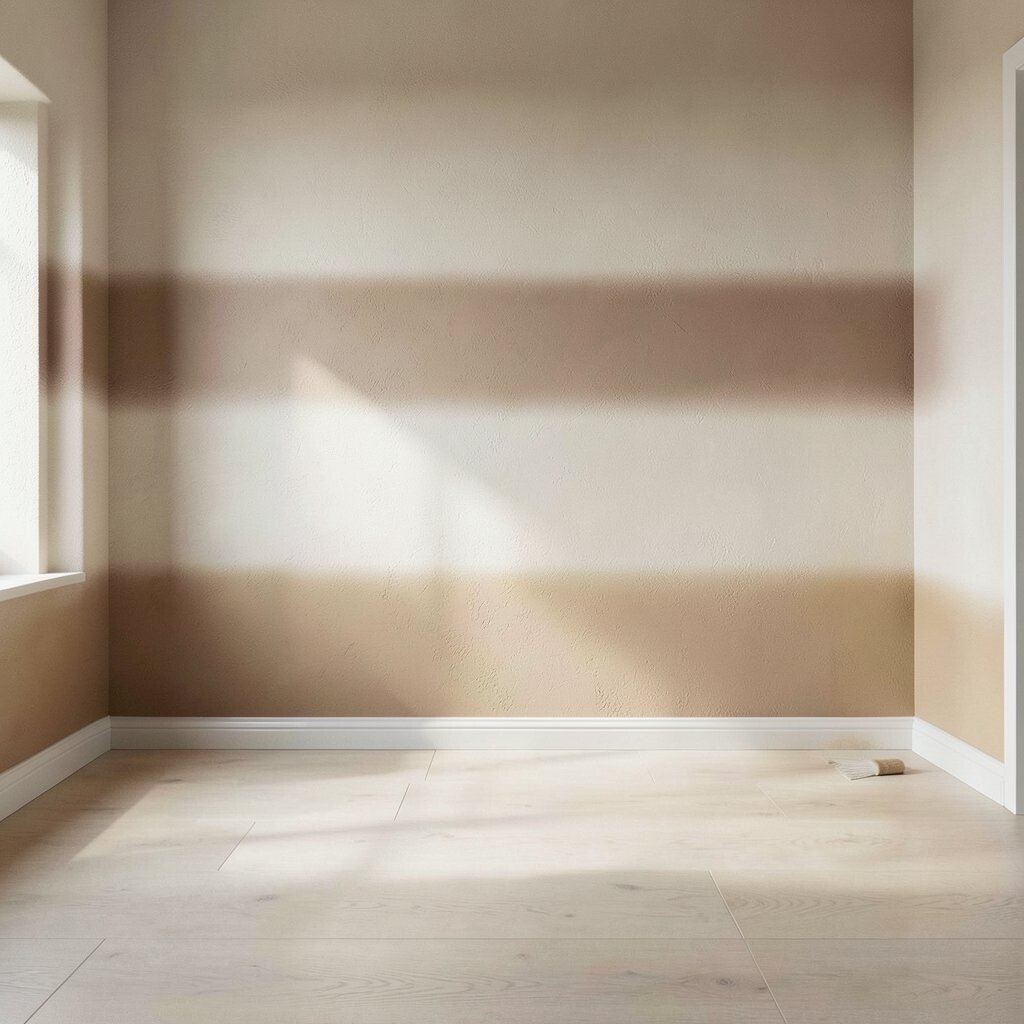
An ombre approach makes texture look like it stretches across the room. The shadows deepen where the color darkens, creating a soft gradient effect.
After knockdown, paint in blended horizontal or vertical bands using a sponge or brush, then lightly feather the edges while wet. Keep the color steps close together so the look feels modern and not harsh. For personalization, match the gradient to your flooring tone, like warm beige moving toward a slightly deeper tan near the baseboards.
Cost-wise, adding a couple of extra paint shades is usually cheaper than hiring a pro for complex finishes. Just plan coverage so you don’t run out mid-project, and protect floors well because blended coats can splatter.
19. Accent Panel Knockdown Frames
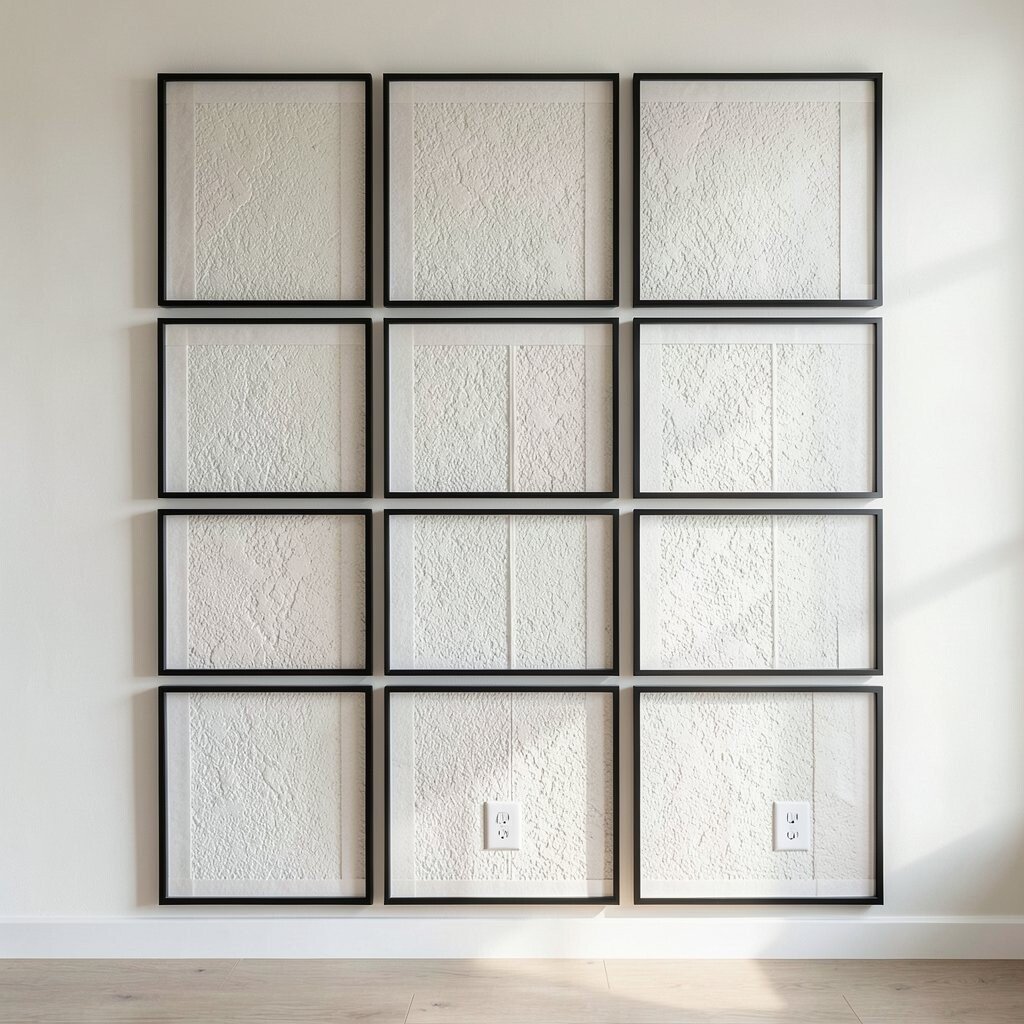
Texture looks extra high-end when it’s framed like a panel. Even a simple wall can become a gallery feature with clean borders around textured zones.
Create a rectangle grid with tape or straight edges, then apply and knock down within the frames. Keep the borders crisp by removing tape carefully at the right time. Personalize by choosing thicker frames for a dramatic look or slimmer frames for a lighter modern feel.
For practical tips, plan your pattern around windows and outlets so the frames feel balanced. Current home trends often favor feature walls, and framed texture is a stylish way to do that without covering the whole space.
20. Two-Tone Knockdown Edge Pop
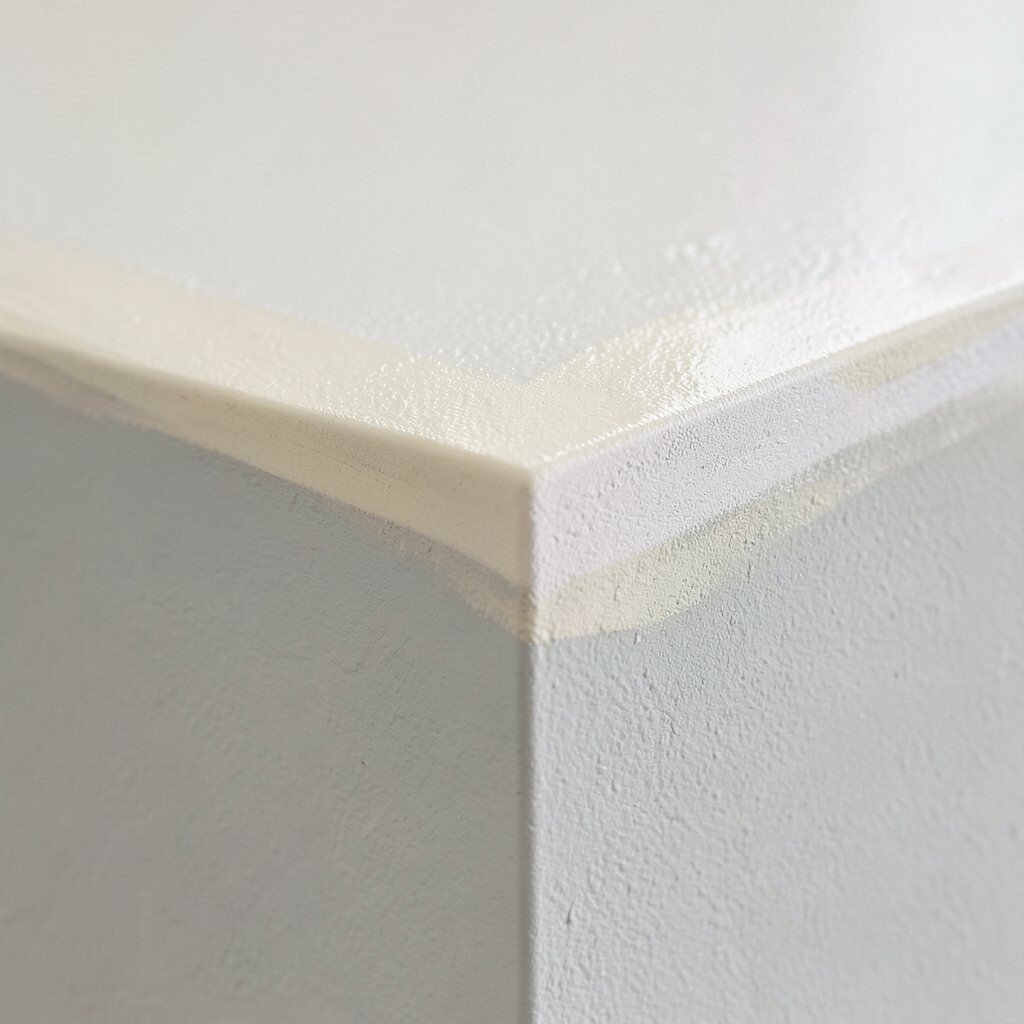
This finish adds a subtle “edge glow” by using a second color on the knocked-down ridges. From across the room, it feels calm, but up close it shows a fun, crafted detail.
Paint the wall base color first, let it cure, then apply a lighter or darker glaze to the ridges only using a rag or dry brush. Wipe back quickly so the color sits in the texture instead of pooling on flat areas. For cost considerations, using glaze from regular paint supplies is usually more affordable than buying specialty coatings.
Personalize the tone to match your lighting, too, since warmer lights make creams richer and cooler lights make grays feel crisp. This look is trending because it keeps texture visible without turning the wall into a heavy, all-over pattern.