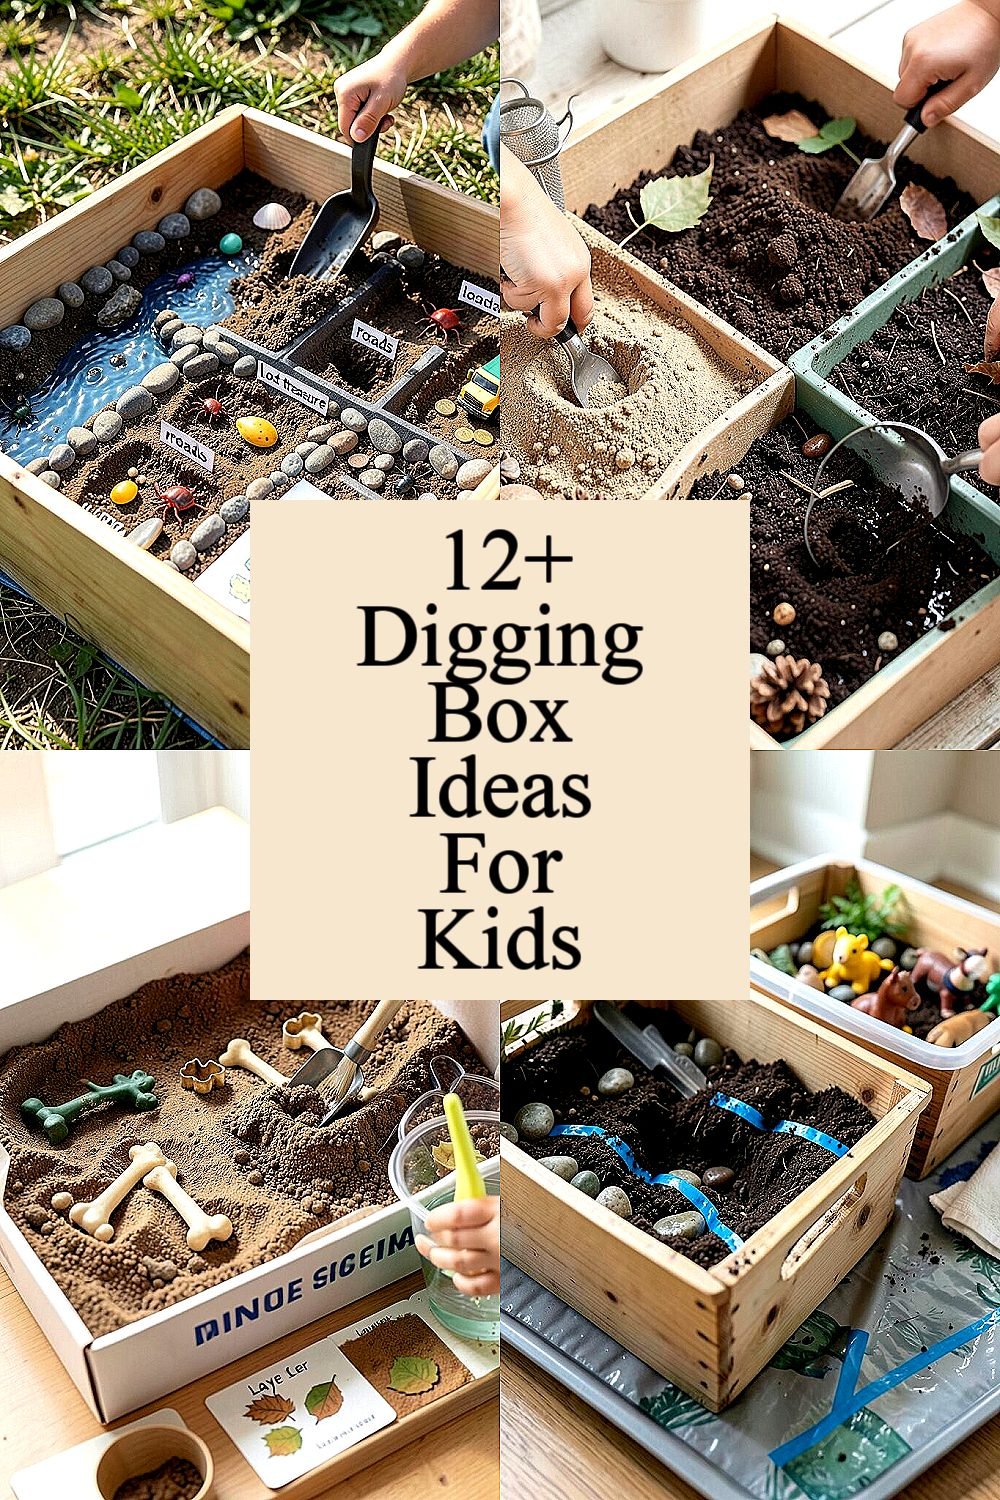
Kids can learn a lot by digging in a safe spot and using simple tools. This list gives kid-friendly ideas that help them play, ask questions, and build skills step by step.
1. Sandbox With Treasure Zones
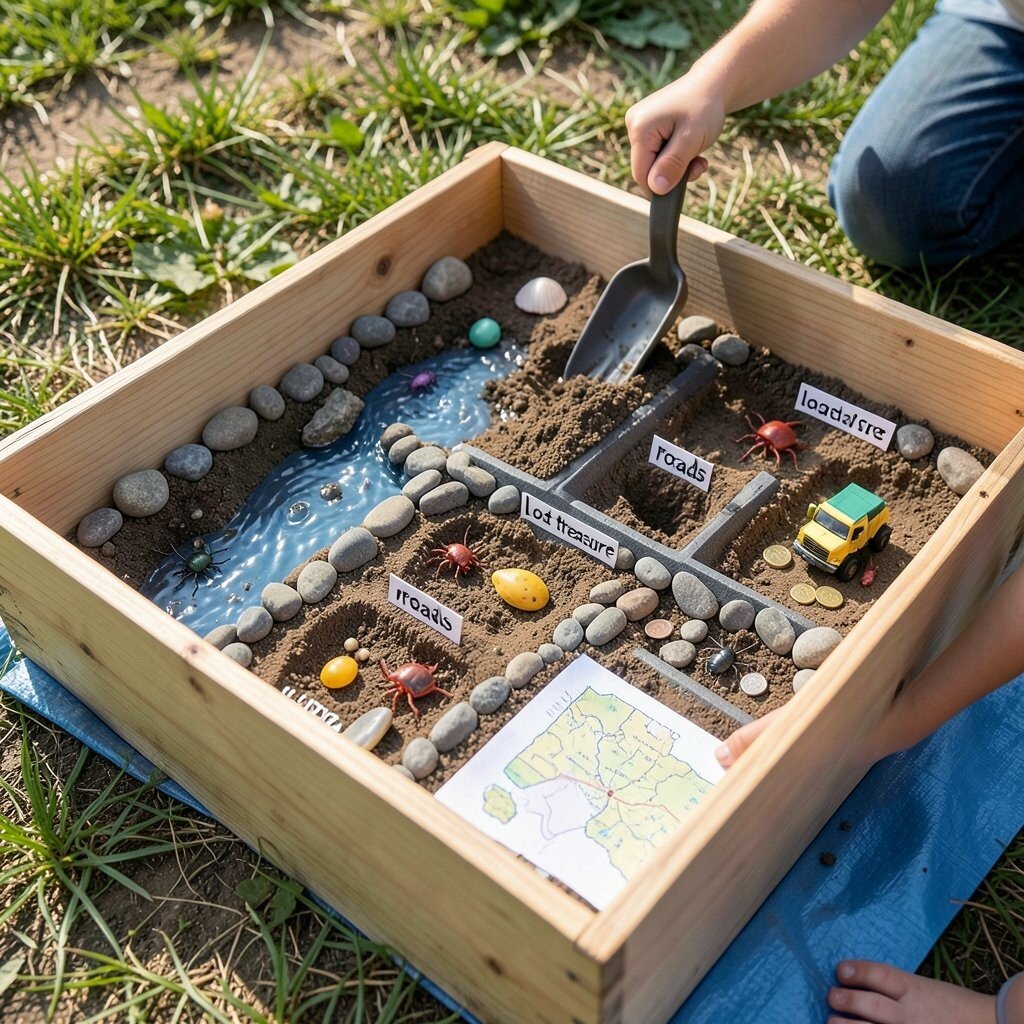
Set up a sandbox and divide it into small zones with stones or plastic markers. You can label one area “rivers,” another “roads,” and a third “lost treasure.” Kids will see the dirt in different ways and stay curious as they move from zone to zone.
Hide small items like plastic bugs, sea shells, or toy coins in one zone each day. After they dig, they can sort the items by type and make a simple map on paper. This helps with focus, sorting practice, and fine hand control.
To keep it safer, use a thick digging scoop that fits kid hands. Add a small tarp under the sandbox if you can, so cleanup is easier. Personalize the zones by using your child’s favorite theme like space, dinosaurs, or trucks.
2. Sensory Dirt and Texture Garden
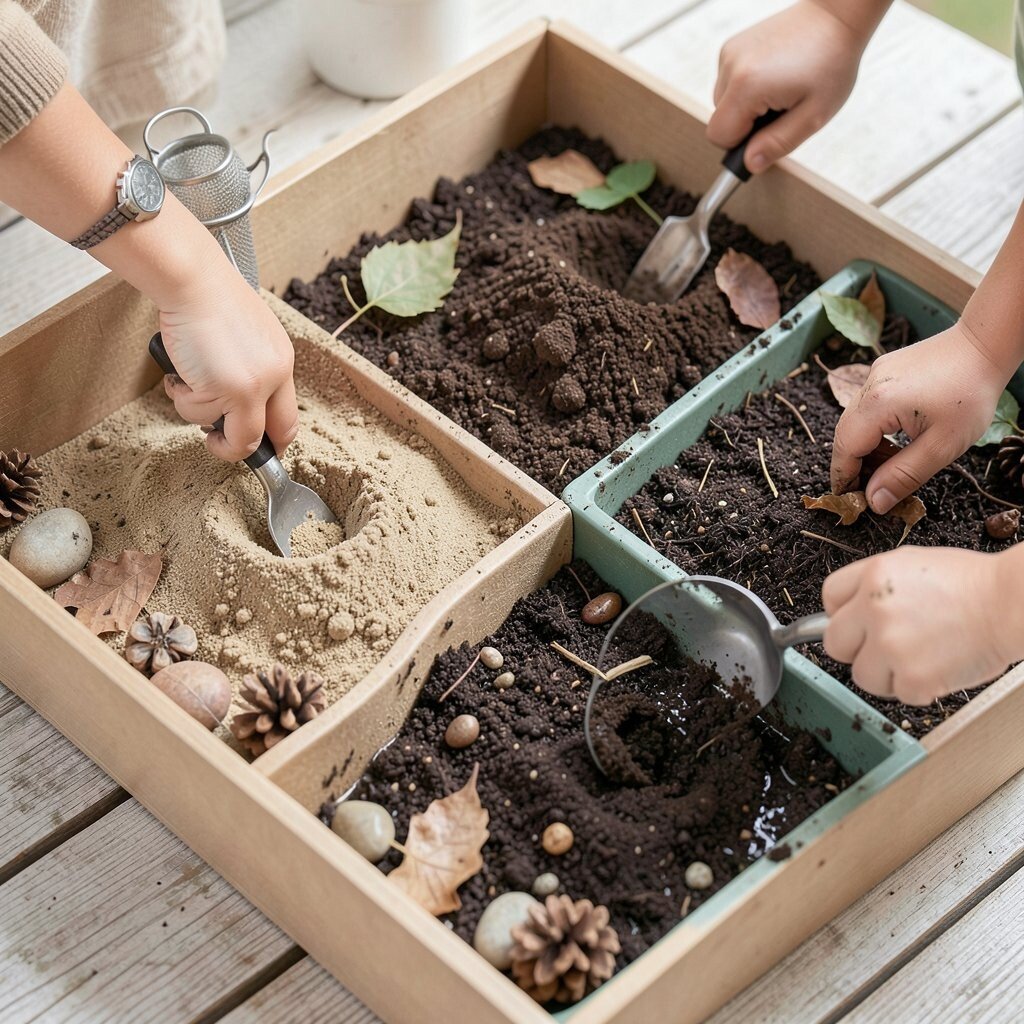
Make a sensory digging tray using different textures, like smooth sand, clumpy soil, and fine potting mix. Put each texture in a separate section so kids can compare and feel the changes. As they dig, they will notice how tools work in each type.
Let them add safe items like small pine cones, dried leaves, or smooth stones. Then ask them to build “plant beds” and “worm homes” using what they find. This supports sensory play and helps kids use new words for what they feel.
Keep costs low by using store-bought potting soil and free sand from a local supplier if you can. A simple kitchen strainer can also help with “sifting” for tiny bits. If you want a trend, try making a “mud kitchen” style corner where kids can mix water with soil in a tray.
3. Dino Fossil Dig Tray
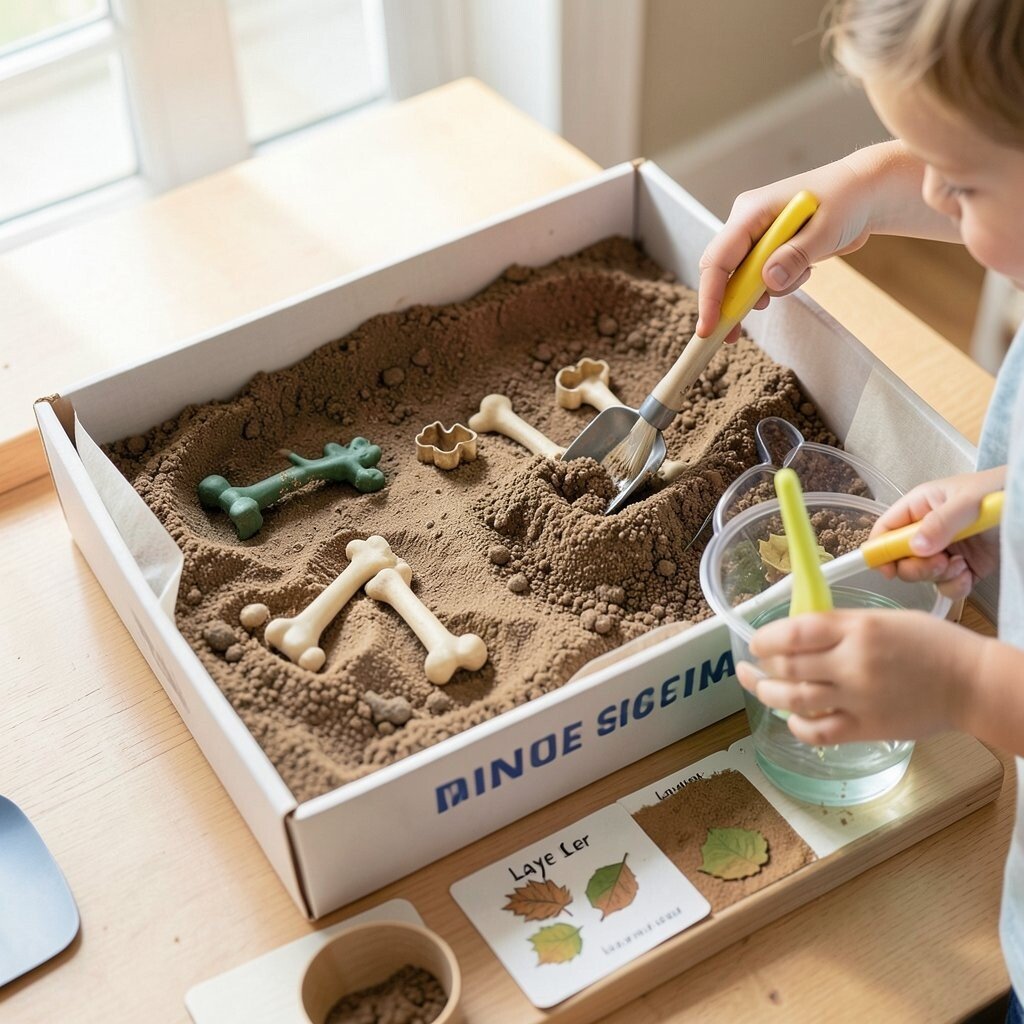
Create a tray of sand or soil and bury foam shapes or small toy bones like “dinos.” You can use cookie cutters to make imprint “fossils” before you bury them. Kids get a clear goal as they dig for each fossil piece.
Give them kid-safe brushes and small handheld shovels. When they find a piece, they can clean it in a cup of water and place it on a “museum shelf.” This helps with patience, gentle motions, and early science habits.
Personalize the dig by choosing a dino set that matches your child’s age. Cost stays low because many toy fossils are cheap, and foam pieces are reusable. You can also add “layer cards” like sand layer, clay layer, and leaf layer to make a simple story.
4. Rainy Day Digging Crates
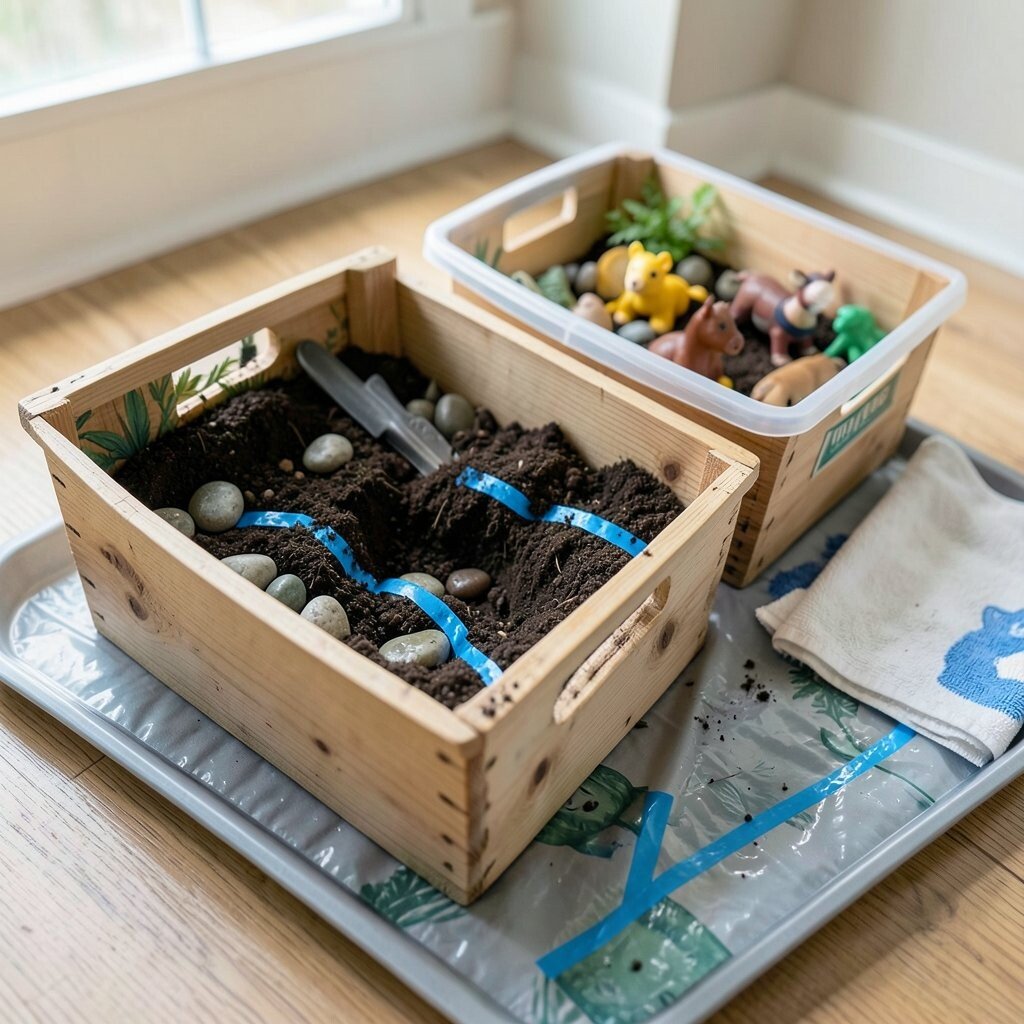
Build a few small wooden crates or use sturdy plastic tubs with drainage holes. Fill them with soil and add items that can handle damp play, like smooth stones and plastic animals. This gives a way to dig even when the weather is bad.
To make it fun, bury a “water route” line with blue tape on the bottom of the tub. Kids can dig and then see where the route leads. It adds a clear visual cue, which many kids enjoy.
Use old towels for cleanup and put everything on a tray or waterproof mat. For personalization, change the theme each week, like jungle, farm, or ocean. This style also fits home trends like indoor sensory stations and kid-size “activity zones.”
5. Worm Observation With Safe Digging Rules
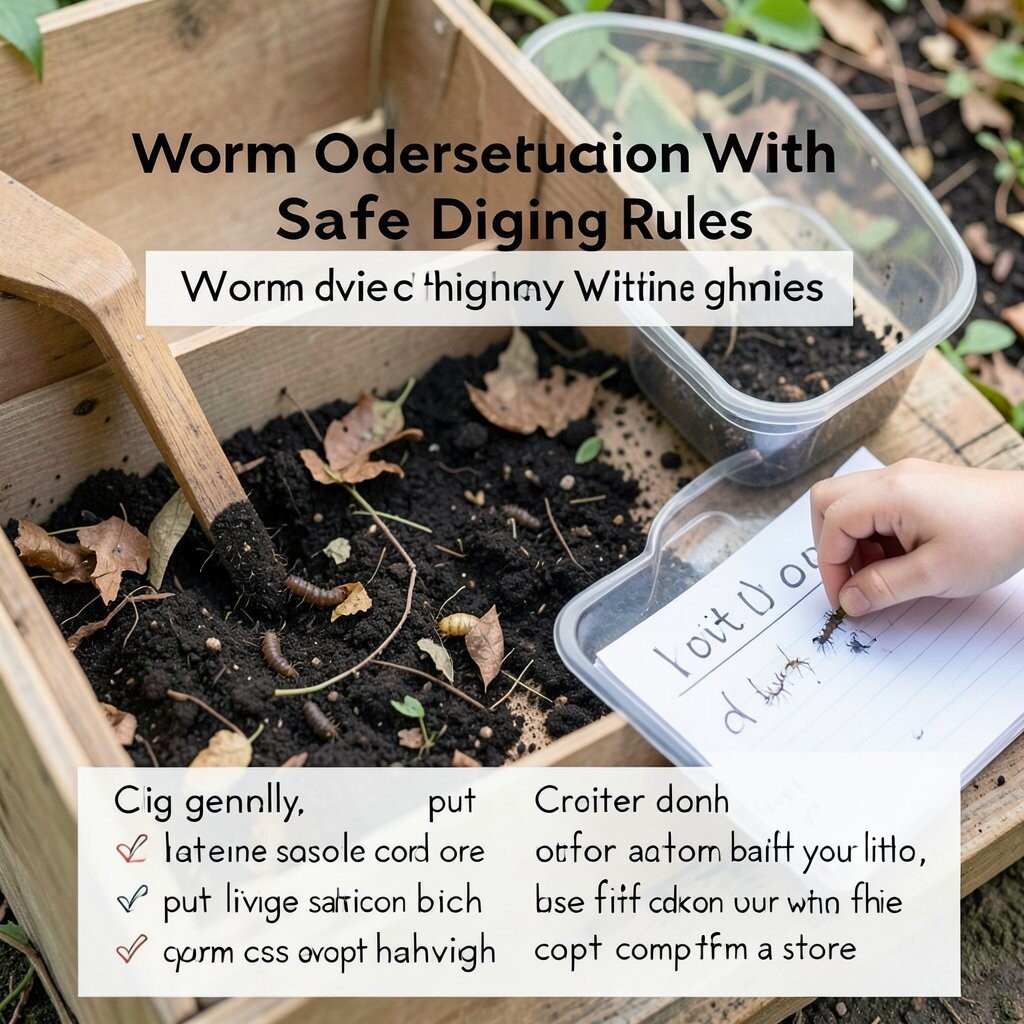
Create a small digging area with dark soil and leaf litter that is safe for worms. Place a clear container nearby so kids can watch what happens without grabbing. Set clear rules first, like “dig gently” and “put living things back.”
After they dig a little, they can spot worm casts or tiny bugs. Then they can write or draw what they see in a simple notebook. This helps kids practice care, calm focus, and respectful handling.
Keep it simple and low cost by using a local compost bin or garden soil from your yard. If you want a safer option, use bait-free observation with “worm cast” compost from a store. Personalize the rules with your child’s comfort level and keep the digging time short.
6. Geology Rocks and “Soil Layers” Challenge
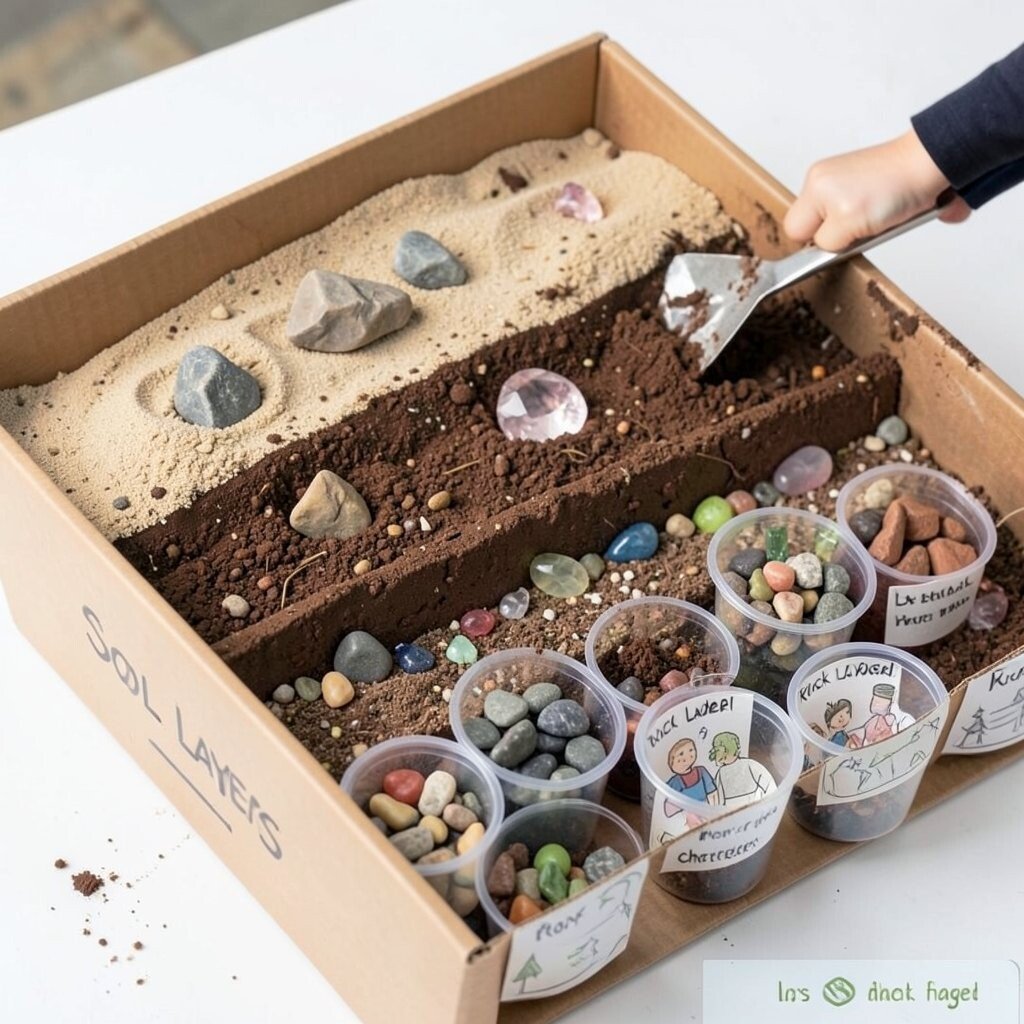
Make “layers” in a box by adding sand, then clay soil, then potting mix. Bury small rock pieces and pretend gemstones in each layer. Kids dig to find what is hiding in each level.
Have them sort rocks by size and color, then place them in cups. You can add a simple “layer checklist” so kids track what they found. This builds science thinking, comparison skills, and good tool control.
Tips for success: use clear containers or mark the outside so layers are easy to see at first. Cost can stay low with regular soil and cheap craft rocks. To follow trends, try making a “rock label” system where kids write names and draw pictures.
7. Water Play Dig With Spoons and Strainers
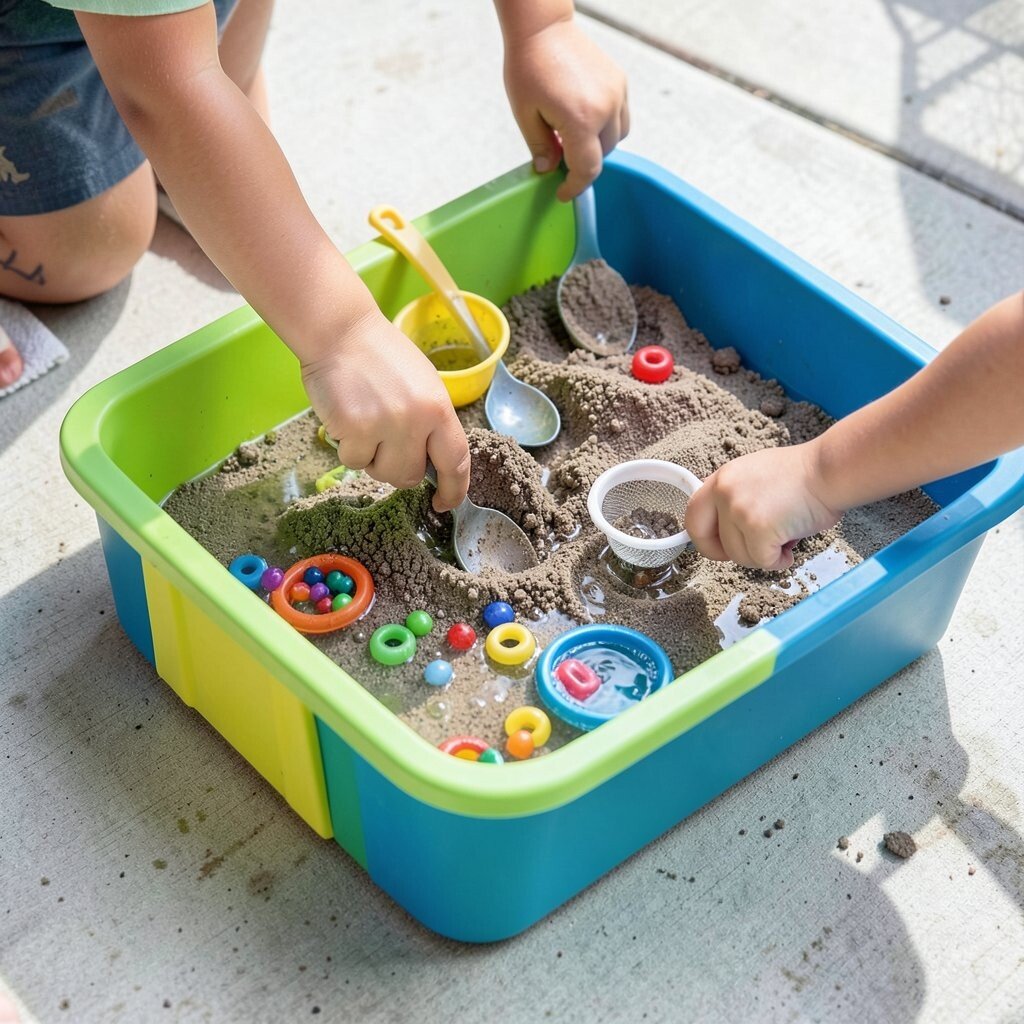
Set up a shallow bin with water plus sand or fine soil mixed in. Provide small spoons, cups, and a hand strainer so kids can scoop and rinse. This turns digging into a hands-on task where they can watch dirt float and settle.
Bury color-safe items near the bottom, like small plastic rings or beads. Kids dig, scoop, and then strain the water to find hidden pieces. This helps with hand strength, cause and effect, and early math talk like “more” and “less.”
To keep it tidy, do this in a place with easy cleaning, like a garage floor or patio. Use a towel and a bucket for “dirty water.” Personalize the color theme by picking bead colors that match a holiday or school year.
8. Seed Hunt and Planting Starts
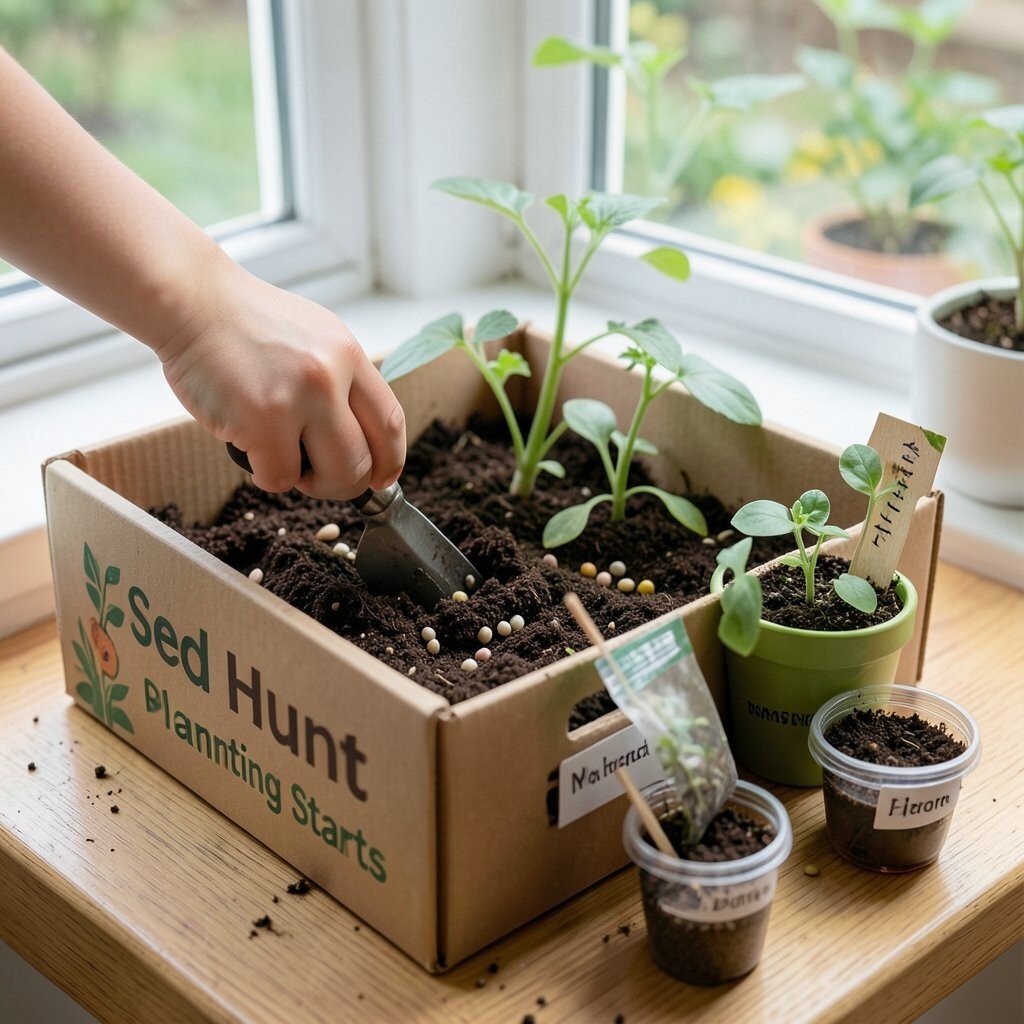
Hide small seeds or seed-like beads in a dirt bed and let kids dig them up. If you want real planting, use seeds that are safe and easy like sunflower or beans. Kids enjoy the idea that digging leads to something that grows.
After they find seeds, they can plant them in tiny cups or small pots. Talk about what they need, like water and sun, in simple words. This supports responsibility and helps kids see a clear result over time.
Cost can be very low if you already have seeds or can buy a small packet. For tips, label each pot with a child’s name and the day they planted. A trend right now is “micro gardens,” so you can make tiny planters on a windowsill.
9. Map Maker Dig With Roads and Borders
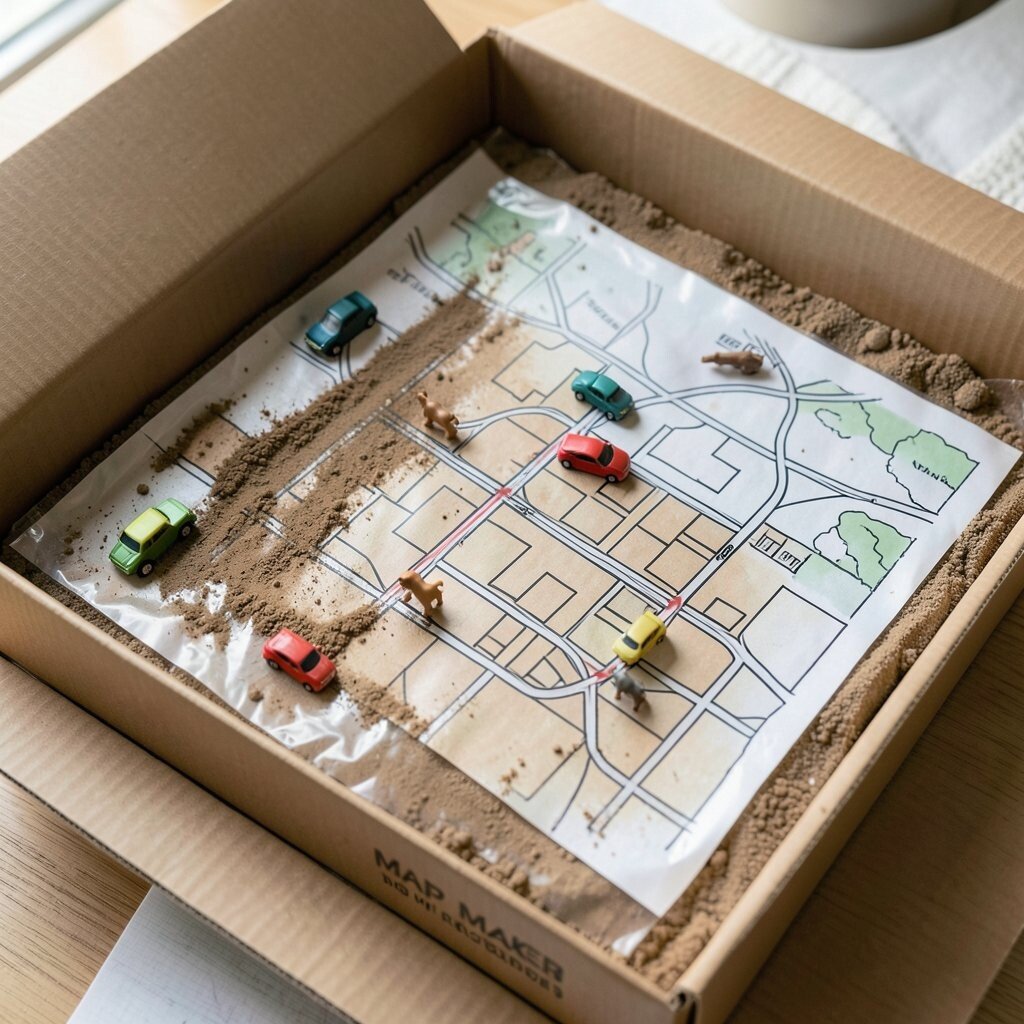
Draw a simple map on cardboard with lines for roads, bridges, and blocks. Put the map under a clear plastic sheet and cover it with a thin dirt layer in a tray. Kids dig along the lines so the map clues guide them.
Add small toy cars or animal figures as “characters” on the map. When kids dig and reveal a spot, they can move the characters along the road. This is unique because it mixes art, play, and digging in one setup.
Personalize by drawing a map of your home area or a pretend city. Use cheap supplies like markers and cardboard, plus basic dirt or sand. A good tip is to keep the dirt layer thin so kids can see progress.
10. Build a Bridge for Small Toys
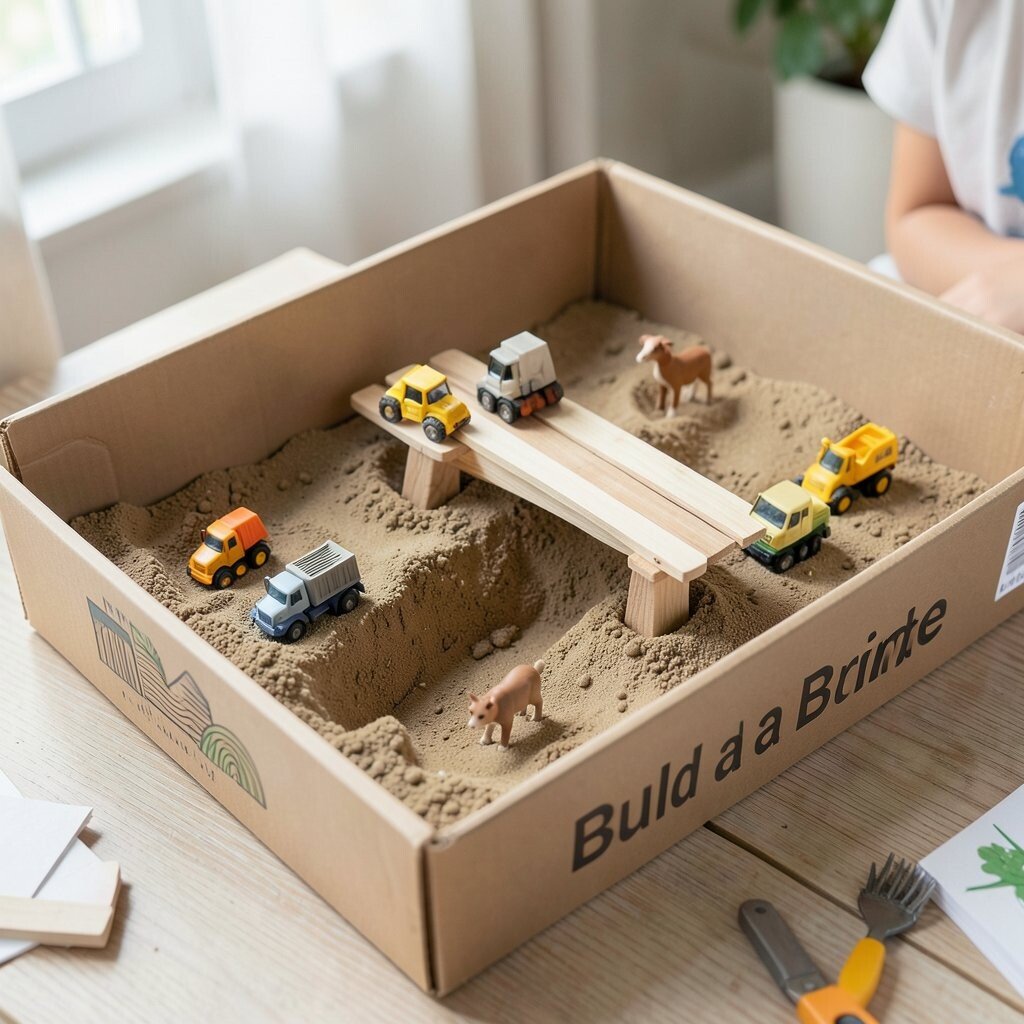
Digging can turn into building when kids make small trenches for bridges. Use sand or soil and place toy cars, trucks, or animals near the trench. Kids dig and shape the sides so a bridge can sit over the gap.
Offer bridge items like popsicle sticks, craft wood, or cardboard strips that can be propped up safely. Kids test the bridge by rolling a toy across, then adjust the trench walls. This supports problem solving and gives clear feedback when something works.
Keep cost low by using materials you already have at home. Personalize the project by changing the toy theme, like construction vehicles or farm animals. For a modern twist, try “maker day” where kids use tape, string, and simple tools to improve their bridge design.
11. Sifting Station With Sorting Science
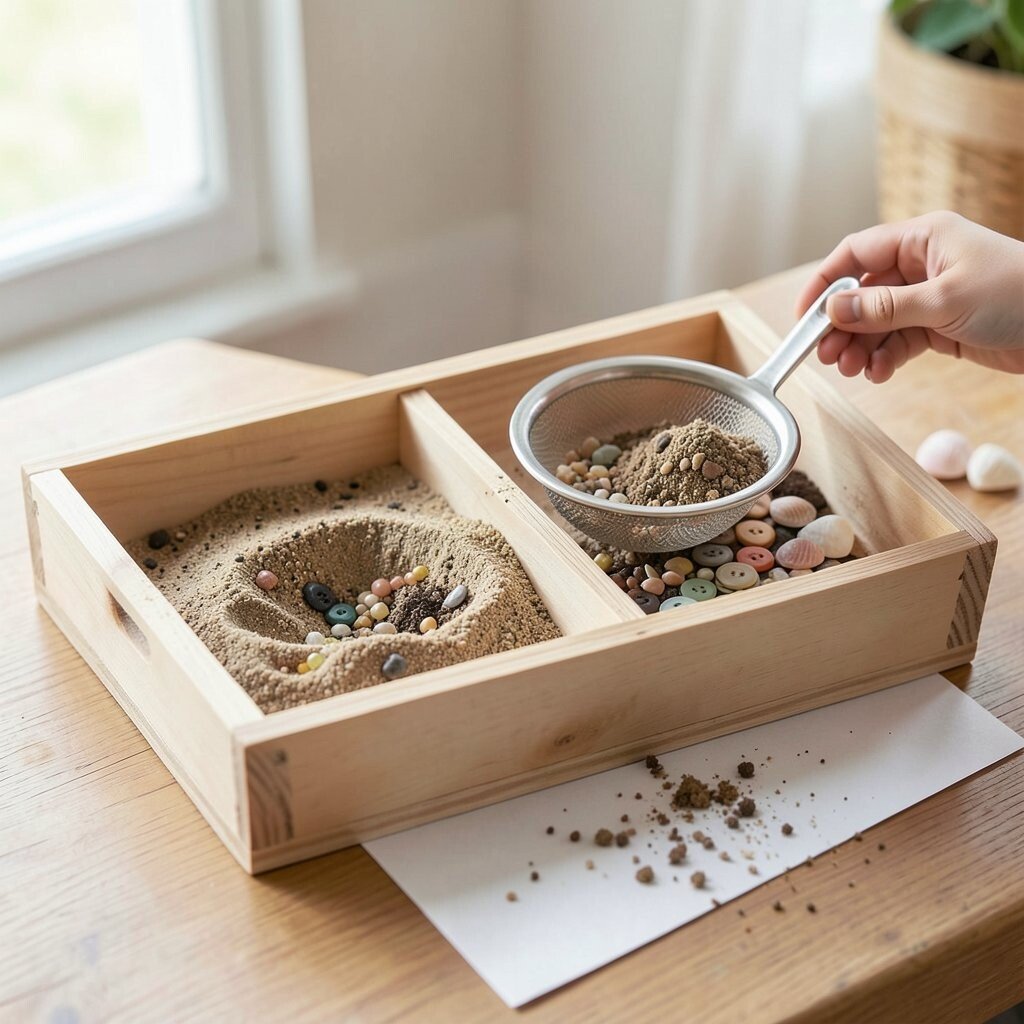
Create a sifting station with two trays and a scoop. Put sand, soil, and small bits into one tray and give a small strainer for sorting. Kids dig and sift until they separate bigger bits from tiny pieces.
Add items like buttons, beads, or small shells, but only ones that are safe and large enough. Kids sort by size and then count how many of each type they found. This helps with counting practice and careful motion.
For tips, put a sheet of paper under the station so little bits are easier to collect. Cost is usually low if you use saved craft items. You can personalize by making sorting categories match your child’s favorite colors or shapes.
12. Salt and Sand “Mini Dunes” Art Dig
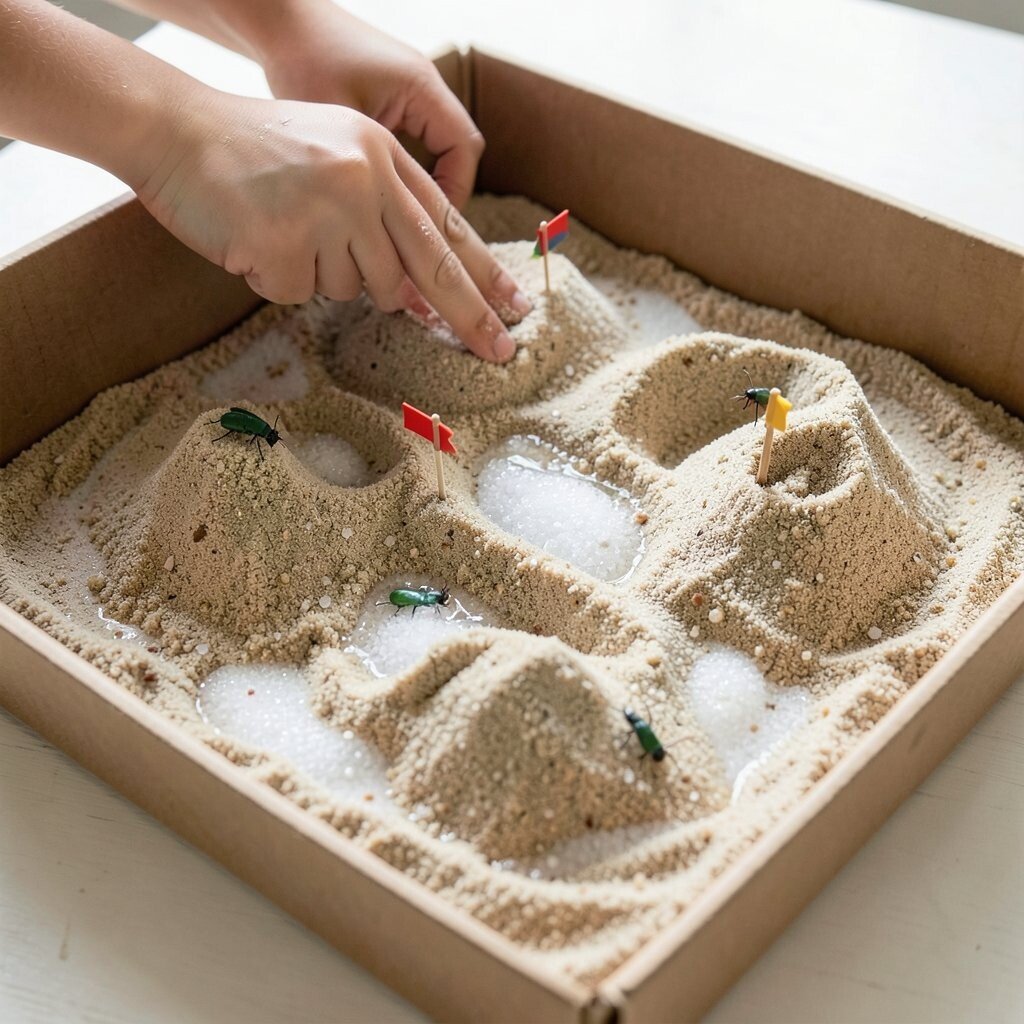
Make a flat tray and mix sand with a small amount of salt, then water it lightly. Kids dig and shape the “dunes,” then let it dry to keep the form. The texture change makes the sand feel different and helps kids notice surface changes.
They can place small objects in the dunes, like tiny flags or plastic insects. When they dig them up, they can “rebuild” the dunes and try new shapes. This builds creativity and gives lots of chances to try again.
Keep it safe by using food-grade salt only if you can, and wipe hands after play. Costs stay low because sand is cheap and salt is common in a kitchen. If you want a trend, you can turn it into a “time lapse” style activity by taking a photo before and after it dries.
13. Night Dig With Flashlights and Glow Items
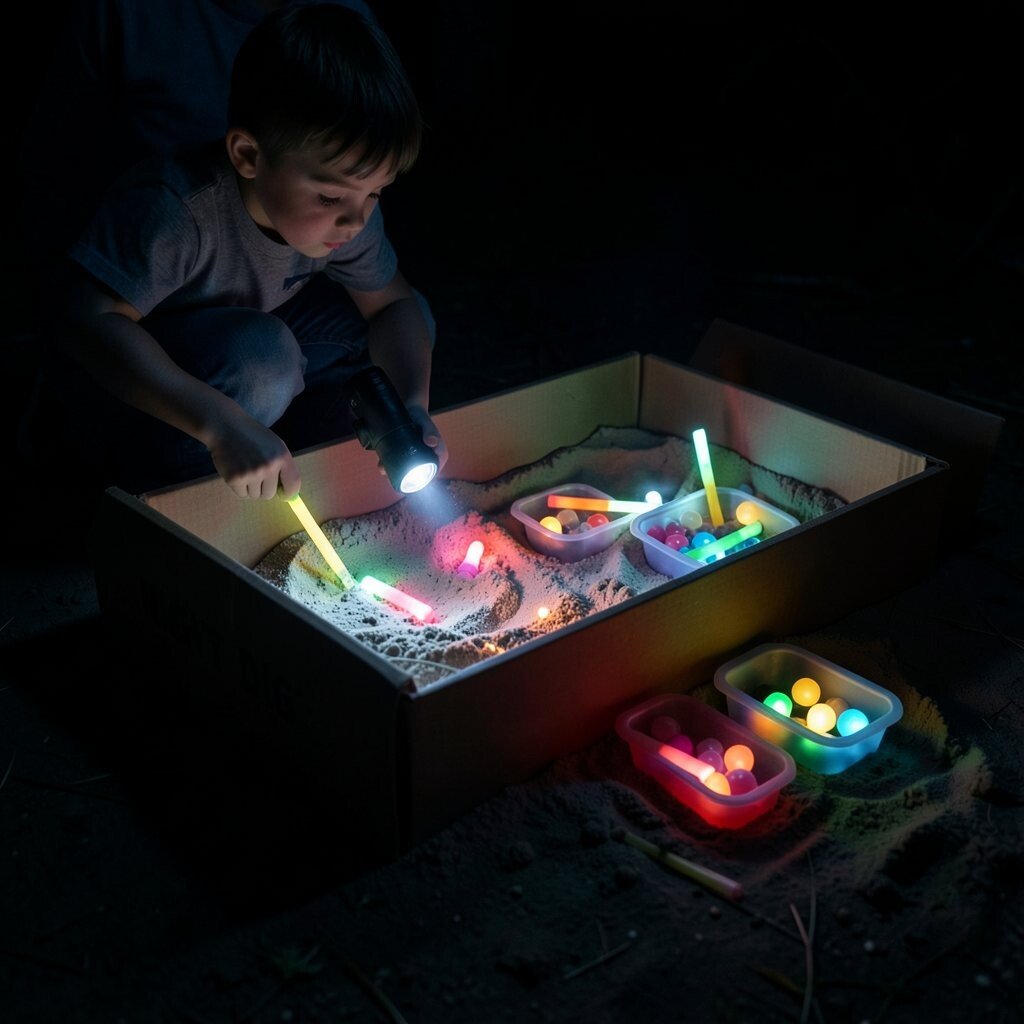
For older kids, set up a digging box in the evening with a safe flashlight. Bury glow sticks or glow beads in sand so kids can search by light. The dark setting creates a strong visual focus without needing fancy gear.
Use rules like “flashlight stays low” and “no shining in eyes.” When kids find a glow item, they can place it in a small tray by color. This helps them practice safety and careful searching while they have fun.
Keep costs reasonable by using cheap glow items from party sections. Personalize the game by setting a goal, like “find three of each color.” A trend you may see online is glow play, and it works well with simple digging bins.