
Ear cleaning can be simple and safe when you use gentle care. Healthy ears need regular habits, not harsh tools.
1. Use a Warm Shower Rinse
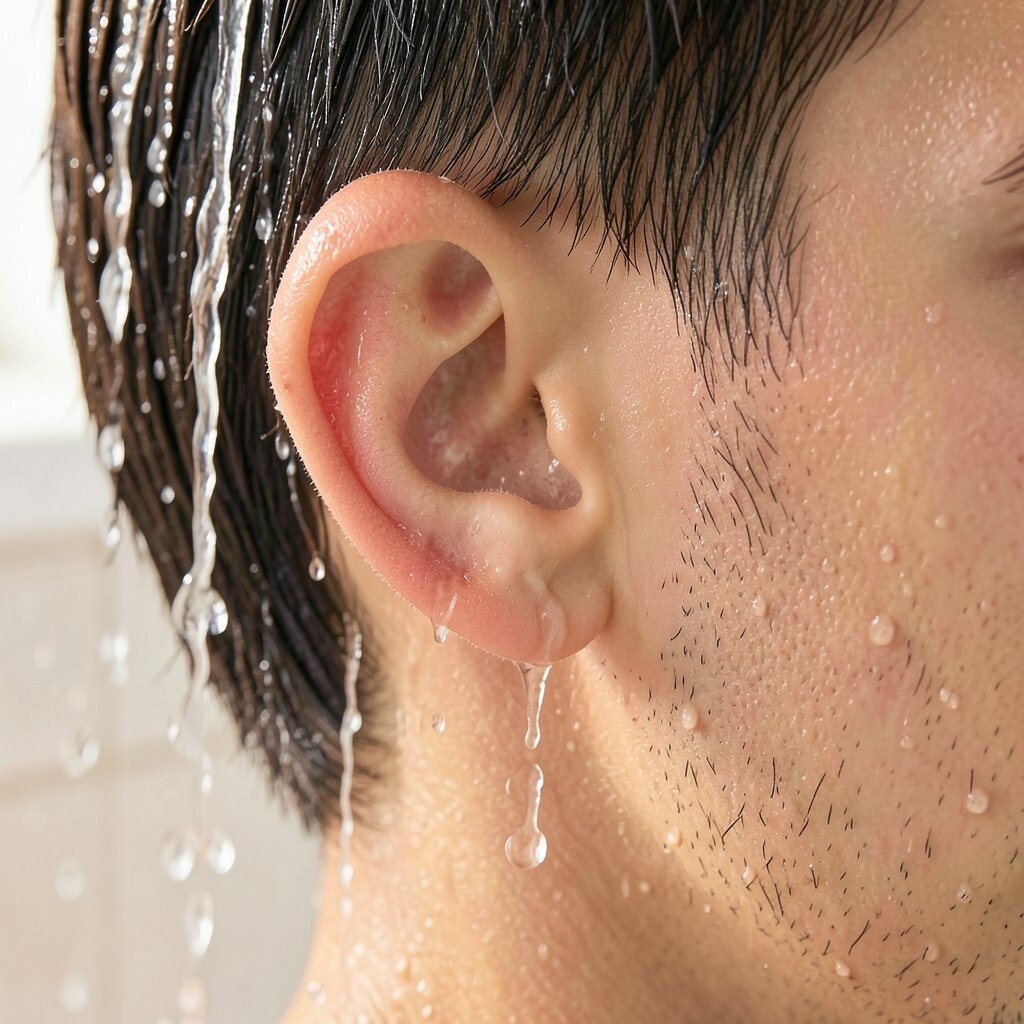
After a warm shower, let the water run over your outer ear. Use clean water and let it move out natural wax. This is a soft way to loosen buildup.
Look for a small change in how your ear feels. If you still feel stuck wax, do not press in deeper. Keep it on the outer area only.
Cost is low since you use what you already have. Many people like this because it feels normal and easy.
2. Try a Damp Washcloth on the Outer Ear
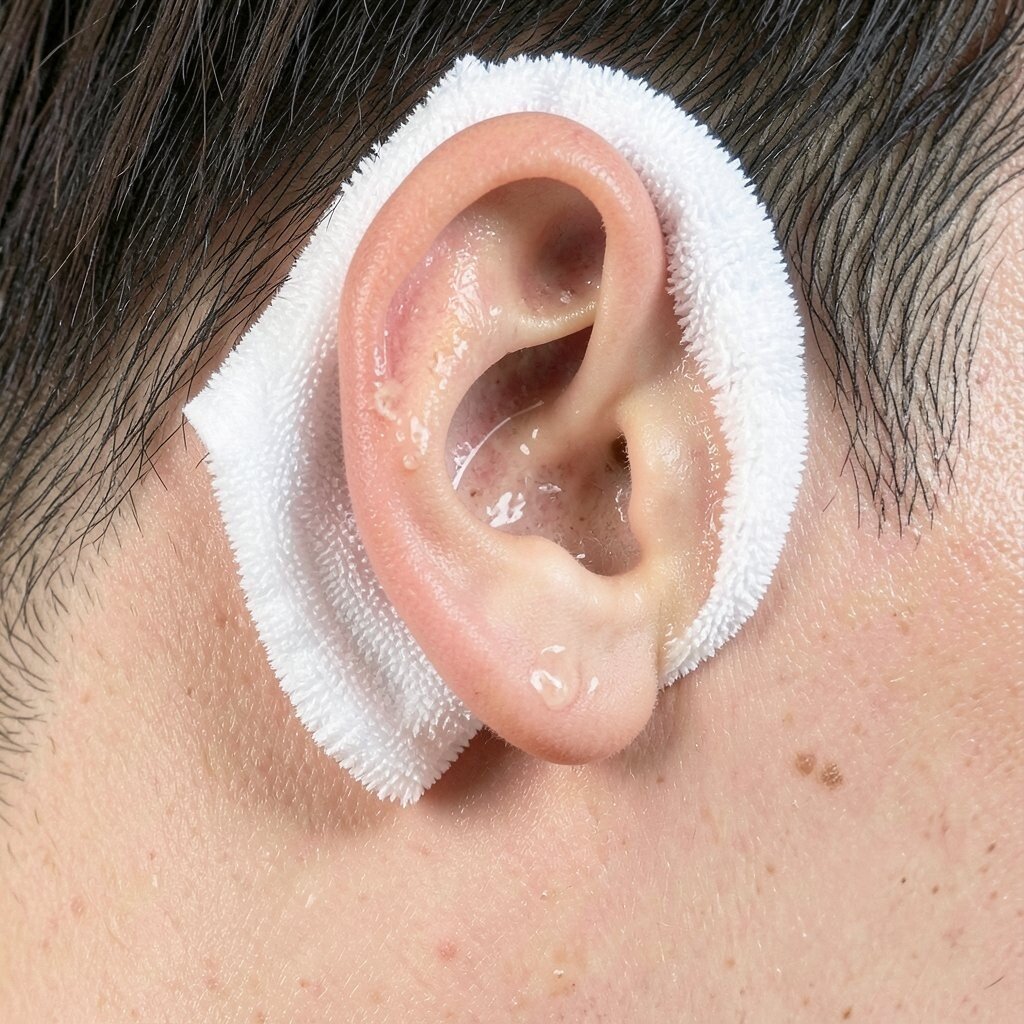
Take a clean washcloth and dampen it with warm water. Wipe the outer ear and the folds near the entrance. Keep the cloth outside the ear canal.
This helps remove loose wax that sits on the skin. You can see the wax on the cloth, which makes it feel more clear. It also helps keep the skin clean.
It is cheap and simple. You can also personalize by using a soft, thicker cloth if your skin gets dry.
3. Use Cotton Swabs Only for the Outer Creases
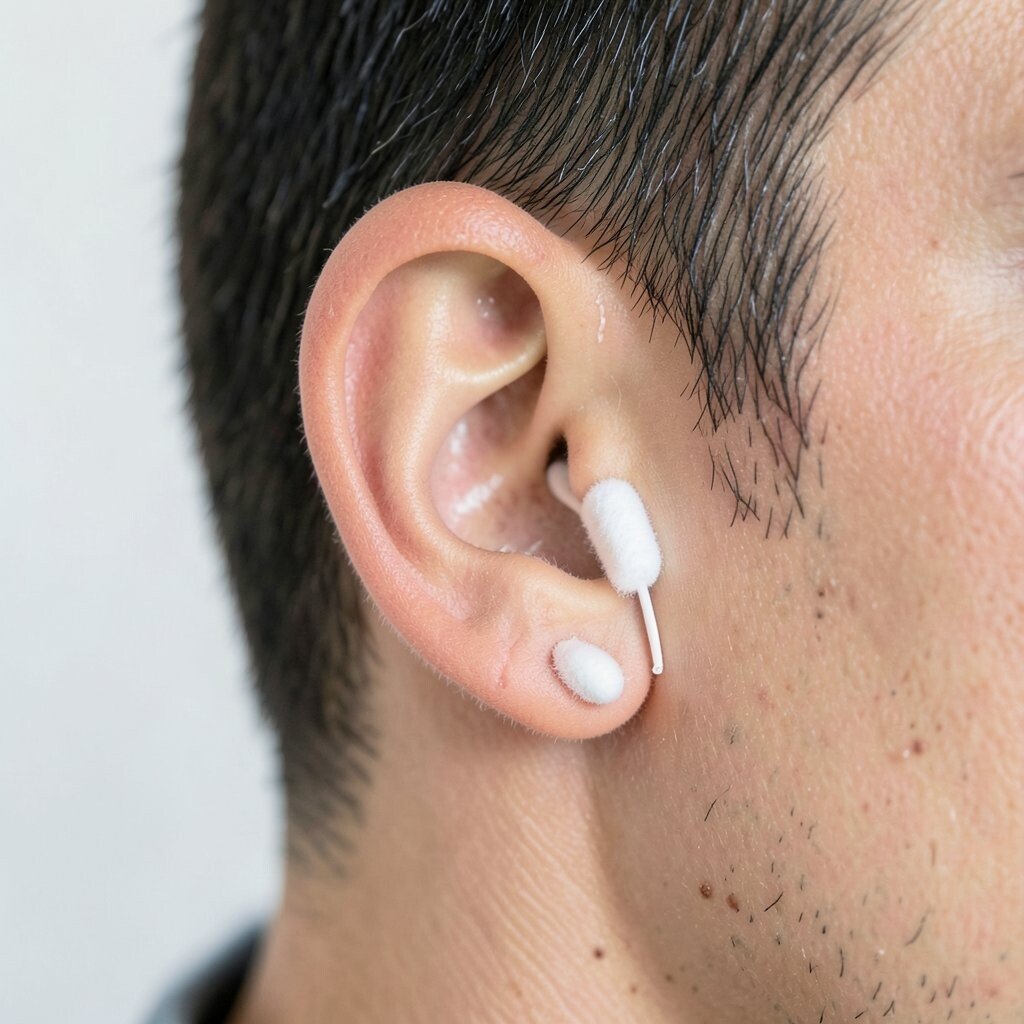
If you use cotton swabs, keep them on the outer creases. Do not push them inside the ear canal. This reduces the chance of pushing wax deeper.
Move slowly and use a light touch. If you see irritation, stop and switch to a gentler method. Many people find that outer use keeps things tidy.
Cost is low and the method is quick. The key tip is to stay out of the canal.
4. Use Ear Wax Drops From a Pharmacy

Ear wax drops can help soften wax so it may come out on its own. Follow the label directions and use the right amount. Warm the bottle in your hand if it feels too cold.
Try them when you notice fullness, not after pain starts. If you have ear tubes, a hole, or past ear problems, ask a clinician first. Safety matters more than speed.
These drops can cost more than home steps, but many people like the comfort. A good trend is using product directions and timing instead of guessing.
5. Use a Bulb Syringe With Caution

Some people use a bulb syringe to rinse the outer area with gentle water. If you choose this, use body-warm water and a soft flow. Keep the stream mild and do not force it.
This may help with light wax when done safely. Still, do not do it when you have pain, swelling, or a known ear issue. If water stays trapped, stop and get help.
It is a mid cost option depending on the kit. Personalize by using a water temperature you can tolerate easily.
6. Try a Soft Ear Irrigation Technique at Home
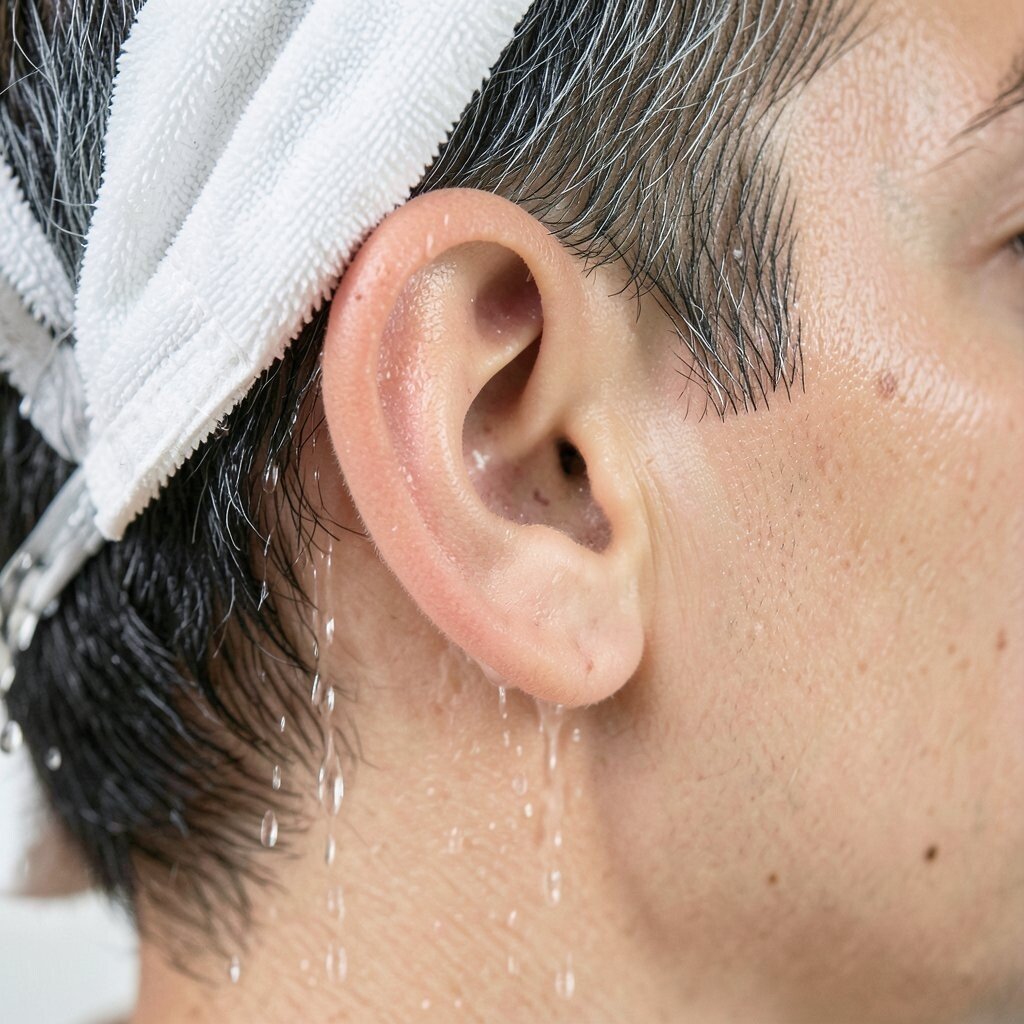
If you have been shown how, you can use safe irrigation steps. Use a steady, low pressure flow and keep your angle gentle. Aim the water away from deep inside the ear canal.
After rinsing, let the ear drain well. You can also gently towel-dry only the outer ear. Do not rub hard.
This method can help some people, but it needs care. Costs can be moderate if you buy a starter tool.
7. Dry Your Ears After Swimming

Water in the ear can lead to discomfort if it stays too long. After swimming, tilt your head and let water drain out. You can also use a towel on the outer ear.
Many people like this because it fits daily life. If you get frequent swimmer’s ear, consider a drying plan. Your goal is dry outer skin and safe drainage.
This is low cost since it uses simple habits. A good tip is to do it right away after you swim.
8. Use a Hair Dryer on Low and Far Away

Some people use a hair dryer to help dry after water exposure. Use the cool or low warm setting and keep it at a safe distance. Keep it moving so it does not heat one spot.
This can help with trapped dampness. Stop if you feel heat or discomfort. Do not aim deep into the ear.
It costs nothing extra if you already have a dryer. This is a popular trend among people who want quick drying steps.
9. Consider a Professional Ear Cleaning

A trained clinician can check what is going on in your ear. They may remove wax with tools made for ears. This can be useful if you have thick buildup or repeated issues.
Professional cleaning is also helpful when you have unsure symptoms. If you have hearing changes, strong ringing, or ongoing pain, do not wait. Get checked.
This can cost more than at-home steps, but many people trust it. Personalize by booking based on your schedule and ear needs.
10. Use Regular Ear Checks When You Wear Hearing Aids

If you use hearing aids, keep up with routine ear care. Follow the device guide and ask your audiologist for safe cleaning steps. Wax can block parts and change how things sound.
Wipe the outer area and check for skin irritation. Also look for odor or extra wetness. Small checks can help you catch issues early.
This costs mostly time, plus small supplies like wipes. A trend is people using app reminders for ear care when they wear devices.
11. Keep Your Ear Calm With Gentle Skin Care
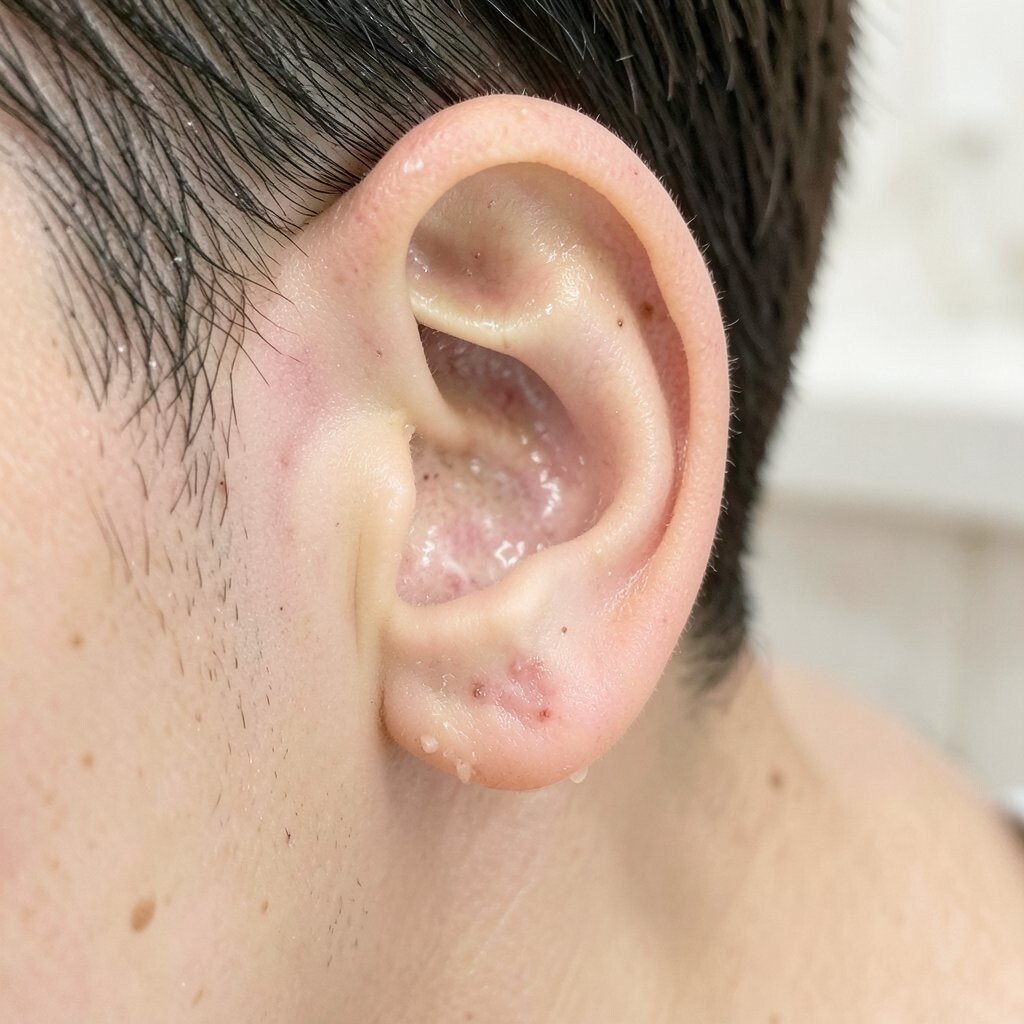
Some ear problems come from dry or irritated skin. Use mild, fragrance-free products on the outer ear skin if needed. Do not put lotions deep inside the ear canal.
If you have itching, burning, or flakes, think about skin care first. Wax buildup can mix with dry skin and feel worse. A calm outer ear may help you feel more steady.
This is often low cost, since you can use basic skin care. Personalize by choosing products that fit your skin, not strong scented ones.
12. Avoid Hard Objects Like Hairpins or Keys
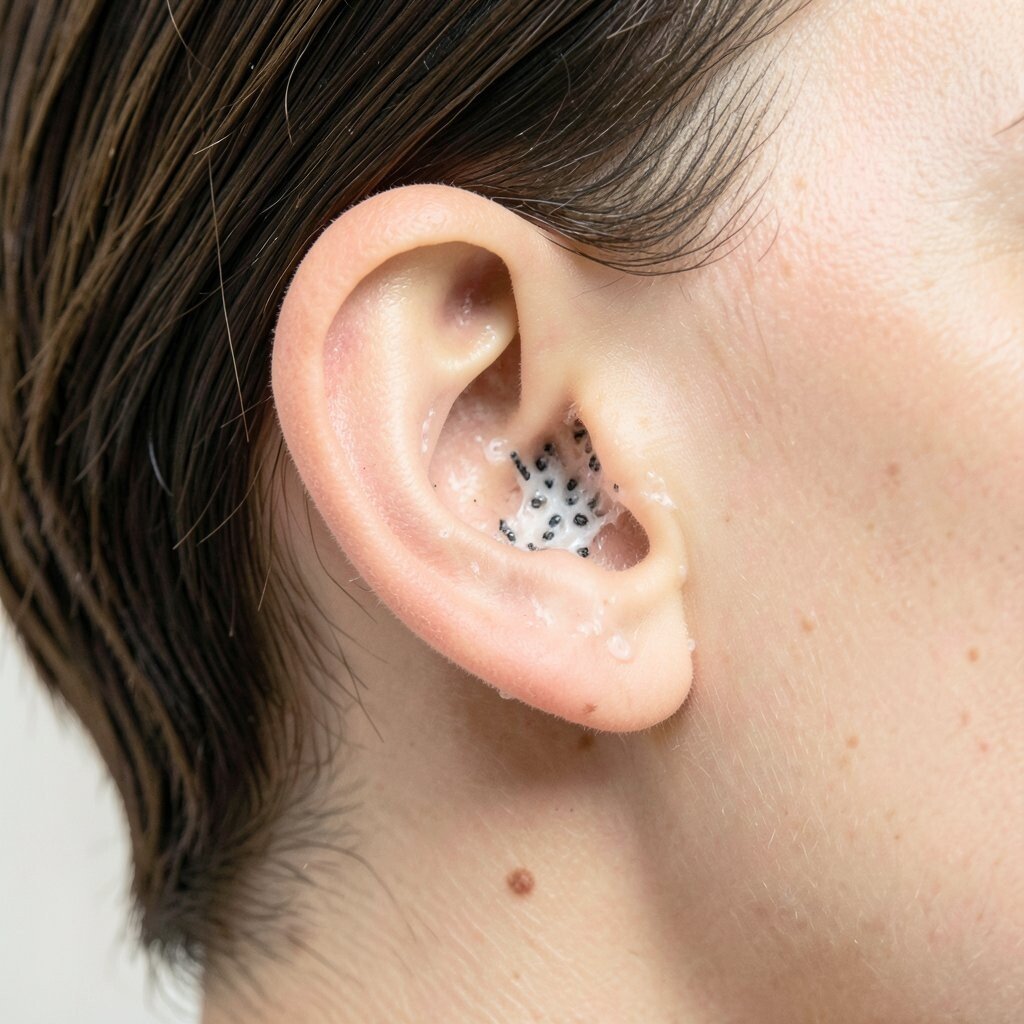
Hard objects can push wax deeper and scratch the skin. This can cause pain, swelling, or infection. Even if it feels like it will help, it often makes things worse.
Use a simple rule: if it is not made for the ear, do not put it inside. This includes many common items people grab in a hurry. Safety is a big benefit here.
This costs nothing and can prevent trips to get help. Many people learn this early and stick with it.
13. Skip Deep Cleaning on a Set Schedule
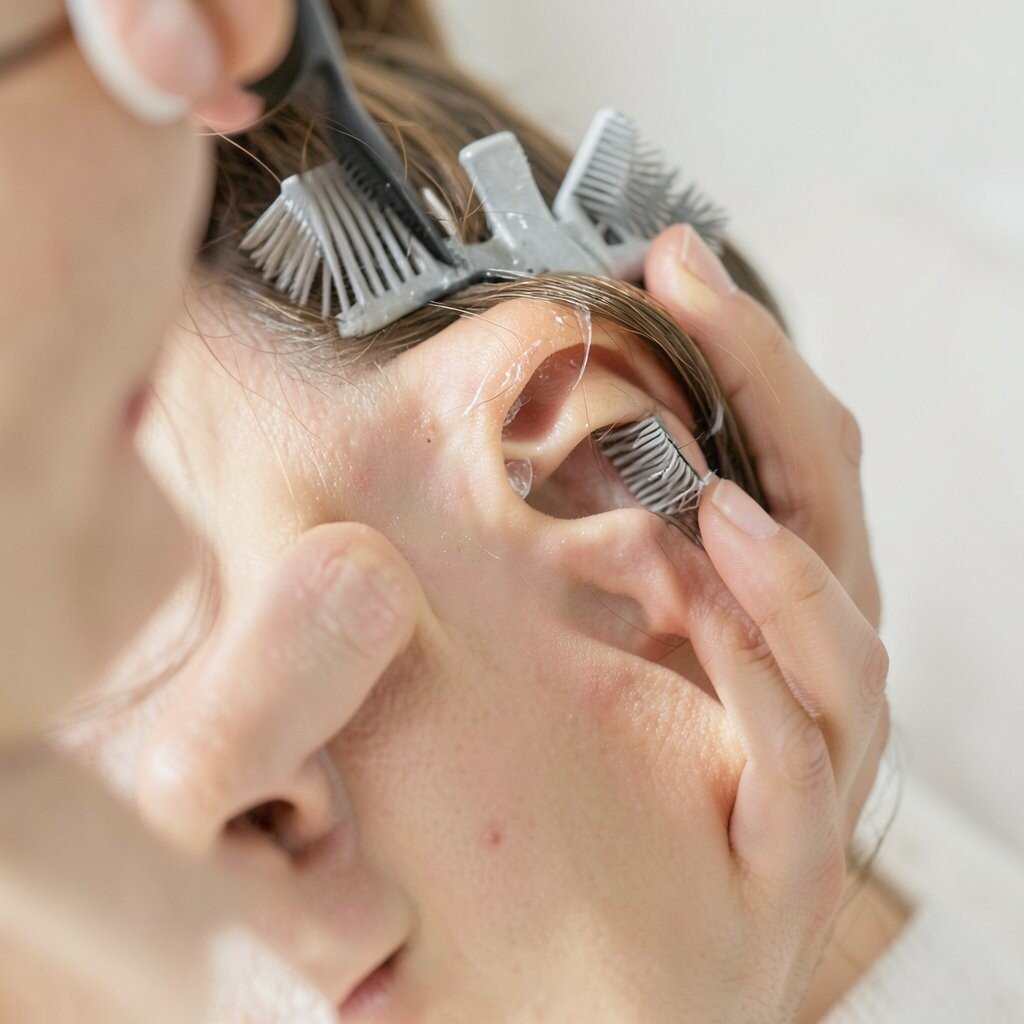
Some people clean their ears too often. Your ear makes wax for a reason, and too much cleaning can dry the skin. You may end up with more irritation and more buildup.
Instead, clean only when you notice clear signs like outer dirt or mild fullness. Pay attention to your own pattern. If you often feel better with less cleaning, stick to that.
This saves money since you use fewer tools. Personalize by cleaning based on your ear comfort, not by a strict calendar.
14. Use a Safe Ear Candle Myth-Free Approach

Ear candles are often shared online, but they are not a safe ear cleaning method. They can cause burns and can push material in the wrong place. If someone suggests this, it is best to skip it.
Look for safer options like wax drops, gentle rinses, or professional care. You can still keep your routine simple and effective. Your ears need safe handling, not risky steps.
This choice can save money and pain. The benefit is clear: fewer injuries and fewer surprises.
15. Watch for Signs You Need Medical Help
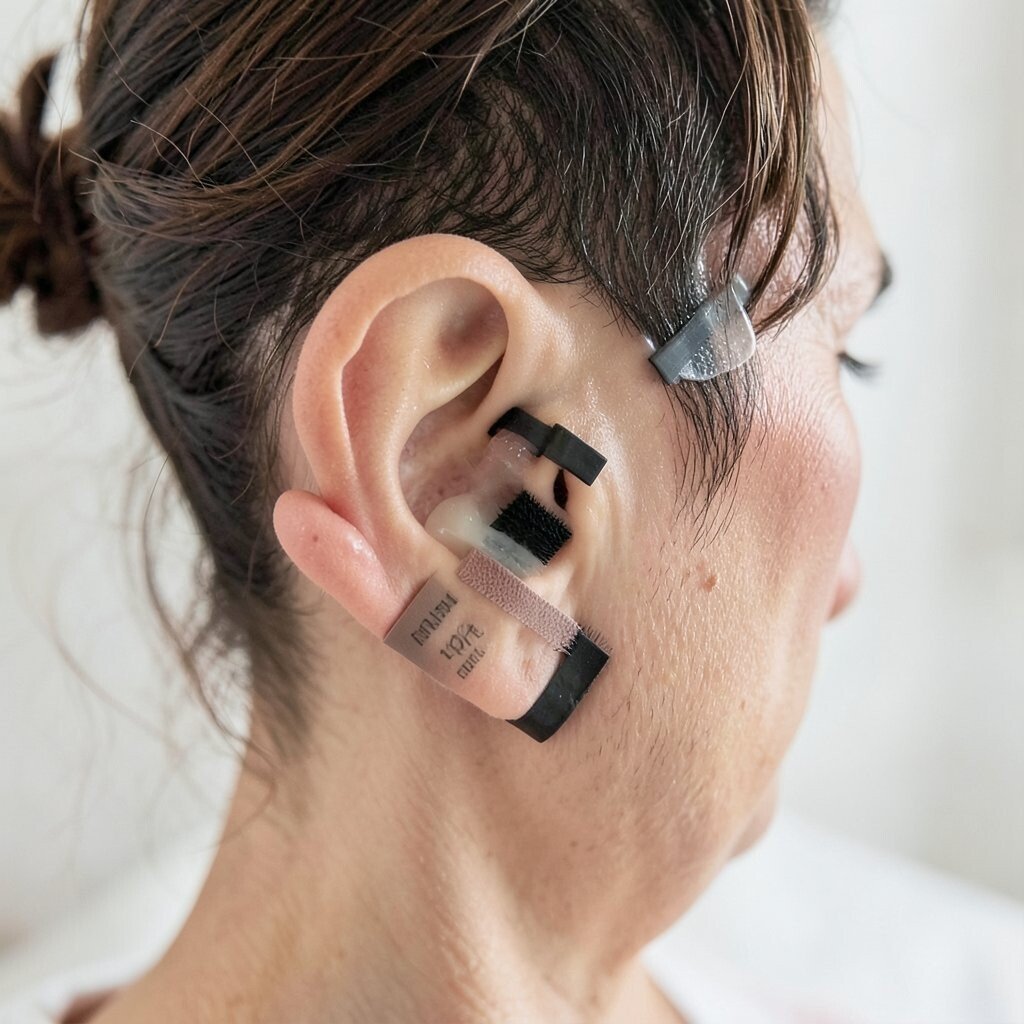
If you have sharp pain, fever, or fluid coming from the ear, get help soon. Also seek care if you have sudden hearing loss or bad dizziness. These signs are not for home cleaning.
Do not try many steps at once when symptoms show up. One safe move is to stop any cleaning method and call a clinician. Early care can protect your ear.
This can cost more at first, but it can prevent worse problems. A trend is people treating ear symptoms like health signals, not small annoyances.
16. Make a Personal “Ear Care” Routine

Pick a few safe steps and use them at the right times. For example, you can rinse in the shower, wipe the outer ear with a washcloth, and dry after swimming. Keep it gentle and easy to follow.
Track what works for you. If wax builds up fast, you may need a wax drop plan or a professional check. If your ears get dry, you may need less cleaning.
This approach fits your budget since it uses simple basics and only adds tools when needed. Personalization helps you keep healthy ears with less stress.