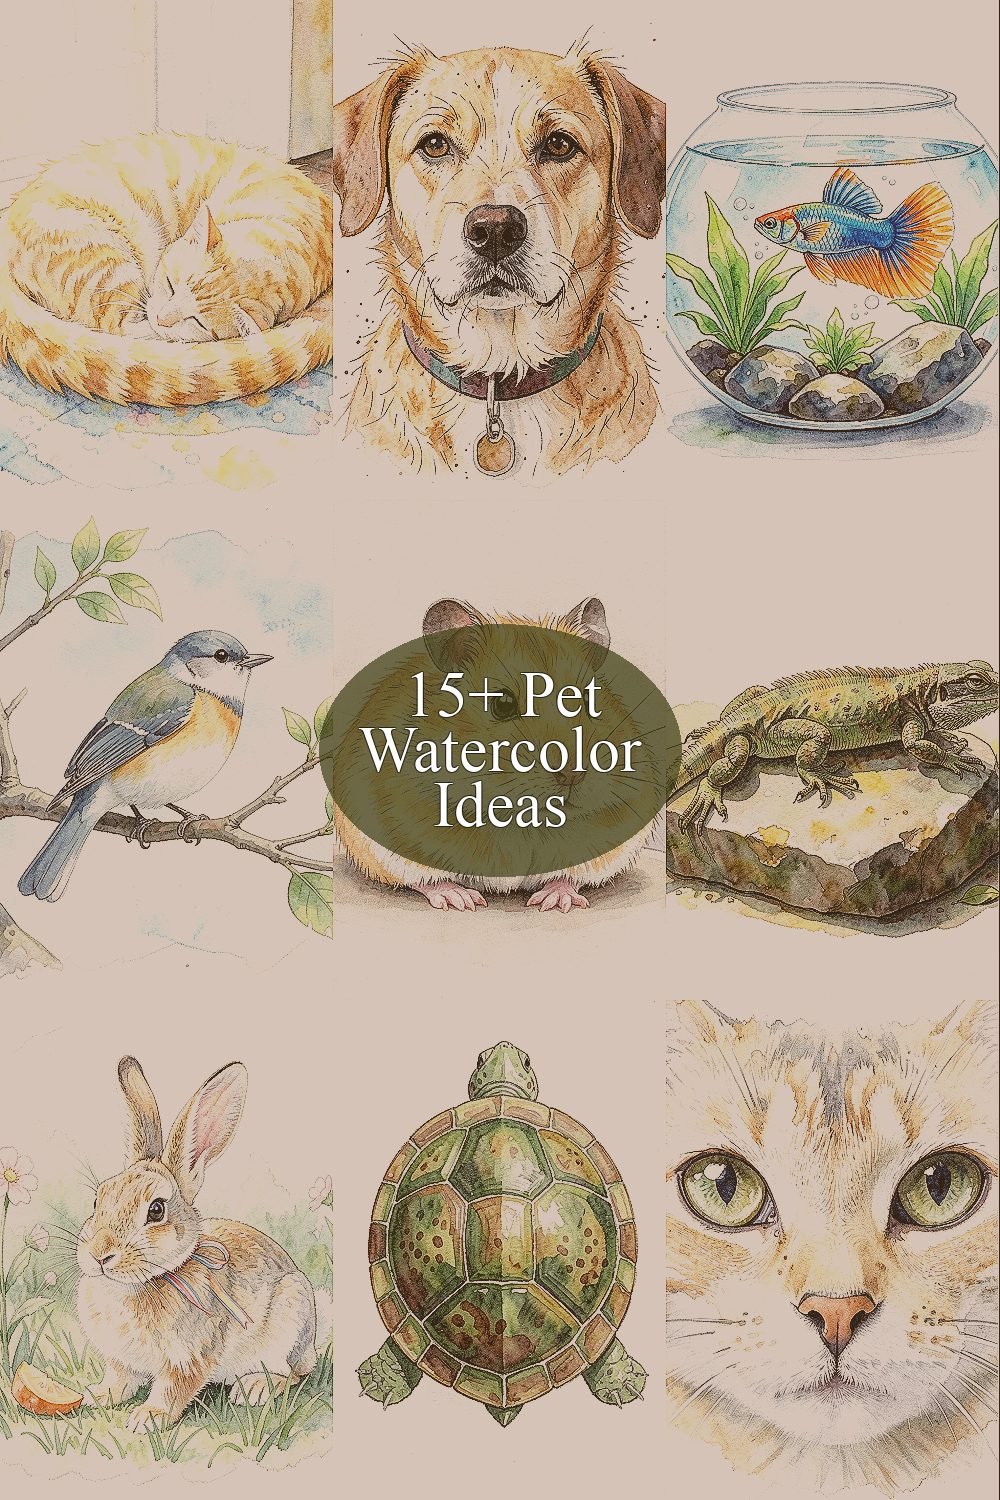
Pet watercolor can help you slow down and notice small details. You can use simple colors and easy shapes to make pets look soft and real.
1. Cozy Cat Nap in Soft Light
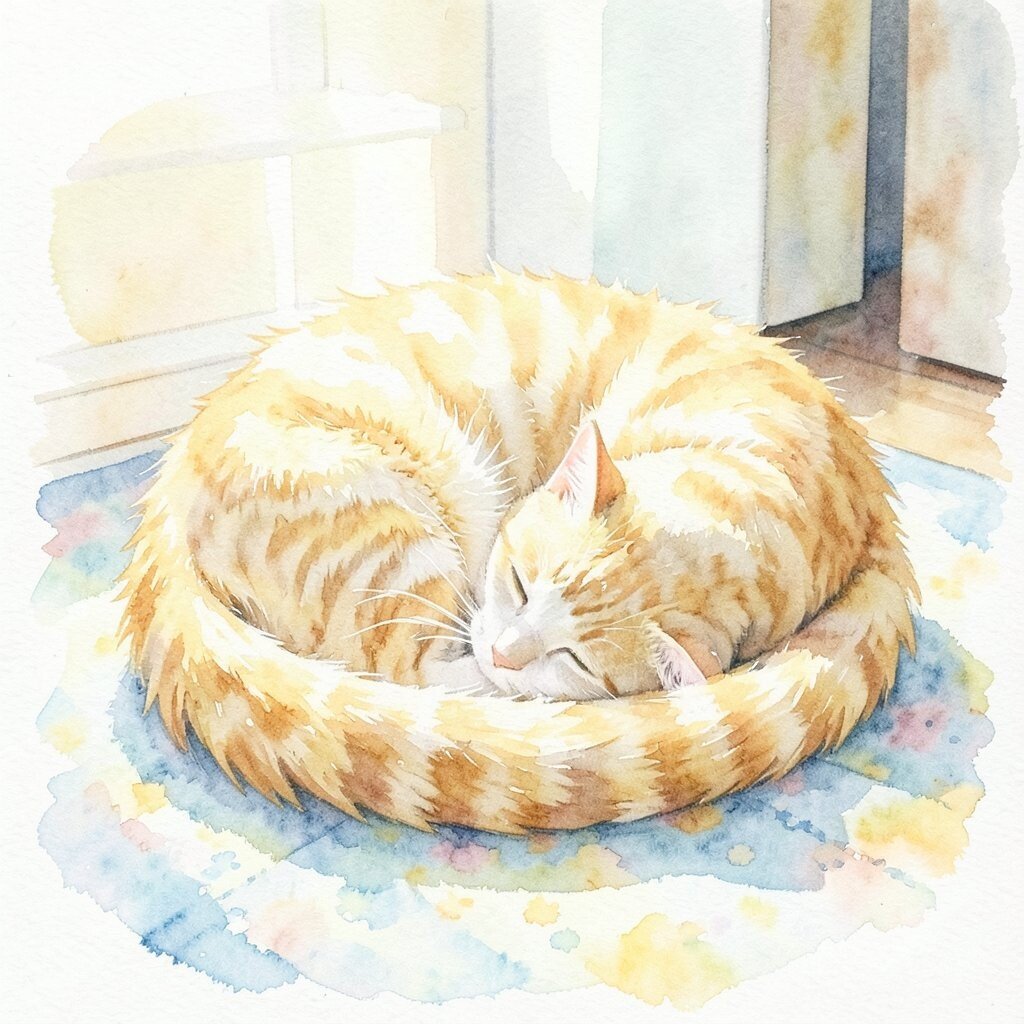
Paint a cat curled up on a sunny rug. Use light yellows and pale blues to show warm light on the fur. Keep the edges a bit fuzzy so the fur looks calm.
This idea helps you practice soft washes. It can also be a fun way to add skin tones and fur tones without heavy outlines. Try a wet-on-wet method so the colors blend like real light.
For cost, you can use a small set of watercolors and just one brush. Use paper that can handle water, like watercolor paper if you have it. A good trend right now is making gentle, light scenes with low contrast.
2. Dog Portrait with Loose Fur Marks
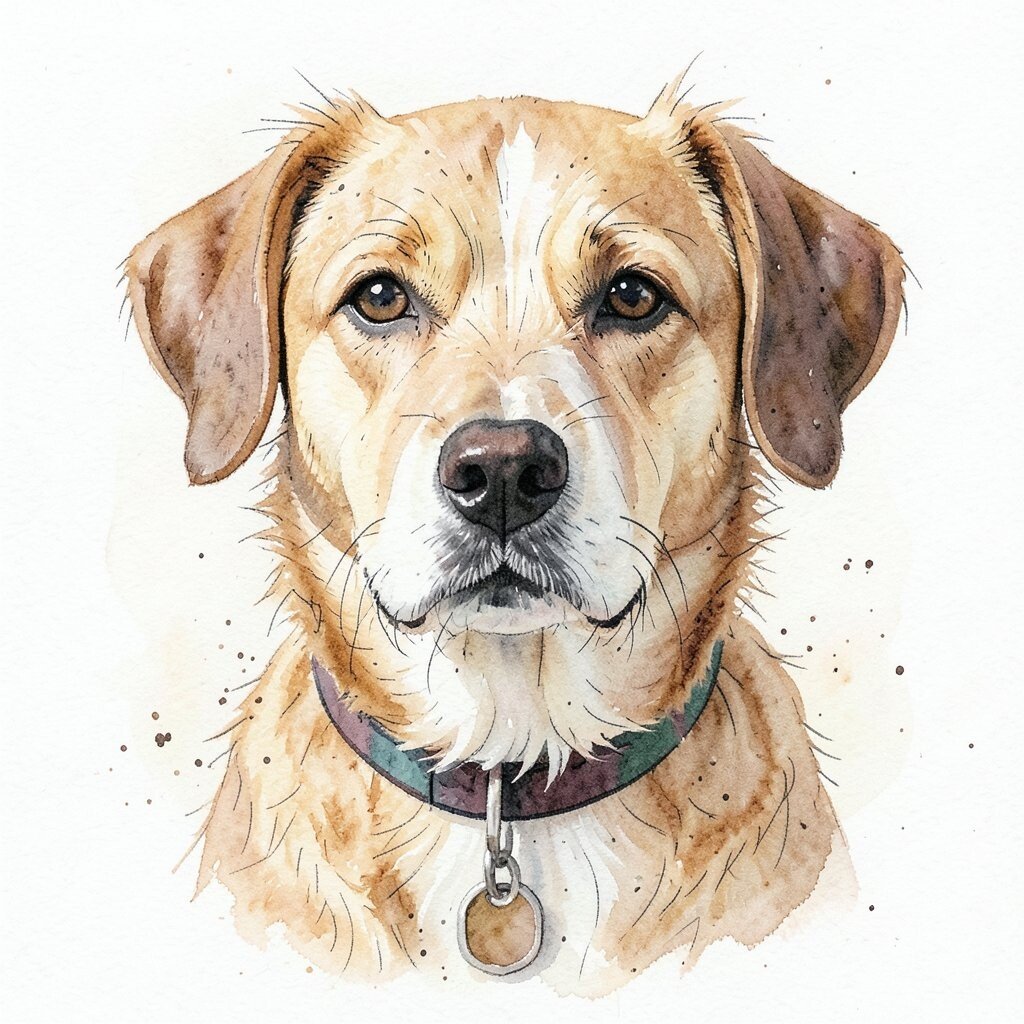
Choose one photo of your dog and focus on the face. Add loose lines and tiny dabs to suggest fur. Keep the background simple so your pet stands out.
This helps your hand learn control. It also shows how watercolor can look lively without drawing every hair. If you want more detail, add a few darker marks around the eyes and nose.
To personalize, paint a collar color you like or add a small tag shape. You can keep the palette small by using just browns, creams, and one dark color. Many artists now use loose marks to make fur feel natural.
3. Watercolor Fishbowl with Bright Fin Colors
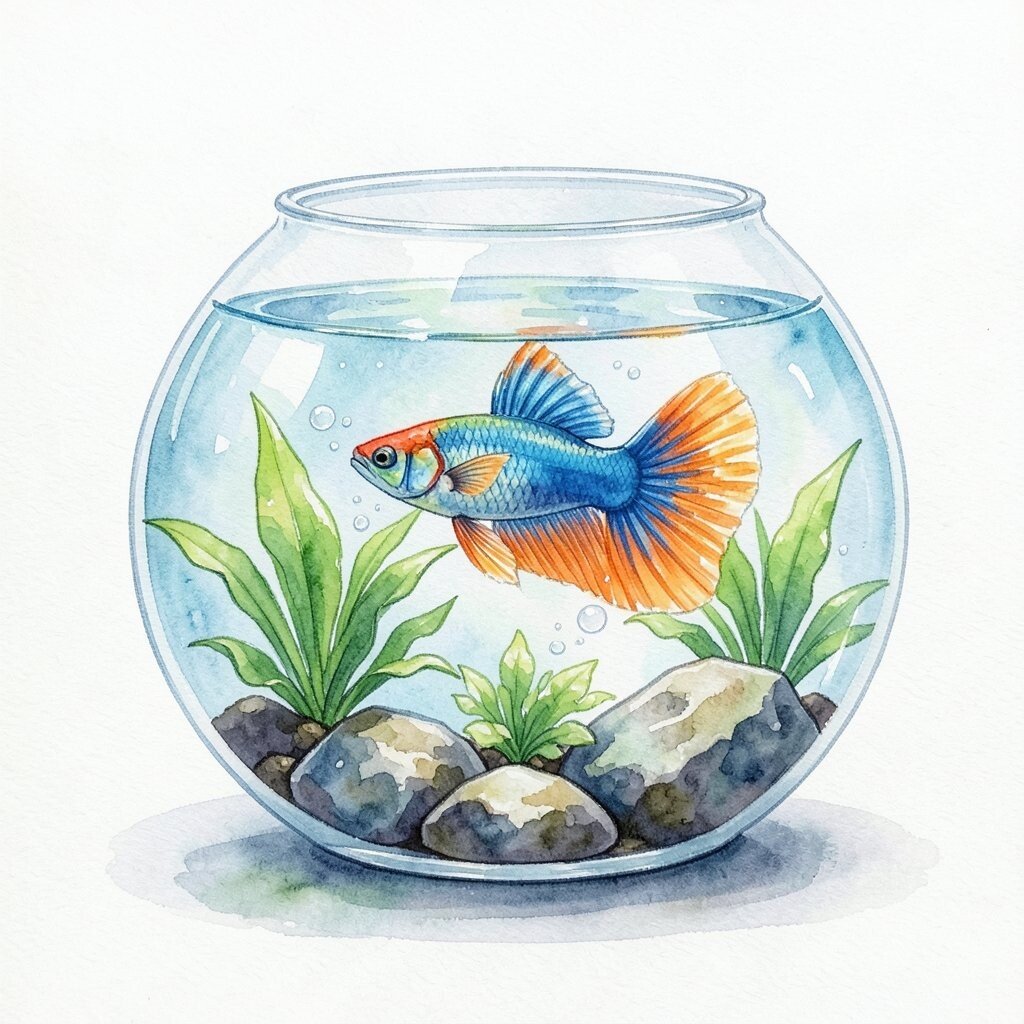
Draw a round fishbowl shape and add a few plants and rocks. Paint bubbles with thin white space, not white paint. Use bright greens, blues, and warm orange for the fins.
This idea teaches you how to paint glass and reflections. It can also help you work on color layering without overworking. Try a clear wash first, then add darker shadows under the plants.
It can cost less than you think because you only need a few colors. Use a small brush for the fish outlines and a larger one for water. A current trend is painting simple glass objects with clear highlights.
4. Bird on a Tree Branch with Calm Colors
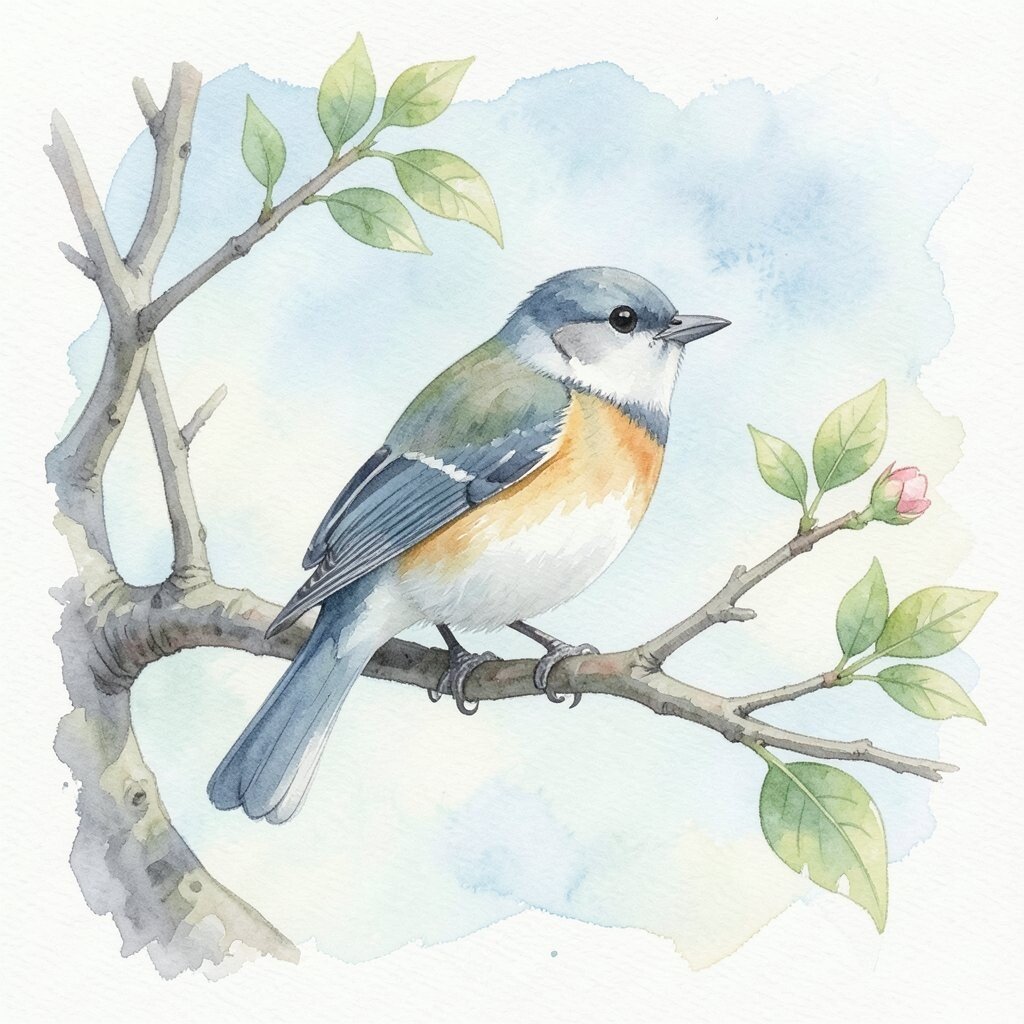
Pick a bird you like and paint it on a bare branch. Use soft grays for the branches and gentle greens for the leaves, even if there are only a few. Keep the bird body rounded and simple.
This helps you learn shape first, then color. You will get better at mixing colors for wings and tail feathers. Use a light wash for the sky behind so the bird feels closer.
Personalize it by adding a tiny flower bud or one leaf on the side. This can fit any budget because you can use a limited palette. Many people like this kind of calm nature scene in watercolor right now.
5. Hamster with Soft Cheeks and Tiny Paws
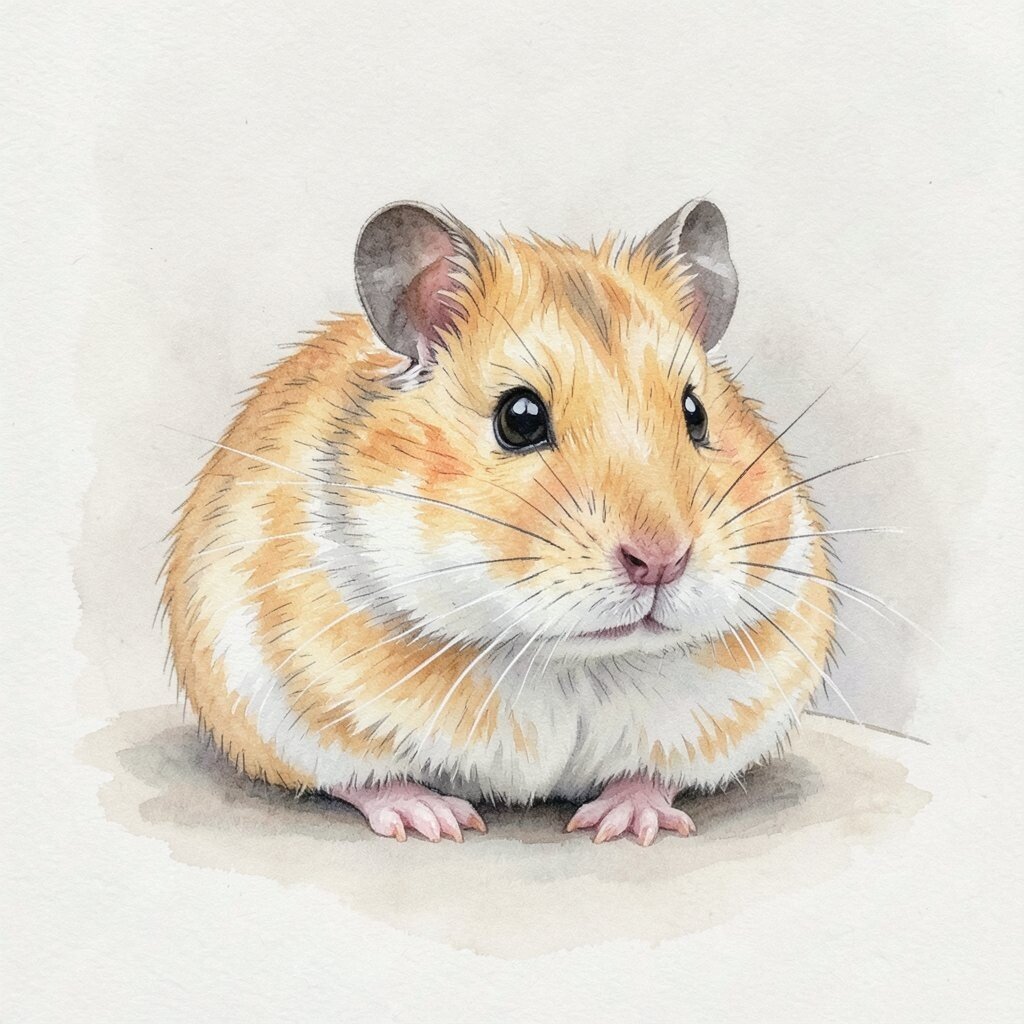
Paint your hamster sitting or curled in a small corner of the page. Use light creams for the face and add warm shadows under the cheeks. Use small, quick marks for the tiny fur texture.
This idea is great for learning highlights. It also helps you get comfortable with small subjects. If the fur looks flat, add thin layers of color where shadows would be.
To keep cost low, use a detail brush and a basic paint set. Add a simple background like beige or pale gray. A trend in pet art is making small pets look cute but still real.
6. Lizard Sun Bathing on a Rock
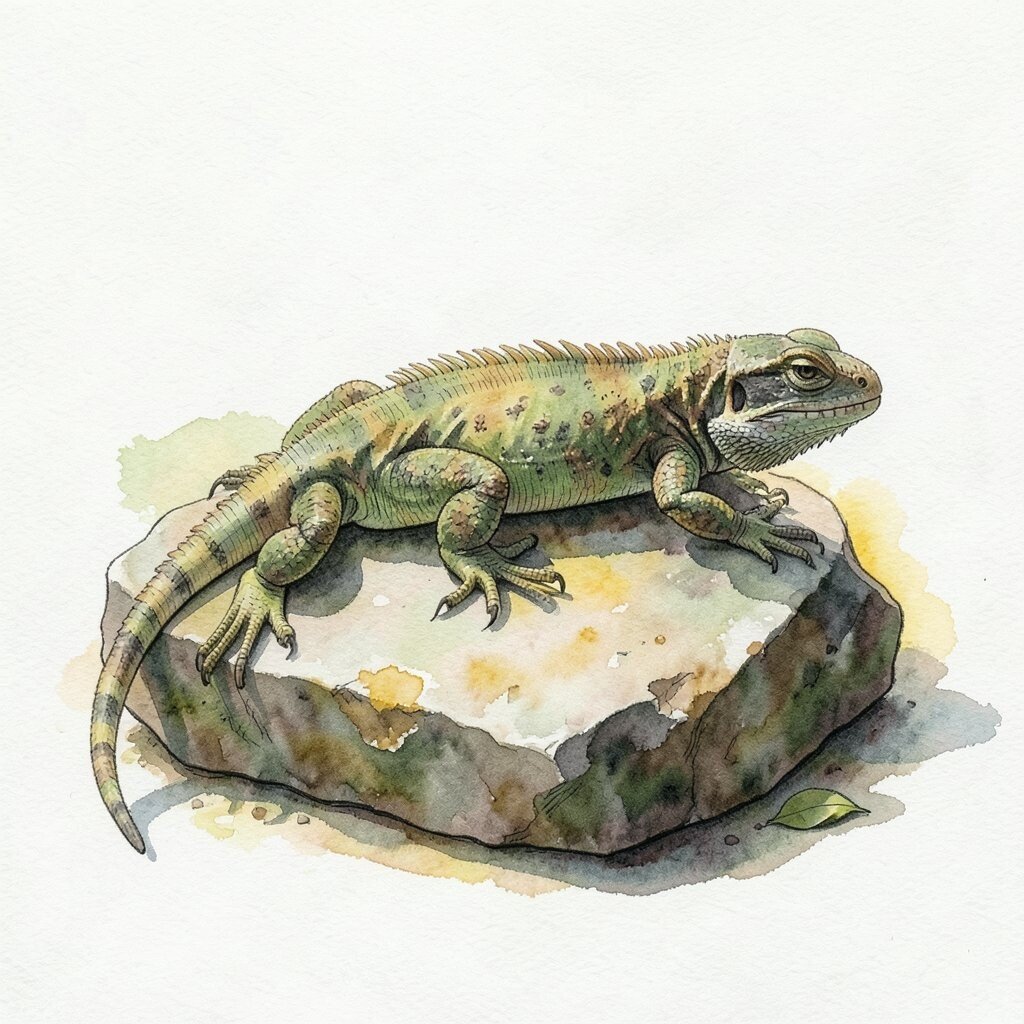
Sketch a rock and show a lizard resting on top. Use earthy greens and browns to paint the body. Add a warm yellow wash around the sunlit parts of the rock.
This helps you practice texture with careful layers. You can add small scale marks with thin lines, but keep them light. Using a few darker spots can make the form look round.
Personalize it by adding a small leaf or a tiny shadow from a plant. You can stay on budget by using greens, browns, and one dark mix. Right now, many artists like earthy scenes with clear light and shadow.
7. Rabbit in a Garden with Gentle Washes
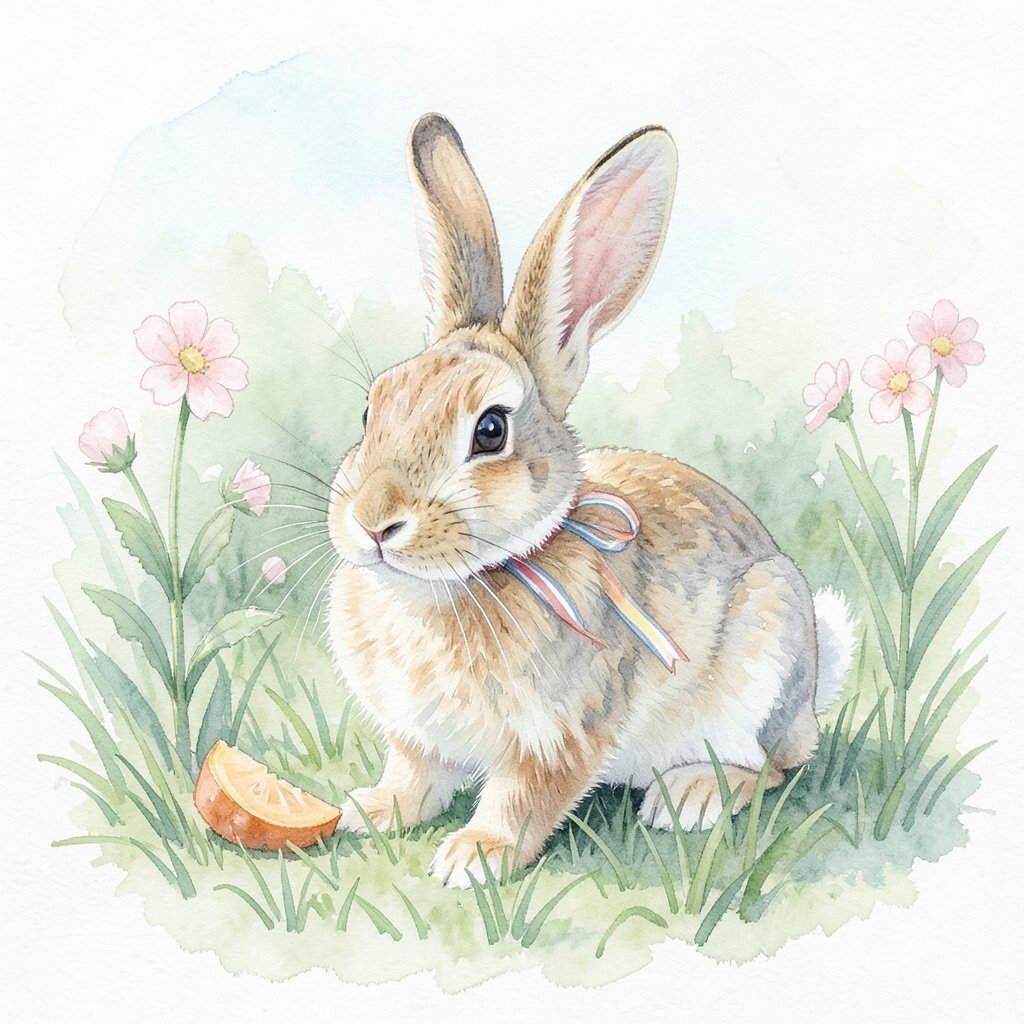
Place the rabbit in a simple garden scene with grass lines and a few flowers. Use soft greens and light pinks for blooms. Paint the rabbit body with light washes and let the paper show through for fur.
This idea helps you work with negative space, which means you let the paper create highlights. It also builds your color blending skills. Try to keep the grass loose and not too detailed.
For personalization, add a carrot slice near the rabbit or paint a ribbon color on a collar. It can be low cost because many garden colors come from mixing. A trend is using light, airy backgrounds that do not overpower the pet.
8. Turtle Shell Study with Simple Patterns
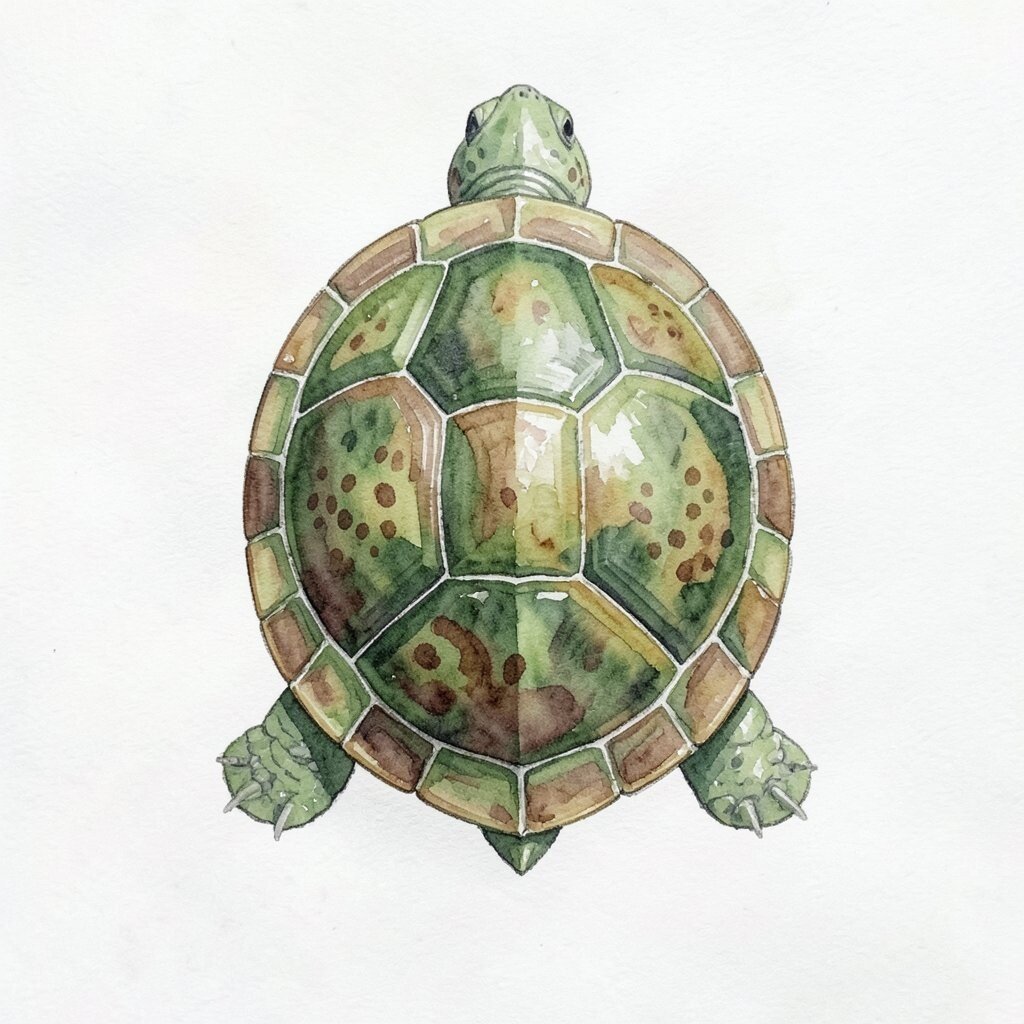
Draw the turtle shell with a calm, centered shape. Use green and brown and add a repeating pattern. Keep the pattern simple so the shell looks clear.
This helps you practice pattern and shape. It also lets you show structure in watercolor without heavy lines. Use a slightly darker wash in the grooves to make the shell look deep.
Personalize it by using your turtle’s real shell colors or adding a small spot pattern. You can keep cost low with only a few greens and browns. Many pet painters now focus on one clear detail, like the shell, as the main subject.
9. Cat Face Close-Up with Eye Catch Details
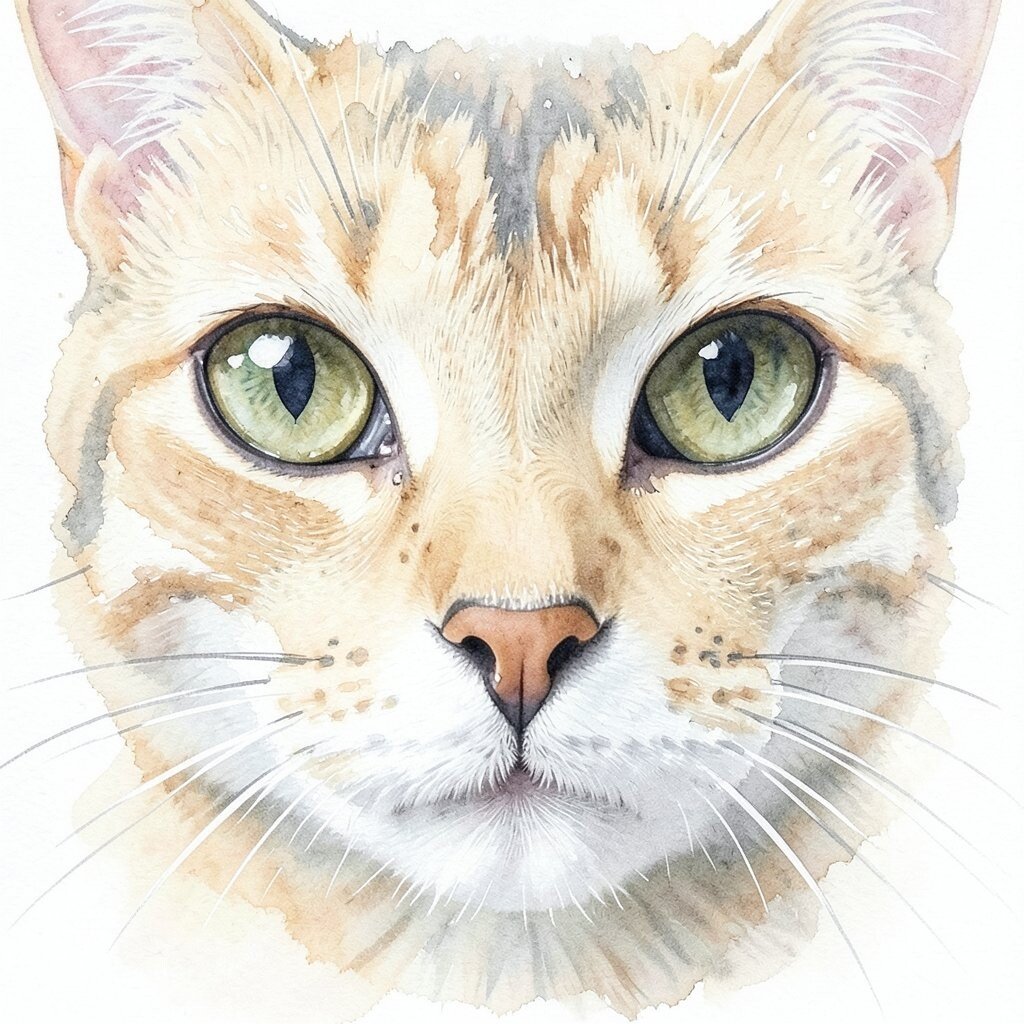
Paint a close-up cat face and focus on the eyes and whiskers. Use light washes for the face and add darker color around the eyes. Keep whiskers thin and leave clean white space.
This idea is helpful if you want to improve portrait skills. It also helps you learn how to control paint when it gets watery. Try adding the darkest parts last so the eyes do not look dull.
Personalize by painting the eye color as close as you can. Costs can stay low because you only need a few key colors and good paper. A trend is doing tight crops and letting the rest of the page fade.
10. Dog Leash Scene with Motion and Warm Colors
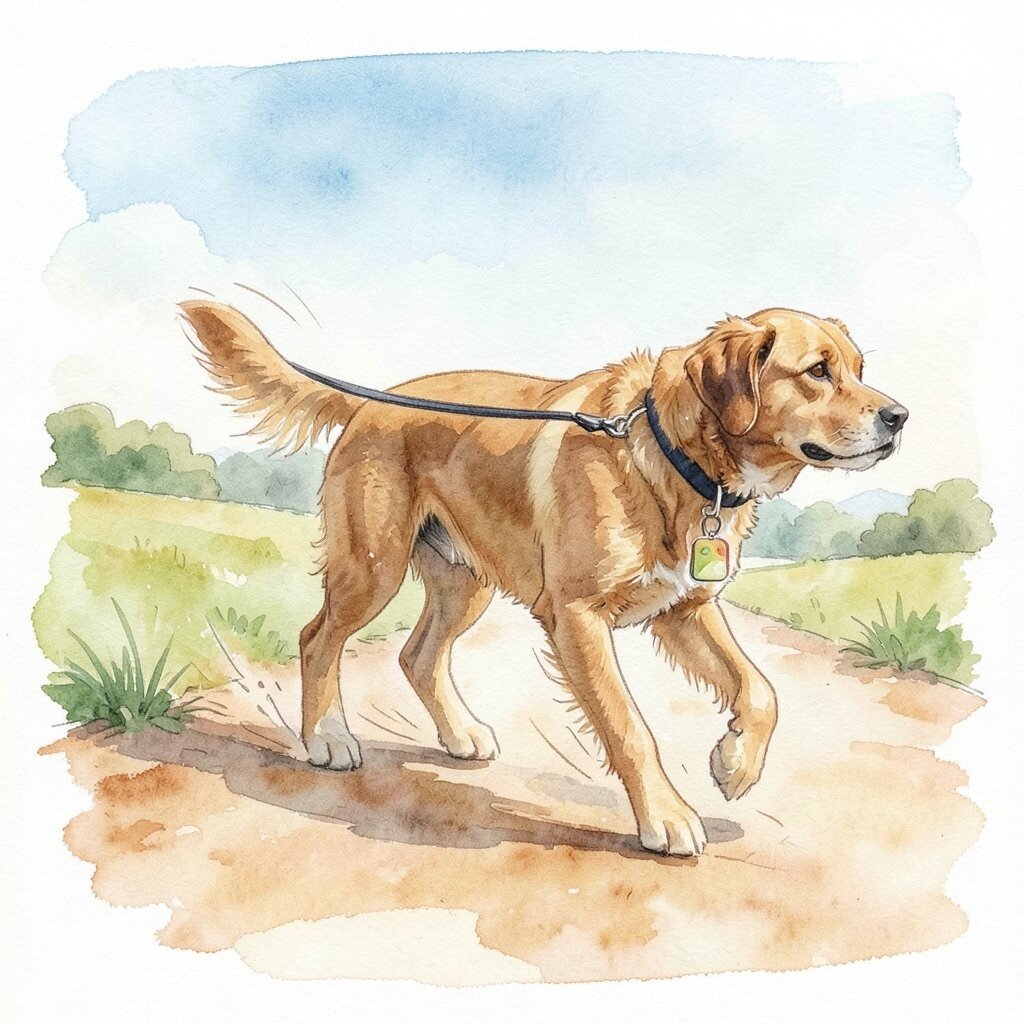
Sketch your dog walking with a leash and a simple path. Use warm browns and soft greens for the ground. Paint the leash line and then add light motion marks around the paws.
This helps you show movement with simple shapes. It also teaches how to keep lines light in watercolor. If your dog looks stiff, add a few curved strokes to show the body angle.
To personalize, add a tag color or a small charm shape on the leash. Keep cost down by using a limited palette for ground and sky. A current trend is showing pets in everyday life moments, not only still portraits.
11. Bird in Flight with Soft Feather Blends
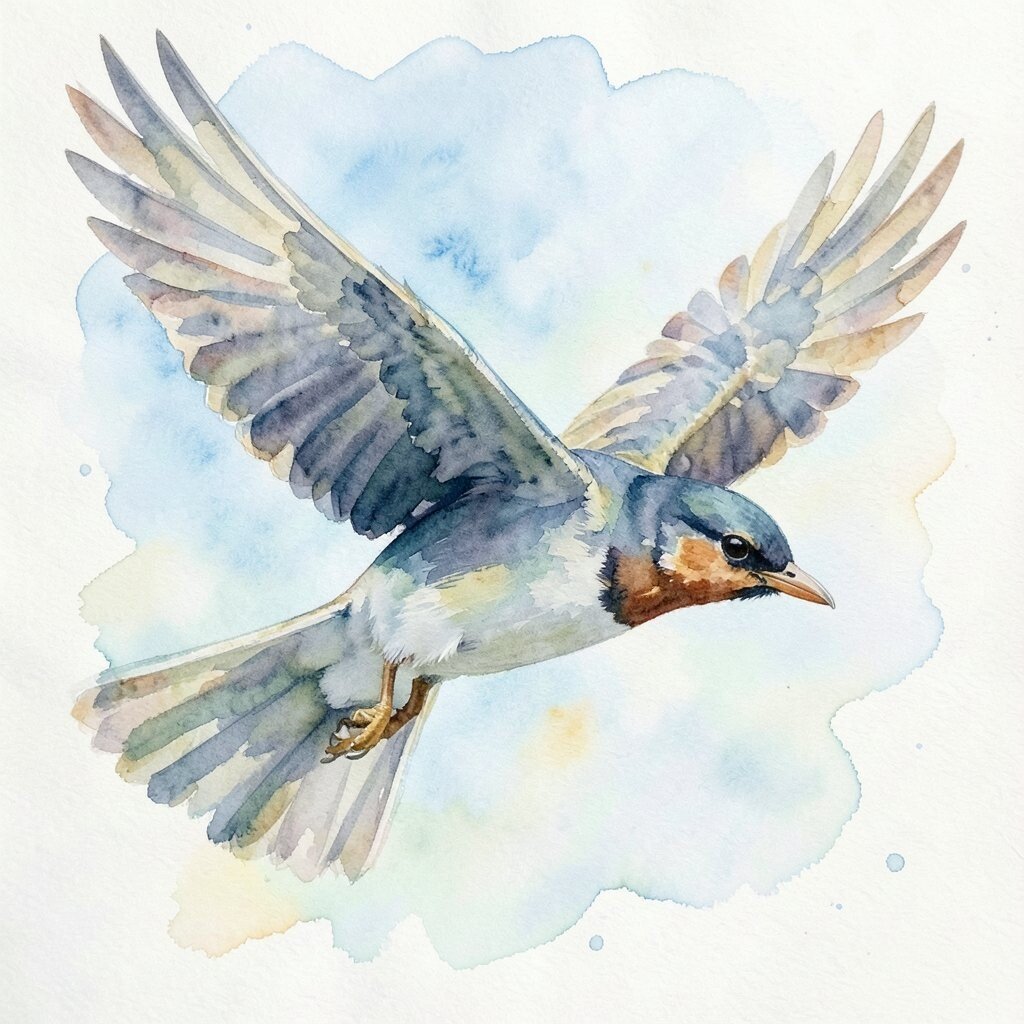
Paint a bird flying with one wing forward. Use a light sky wash and then paint the bird in two or three main color tones. Add soft feather shapes instead of drawing every feather.
This idea builds confidence with bigger shapes. It can also help you learn how to keep the paint flowing on the page. Try to keep the body darker and the wings a bit lighter for shape.
Personalize it by using colors from your favorite bird photo. It can fit most budgets since you can mix colors from basic paints. Many artists now like airy motion scenes with smooth watercolor blends.
12. Fish Swims Under Water with Color Layers
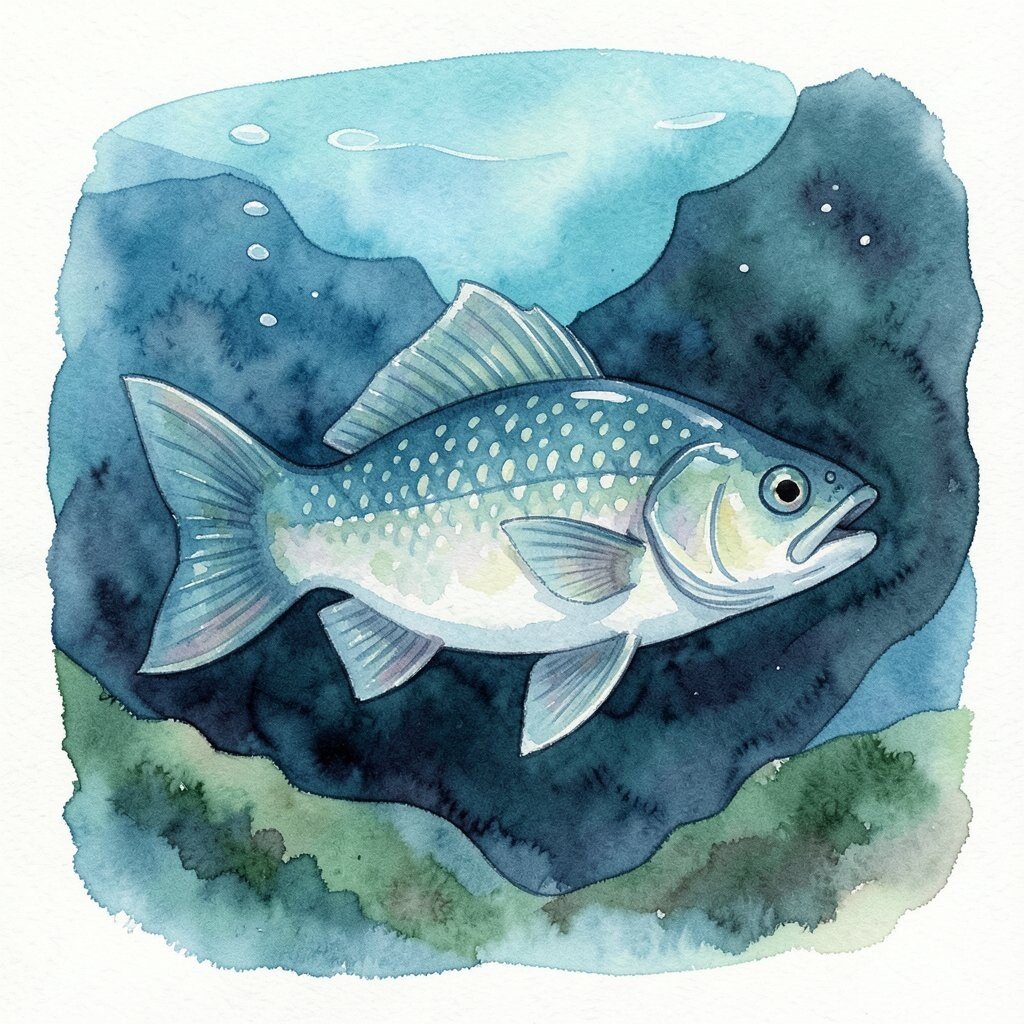
Paint a fish and show it moving under water. Use layered blues and greens to create depth. Add darker shapes behind the fish to show the water getting deeper.
This helps you practice layering and spacing. It also teaches you how to make distance with lighter colors. Try a few small highlights near the fish body so it looks shiny.
For personalization, add a favorite fish pattern or simple dots on the fins. Costs stay low because water scenes usually use a small set of colors. A trend is using simple underwater backgrounds with bold fish shapes.
13. Pet Portrait from a Favorite Toy
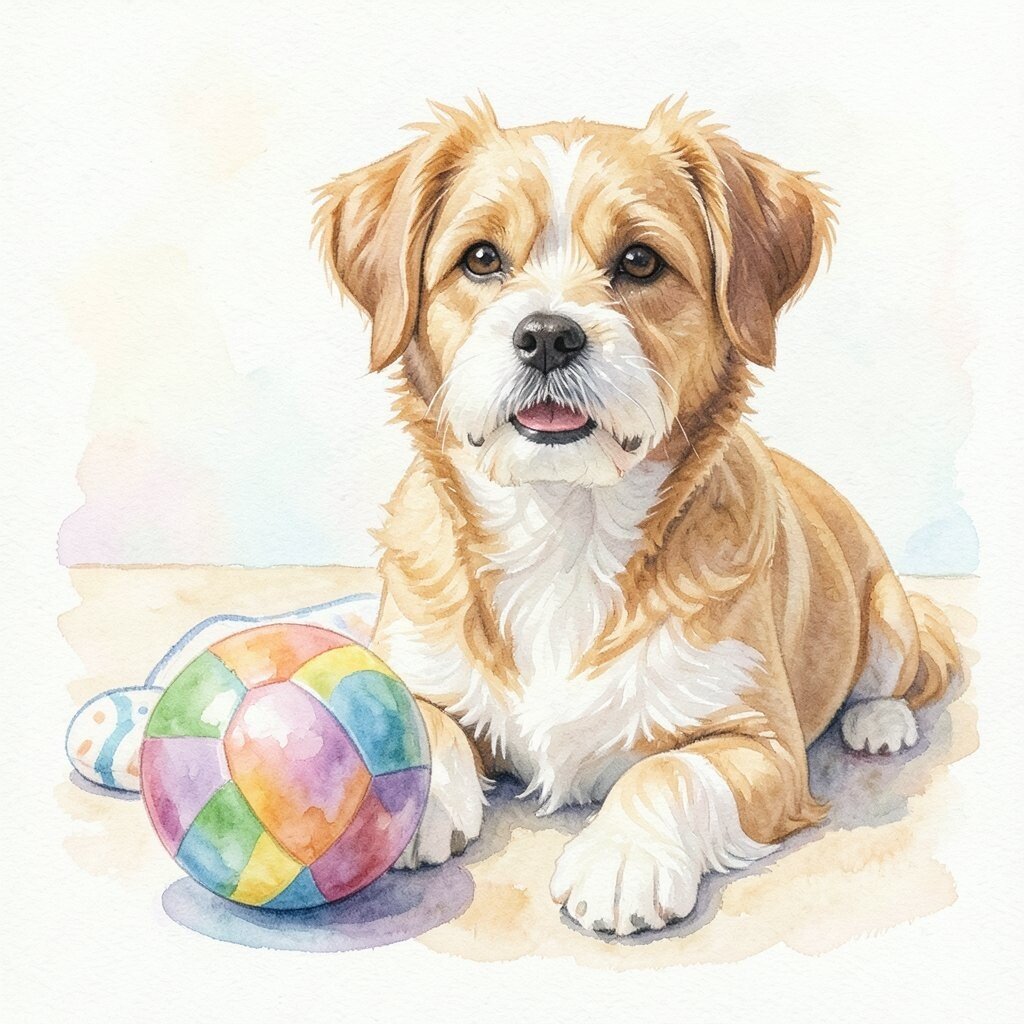
Pick a favorite toy your pet loves and paint it near the pet. A ball, chew toy, or small blanket can add a clear story. Use bright but soft colors so the toy fits with the pet’s colors.
This idea helps your art feel more personal. It also gives you extra shapes to paint, which can make the piece more fun. Try to match the toy light to the light on the pet face.
To keep cost down, use colors you already own and do not buy new brands just for this. Add a little shadow under the toy to make it look placed. A trend is making pet art feel like a real moment at home.
14. Dog with Bandana in Simple Bold Color
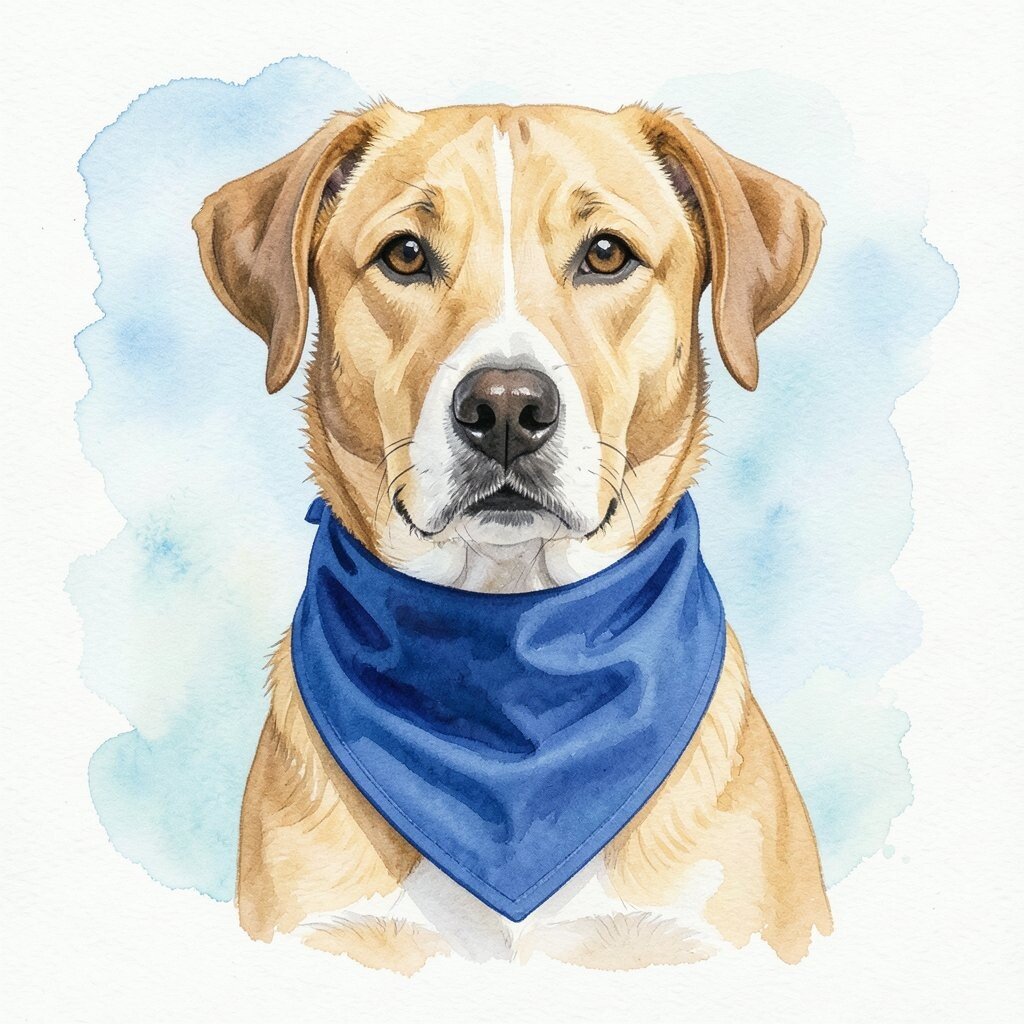
Paint a dog wearing a bandana around the neck. Use one bold color for the bandana and one calm color for fur. Add light folds with thin washes so the fabric looks soft.
This idea helps you learn how to paint fabric shapes. It also makes it easy to make a strong focal point. Keep the fur details simple so the bandana stays the main pop.
Personalize by painting a color pattern that matches your dog’s bandana. Cost is usually low because you can limit the bandana to a couple of colors. A trend is clean, bold accessories with simple watercolor backgrounds.
15. Cat with Whiskers and Watercolor Background Dots
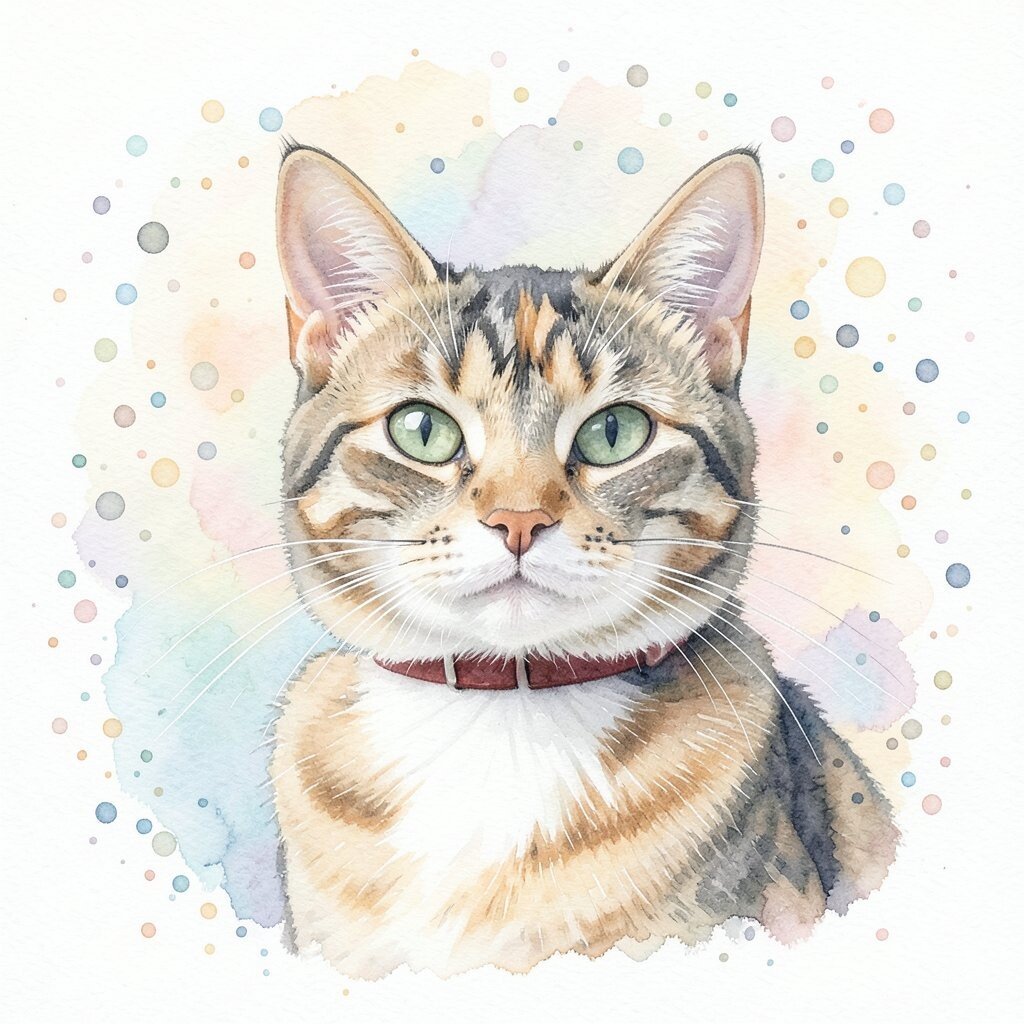
Paint a cat and keep the whiskers as thin marks. Then add a background with small dots or light circles. Use a mix of soft colors so the dots look gentle, not loud.
This idea helps you mix subject focus with a playful background. It also teaches you to control how much texture you add. Use lighter dots near the cat and darker dots far from it.
Personalize by matching dot colors to your pet’s fur or collar. This can be budget friendly because dots need only simple mixes. Many people are enjoying fun, pattern-like backgrounds in watercolor pet art.
16. Pet Footprints with Colorful Wash and Small Details
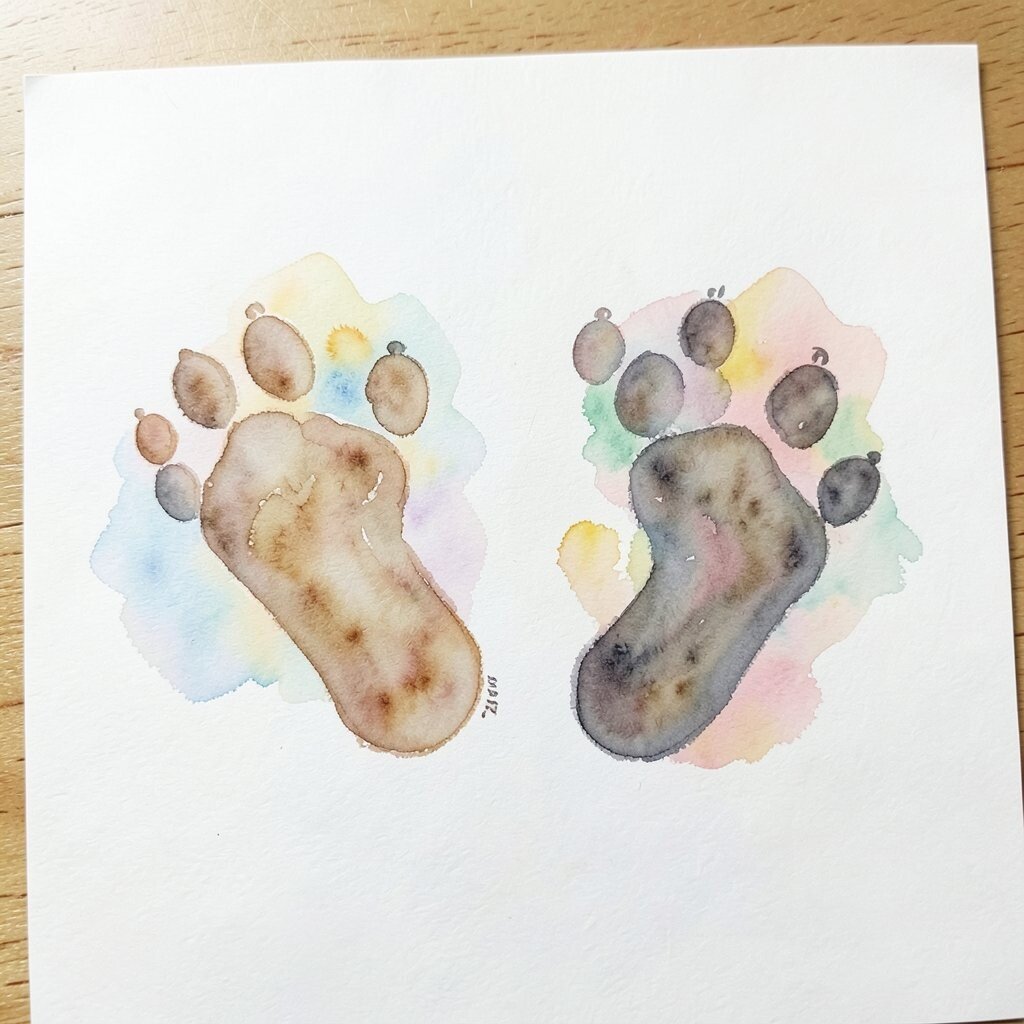
Paint a set of paw prints on paper and add light color washes behind them. Use soft browns or gray for prints, then add small hints of color. You can add tiny tail or fur marks to show where the pet came from.
This idea helps you practice simple shapes and spacing. It can also be a low-detail way to honor a pet without a full portrait. Try adding one or two paw prints darker so the set looks layered.
Personalize it by using the pet’s actual paw color from photos. It costs less because you can do it with basic paints and one brush. A trend is making pet art with small symbols like prints, tags, and simple icons.