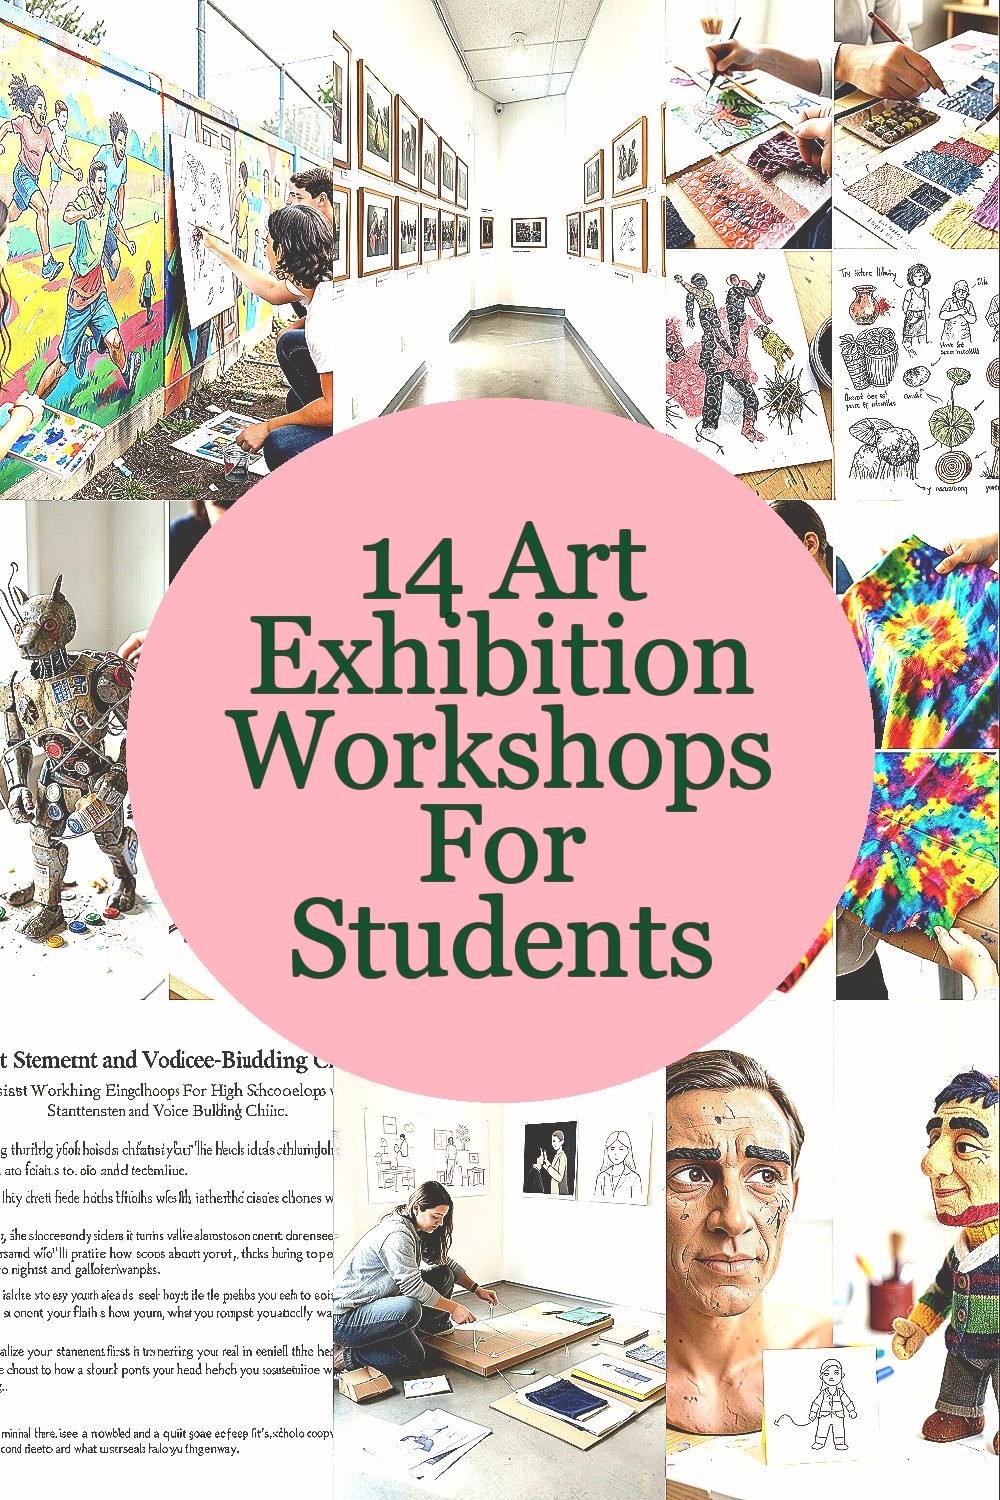
Every art show is a story you can step into. These workshops help you shape your own voice with hands-on making.
1. Community Mural Lab
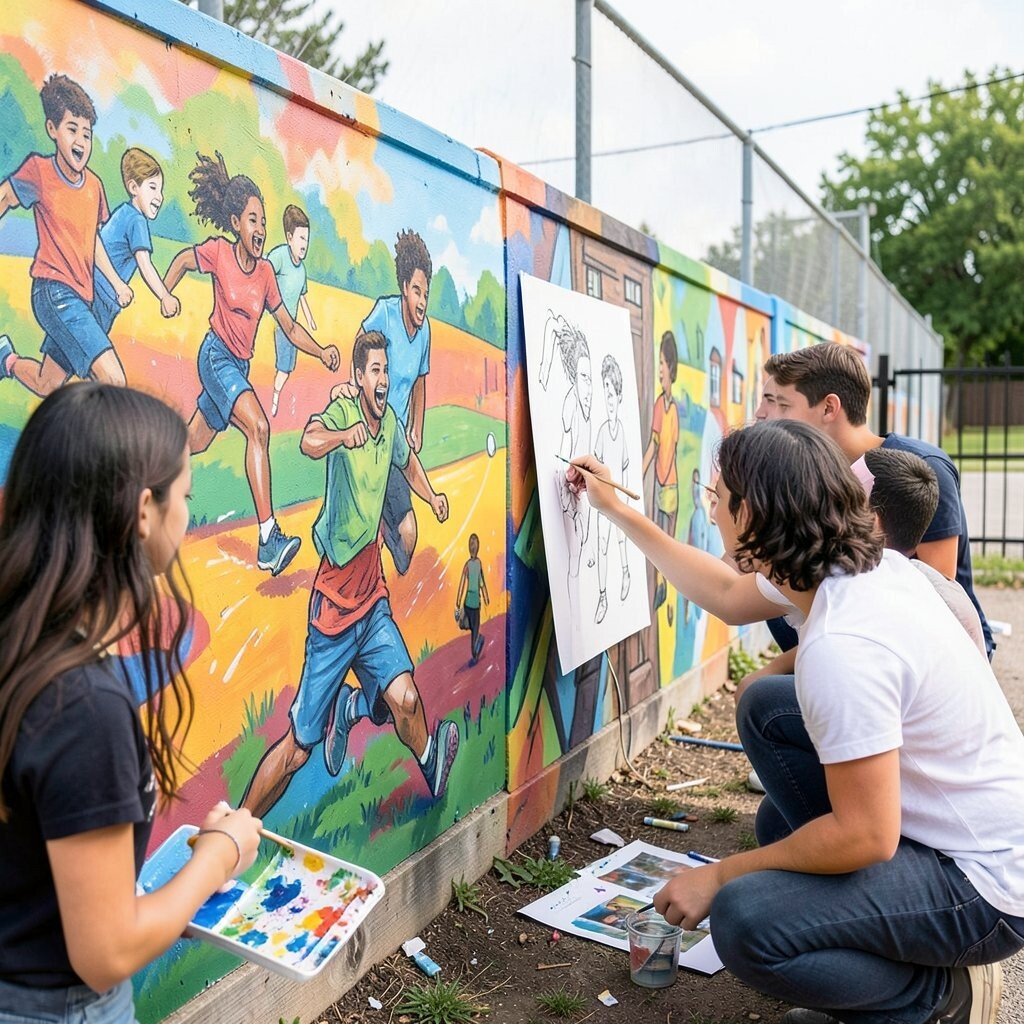
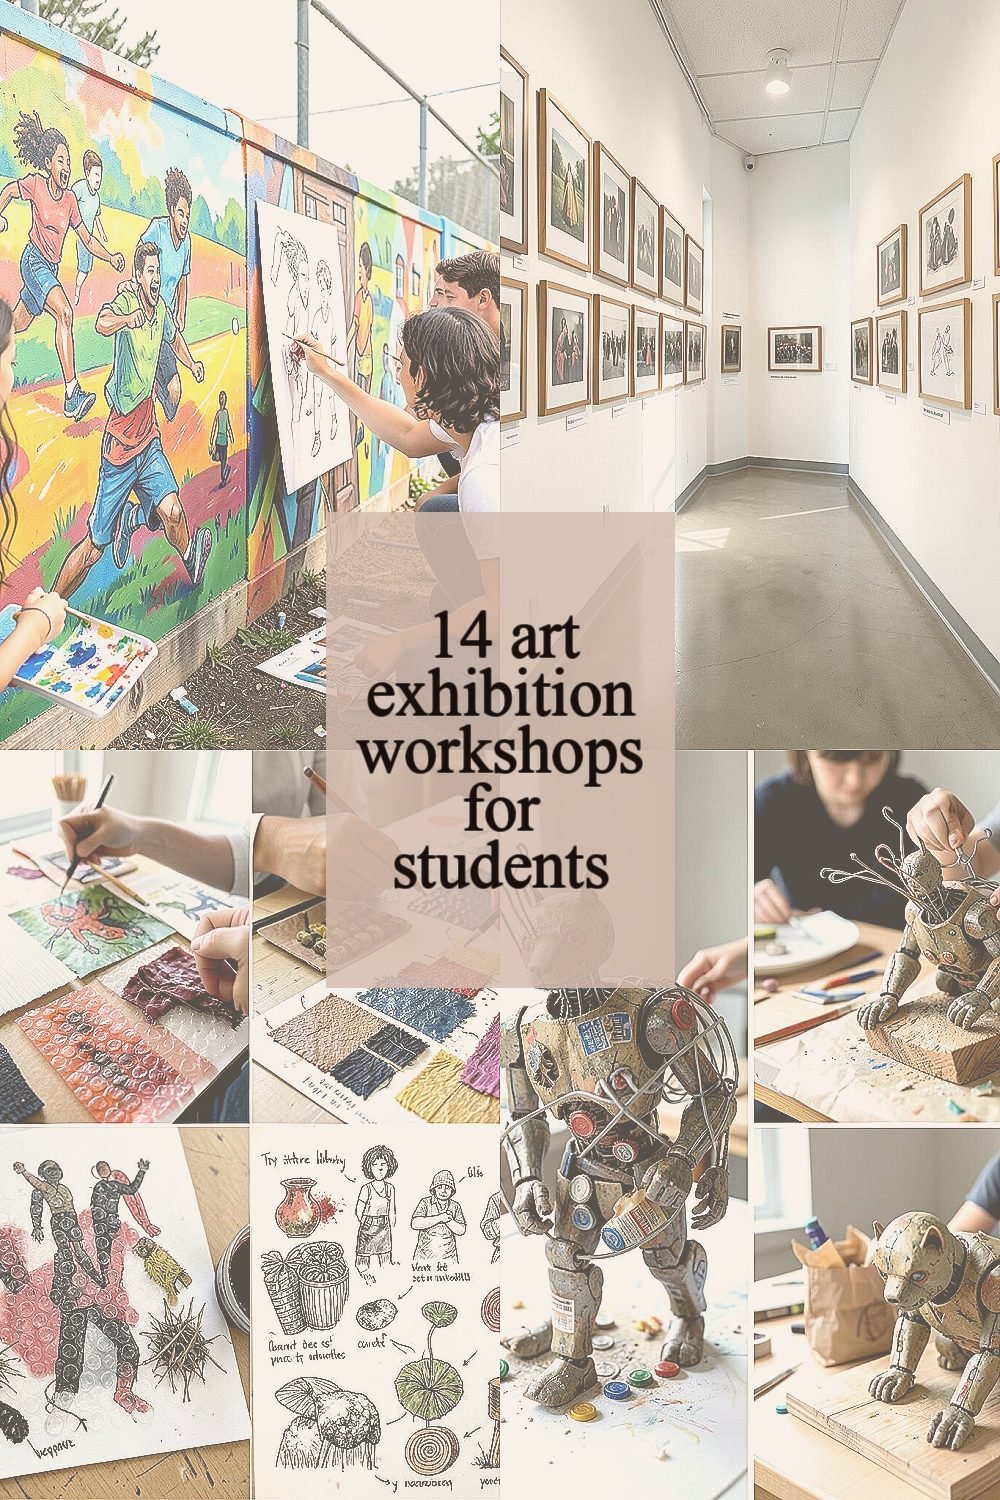
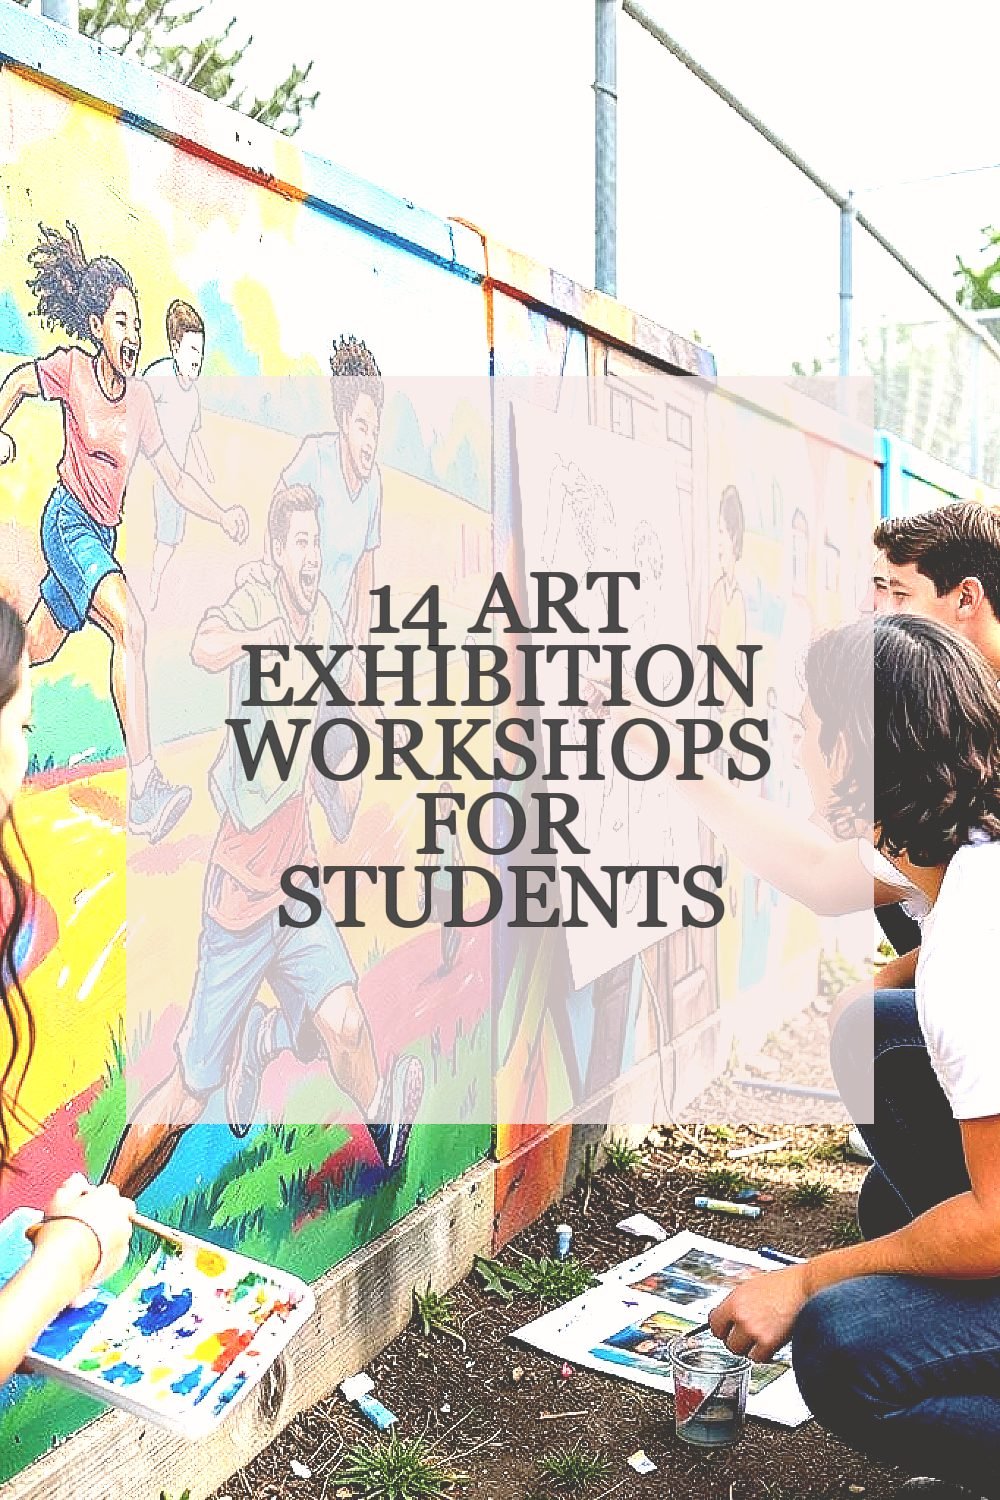
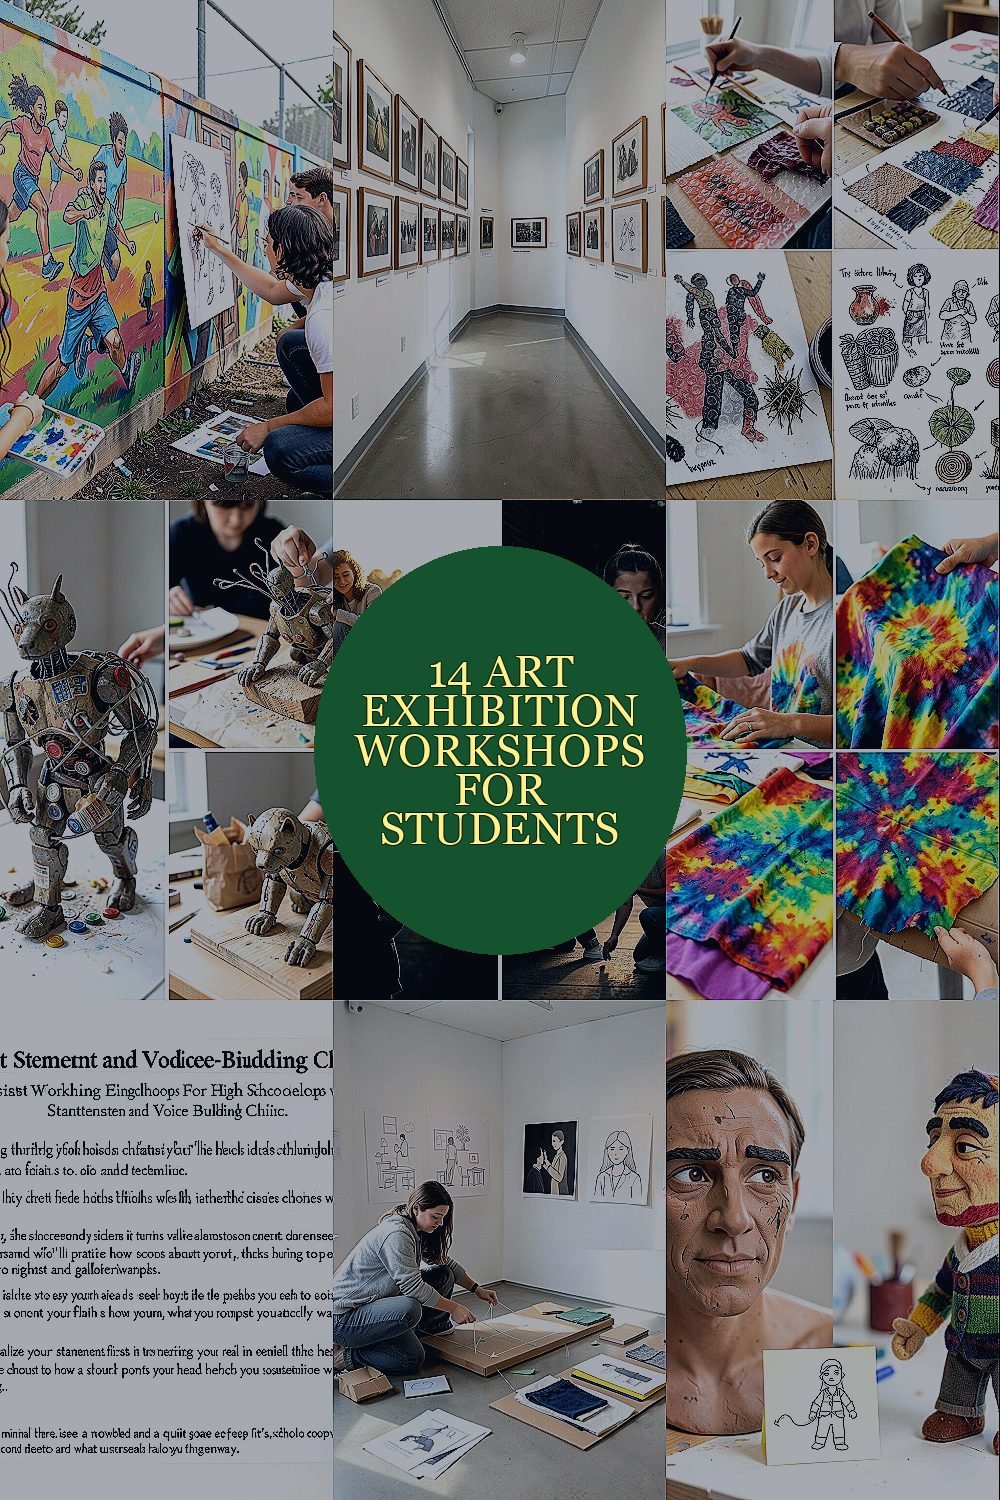
You’ll paint a large wall panel or outdoor fence section with classmates, and the surface will start to feel like a shared canvas. Bright shapes, quick sketch marks, and layered colors will build a visual rhythm you can see from across the room.
This workshop helps students work as a team while still making individual choices, which builds confidence. You learn how to plan a composition, transfer a sketch, and prepare the wall so your paint lasts longer.
Bring a few reference images printed in color so your palette feels personal from the start. Choose one theme that matters to you, like sports momentum, family memories, or local history, and design around it.
2. Museum-Style Curator Workshop

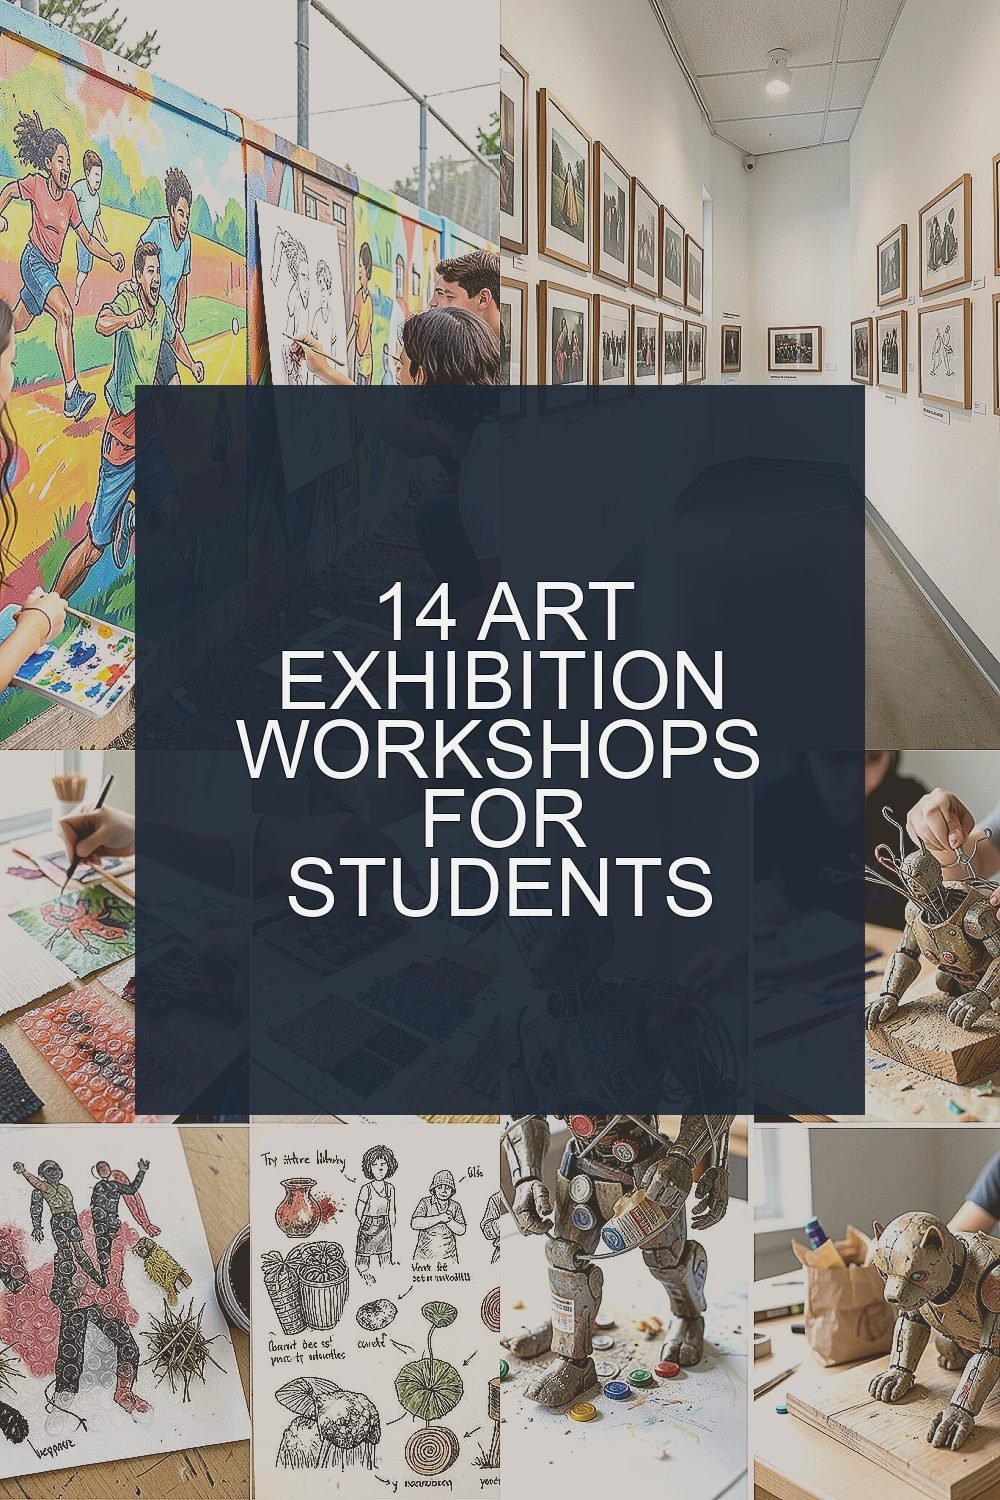
You’ll practice “curating” by placing artworks into a mini exhibition layout you design yourself. Rows of framed pieces, labels you draft in your own words, and an overall pathway that guides the eye will make your room feel like a real gallery.
This kind of workshop strengthens your communication and helps you notice details like size, spacing, and lighting. It also makes research feel creative, since you’ll write object stories that match the artwork mood.
Pick a small set of works and give each one a clear purpose, then connect them with a common thread you can explain. Use simple materials for labels such as card stock and a neat font, and double-check how readable your text is from a few steps away.
For cost control, use your own photos, print drafts at school, and borrow frames if you need them. A current trend in youth exhibitions is showing process too, so include sketch pages or short captions about decisions you made.
3. Printmaking From Everyday Textures
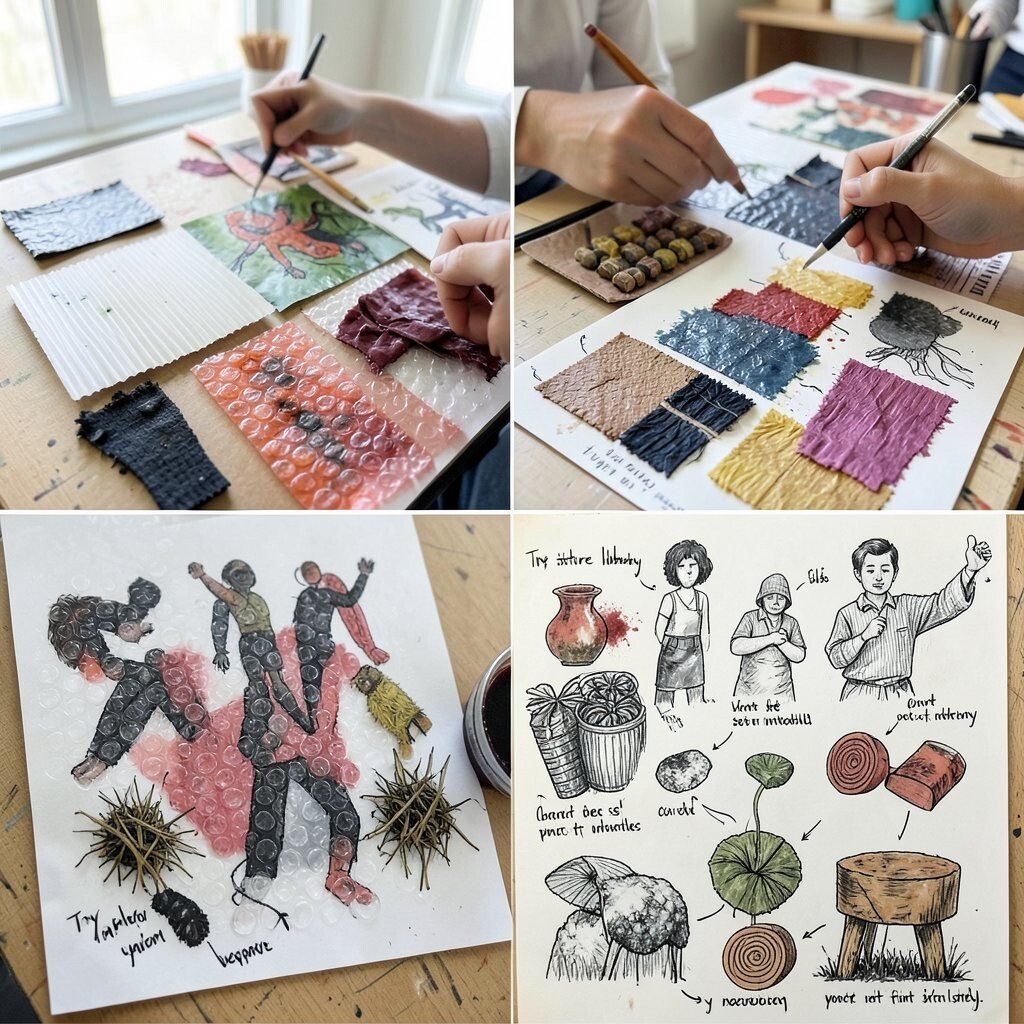
You’ll collect textures like bubble wrap, corrugated cardboard, fabric scraps, and rubber stamps, then use them to create repeated patterns. The ink will look bold at first, then deepen as you layer, leaving crisp lines where pressure hits hardest.
Printmaking benefits students who like practical results because every step produces something tangible you can hold. It also teaches experimentation, since one adjustment in pressure or ink thickness can change the entire look.
Try making a “texture library” by labeling scraps with quick notes about what they feel like, so your next print set stays intentional. Choose a color scheme based on something you wear often, and match your prints to your personal style.
To manage cost, use non-toxic inks if available, and consider monoprint paper instead of expensive print portfolios. Many art classrooms now use low-waste approaches, so save your test sheets and bind them into a small zine.
4. Sculpture With Found Materials

You’ll build a small sculpture from found objects like wire hangers, bottle caps, wood offcuts, or old packaging. As pieces connect, the shape will start to look purposeful, like an animal, a robot, or a totally new character.
You’ll learn to think in 3D, including balance, weight, and how shadows change with form. Students benefit from getting over “mess fear” because you can make adjustments as you go without starting over.
Choose a source of inspiration that feels close to you, such as music, nature, or an emotion you want to show in shape. Keep a bag of supplies in one place, and photograph your build steps so you can remember what worked.
5. Photography With Light and Shadow Prompts
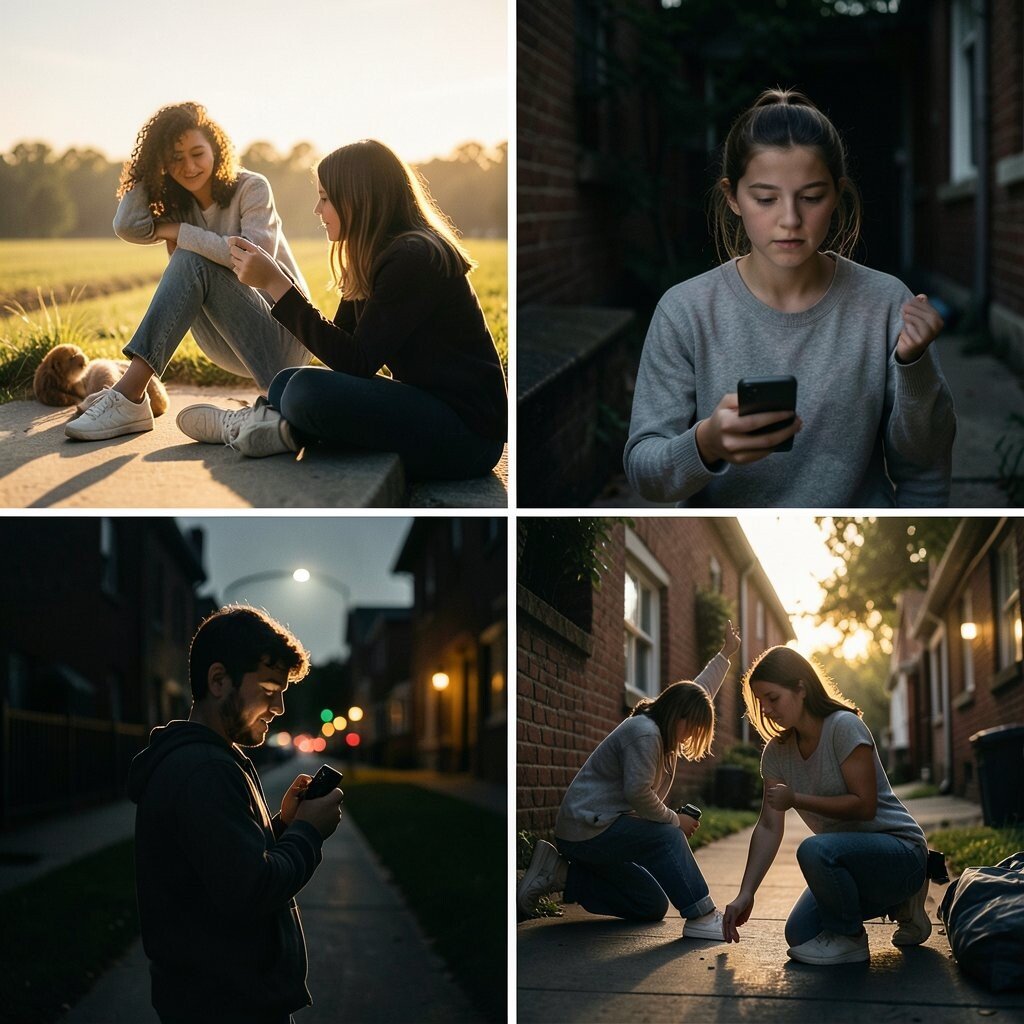
You’ll learn how to create mood by controlling light using phones, small lamps, or outdoor shade. You’ll notice crisp silhouettes, soft gradients, and high-contrast scenes that look dramatic even when they’re shot in your own neighborhood.
This workshop helps students develop visual thinking, because each prompt pushes you to make a deliberate choice. You also build practical skills like composing with rule-of-thirds and adjusting exposure so your images look clean.
Pick a theme such as “late afternoon energy” or “tiny adventures” and shoot a series instead of one picture. Use one editing app consistently, and try simple edits like warming tones or adding a slight vignette to keep your style unified.
For cost considerations, you only need steady light and a phone you already have, plus optional inexpensive clip-on filters. A current trend is short photo essays, so plan a sequence that tells a story from start to end.
6. Fabric Dye and Pattern Studio
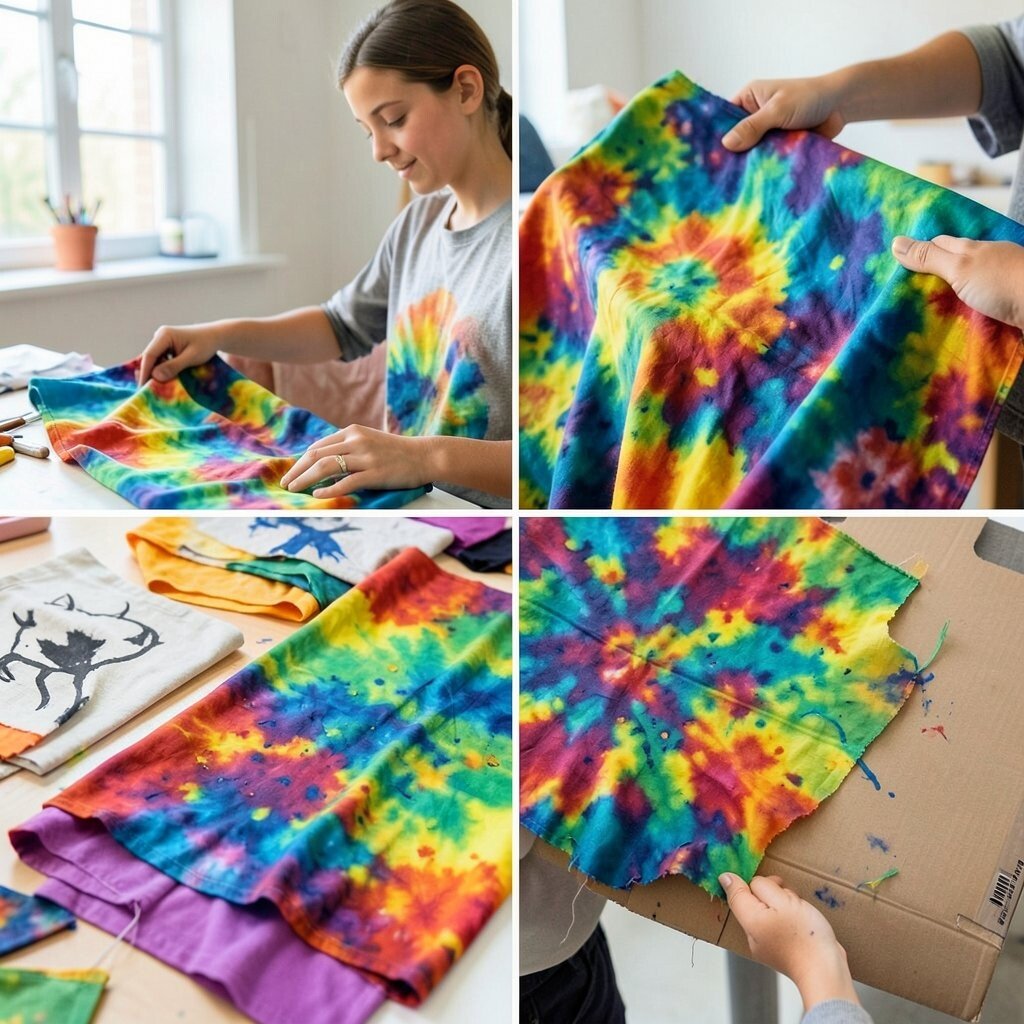
You’ll turn plain cloth into vivid fabric using dye, tie techniques, or stencils cut from cardboard. The fibers soak color unevenly, creating swirls and bursts that look alive when you stretch the fabric.
You gain hands-on confidence with materials that behave differently every time, which makes each piece unique. It’s also a creative skill for practical items, since dyed fabric can become a banner, pillow cover, or art patch for a jacket.
Start by choosing two or three colors you truly love, then decide where the pattern should feel bold versus calm. Keep scrap fabric around for test swatches so you can learn how your dye reacts before using your final piece.
To keep costs down, borrow fabric or use old shirts you’re ready to retire, then wash and prep them carefully. Many student exhibitions now show wearable art, so plan how your fabric will appear in a display or even on your body.
7. Artist Statement and Voice-Building Clinic
You’ll write a short artist statement that matches your artwork, not your anxiety. Working through drafts, you’ll see your ideas get clearer as you connect feelings to specific choices like color, scale, and technique.
This workshop benefits students because it turns vague thoughts into concrete language others can understand. You’ll also practice how to speak about your work, which helps during open studio nights and gallery walks.
Draft in everyday words first, then revise so each sentence points to something you actually did. Personalize your statement by sharing a small real detail, like how a place sounds in your head or what you noticed while making.
Cost is minimal here, since a notebook and a quiet space are enough, and school computers can help with formatting. A current trend in youth exhibitions is transparency, so it’s great to mention your process and what surprised you along the way.
8. Design Thinking for Exhibit Spaces

You’ll plan how an exhibition room should feel using simple layout drawings and material samples. By moving paper cutouts around, you’ll see where viewers pause, where eyes travel, and how different heights change the mood.
This workshop builds practical planning skills, since lighting direction, wall color, and spacing all affect what people notice. It also helps students make thoughtful choices, turning art into an environment rather than a stack of objects.
Choose a “viewer journey” that fits your theme, like calm to bold, or mystery to clarity. Use inexpensive mock-up tools such as cardboard platforms, string for sightlines, and printed arrows to test flow.
For cost considerations, keep your prototypes small and use recycled paper, fabric swatches, and leftover craft supplies. Current trends in exhibition design often include interactive elements, so consider a simple prompt card that invites viewers to respond.
9. Clay Faces and Story Puppets

You’ll sculpt a face in clay and then pair it with a story puppet idea using paper, yarn, or simple fabric. The surface texture will show your fingerprints, and tiny features like brows and lips will make each character feel personal.
This workshop helps students understand expression and shape, which builds creative courage. It also gives you a playful bridge to art presentation, since puppets make an exhibition feel welcoming.
Personalize your character by giving it a “habit,” like always looking sideways, blinking slowly, or holding a symbol. Plan your color palette early, then decide how you’ll glaze or paint so your puppet matches your exhibition theme.
To manage costs, use air-dry clay if firing isn’t available, and borrow basic tools from the art room. A current trend is combining sculpture with storytelling, so include a short caption that explains what the puppet wants to say.
Keep a small sketch of your character silhouette on a sticky note, so proportions stay consistent from draft to final.
10. Mixed Media Collage With Newspaper Echoes
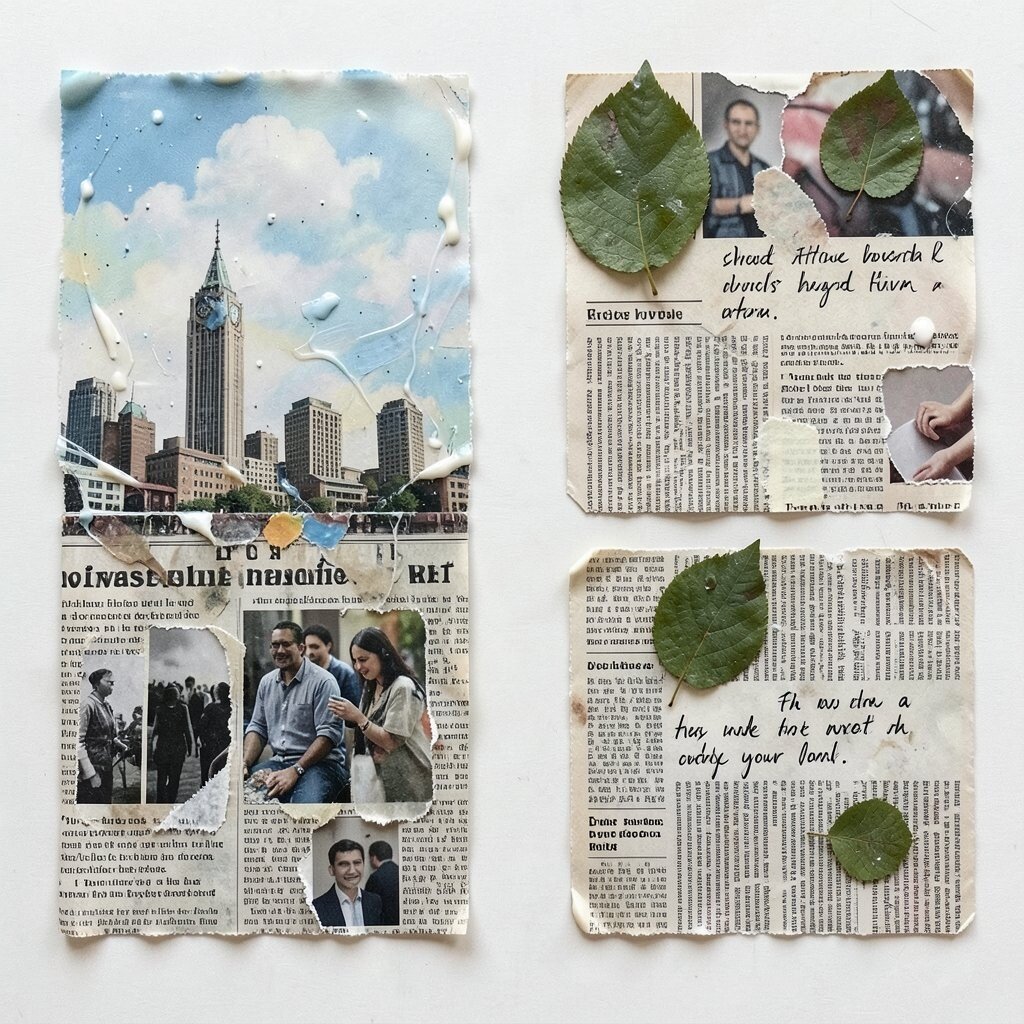
You’ll tear and layer paper using glue, gel medium, and paint to create collages that feel loud and thoughtful at once. The fragments create a collage skyline of textures, and the ink transfer from old headlines adds unexpected depth.
This workshop benefits students because collage teaches composition without needing perfection. You’ll learn how to balance busy parts with quiet spaces so the eye has somewhere to rest.
Choose a personal topic like school change, friendship, or a future dream, then gather materials that connect to that theme. Use personalization ideas such as adding a photo corner, a pressed leaf, or a handwritten sentence from your own journal.
For cost considerations, use recycled magazines and newspapers and print only a few images you can’t find. Many current exhibitions highlight “ephemera,” so showing torn scraps and process steps can add value rather than messiness.
11. Ink Illustration With Character-Driven Storyboards

You’ll sketch a character and then place it into a mini storyboard that shows action across panels. As you ink, lines will get bold where you commit, and softer marks will help your character feel alive.
This workshop helps students build narrative skills along with drawing confidence, because scenes require cause and effect. You also learn practical timing, like how many panels you need to show a moment without rushing it.
Start with one emotion and let it guide your pose, clothing shape, and facial expression. Personalize your storyboard with details from your own world, such as the music you play while drawing or the place you imagine after school.
To keep costs down, use existing sketchbooks and inexpensive black pens, then share markers with a partner if needed. A current trend is graphic art that blends humor and honesty, so don’t be afraid to include a funny moment.
12. Watercolor Field Notes and Small Sketch Journals

You’ll paint from observation using quick watercolor studies of leaves, sidewalks, classroom objects, or a view from a window. Each swatch will look like a time stamp, and even simple objects will become richer with layered washes.
This workshop supports students who want a calm creative practice that still produces finished work. It also builds skill with timing, since watercolors reward planning and gentle control.
Personalize your journal by using prompts tied to your day, like “three textures I saw” or “one color that felt brave.” Try setting a goal for a series, then label your pages with what you learned instead of only what you made.
Cost is usually low because watercolors, a small brush, and paper are enough, especially if the workshop provides supplies. Current trends show students sharing process videos online, so consider taking one short clip while you paint.
Keep a scrap page for mistakes, and treat them like experiments that help you choose better color mixes next time.
13. Glass-Style Effects With Clear Resins and Layering
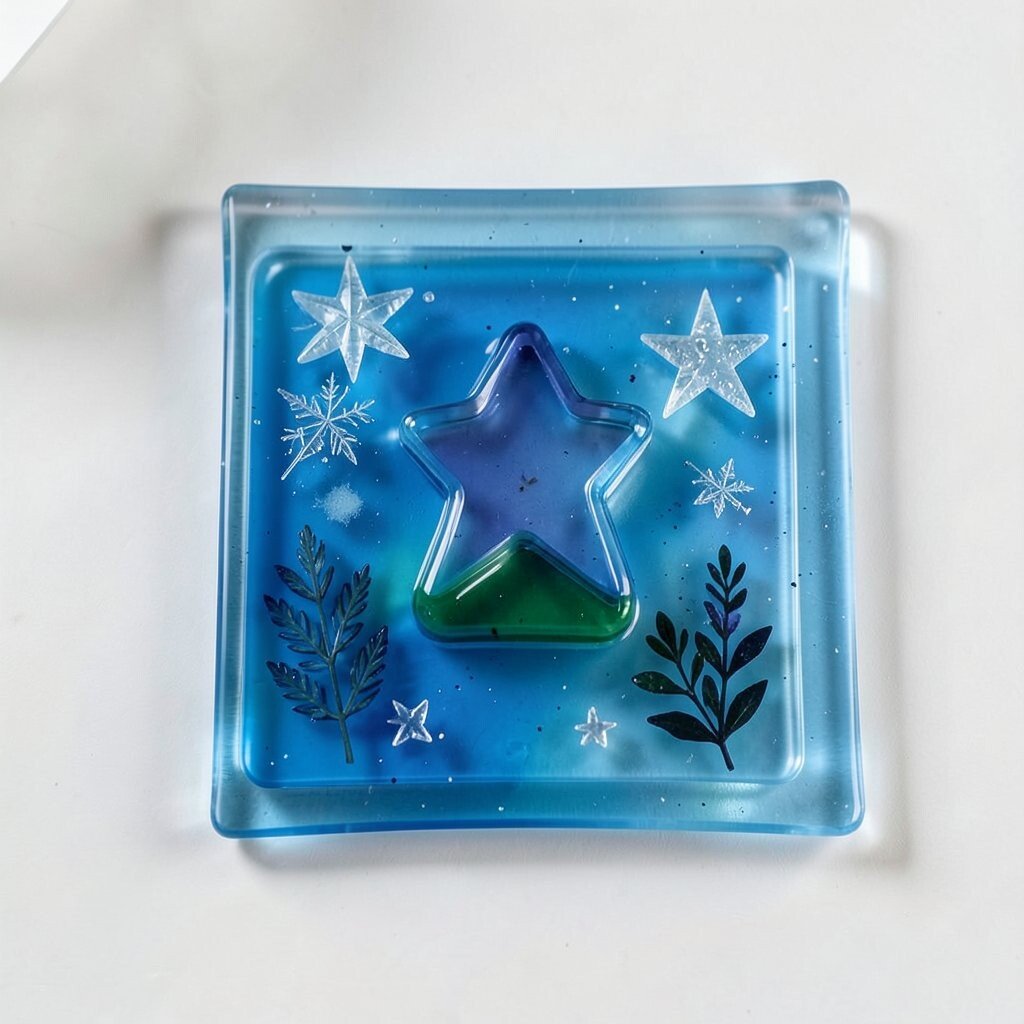
You’ll create “glass” looks using clear casting materials, colored inks, or translucent paper layers. When the pieces cure, the surface can catch light like a tiny window, making colors glow in a new way.
This workshop builds patience, since layering and drying need time, and it feels rewarding when the final shine appears. Students also gain practical safety habits, because careful handling is part of professional craft.
Personalize your piece by choosing imagery that fits the light, such as ocean blues, star shapes, or pressed herb silhouettes. Use a simple design strategy like making one focal shape and letting it sit in the center of your layer.
For cost considerations, resin can be pricier, so ask about group supply kits, and measure carefully to avoid waste. A current trend is “transparent storytelling,” so consider adding a tiny hidden note inside the piece for viewers to imagine.
14. Print Poster Workshop With Type and Texture
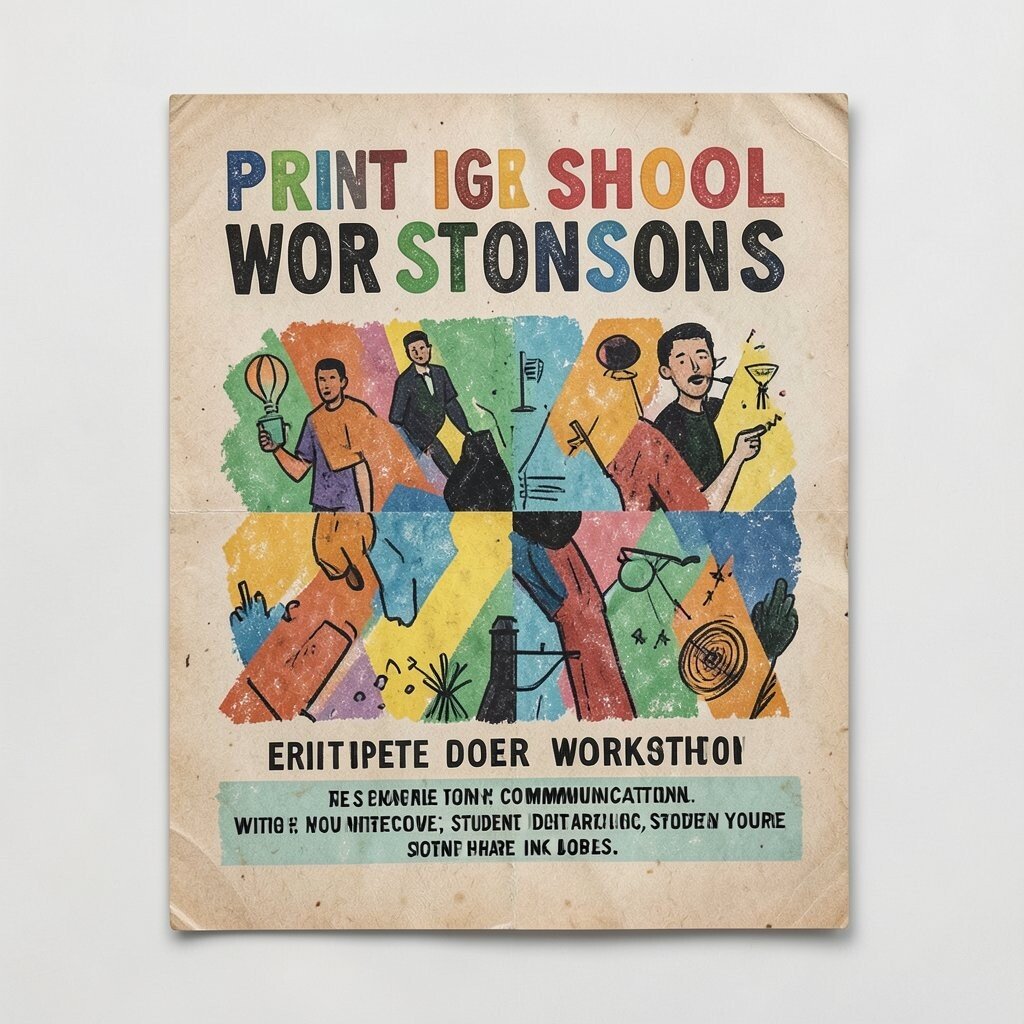
You’ll design a poster using bold typography and tactile backgrounds, then print it using simple techniques or prepared templates. The final sheet will feel like a real campaign, with letters that pop and textures that add energy behind the message.
This workshop benefits students because it connects design to communication, not only decoration. You’ll learn how hierarchy works, which means your title, image, and details each have their own role.
Personalize your poster by choosing a slogan or message that reflects your interests, such as environmental action, student pride, or a hobby you love. Keep your layout consistent by using a small set of fonts and repeating colors across the series.
Cost can be controlled through classroom printing options, recycled paper, and shared ink supplies. Current trends in youth art posters often include chunky type, slight imperfections, and mixed textures that look hand-made.
15. Interactive Exhibition Walkthrough and Viewer Engagement

You’ll build an interactive part of an exhibition where viewers do something, not just look. You might create a matching game card, a movable prompt wall, or a short station where people record thoughts.
This workshop helps students think about audience experience, which makes your art feel welcoming and alive. It also develops practical skills in testing ideas, adjusting instructions, and making sure the activity works smoothly.
Design your interaction around personalization, such as letting viewers choose a color to pair with a prompt or vote on an emotion word. Use visuals like icons and arrows so instructions are clear even for someone who walks in mid-day.
For cost considerations, rely on cardstock, markers, string, and simple digital slides rather than expensive props. A current trend is using participatory art in schools, so your workshop-ready activity can make your exhibition stand out.