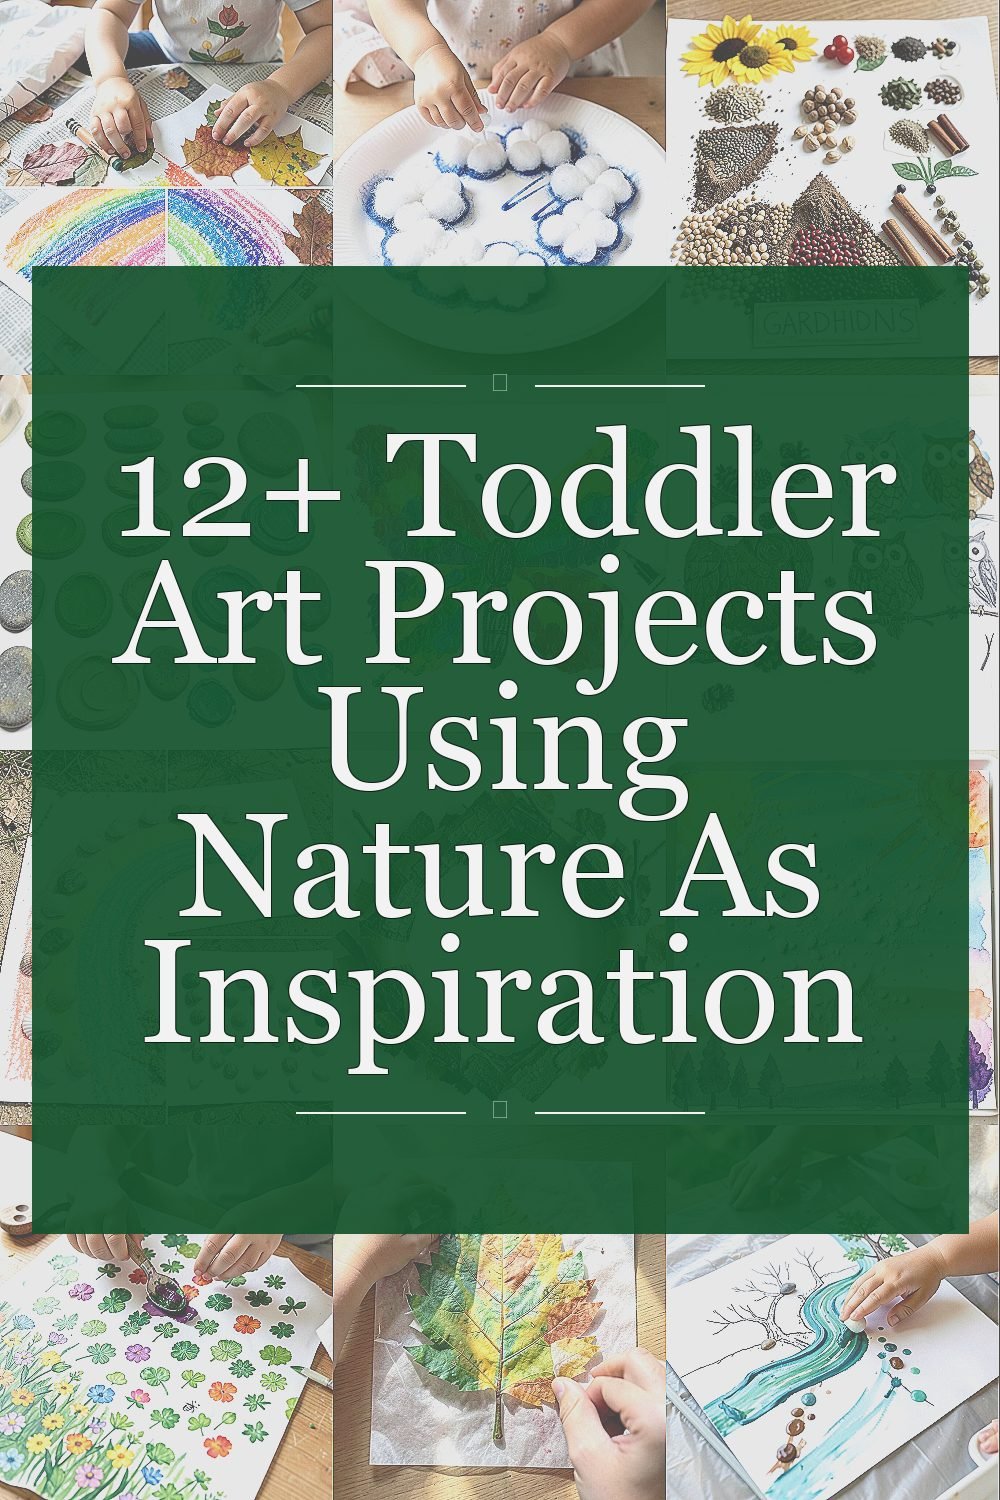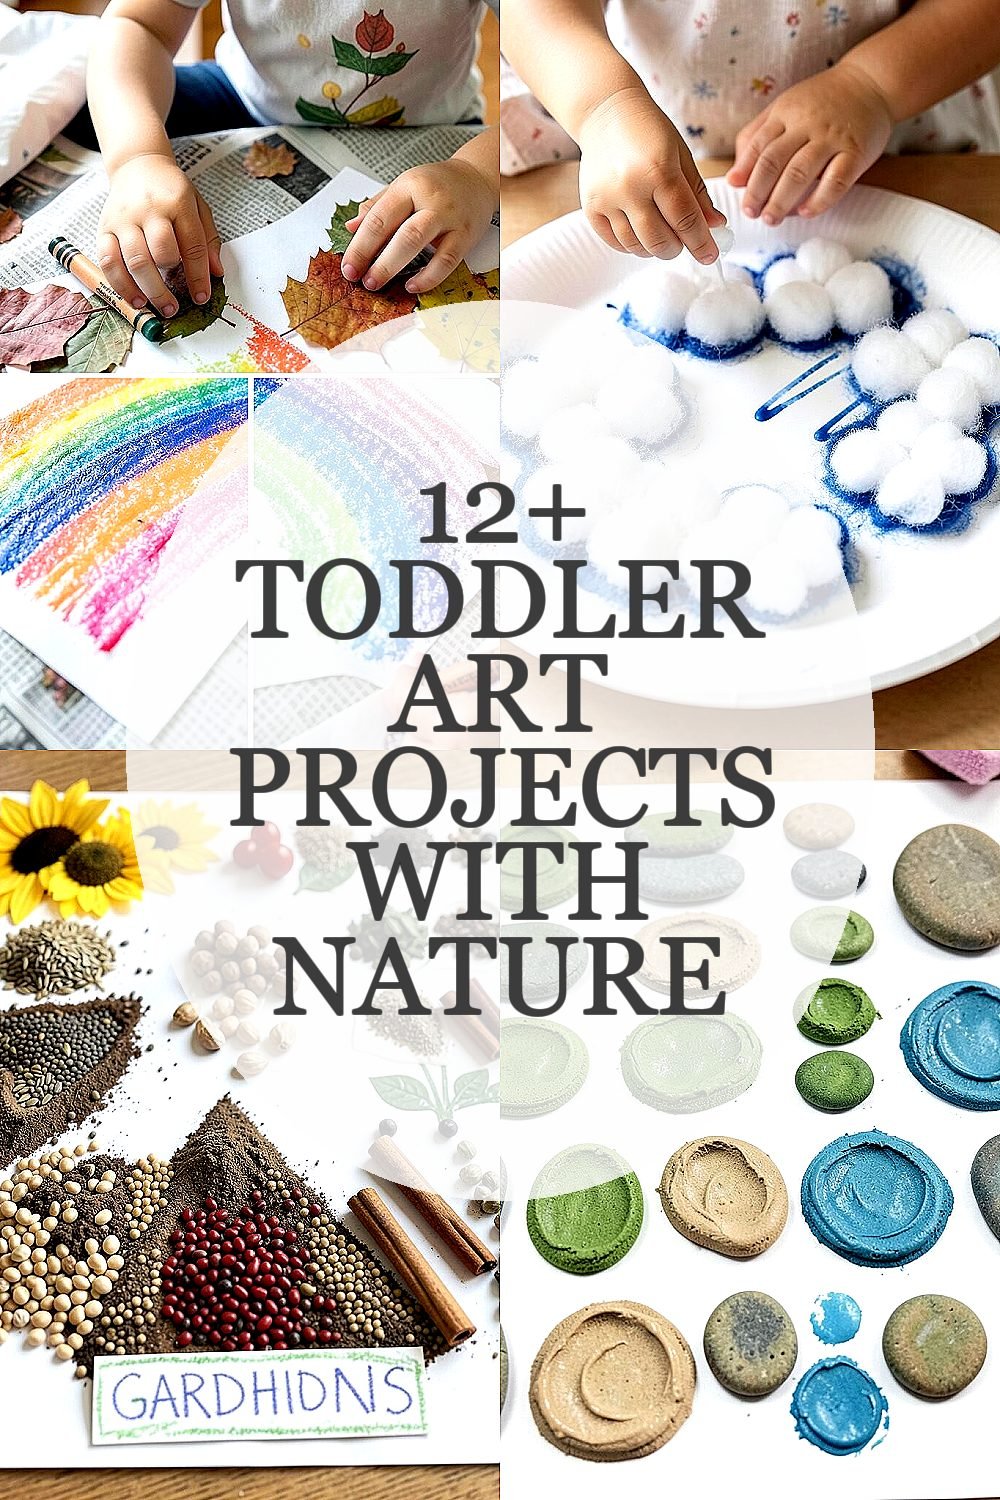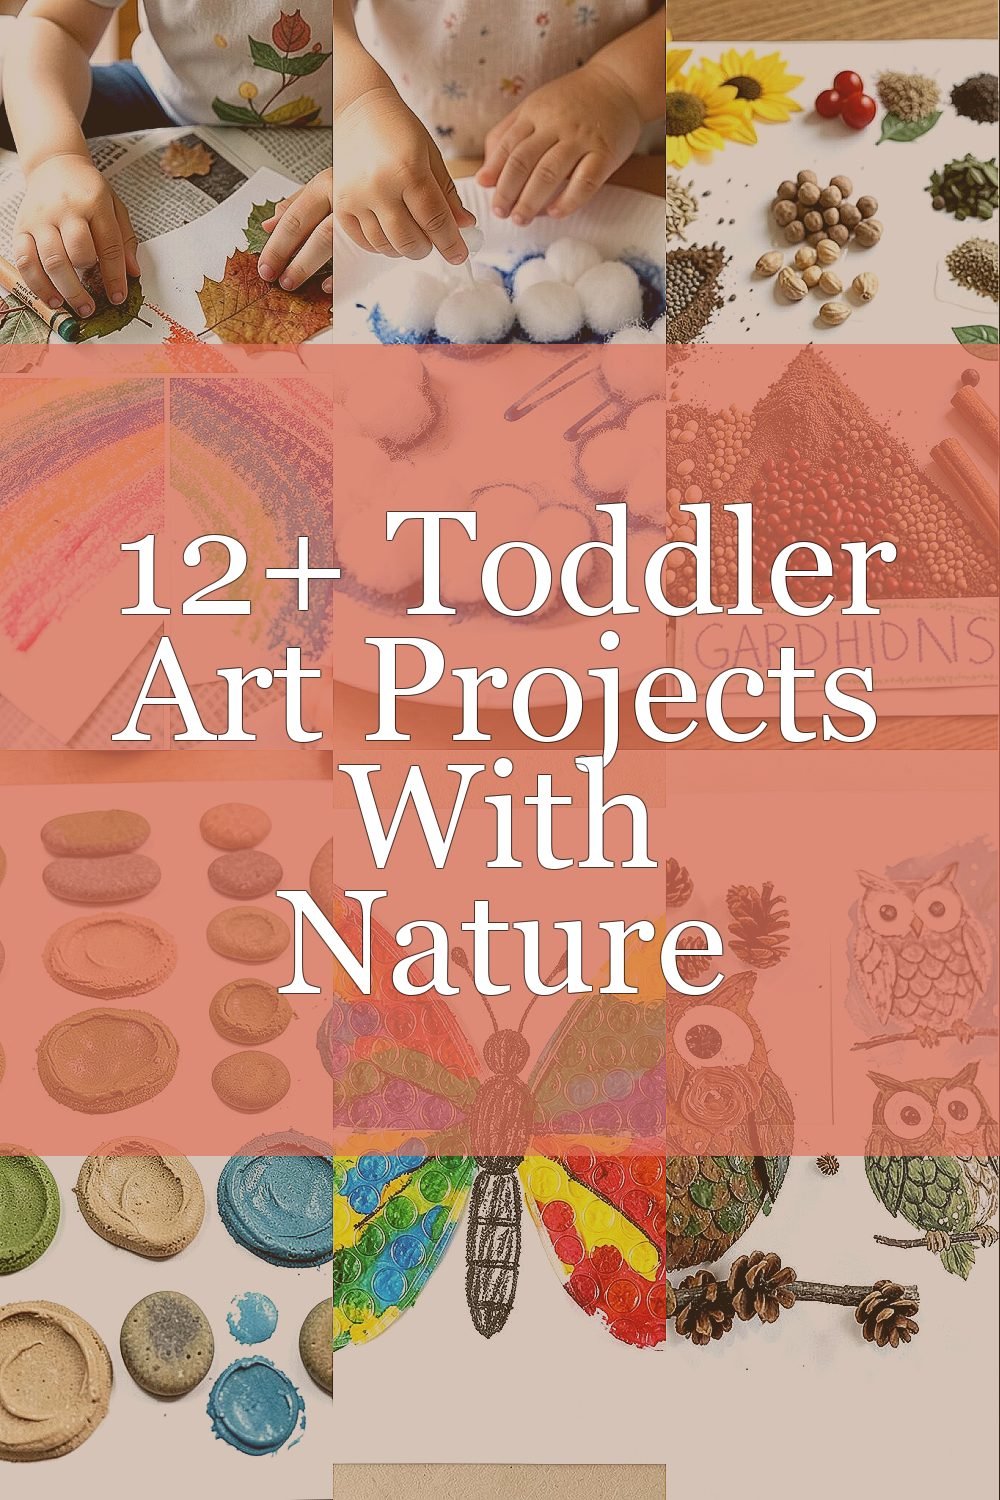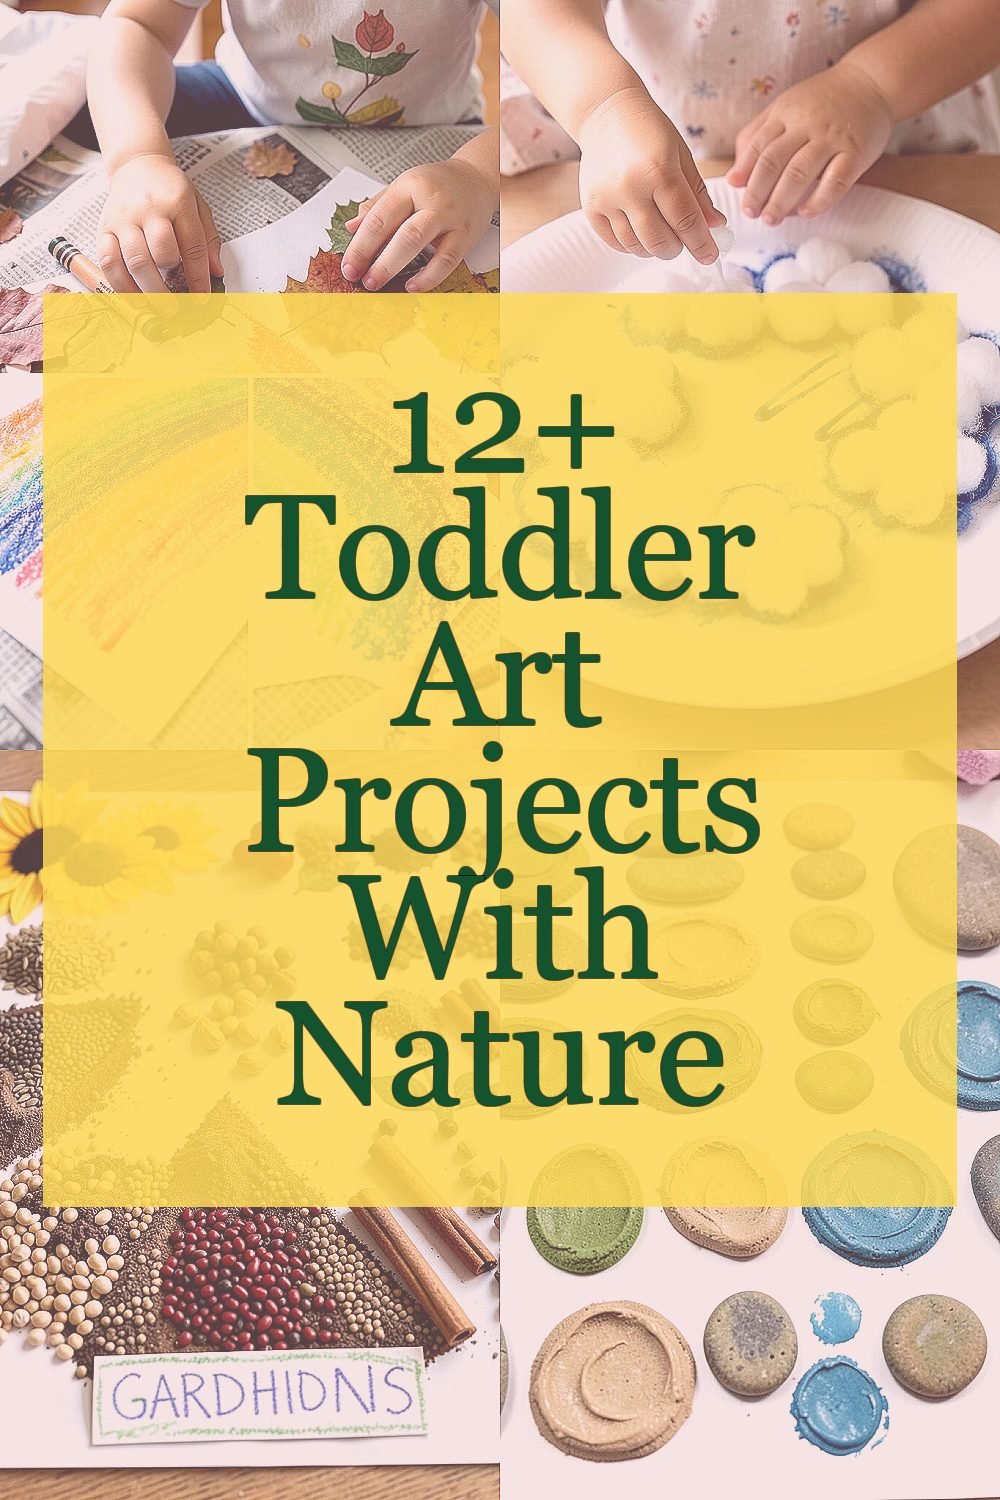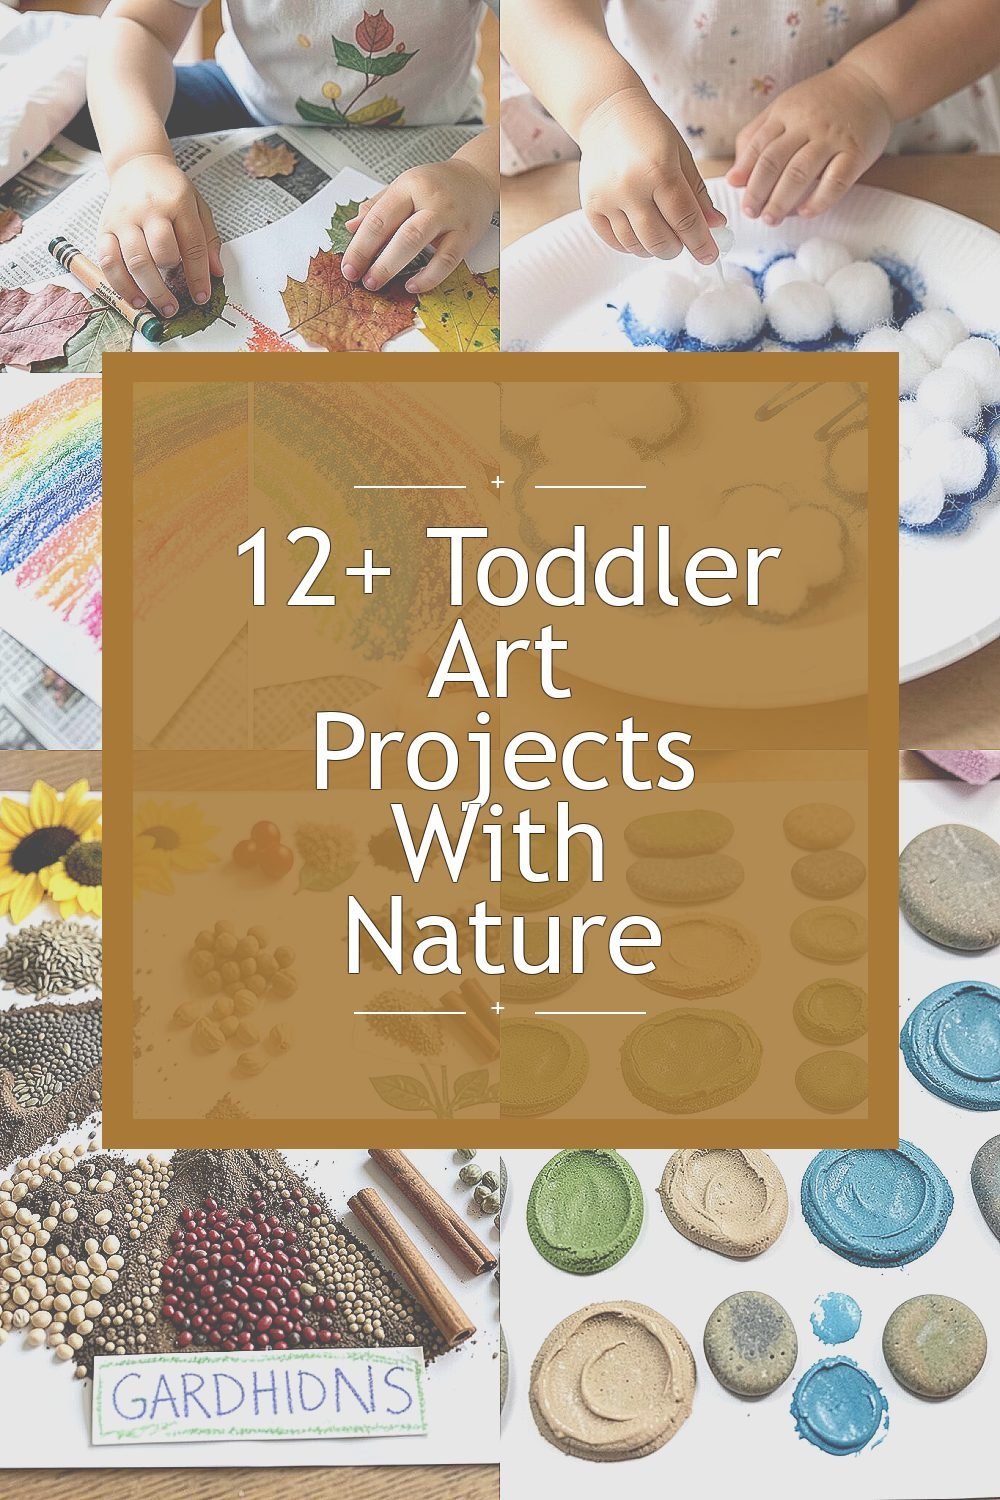
The outdoors has a way of turning everyday moments into something worth keeping. These small projects help little hands feel proud and calm while they paint, press, and play.
Pick what fits your space and your child’s mood, then gather simple supplies you probably already have. Each idea is built for toddlers, with room to personalize and make it yours.
1. Leaf Rubbing Rainbow
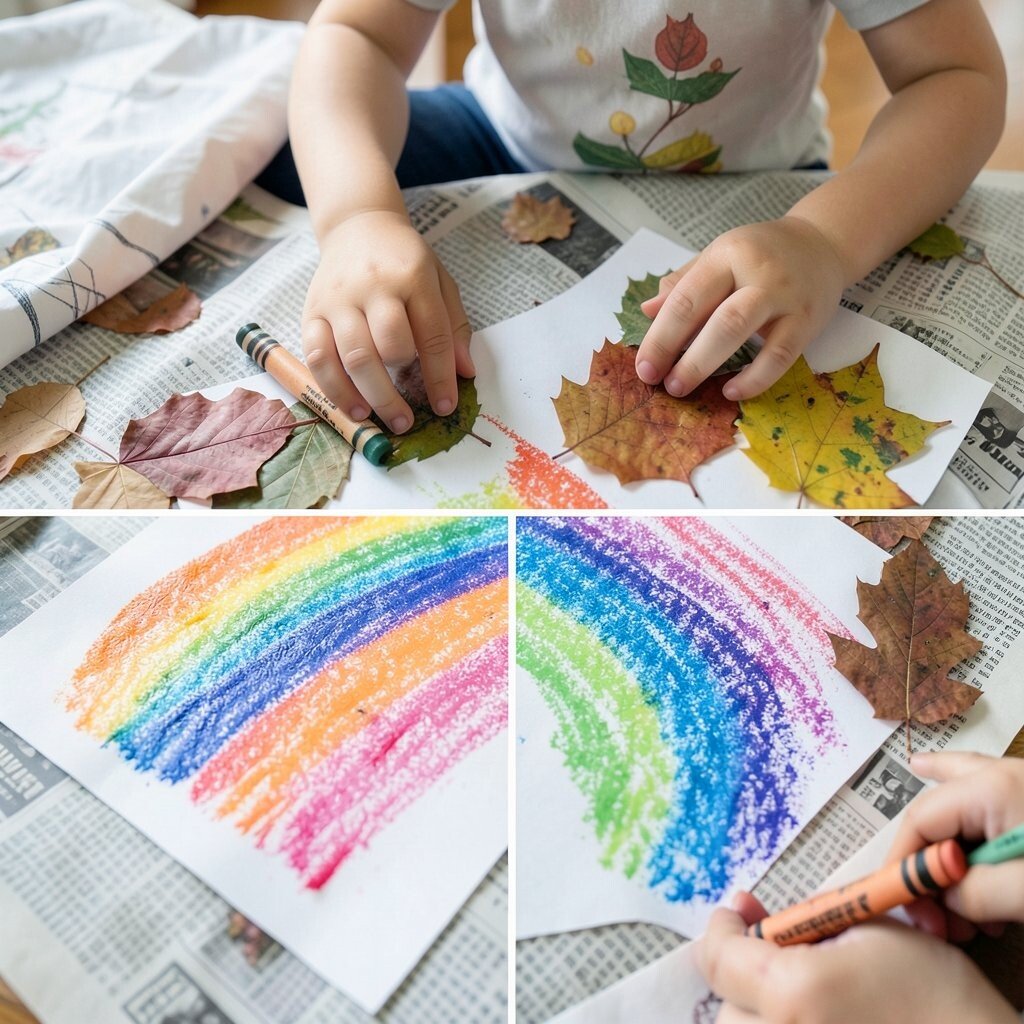
Lay several different leaves on a table and place a sheet of paper over them. Use crayons to gently rub while your toddler presses lightly, and watch colorful patterns appear. Rotate the paper for a new look and keep the leaves varied so each print feels special.
Start with smooth leaves and thicker crayons for bolder lines, then switch to thinner textures for delicate details. This kind of art supports fine-motor practice and helps toddlers focus as they match pressure to results. For a personal touch, use leaves from your yard or park and add a few simple dots with a leaf as a stamp.
Choose washable crayons since kids tend to get colorful fast, and check that your paper is sturdy enough not to tear. To keep things tidy, put down a large sheet of newspaper or an old shower curtain as a washable art station. If you want a current-style vibe, aim for a “nature catalog” feel by rubbing in neat rows and using a soft rainbow of leaf tones.
2. Cloud Cotton Painting
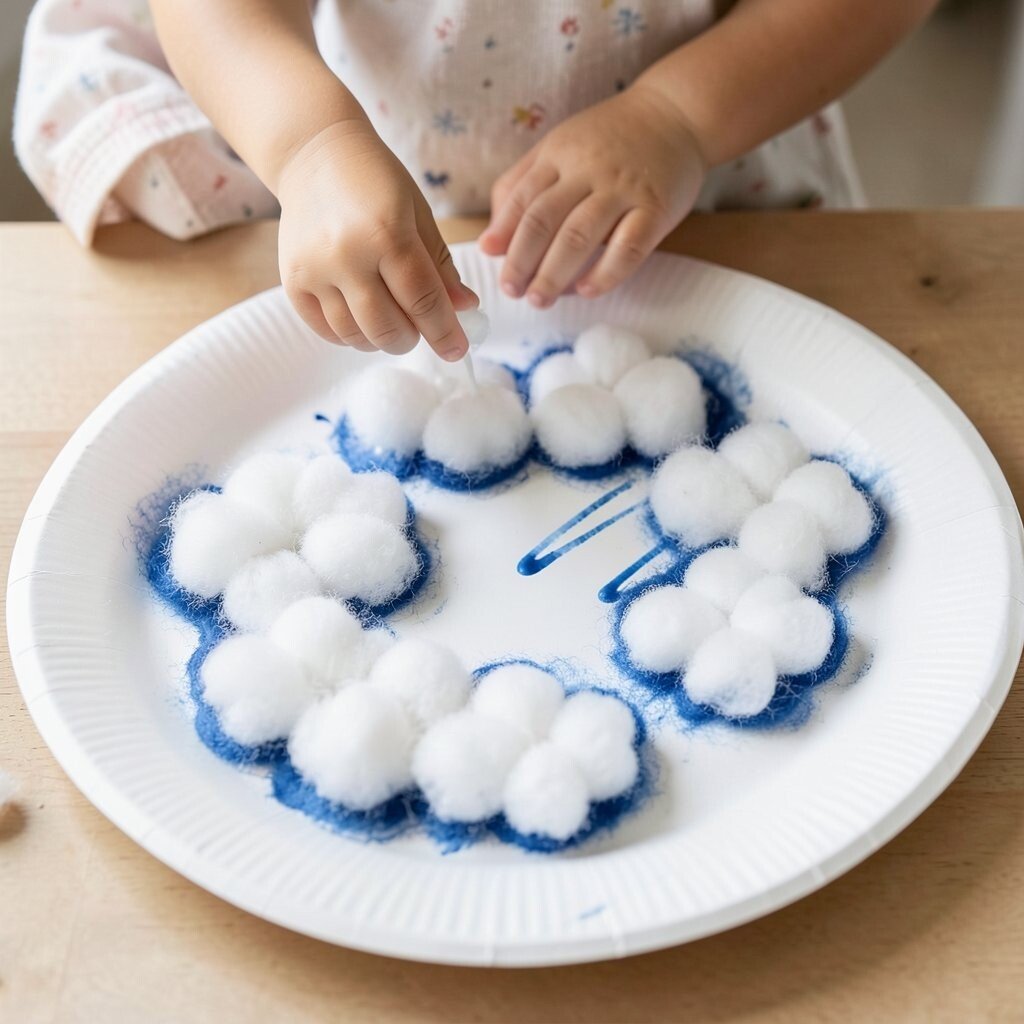
Squirt a little white paint onto a paper plate and pour it into tiny “puffs” using cotton balls. Dip the cotton lightly, then dab it onto the page to build fluffy cloud shapes. Add darker blue around the edges so the clouds look like they are floating.
Use one color at a time so your toddler can enjoy building layers without feeling rushed. This project builds hand strength, teaches cause-and-effect, and supports early color awareness. For personalization, let your child add small “rain” streaks with a blue crayon or a few short brush marks.
3. Seed and Spice Garden Collage
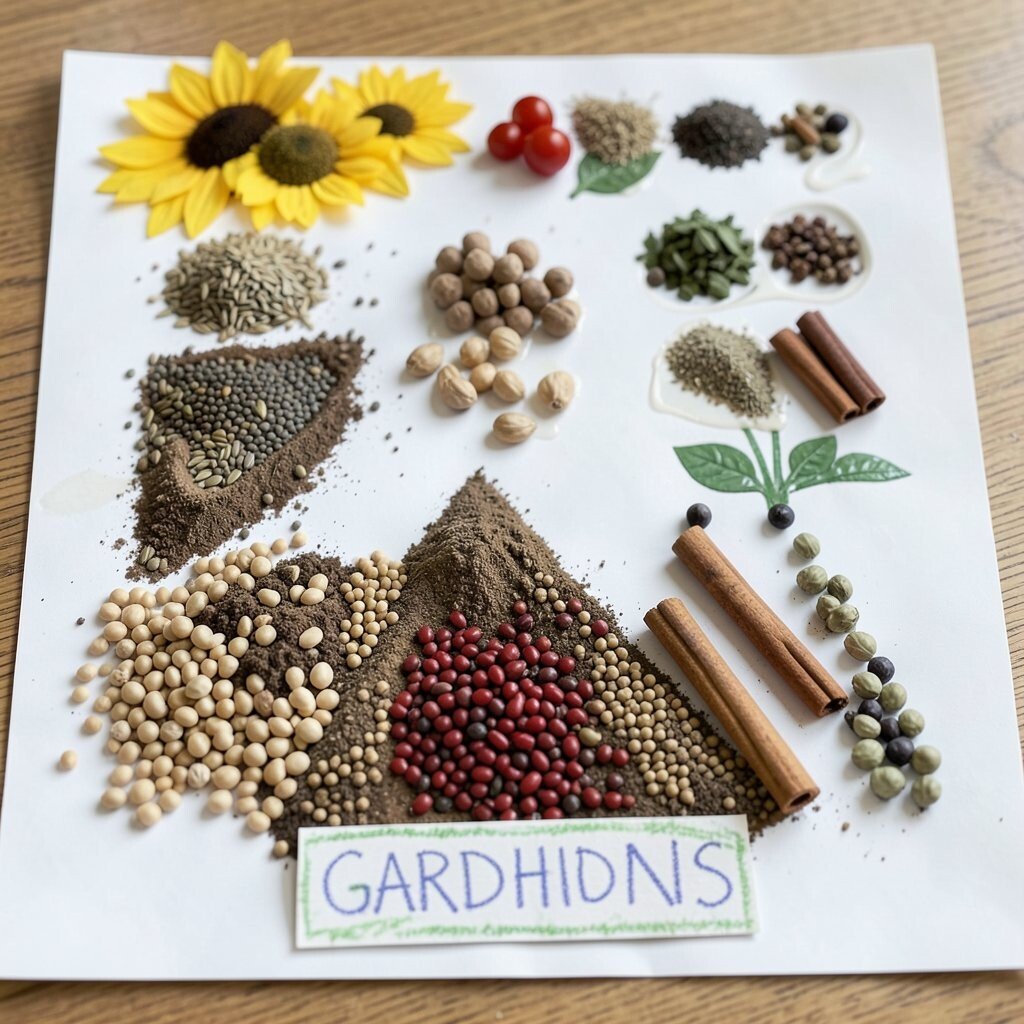
Spread glue on a sheet of paper and let your toddler arrange seeds, beans, and safe spices into garden paths. Pick textures like tiny lentils, chunky chickpeas, or cinnamon sticks for strong visual contrast. As you work, talk about what grows like “sunflowers” or “tomato vines” while your child chooses placement.
This collage is unique because every bunch of pantry items looks different, even with the same supplies. It’s also great for sensory play since the shapes are tactile and fun to sort. For cost considerations, use what you already have in the kitchen and skip expensive craft materials.
Try sorting items into small piles first, then choose one pile to place on the “soil” area. If you want it to feel more modern, use simple shapes like a straight path, a spiral, or a triangle of “flowers.” Personalize by adding your child’s name in crayon on the bottom for a garden sign that feels like home.
4. Nature Pattern Rock Prints

Gather a few smooth rocks and paint a thin layer on the surface using a sponge brush. Press the rock onto paper in repeating rows to make patterns that look like ripples or tiles. Let your toddler experiment with different pressures, then rotate the rocks to create a fresh design. Rinse the rocks after use so they stay safe for future sessions.
Rock prints are great for toddlers because they feel bold and satisfying right away. They also encourage rhythm and counting-like routines, even if your child is not speaking numbers yet. Personalize by using colors found in nature such as moss green, sandy tan, and ocean blue.
For practical tips, use a scrap cardboard board as a drying surface to prevent paint from soaking through. Choose non-toxic, washable paint and keep a damp cloth nearby for quick cleanups. If you want a trend that’s showing up in family crafts, try printing the same pattern across the page like a repeating mosaic.
5. Bubble Wrap Butterfly Wings
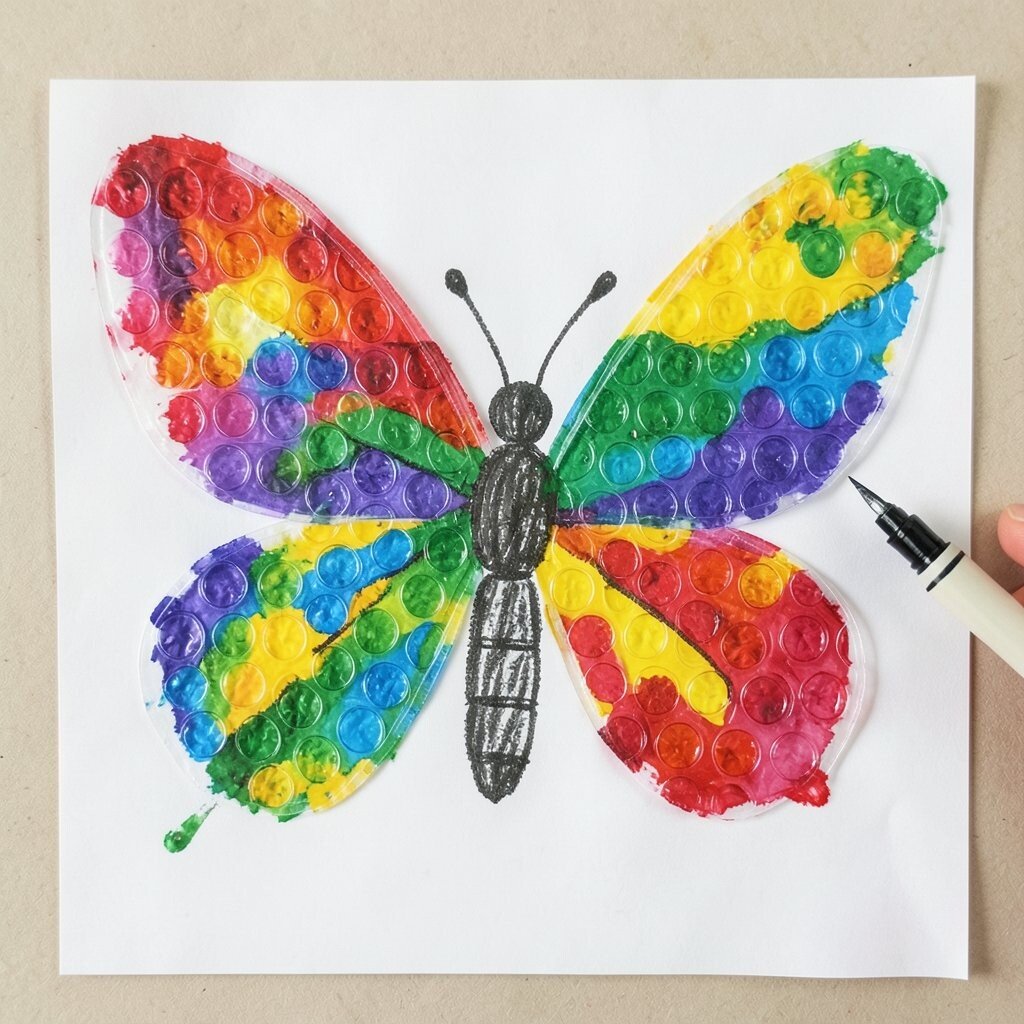
Cut bubble wrap into two wing shapes and paint over the bubbles with bright colors. Press the bubble wrap gently onto paper to leave a textured wing print, then pull it away slowly. Your toddler will love the surprising stamp effect each time the pattern shifts.
This method is unique because it mixes printing with nature imagery, like a butterfly taking flight. It also strengthens grip and supports sensory learning through texture. Personalize by adding a simple body in crayon and drawing antennae with a thin marker that’s easy to hold.
Use washable tempera or craft paint so cleanup stays simple and stress-free. For cost considerations, bubble wrap often appears in packages, so you can save it and reuse it. To match current trends, try a “color pop” look by keeping the background plain and letting the wings be the star.
6. Pinecone Texture Owls
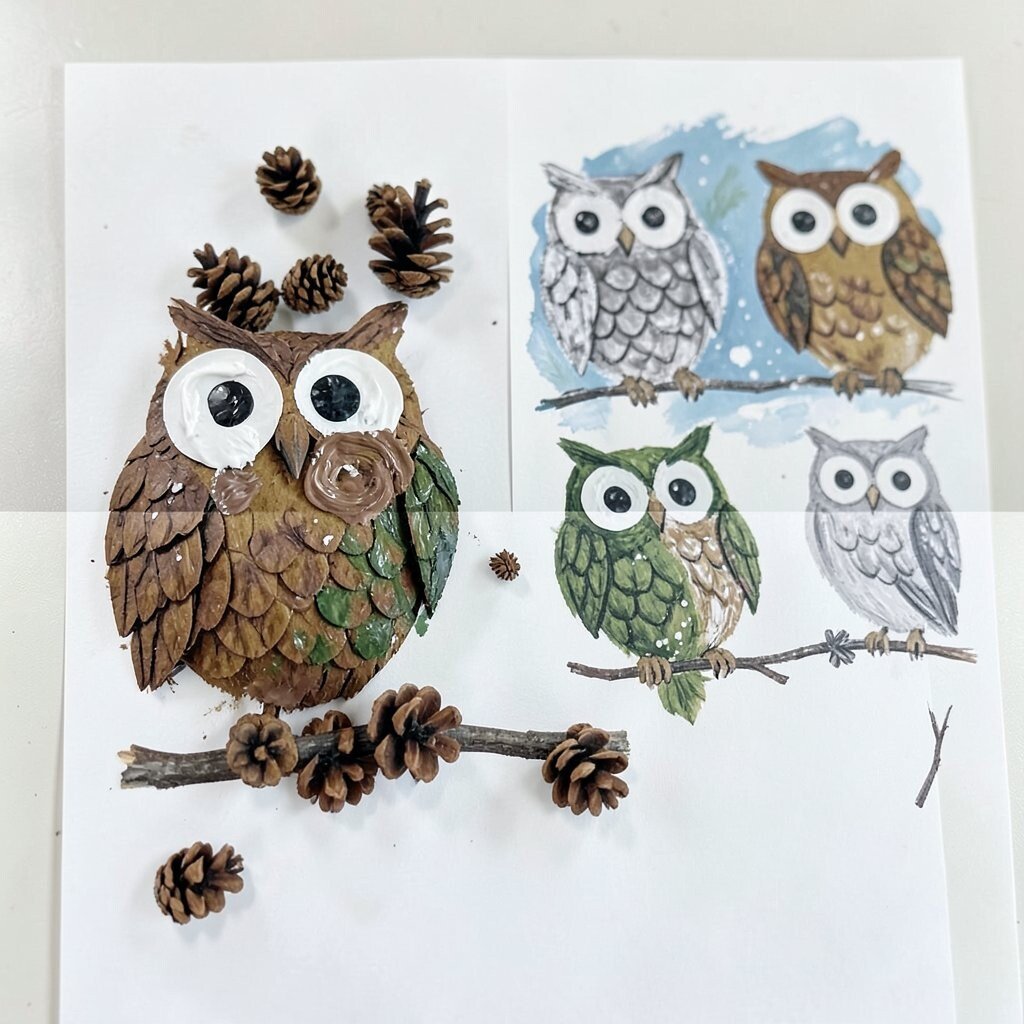
Collect small pinecones and paint them lightly, then press them onto paper to make owl bodies. Add eyes with two circles of paper or with white paint dots. Your child can also use a small leaf or twig for a perch line under the owl.
Texture makes this project feel special because each pinecone creates a different pattern of lines and swirls. It supports fine-motor skills and helps toddlers connect shapes with stories like “owl at night.” Personalize by choosing owl styles like daytime, forest green, or winter snow with a touch of gray.
For practical tips, use a cardboard piece to hold the pinecone while you paint it, and secure the paper so it doesn’t slide. Choose non-toxic paint and let it dry flat so it won’t smudge. If you want an easy modern feel, keep the background minimal and let the pinecone prints stand out clearly.
7. Rainbow Shell Counting Path
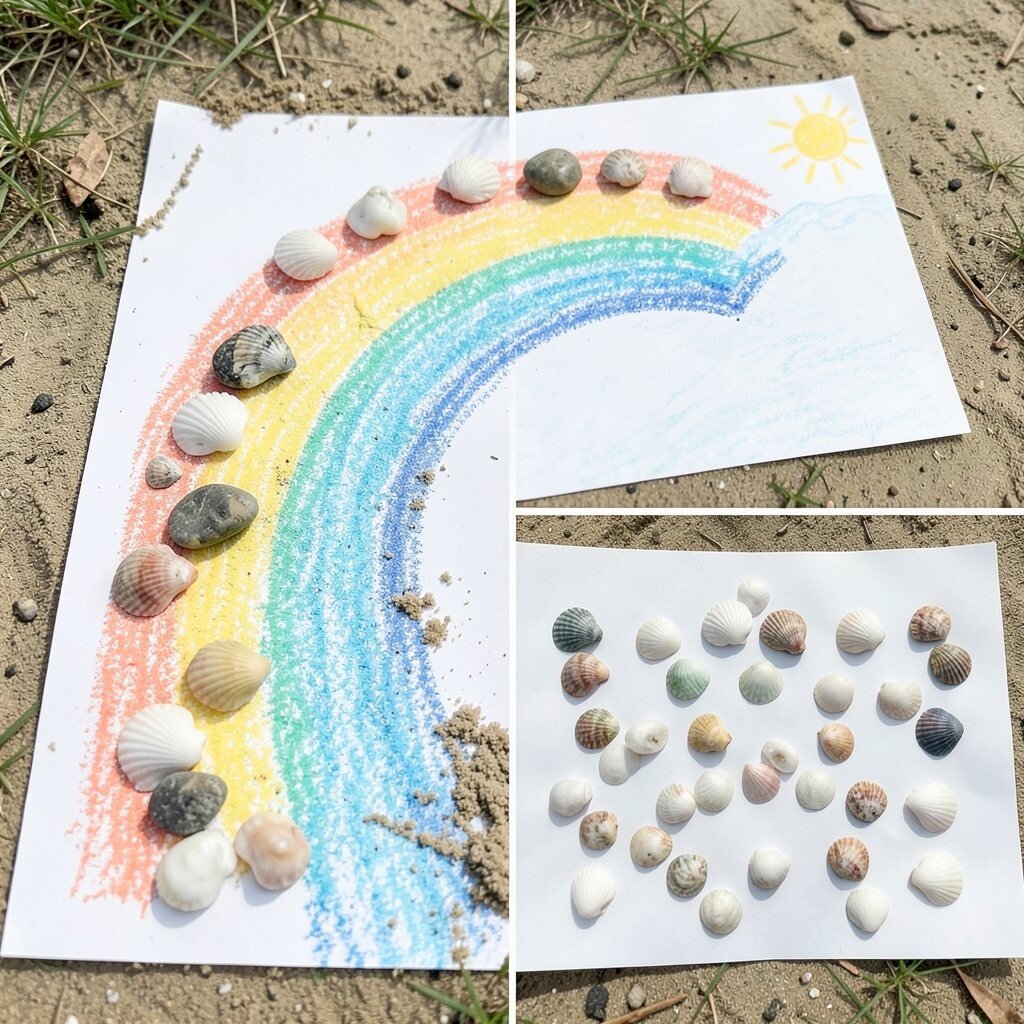
Place shells in a line on paper or along the edge of a path drawn in crayon. Add a simple rainbow arc with colored chalk or markers, then let your toddler place shells along the curve. This creates a scene that feels like a walk by the sea.
Using shells is naturally beautiful and keeps the art connected to real places. It also supports learning through matching and spacing, which helps toddlers build early math confidence. Personalize by letting your child choose where “the treasure” shells go and adding a tiny sun in one corner.
For cost considerations, look for shells on safe beaches or use smooth stones if shells are hard to find. To reduce mess, do one section at a time and use a glue stick instead of liquid glue. Current trend favorites often feature coastal palettes, so keep your colors in soft sand, sky blue, and gentle coral.
When you’re done, seal finished pieces with a clear, child-safe spray if you have one, and store them flat. If your child likes touch play, you can also make a second page with shells pressed only for texture without glue.
8. Bark Crown and Leaf Wreath Frames
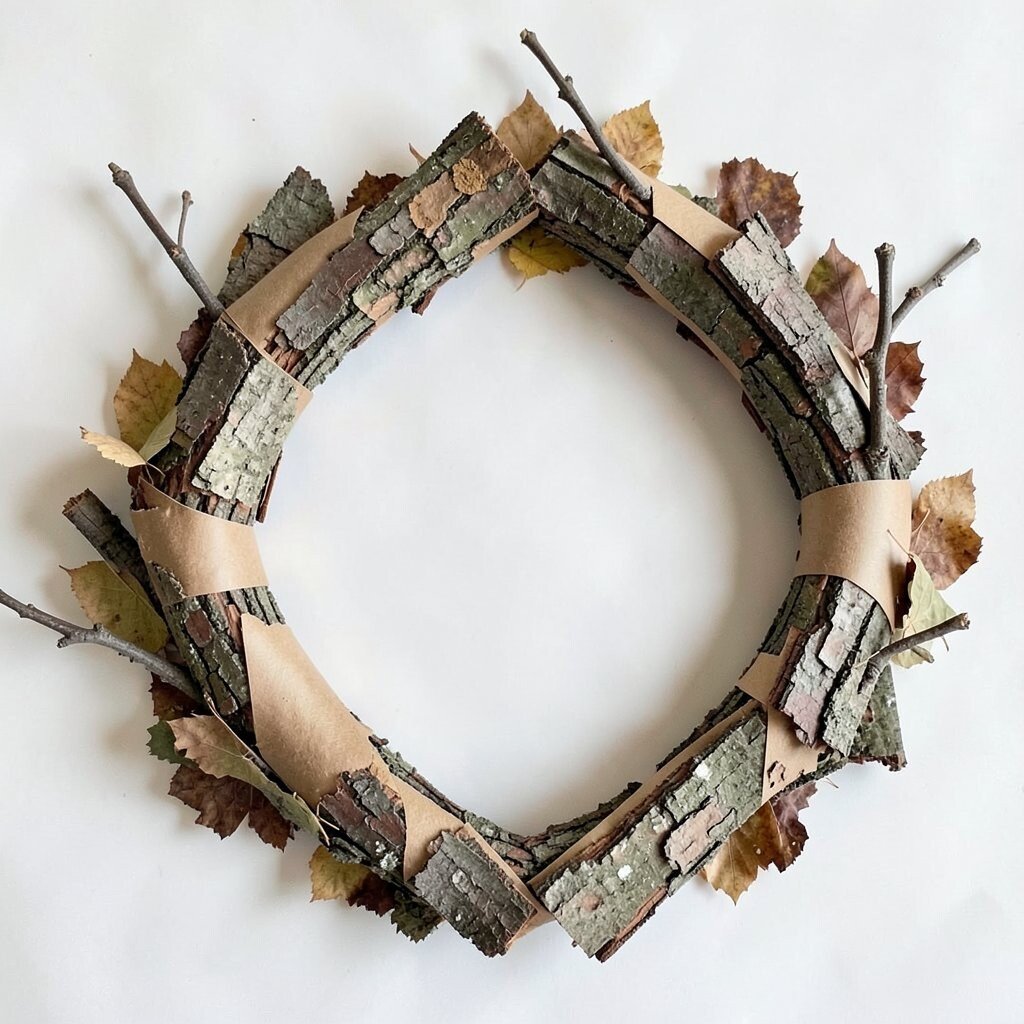
Cut strips of paper and wrap them into a loose crown shape, then glue on bits of bark and small leaves. Let your toddler press textures around the edges like a wreath. Add a few tiny twigs as “branches” for a finished look that feels like a woodland king or queen.
This project is unique because natural materials vary so much, meaning every crown looks like a one-of-a-kind forest character. It builds creativity and encourages your child to take ownership by choosing the order of pieces. Personalize by shaping the wreath into a circle or a heart, depending on your child’s mood.
For practical tips, tear leaves into smaller pieces so they stick better, and use glue sparingly to avoid soggy paper. Choose bark that’s dry and smooth, and wash hands afterward. If you like current trends, aim for earthy minimal frames by using just a few textures and leaving space in the middle for a photo.
9. Sky Salt Crystals and Watercolor Sun Rays
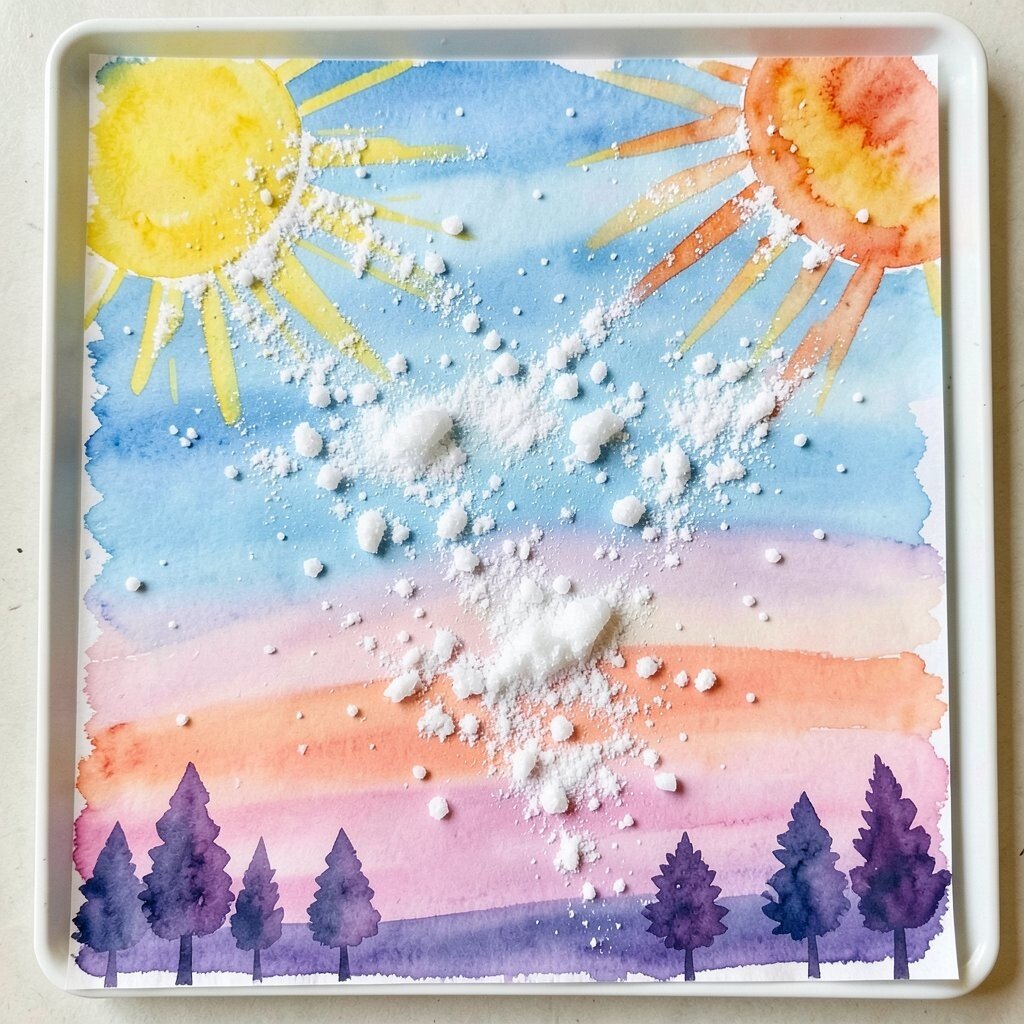
Paint a simple sky with watercolor or watered-down paint, then sprinkle a thin layer of salt while the paint is still wet. Your toddler can gently shake the salt like a “tiny snowstorm,” creating crystal patterns. Add a sun in one corner using yellow and orange streaks.
This is visually exciting because the salt creates sparkly textures that look like real weather. It supports patience since your child can watch the surface change over a short time. Personalize by choosing a sunset palette of pink, peach, and purple, then adding small leaf silhouettes at the bottom like trees.
For cost considerations, salt is very affordable and easy to keep on hand, and watercolor is usually accessible. Use a tray or sheet of paper under the art to catch extra salt for reuse. If you want a trend that’s popular in home studios, keep the shapes simple and let the crystal effect do the work.
10. Flower Stamp Patterns With Kitchen Tools
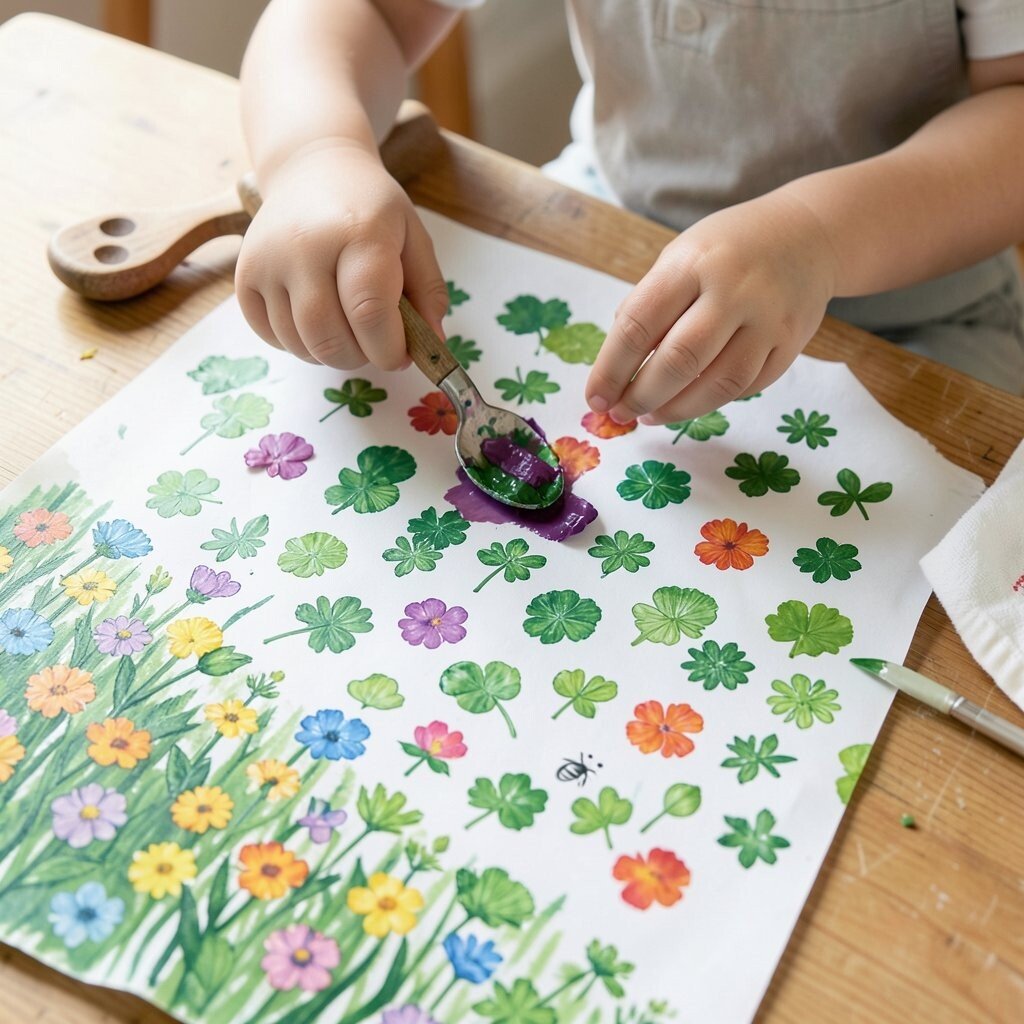
Gather petals and flat flowers, then press them onto paint using gentle pressure with a spoon or small rolling pin. Stamp the petals onto paper to create repeating patterns like a flower quilt. Your toddler will enjoy the “press and lift” rhythm each time the design changes.
This approach is unique because petals have their own natural shapes, so the artwork looks different every session. It also supports sensory exploration and teaches steady hands without needing complicated tools. Personalize by making one corner a “flower field” and adding a simple bee drawn in crayon for a story touch.
For practical tips, avoid using flowers with strong sap if you have sensitive skin in the house. Keep a wet cloth nearby for paint drips, and use washable paint to keep cleanup from becoming a battle. If you’re leaning into current trends, try a bold repeating pattern across the page with a limited color set like two greens and two bright blooms.
11. Leaf Shadow “Stained Glass” Window Art
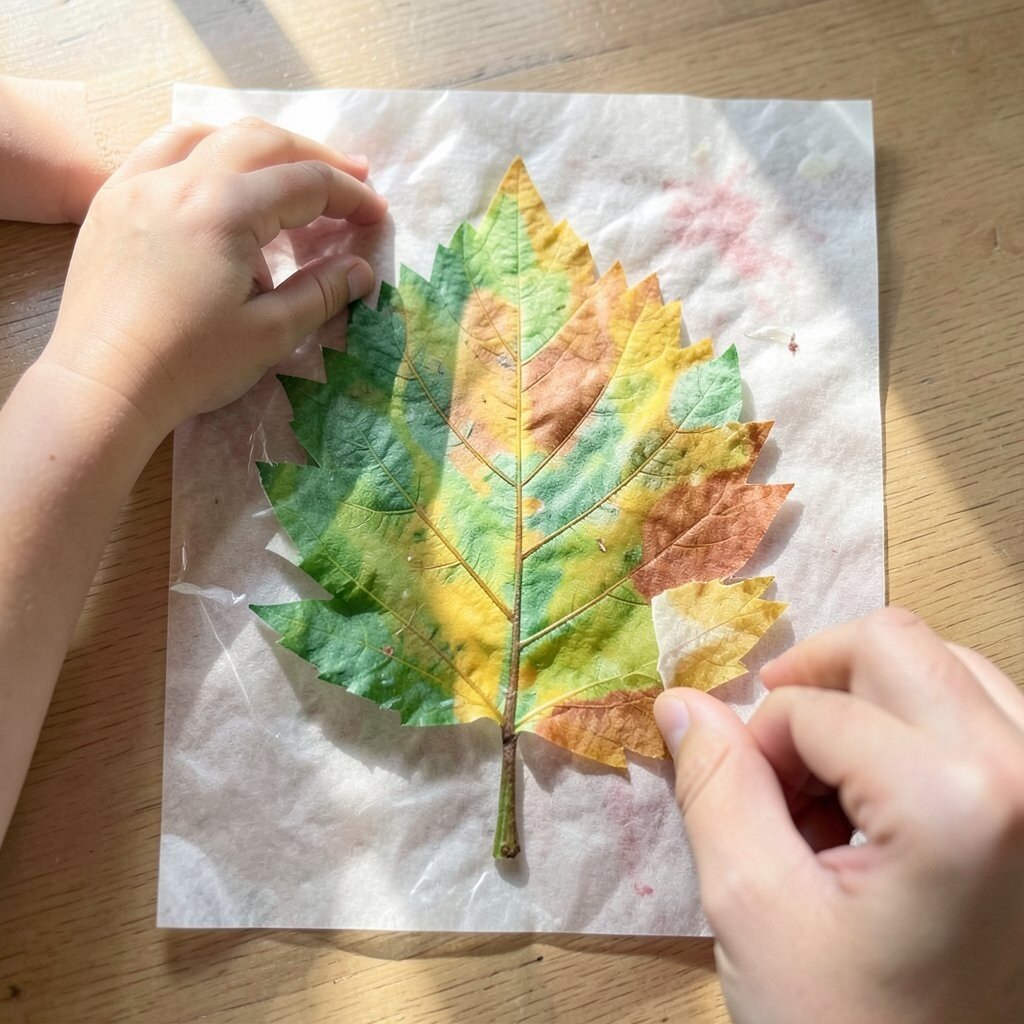
Place a leaf under clear contact paper or a sheet of transparent shelf liner and trace around it lightly. Cover it with layers of tissue paper scraps, pressing them so the leaf shape shows through. Your toddler can tear tissue paper and arrange colors like sunlight filtering through trees.
This project feels magical because the leaf outline becomes a natural stencil for color. It supports fine-motor skills through tearing, placing, and pressing. Personalize by using colors that match the seasons, like bright greens for spring or warm golds for autumn.
For practical tips, keep tissue pieces small so they stick well and won’t curl up. Use scissors only if an adult is needed, and let your child do the coloring and placement. For cost considerations, tissue paper is inexpensive and you can collect scraps from gift wrap or craft projects.
If you want a trend that’s popular right now, lean into “window art” by making it for doors or sliding glass panels where light can shine through.
12. River Stone Marble Run Painting
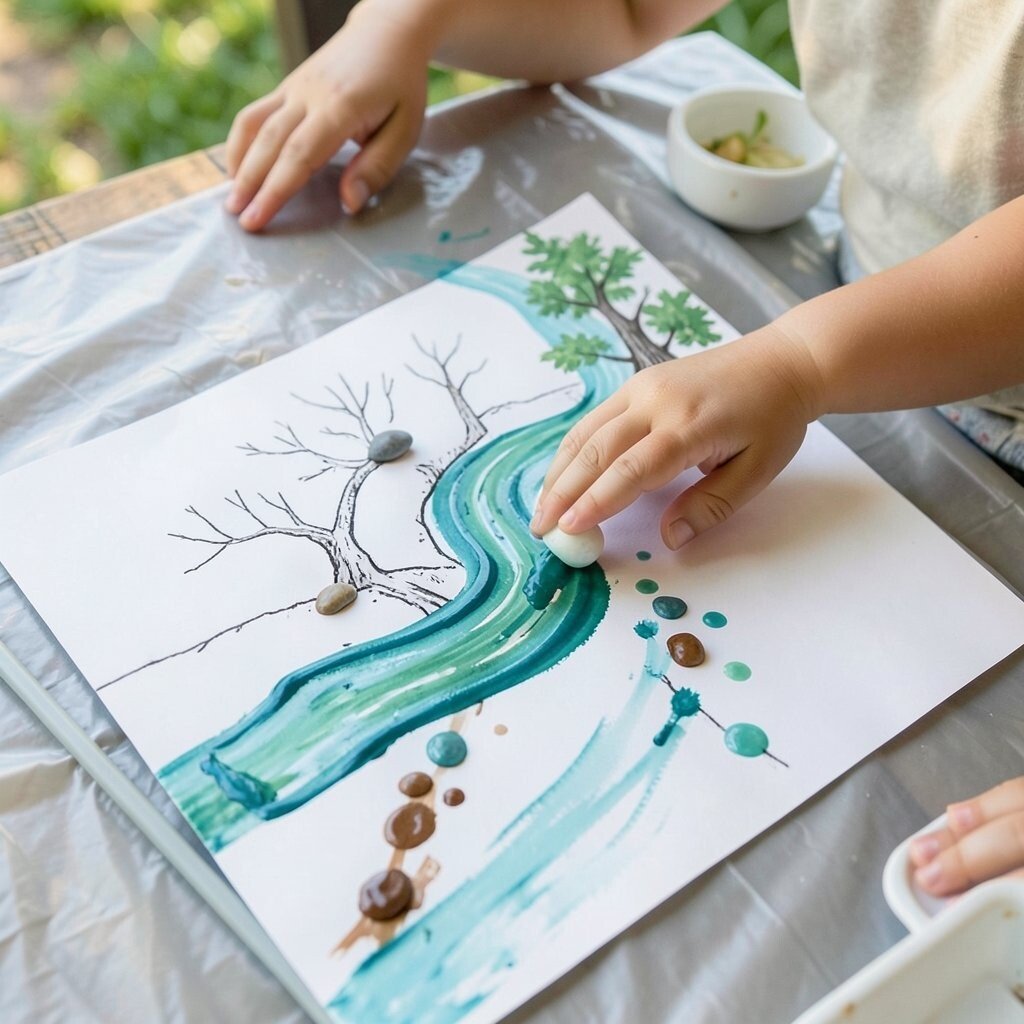
Draw simple river lines on thick paper, then tape the page down so it stays still. Put a few drops of paint along the river, place a marble at one end, and roll it through to drag the color. Your toddler can help place the marble and watch the paint trails like water flowing.
This project is unique because it mixes drawing and motion, creating dynamic streaks that look like a stream after rain. It supports cause-and-effect learning and builds coordination as your child times releases. Personalize by adding small “rocks” with crayons along the river banks and using colors found in nature like teal and river brown.
For practical tips, use washable paint and keep paper thick to prevent soaking through. If the mess worries you, cover the area with a plastic tablecloth and set down a tray underneath. If you’re following current trends, try a clean “aqua river” theme with fewer colors so the marble trails stand out.
13. Mossy Paper Plate Forest Friends
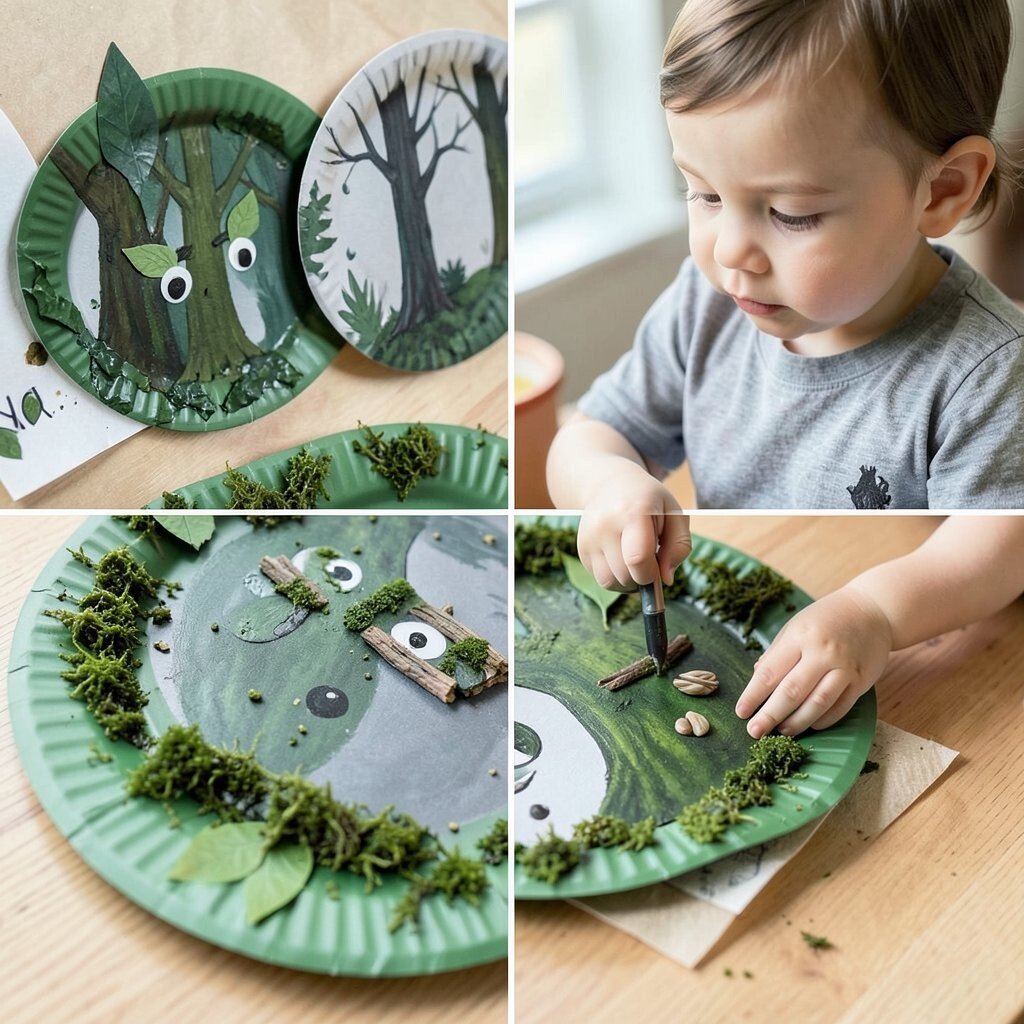
Paint the rim of a paper plate green, then crumble paper to make tiny “moss” and glue it around the edges. Add leaf cutouts for ears, twig eyebrows, or seed eyes for forest characters. Your toddler can press pieces in place and help name each friend like a tiny woodland family.
This project feels special because it turns simple supplies into characters that look handmade and warm. It supports creativity, speaking practice, and decision-making as your child picks textures. Personalize by making one friend for each family member or by choosing a theme like “night forest” with dark green and soft gray.
For cost considerations, paper plates are budget-friendly, and most crinkle and scrap paper can be reused from old packaging. Use non-toxic glue and let everything dry flat before moving the artwork. If you want a current trend, pair natural textures with a clean face using simple dot eyes for a modern, storybook style.
To make it extra actionable, save finished pieces and turn them into a rotating “forest wall” display so your child sees their art as part of daily life.