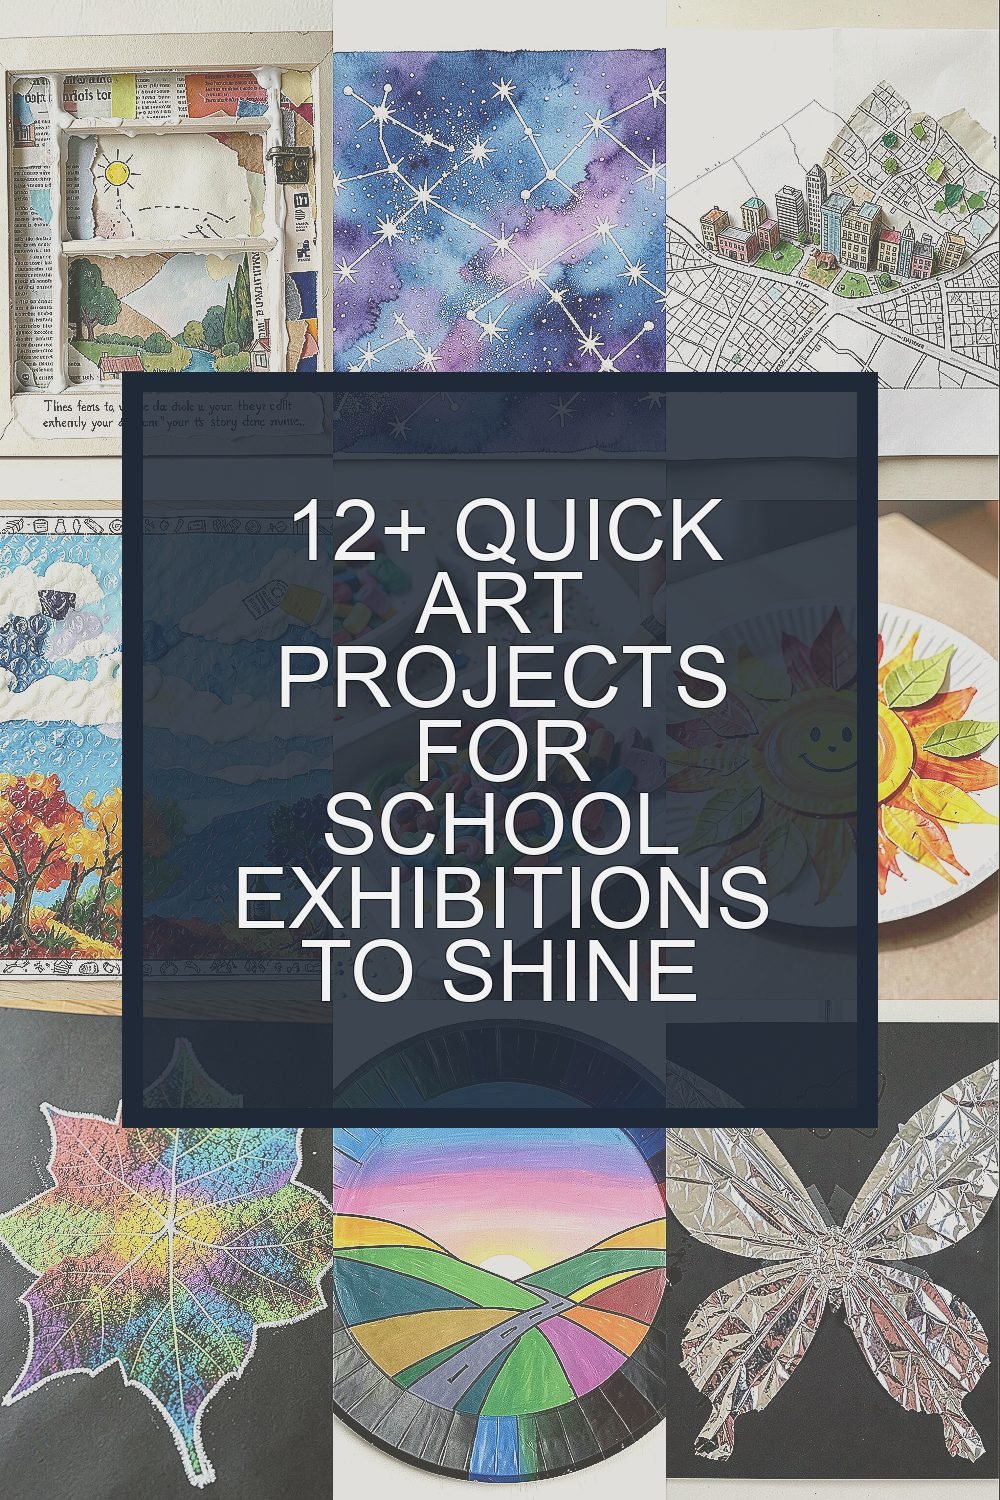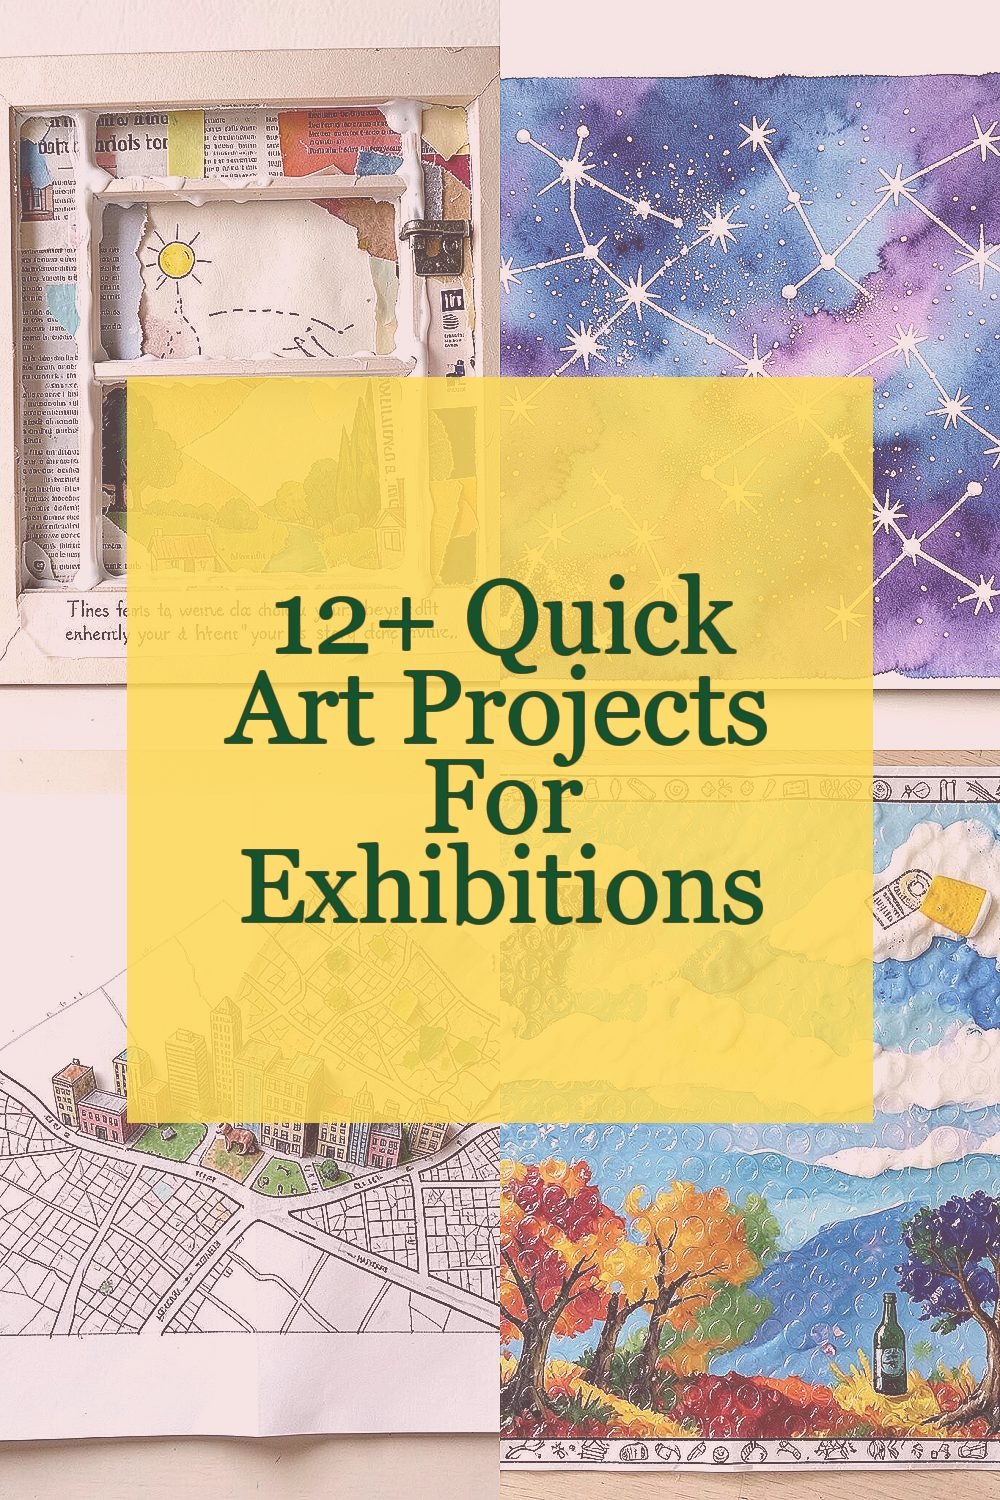
The hallway lights feel brighter when students bring their creativity forward. These projects are fast to make and fun to share.
1. Collage Story Windows
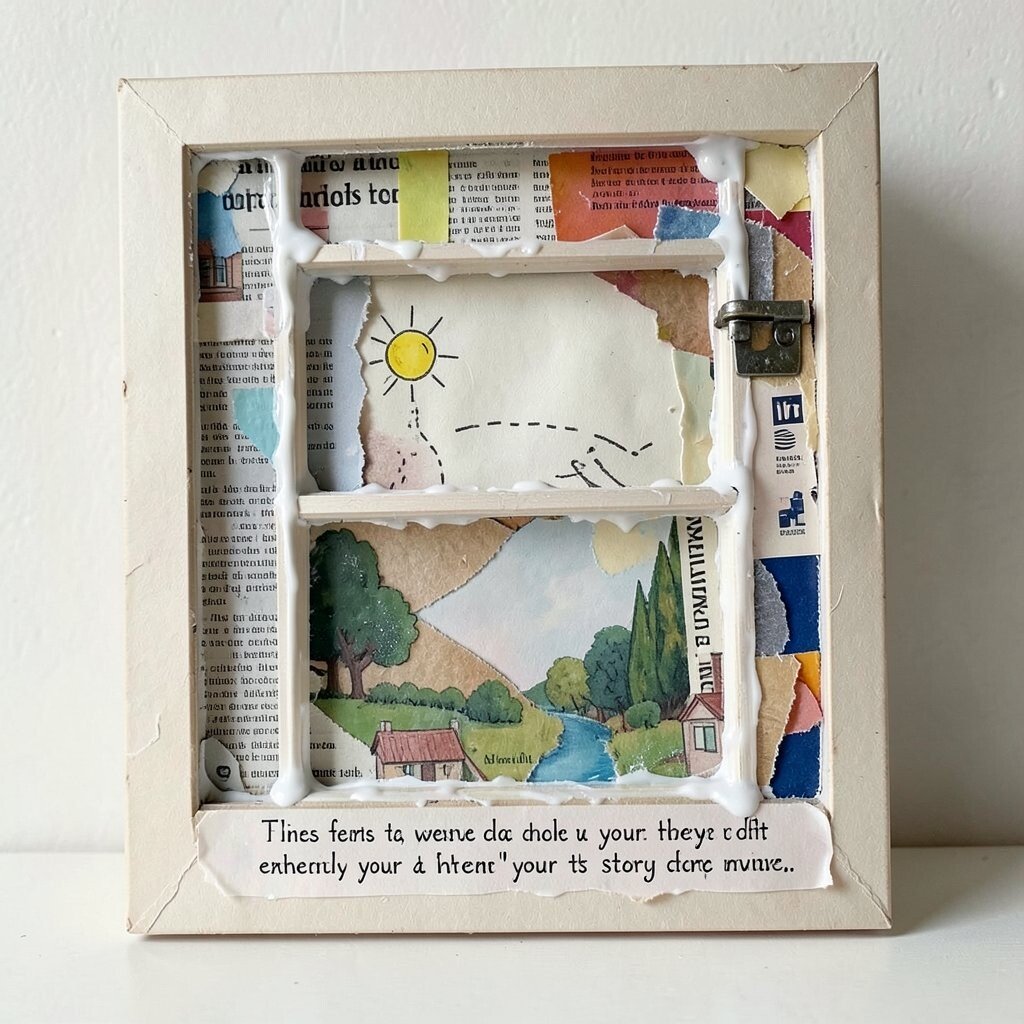
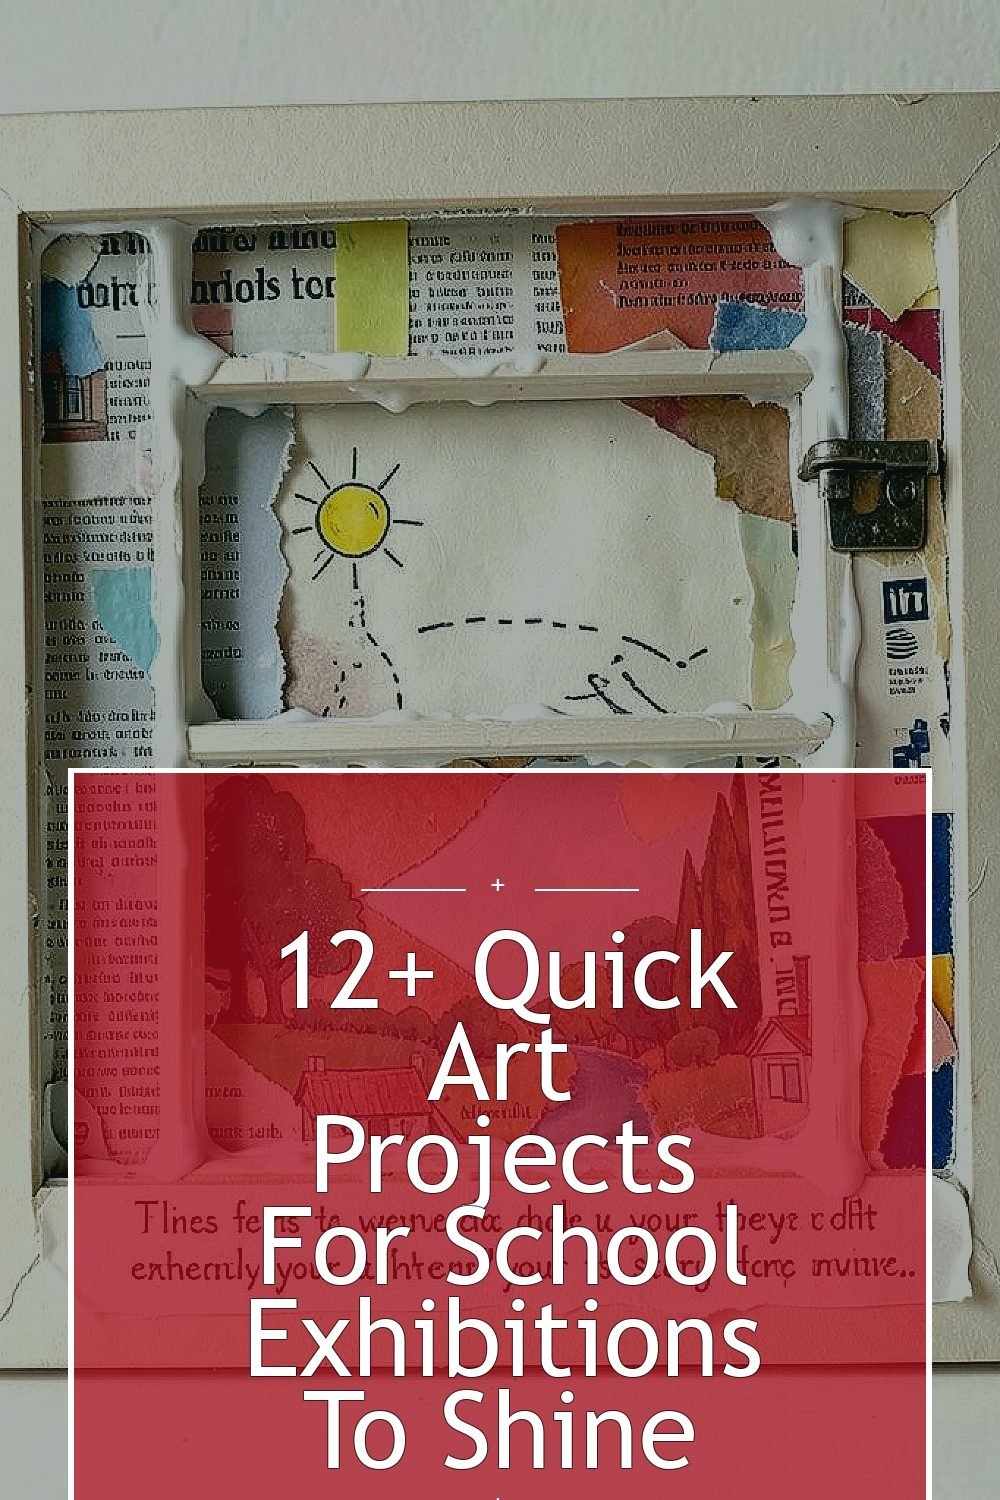
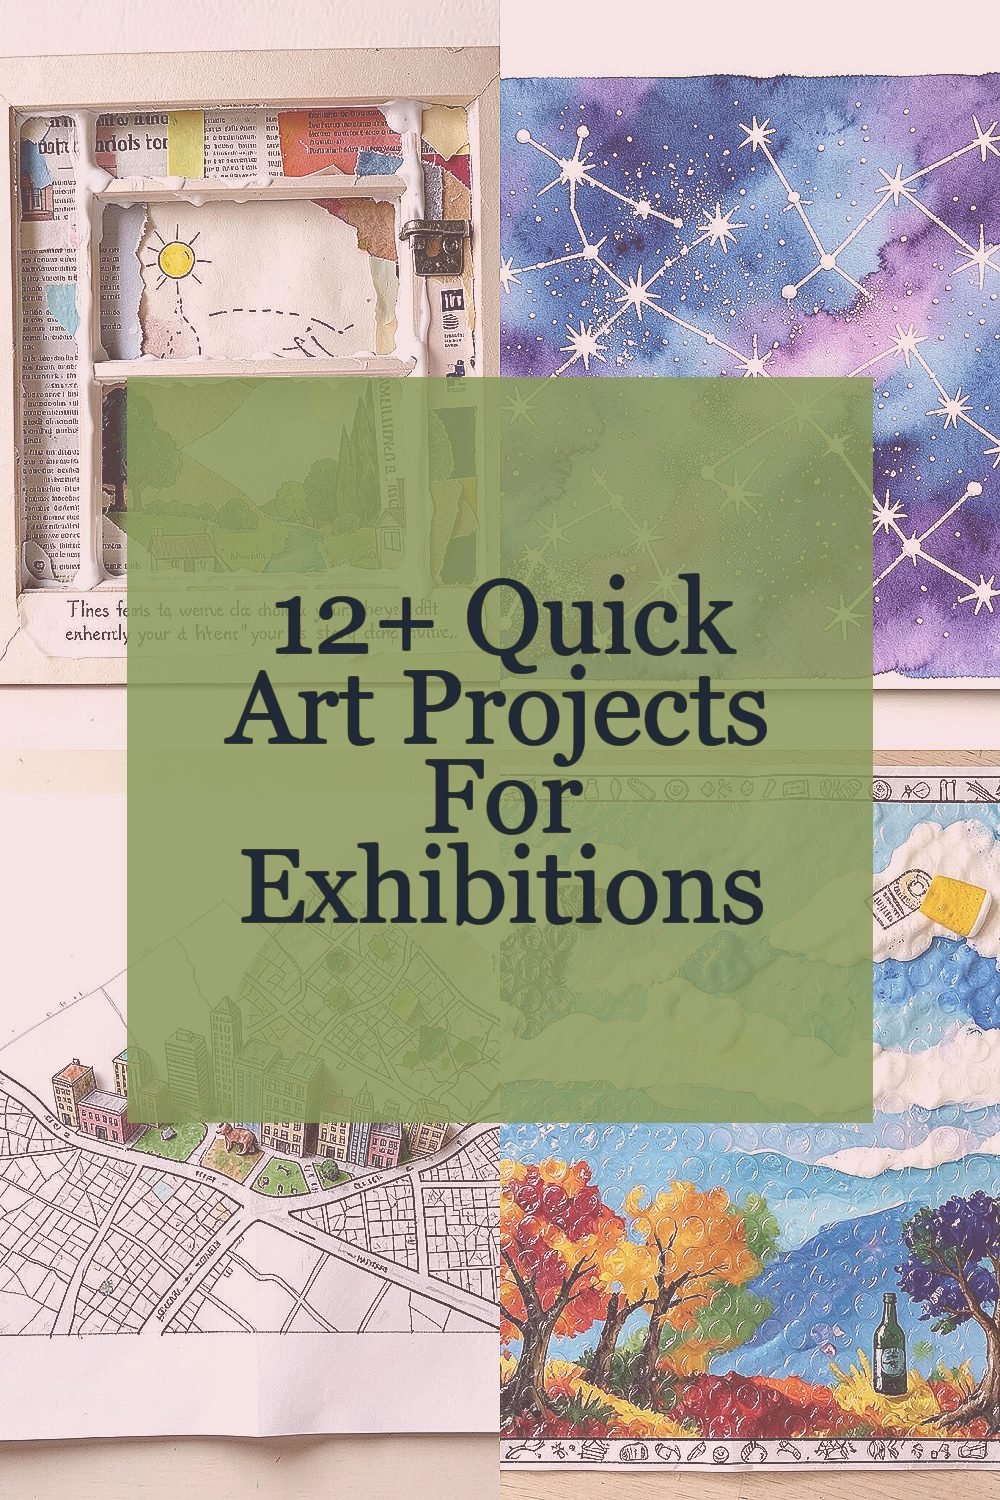
Pick a sturdy paper frame shape and fill it with magazine bits, colored paper scraps, and torn textures that catch the light. As you arrange each piece, think of one tiny moment you want viewers to “feel” right away.
Use a glue stick for most pieces, then seal the edges with a thin layer of white glue mixed with a little water so nothing lifts later. Add one hand-drawn detail like a small sun, a path, or a window latch to connect the whole scene. Finish by writing a short, personal caption on the back of the frame so you can explain your story during the exhibition.
2. Watercolor Salt Stars
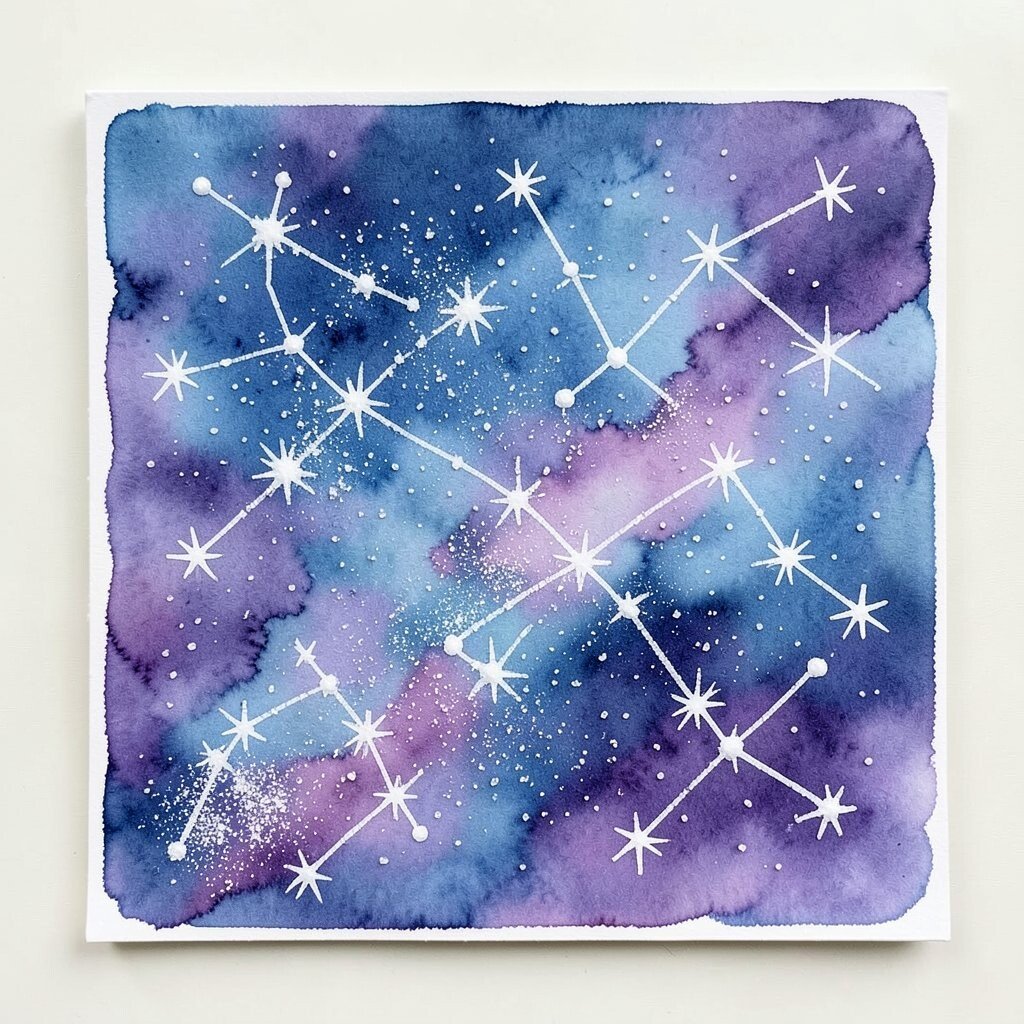
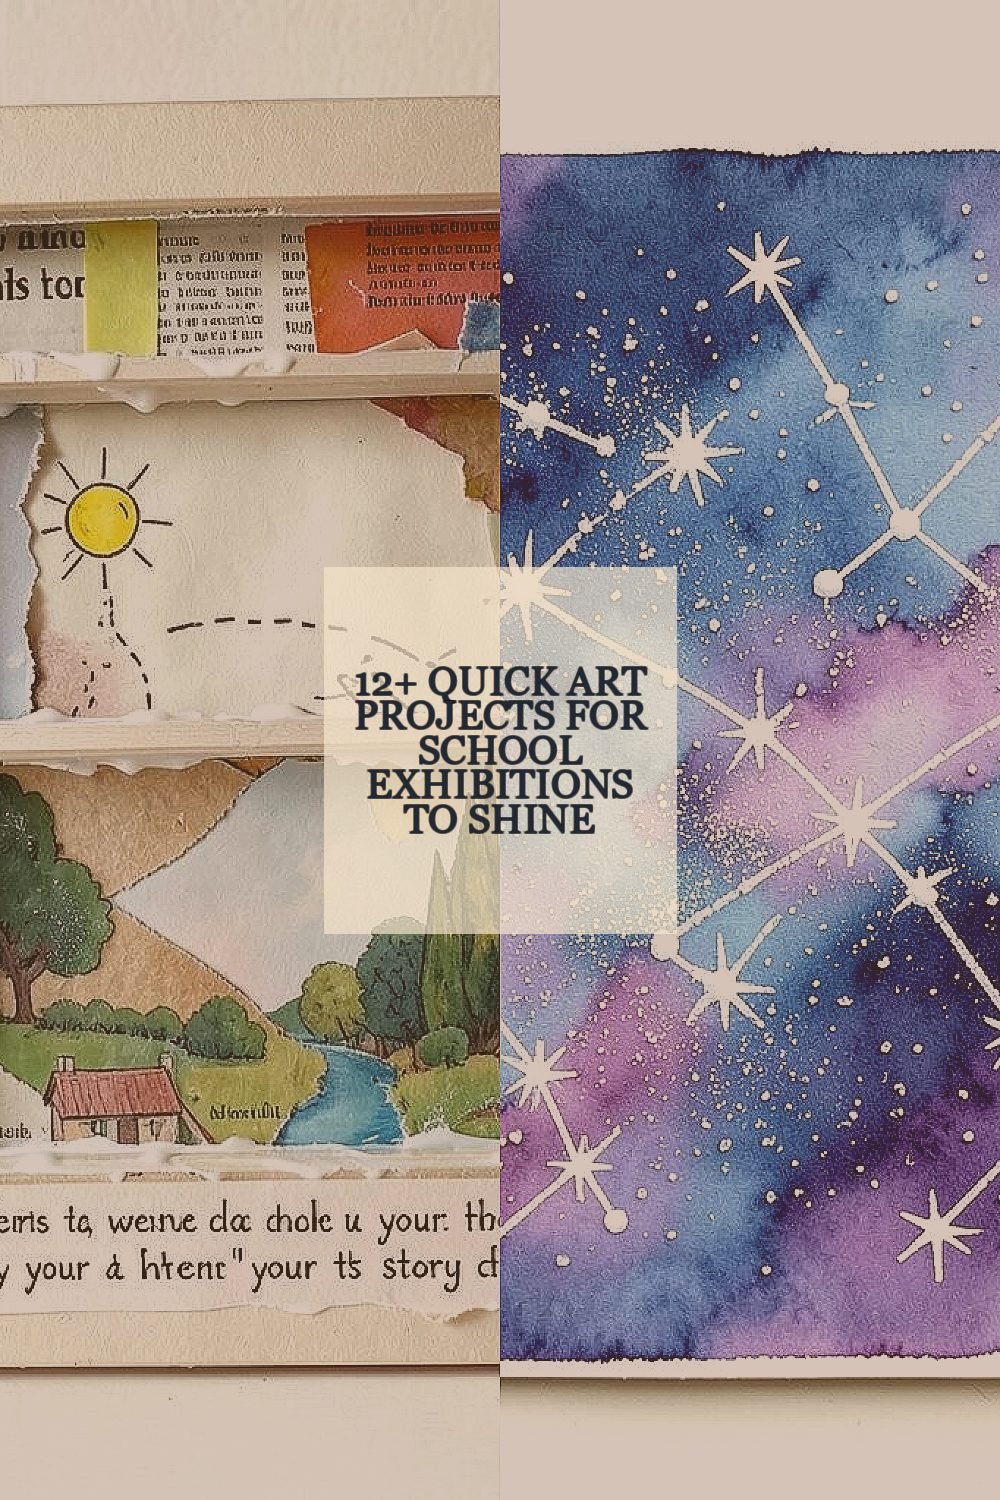
Paint a night sky using watered-down blues and purples, and sprinkle coarse salt right after the color goes on. The salt creates tiny starburst textures that look magical without needing perfect skills.
After it dries fully, gently brush off extra salt so the surface stays smooth and readable. Try using a white crayon for a few hidden constellations first, then paint over them so the stars pop even more.
For cost, you can keep everything simple with kid-safe watercolor sets and table salt. Personalize by choosing constellations that match your interests, like animals, sports teams, or favorite characters.
3. Recycled Map City Prints

Trace a simple city layout on plain paper using a pencil, then fill it with lines and textures using old maps, wrapping paper, or printed scraps. Cut small shapes for buildings and roads so your skyline looks layered and real.
Press each piece down firmly and smooth the edges so the artwork looks neat from a distance. Make streets by drawing with a black marker, then add tiny park shapes using green scraps or colored paper.
For extra originality, overlap one landmark with another so your city feels like it’s growing. When you talk about it, point out how you chose materials based on color and pattern, because that thought process is part of the art.
Cost stays low since you only need glue, scissors, and whatever paper you already have at home. This style also fits current trends like “upcycling” art and mixed-media visuals that many schools and community displays love right now.
4. Bubble Wrap Texture Posters
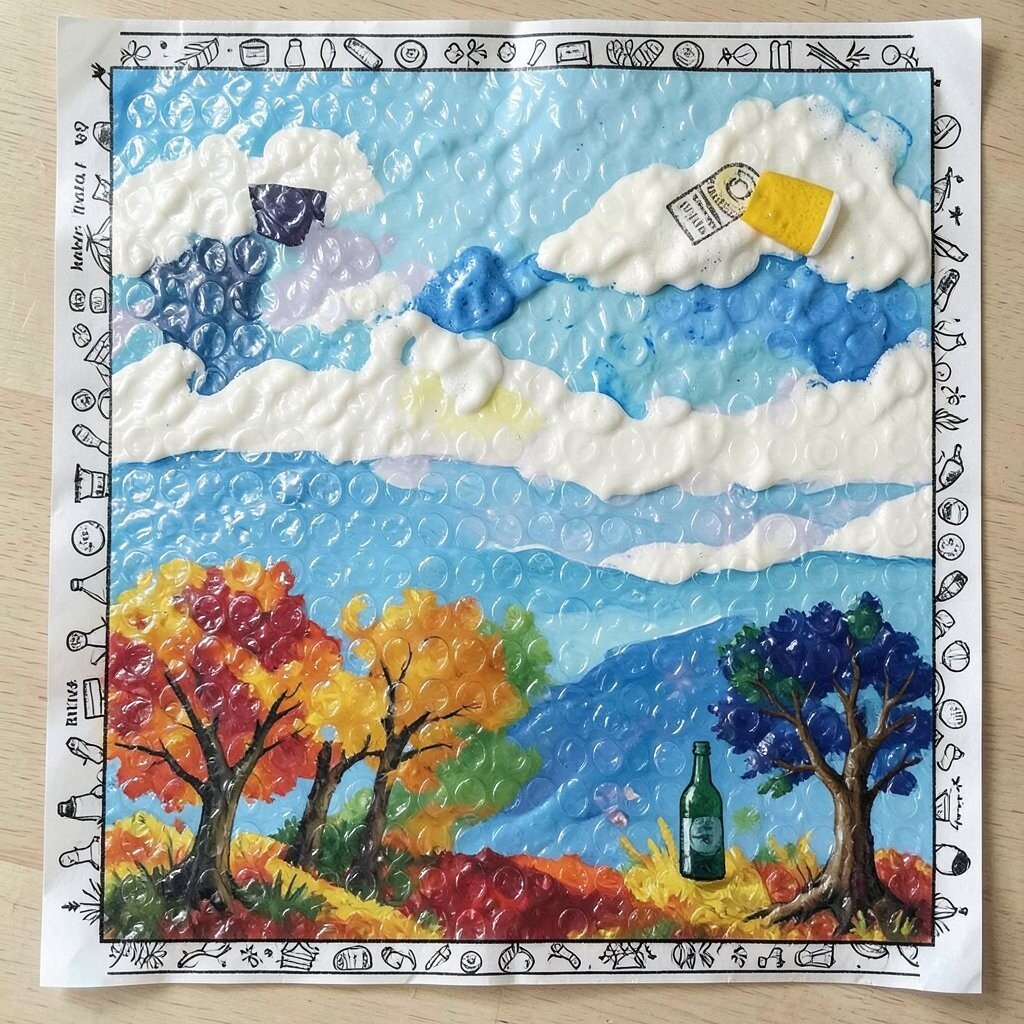
Lay bubble wrap under a sheet of thick paper, then paint over it with a foam brush or sponge. When you lift the wrap, you get a bumpy texture that looks like foam, waves, or clouds depending on your colors.
Choose a theme like ocean life or autumn trees and use contrasting colors to make the texture visible. Personalize by stamping small silhouettes with bottle caps or cut paper shapes on top of the textured background.
If you have time, add a border of hand-drawn details to frame the look and make it gallery-ready. This project also helps students practice painting without worrying about mistakes, since texture hides small uneven spots.
For cost, bubble wrap and basic paint are usually enough, and you can reuse materials for multiple posters. It’s also a great way to show that “how it’s made” matters, not just how it looks.
5. Clay Crayon Keepsakes
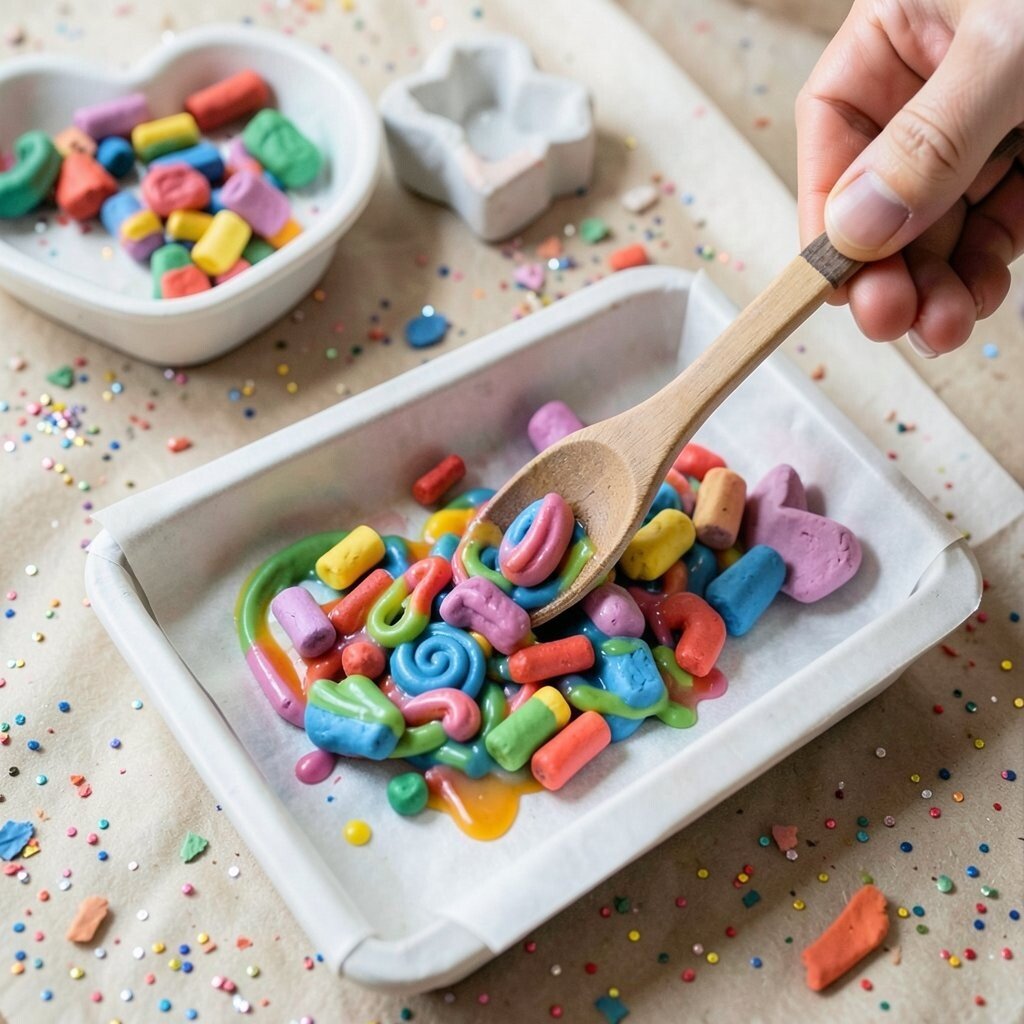
Break crayons into small pieces, melt them in a lined tray, then pour or spoon the colorful mix into a simple shape like a heart, star, or mini tray. Let it cool until the wax hardens, and you’ll have a bright art keepsake.
Create a background by adding small glitter sprinkles or crushed paper bits into the mold before the wax sets. Use a toothpick to swirl patterns so each piece looks like it has a secret design inside.
Keep safety in mind by using adult help for melting and keeping heat sources away from little hands. Cost is usually low because you can use broken crayons that would otherwise be thrown away.
6. Paper Plate Sun Prints

Fold a paper plate into a simple dome shape and press it gently onto ink or paint. Then add leaf shapes, plastic cutouts, or simple cardboard templates so you get crisp highlights and shadows.
Use a bright color palette like warm yellows, oranges, and reds, then add a center circle for the “sun.” The final piece looks bold and clean, which helps it stand out in a busy exhibition display.
To personalize, write a short symbol in the center, like a smiley face, a lightning bolt, or your initials. For practical tips, dry your prints flat under a book so they don’t curl, and use thick paper for the best transfer.
7. Chalk Resist Leaf Art
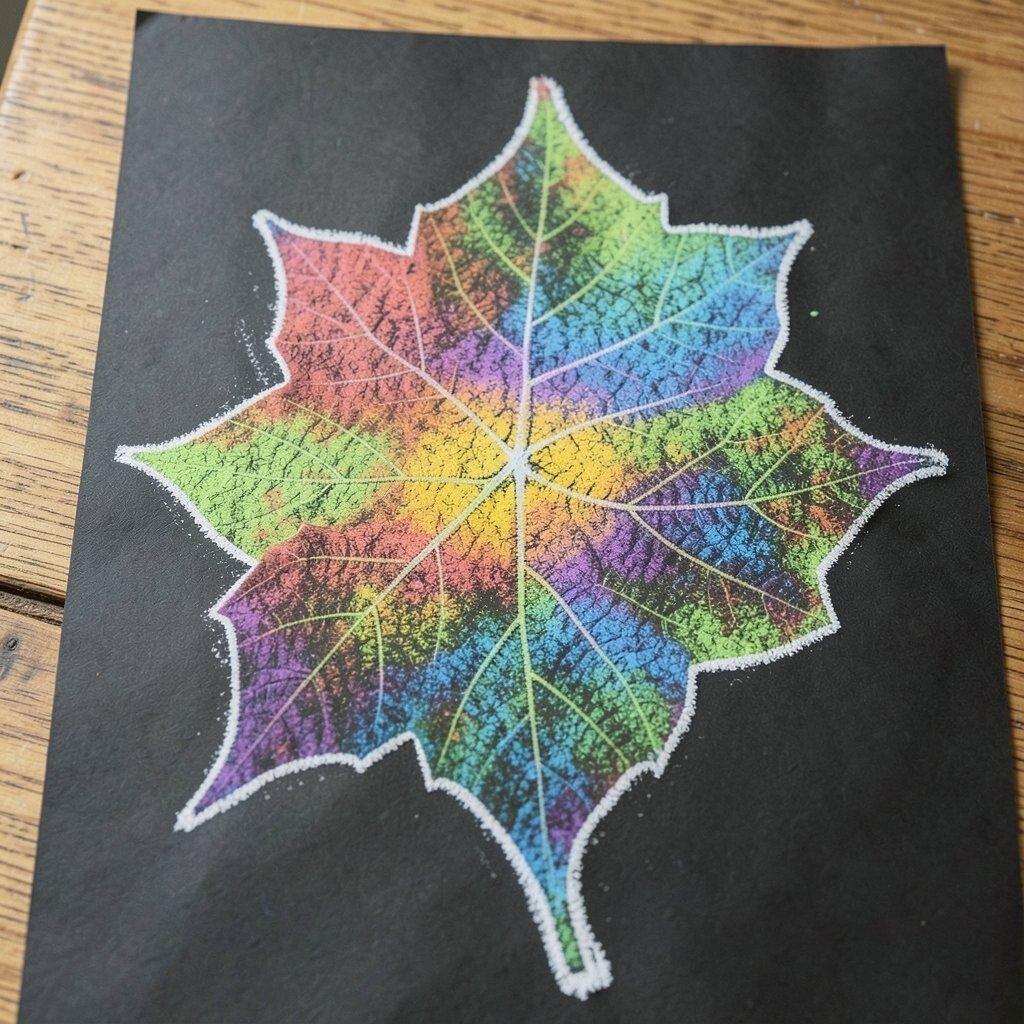
Lay a leaf under dark construction paper and rub chalk around it until the veins show through. If you swap colors, you can create a sunrise effect where each leaf looks different.
For a more eye-catching finish, use white chalk to outline the leaf edges so the shape stays sharp. This method feels unique because it keeps real natural details, like tiny veins, in the spotlight.
Cost is budget-friendly since chalk and construction paper are often already available. Personalize by choosing leaves from different trees and comparing how each one prints, which makes your display more interesting for viewers.
8. Vinyl Record Rainbow Landscapes

Use a circle template made from a paper plate or cardboard ring to design a landscape that fits inside a circular frame. Then paint layered hills and a sky gradient so the scene looks like it’s spinning.
For texture, glue small cut paper strips to form “roads” or “fields,” then outline them with a fine marker. If you want a current trend vibe, keep the colors bold and clean like modern poster art, which looks great in school lighting.
When you plan your colors, pick a theme such as oceans, sunsets, or space, and stick to a limited palette for a polished look. Cost stays low because acrylic or poster paint and simple markers are enough to make it vibrant.
9. Tin Foil Mirror Highlights
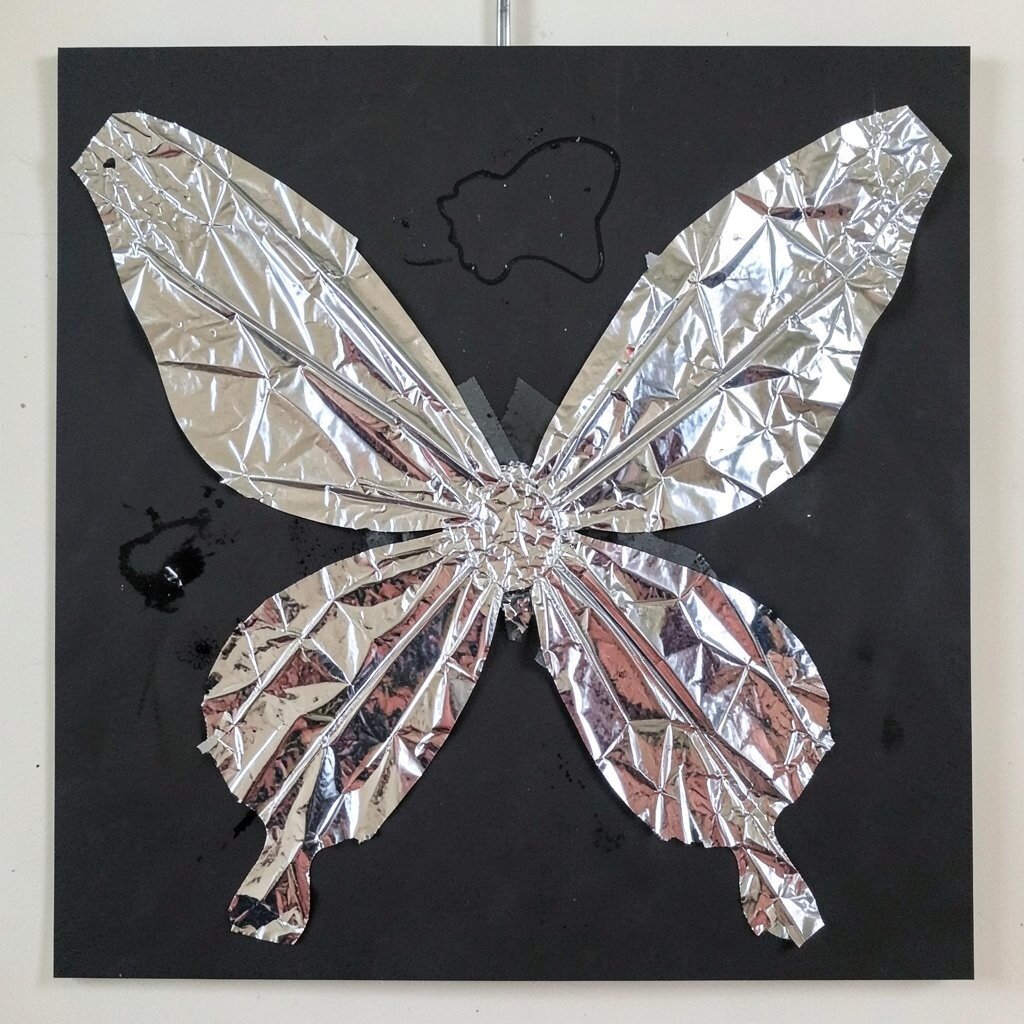
Crinkle aluminum foil lightly and press it onto a dark paper background to create reflective highlights. Arrange the foil in a pattern like a butterfly wing or a bright burst to make the shiny parts feel intentional.
Then add matte details with black marker, colored pencil, or small paper cutouts so the reflective areas don’t swallow the whole design. This gives your piece a contrast that looks sharp from far away, which is perfect for exhibition walls.
Personalize with your own symbol, like a sports logo-inspired shape or a favorite animal silhouette, so the artwork feels connected to you. Use practical layering by taping the foil edges down carefully, which helps prevent peeling later.
For cost, foil is usually inexpensive, and you only need a few tools. It also matches the popular “mixed texture” look that many art displays use right now because it creates depth without heavy materials.
10. Stop-Motion Paper Cut Character Scenes
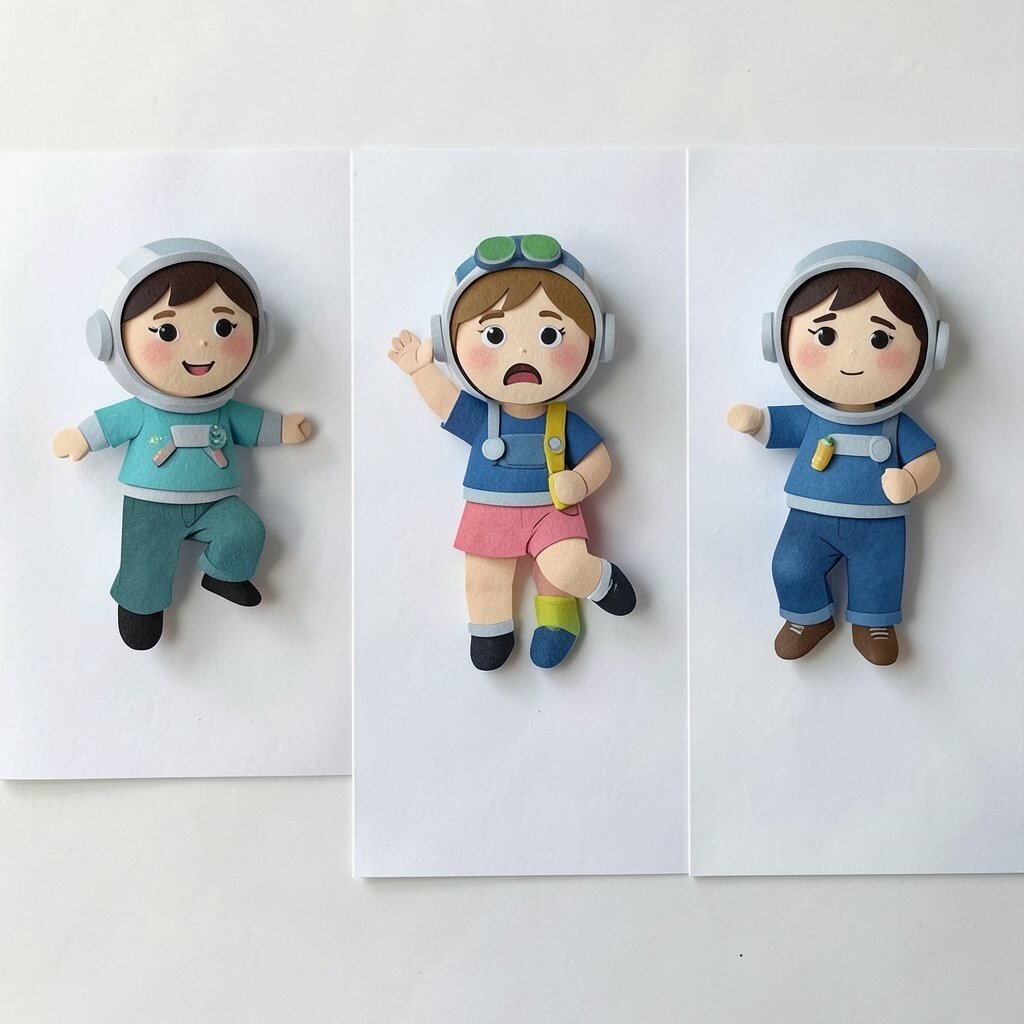
Create a small character cutout and a simple background on thick cardstock, then make slight changes between a few frames. Even if you don’t build a full animation, you can display a sequence of stills that looks like motion.
Draw one character expression, then make two more versions with a different mouth or eye shape. Arrange each version beside the last so visitors can see the “story” step by step.
To keep it practical, choose a scene that fits in a palm-sized area, like a jump, a wave, or a tiny dance. Personalize the character with clothing colors, accessories, and a theme you love, like space explorers or garden pals.
Cost is usually minimal because paper, markers, and glue do most of the work. This project also feels modern since many schools enjoy short, stop-motion style storytelling for exhibitions and media days.
11. Thread and Button Pattern Medallions

Draw a circle medallion on cardstock, then place buttons, bottle caps, or cardboard rings as guides. Use a needle-safe method like a large yarn needle or pre-punched holes so you can string colorful thread in neat loops.
Choose a pattern such as spirals, radial stripes, or repeated shapes that look clean and intentional. The raised textures from buttons make the piece stand out when people move past it.
For personalization, connect the medallion to your interests by using colors like a favorite team palette or a hobby theme such as music notes. If you want a cost-friendly approach, ask families for spare buttons or use safe plastic beads.
When you display it, mount your medallion on a contrasting background so the thread details are easy to see from a few feet away. This is a hands-on craft that shows patience and skill, which helps students feel proud during the exhibition.
12. Acrylic Pour Style Marble Mazes

Use a cardboard base and pour small puddles of paint, then drag a toothpick through them to form swirling “maze” lines. The surface looks like marble, and each pull creates a different path, so no two pieces match.
To get cleaner edges, do test swirls on scrap first and keep your base flat. Add a final touch by placing thin strips of paper or cut shapes into the wet paint, then remove them after the paint sets to reveal crisp outlines.
Cost considerations are simple since you only need paint and basic tools, and you can use leftover colors. Personalize by choosing colors that match your room or school colors, or by making a theme like “galaxy” with deep purples and bright specks.
Even if you’re new to painting, the technique feels forgiving because the final look depends on your movement. That makes it perfect for showing creativity in front of classmates.
13. Giant Paper Weaving Night Gardens
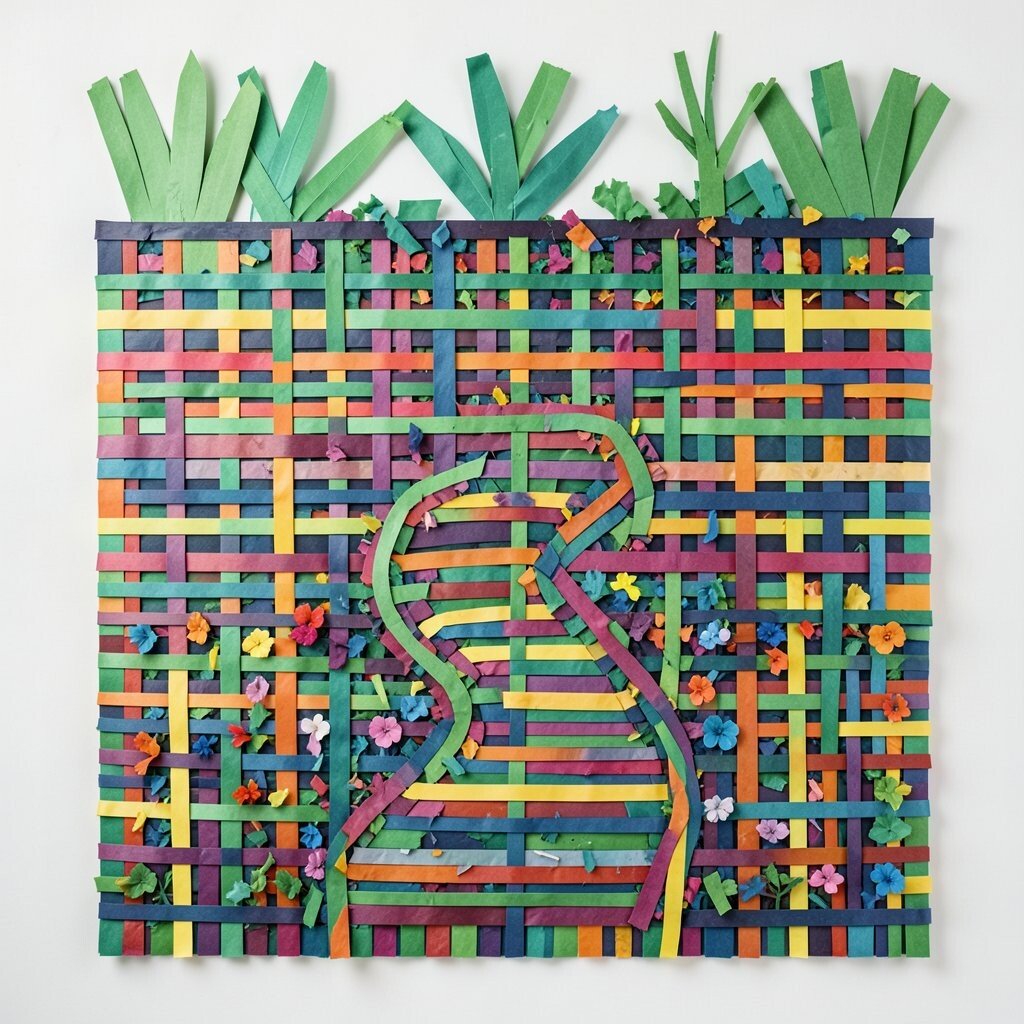
Cut long strips of paper in two or three colors and weave them into a tall rectangle like a garden fence. Add simple plant shapes at the top using green scraps, and outline a winding path in the middle.
After the weaving is done, glue the ends flat and press the edges so the weaving looks sturdy. The visual effect is bold because you can see the interlacing lines clearly, even from a distance.
Personalization is easy by weaving in patterns such as stripes that match your favorite season, or tiny accent colors that represent flowers you like. For practical tips, measure your rectangle first and keep strip spacing consistent so the weaving stays neat.
For cost, you can use scrap paper from old projects, and the supplies are just scissors and glue. This kind of tactile, textile-inspired art is popular in school exhibitions because it feels handmade and it tells a story about building something step by step.