A good “before” can hide a “better.” Small mistakes make the difference between clutter and a real gem.
Trash-to-treasure projects feel fun, but a few common blunders can drain your time and money. When you slow down and choose smarter, your finds look more personal and last longer.
1. Rushing the First Clean
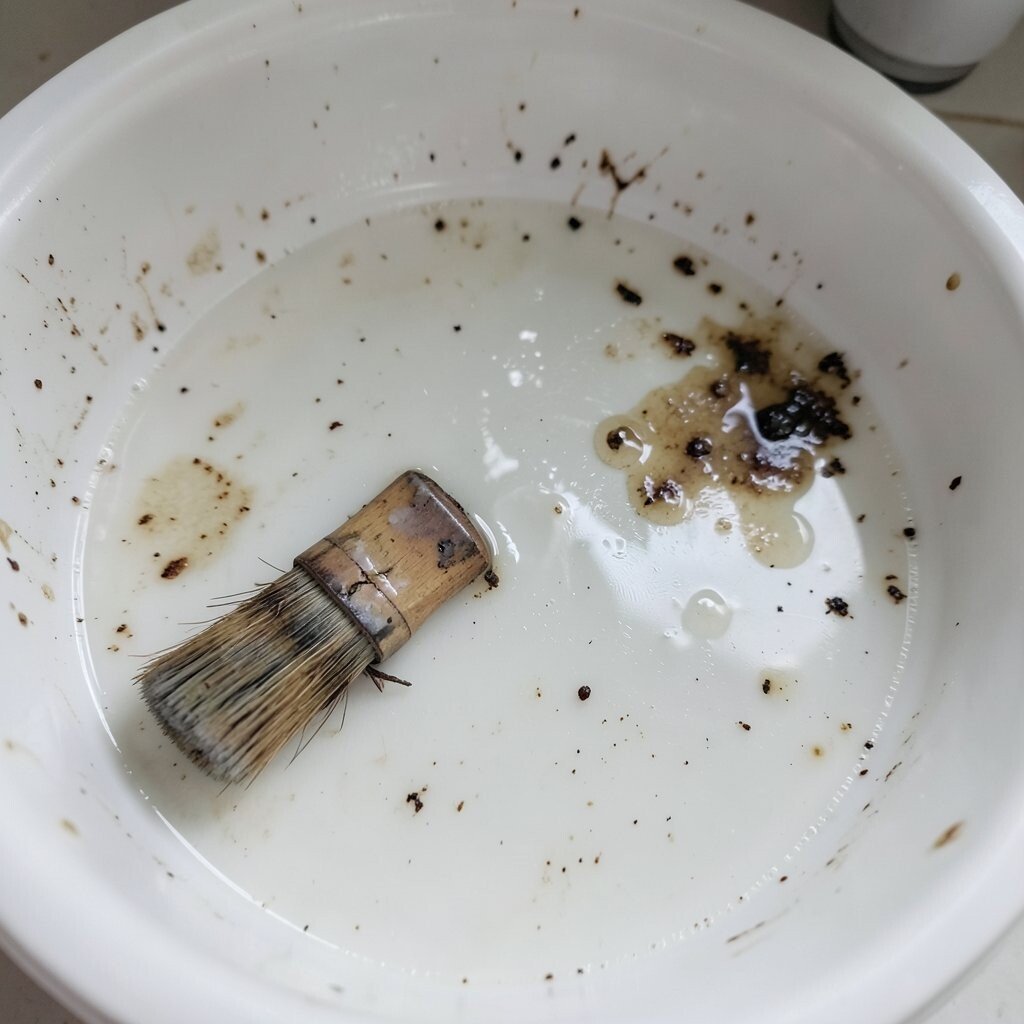
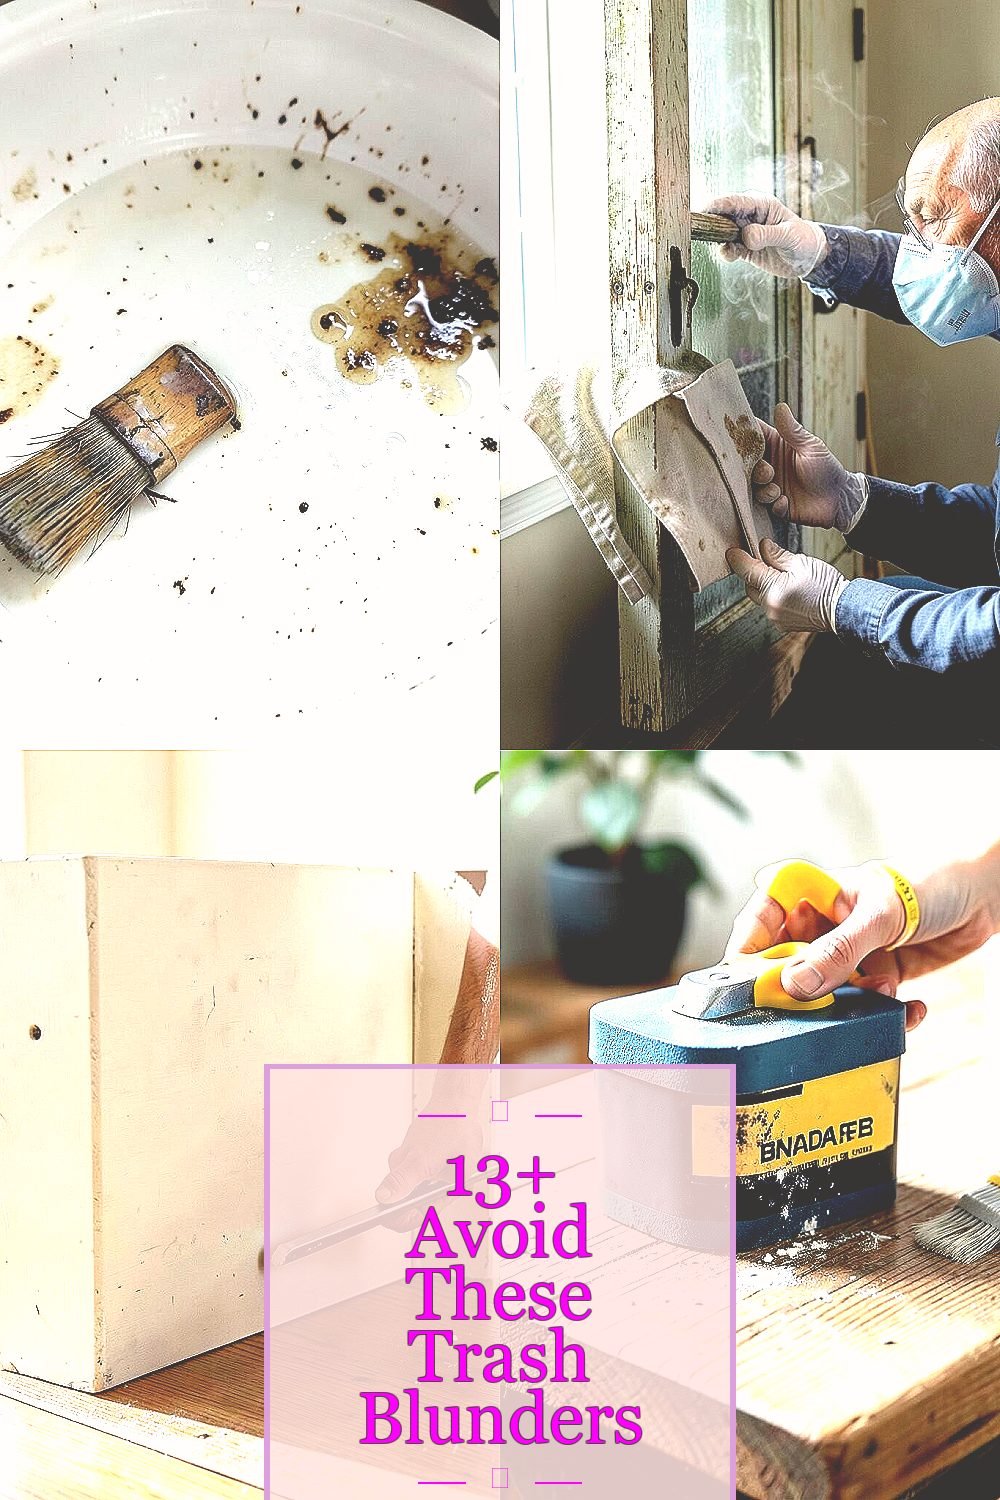
Dirty surfaces can trick your eyes and hide damage. If you scrub too fast with harsh chemicals, you may drive grime deeper or dull finishes that looked promising.
Start by doing a gentle rinse and letting items dry so you can see what you really have. Use warm water and mild soap, then spot-clean stubborn spots with a soft brush. Once you can clearly see cracks, dents, and stains, you can decide what’s safe to keep and what needs a different plan.
2. Ignoring Smells That Signal Problems
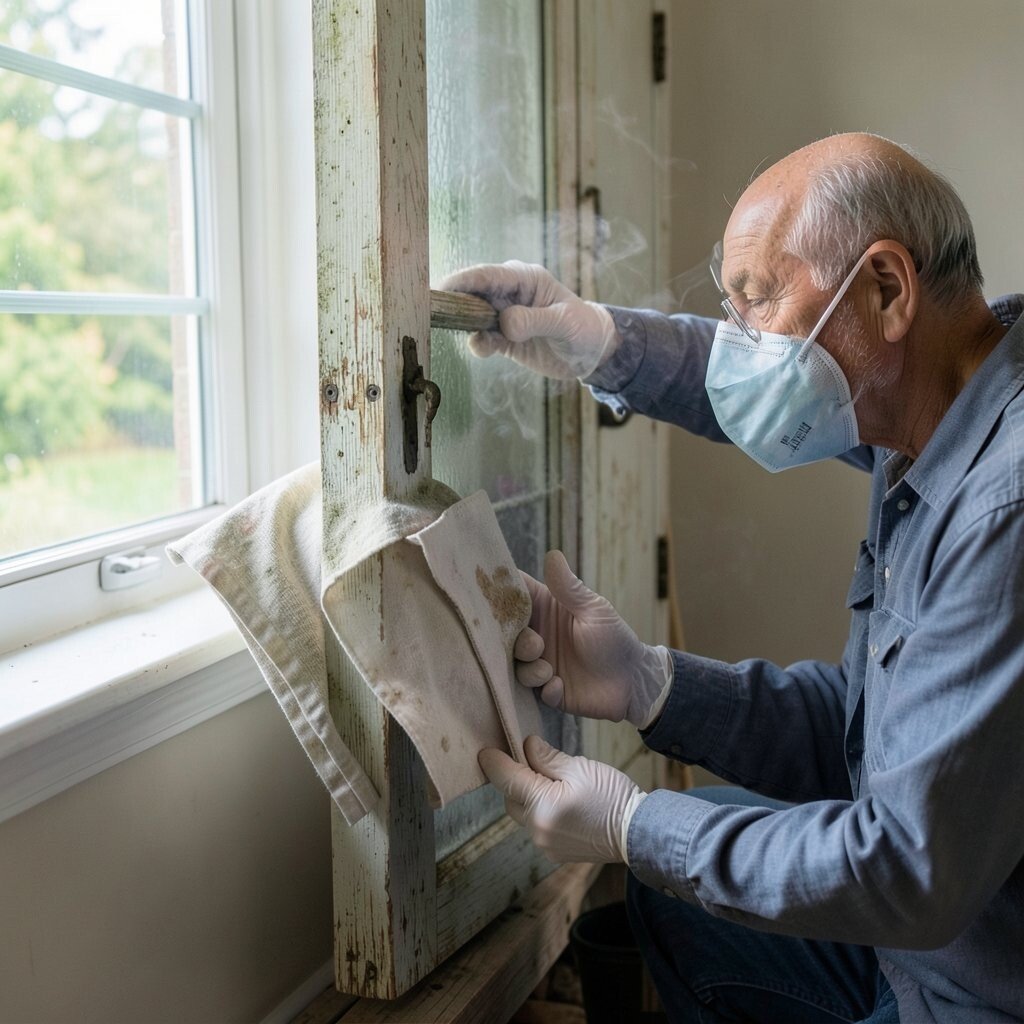
A lingering odor usually means something is trapped inside. Mildewy cabinet wood, smoky fabrics, or old food smells can cling even after a quick wipe.
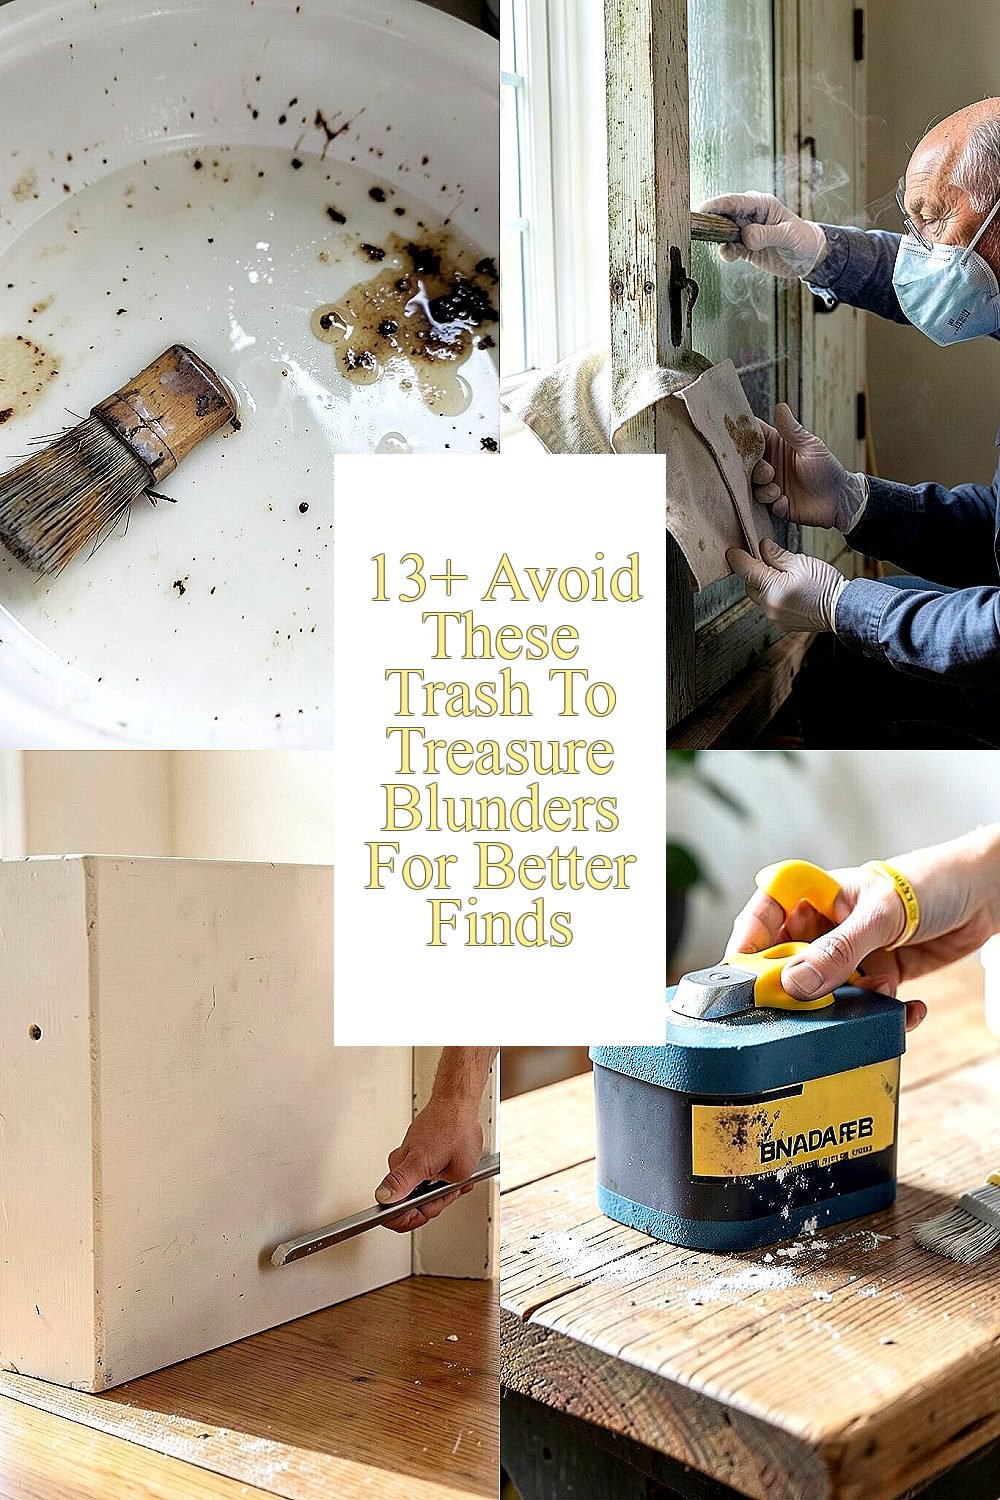
Wear a mask if you’re working with dusty or smoky items, and keep the piece outside or near a window when you test cleaning. If the smell won’t fade after careful cleaning and drying, skip it and save your effort for something that already feels fresh. This protects your home and helps your project turn out nicer instead of becoming a constant reminder of a bad find.
For fabric goods, test a small hidden area first and air them out for a full day. You’ll also learn what cleaning approach works best, which saves money later when you don’t waste supplies on a piece that won’t cooperate.
3. Scraping First, Thinking Later
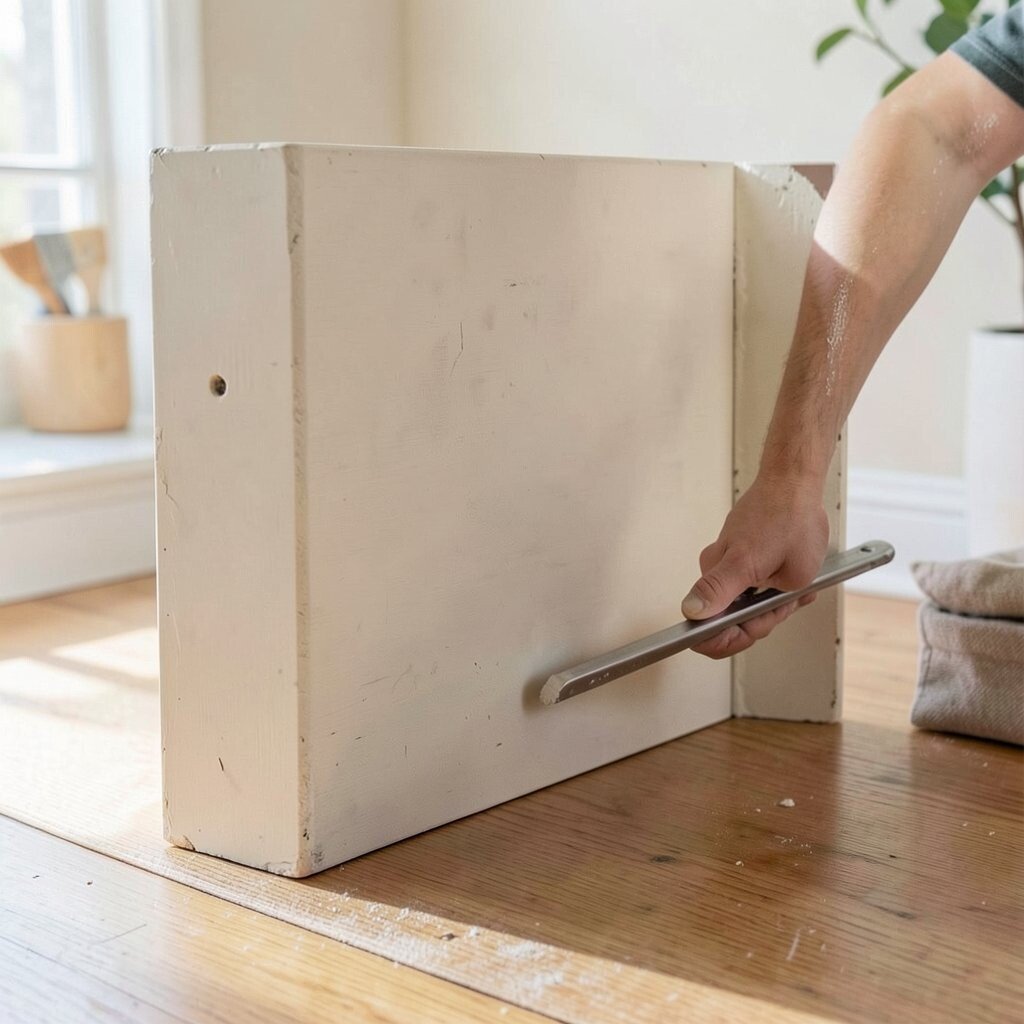
Paint, varnish, and coatings can be part of the charm, even if they look rough. If you scrape too early, you can remove the good layer along with the bad.
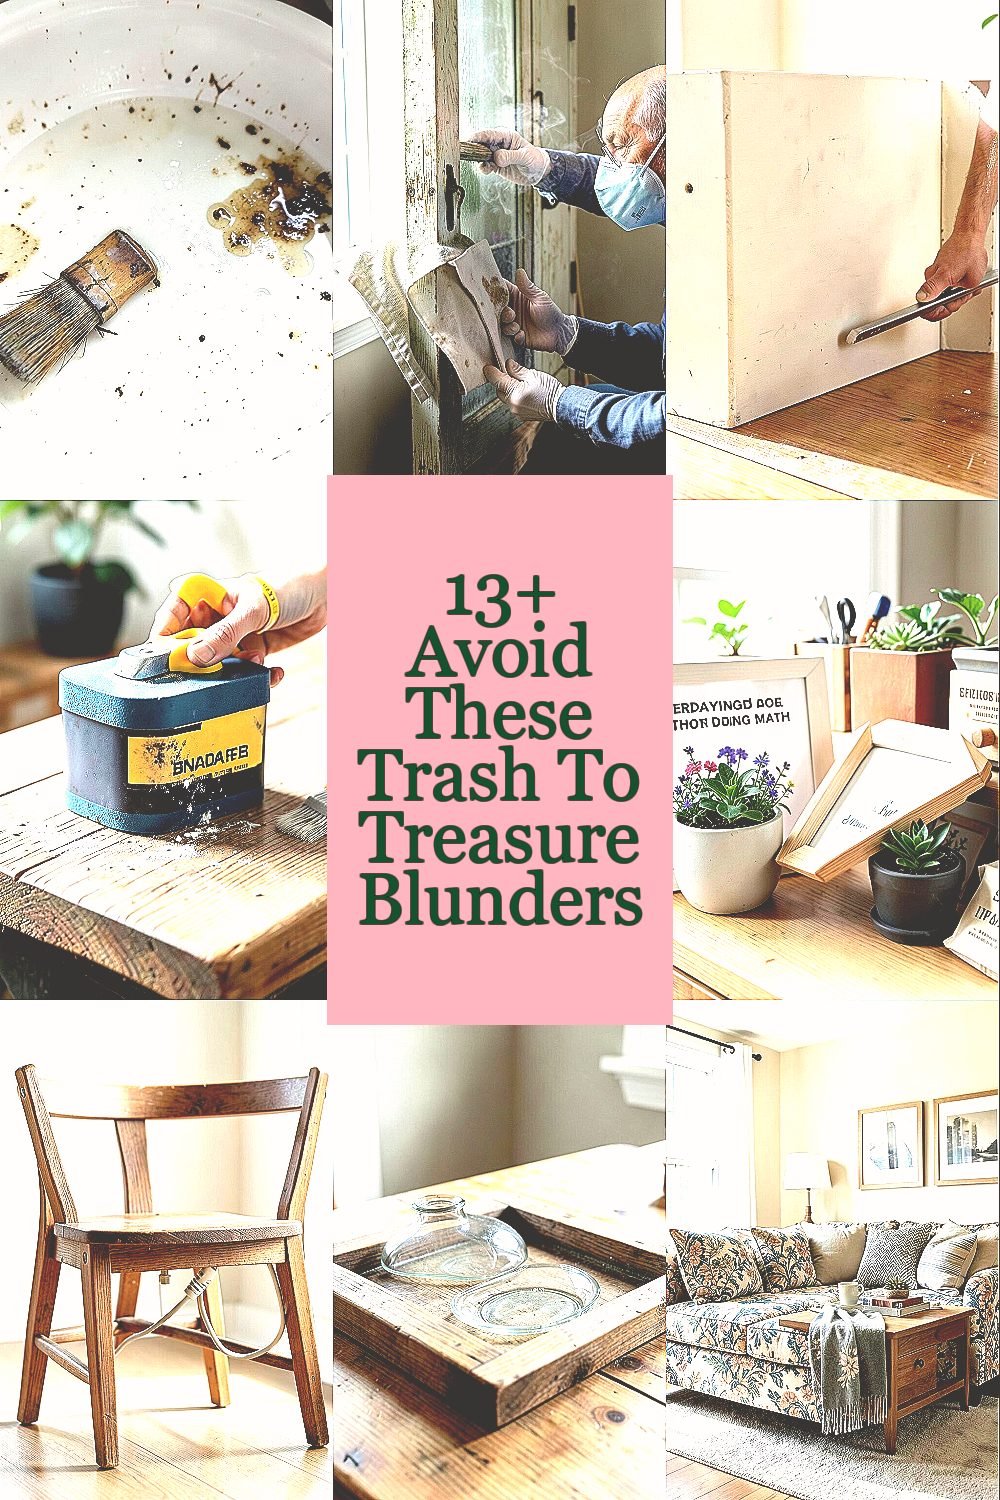
Before you touch anything, look closely at edges, corners, and seams where layers show up. Take photos so you remember how the piece looked, then decide whether stripping, sanding, or gentle restoration is the best route. A little patience here helps your final item look intentional instead of accidentally damaged.
Try starting with light sanding on a small spot if you want a smoother finish. If the surface chips or turns blotchy, stop and adjust your plan, because some finishes need different prep. Keeping the original character can also fit today’s trend toward “kept texture” and lived-in beauty.
When you preserve details, your project feels more unique and less like a rushed cover-up. That subtle authenticity is what many people love when they see a finished piece in a room.
4. Buying Supplies That Don’t Match the Material
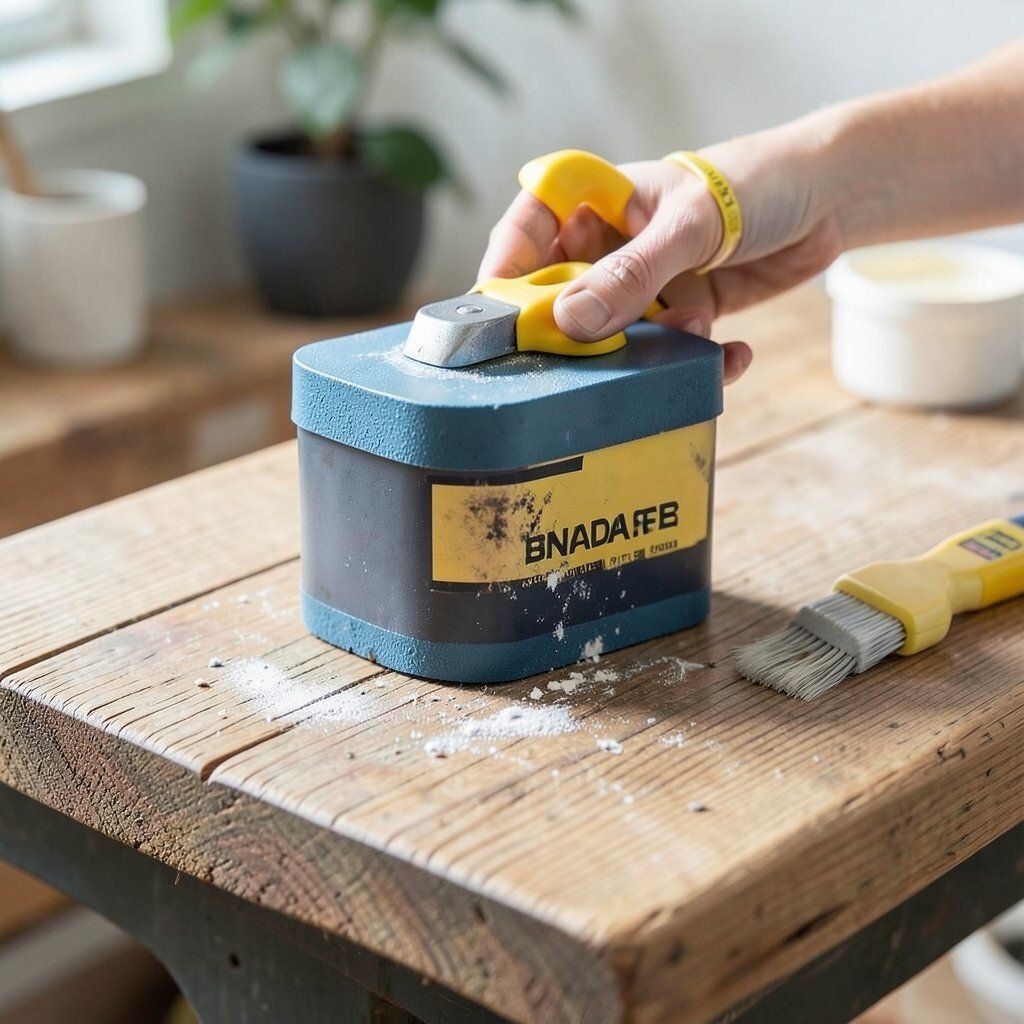
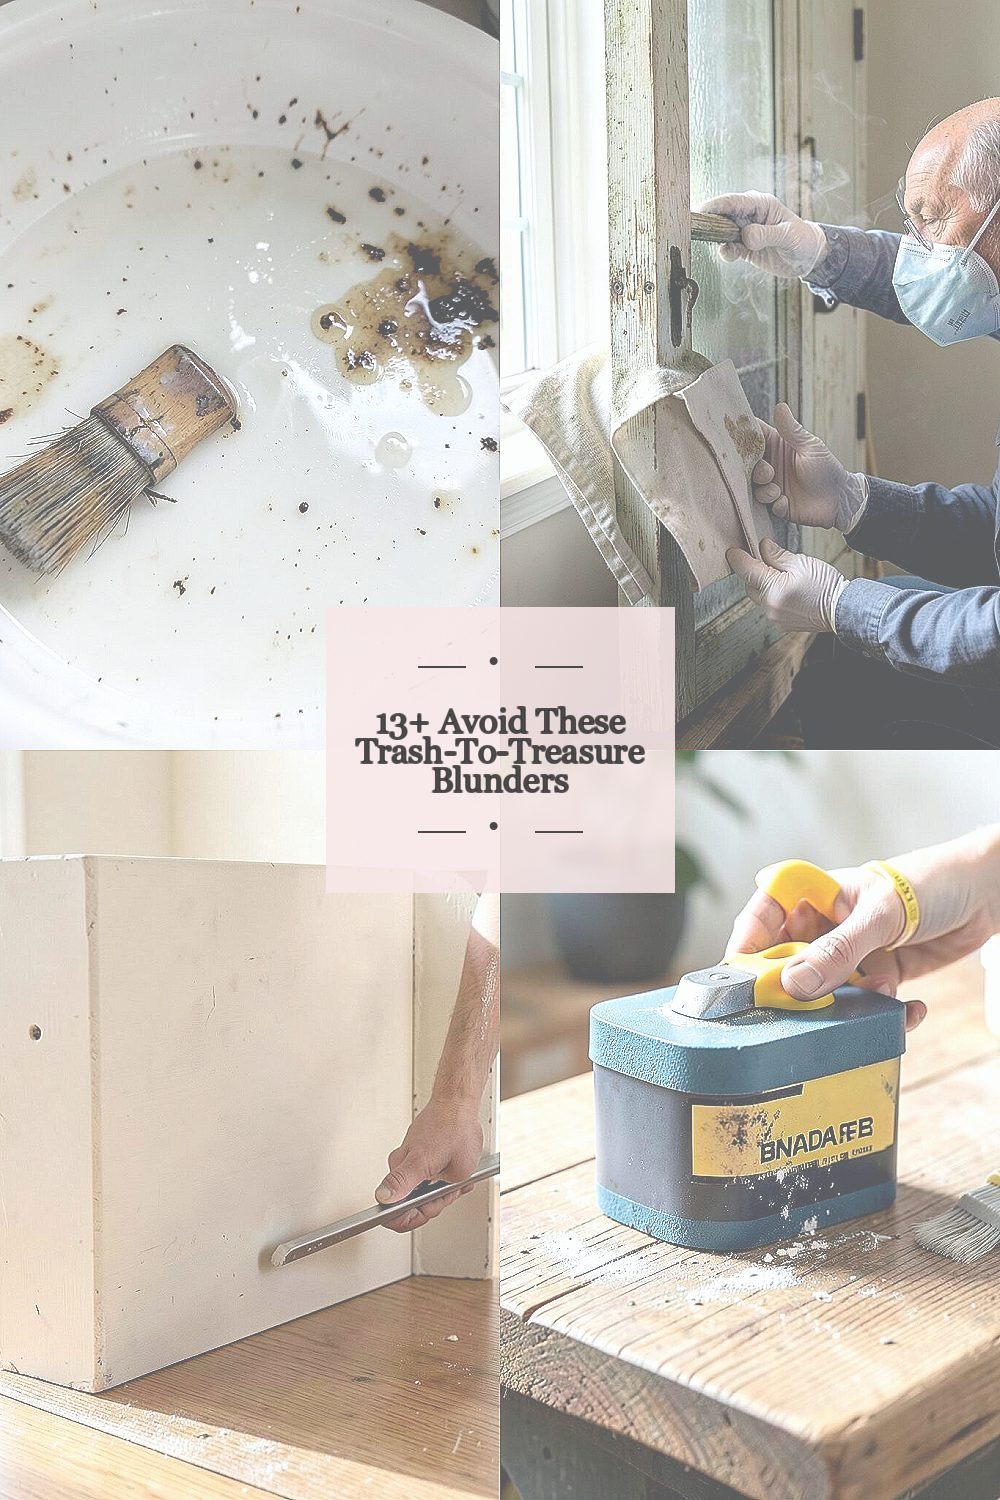
The wrong cleaner or wrong sandpaper can cause damage fast. You might think “more grit” equals better results, but some materials scratch or shed if you push too hard.
Check what the item is made from and match your materials to it. For wood, a gentle approach often beats aggressive sanding, while metal may need rust removal and a suitable coating. For glass, you’ll usually want non-abrasive tools so you don’t create micro-scratches that catch the light.
5. Choosing Only the Most Obvious “Wow” Pieces
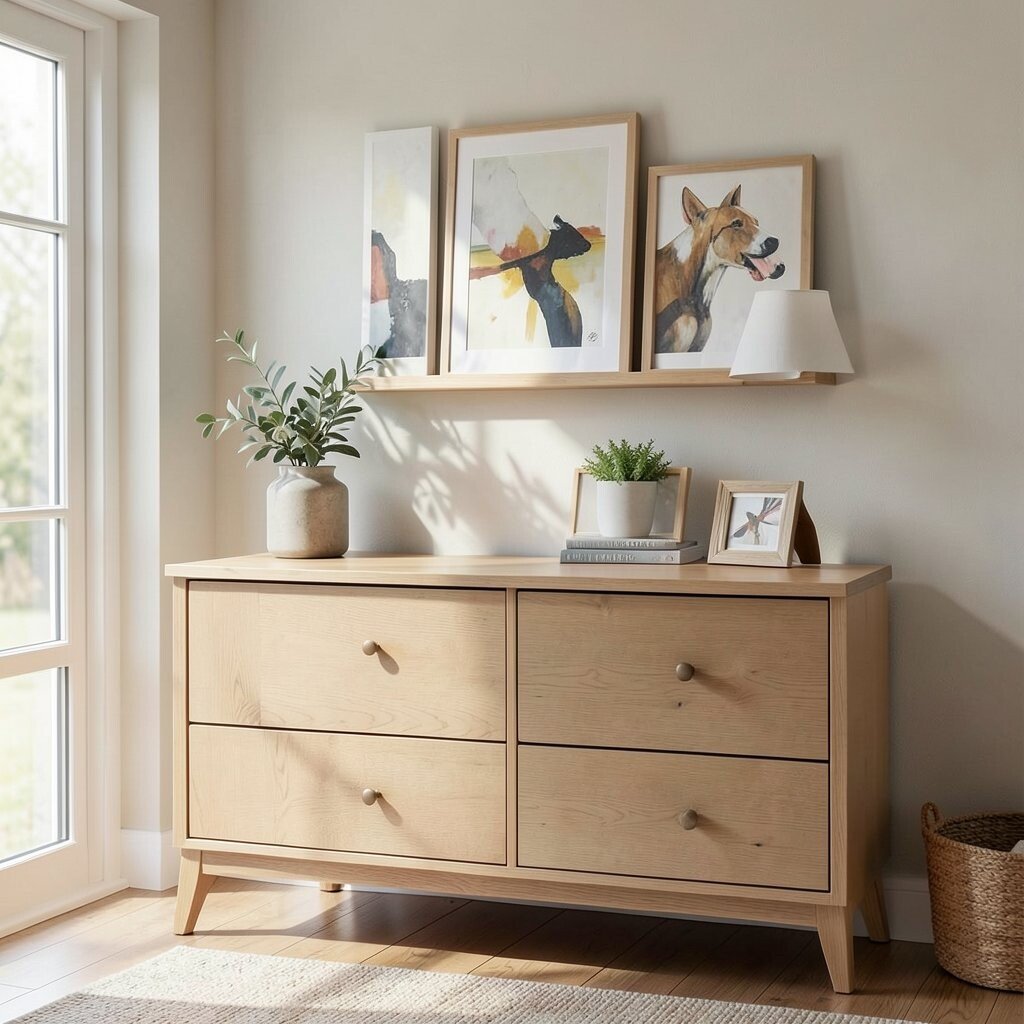
People often chase the loudest colors and biggest shapes, then regret what they cannot fix. A plain dresser or plain frame can hold more potential than a flashy item with hidden issues.
Look for structural strength first, like steady joints, solid hardware, and surfaces that can clean up. Then picture how it could fit your space, such as adding a pop of color to a simple cabinet or turning a boring shelf into an art display. This kind of thinking supports personalization, because your finished piece matches how you actually live.
It also saves money since you avoid expensive replacements when you buy a “wow” item that turns out to be warped or weak. Today’s style trends often favor cozy, useful pieces, so a practical transform can look stylish and feel meaningful.
6. Overpaying for “Secondhand” Without Doing Math
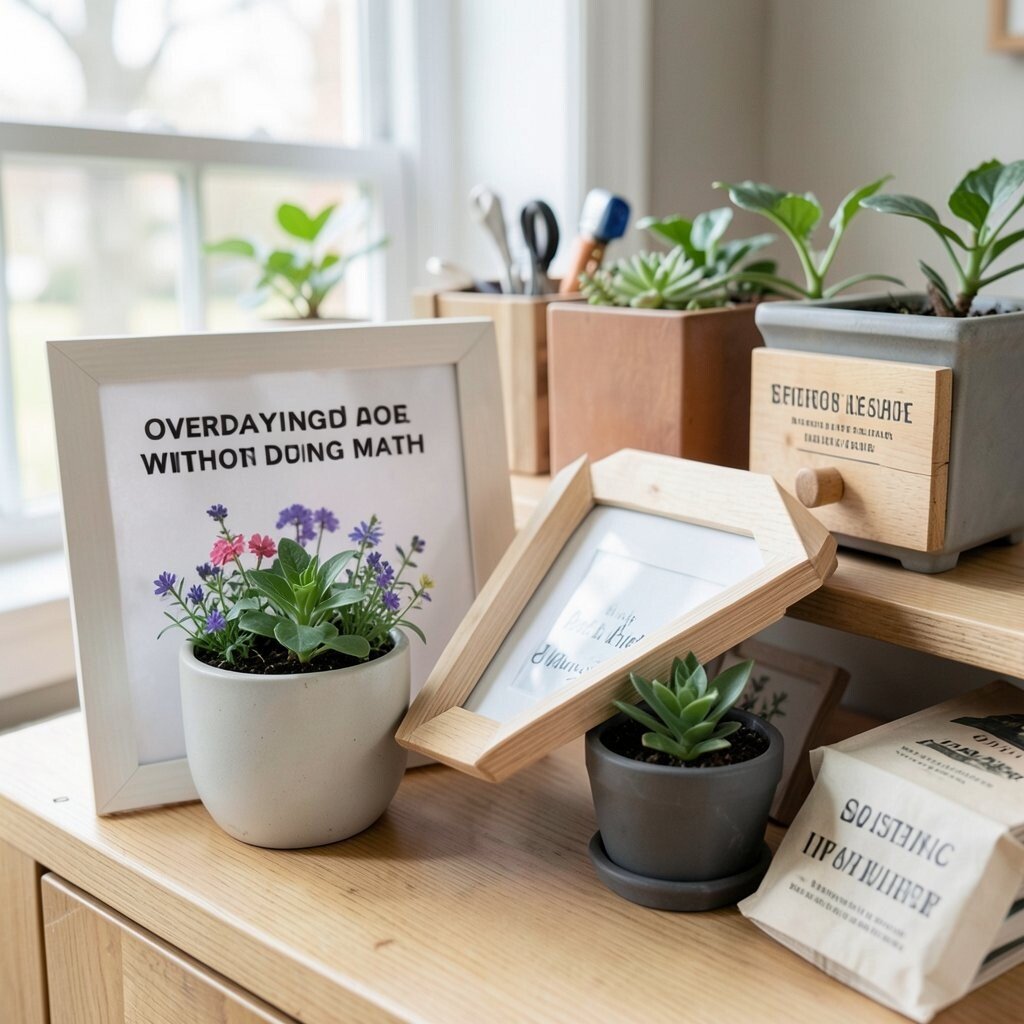
Even when a find is labeled cheap, it can get costly after supplies and repairs. A bargain can quietly become expensive if you underestimate what’s needed.
Before you buy, do a quick check of condition and think about what you might need for cleaning, fixing, or finishing. Compare the total cost to what a similar new item would cost, even if only in your head. When you plan your budget, you keep the joy of thrifting and avoid buyer regret.
If you’re unsure, look for small items with clear materials, like frames, planters, or drawer organizers. These usually require fewer steps, which helps you build confidence without spending too much.
7. Skipping Repairs That Affect Safety
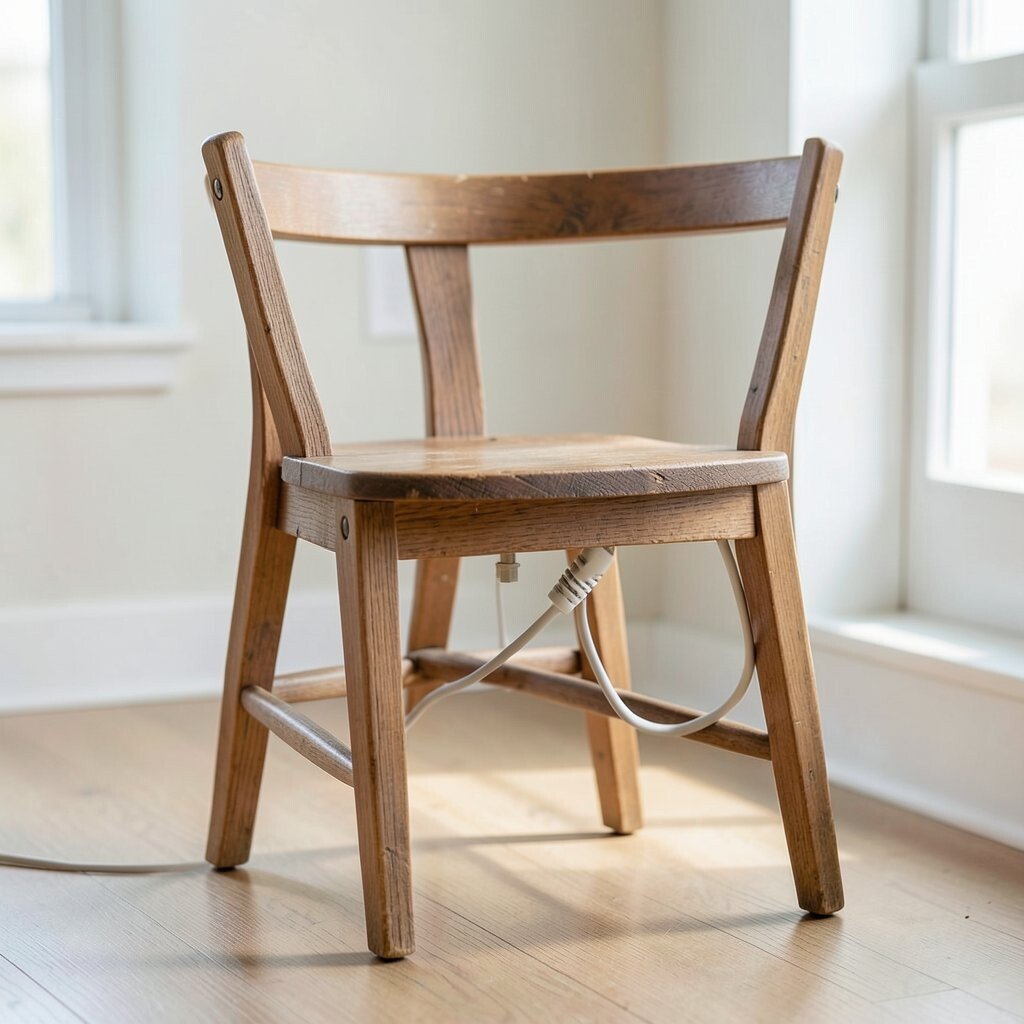
A shaky chair or weak shelf can seem usable, but it can fail later. If a lamp wiring looks questionable, don’t guess, because safety matters more than saving a few dollars.
Test stability by gently applying pressure to joints and hardware. For electrical items, confirm that cords and switches are in good shape or choose something that clearly plugs in safely. When you fix small issues early, your project lasts longer and feels better every time you use it.
Strong repairs also make your find feel higher-end, because a sturdy base supports better finishing and smoother everyday use. People notice that kind of quality, and it boosts the “wow” factor without you needing fancy extras.
8. Storing Your Finds in a Way That Creates More Damage
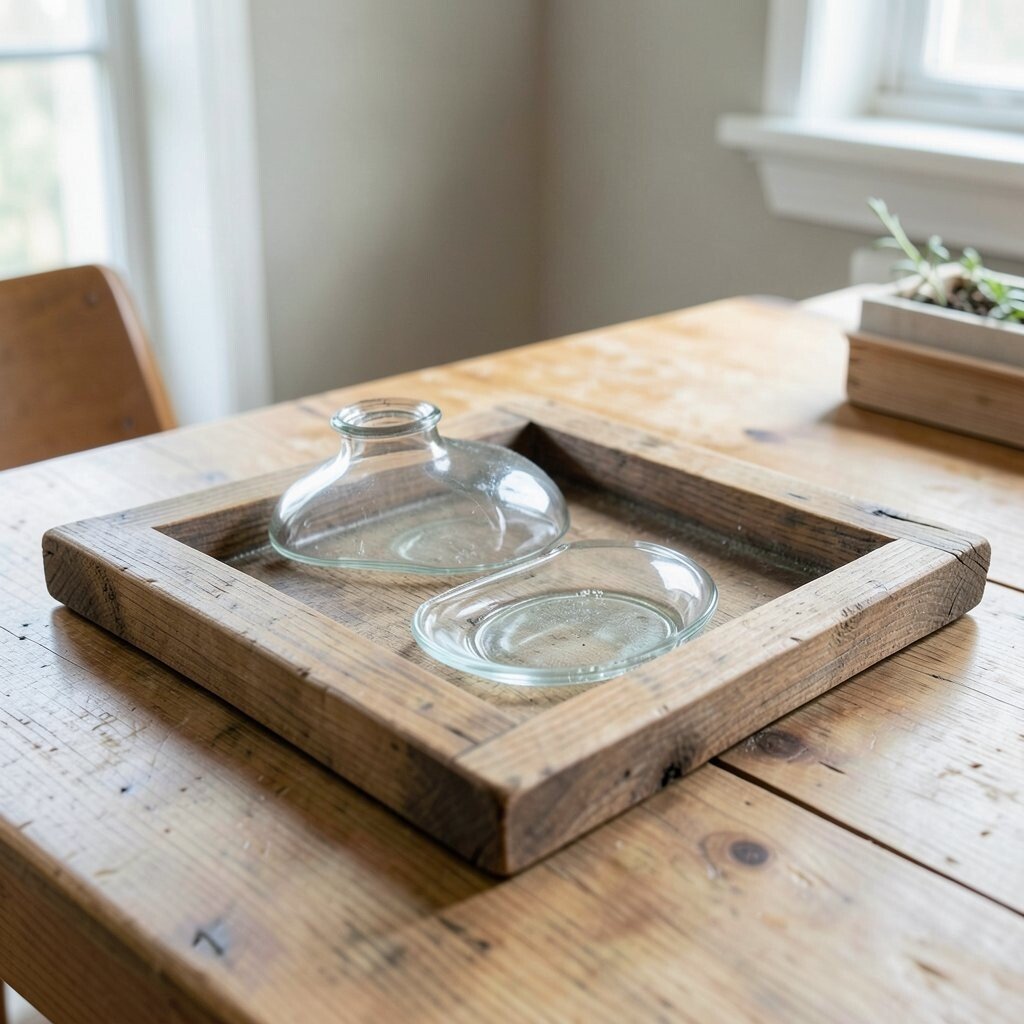
Even after you bring an item home, bad storage can ruin it. Wet basements, closed bags, and stacked heavy pieces can cause mold, warping, or scratches.
Keep items dry and give them space so air can move. For wood, store it flat or supported so it doesn’t bend, and wrap glass carefully to prevent chips. When you handle storage with care, you protect your investment and keep your project on track for later.
9. Copying Someone Else’s Finish Without Matching Your Space
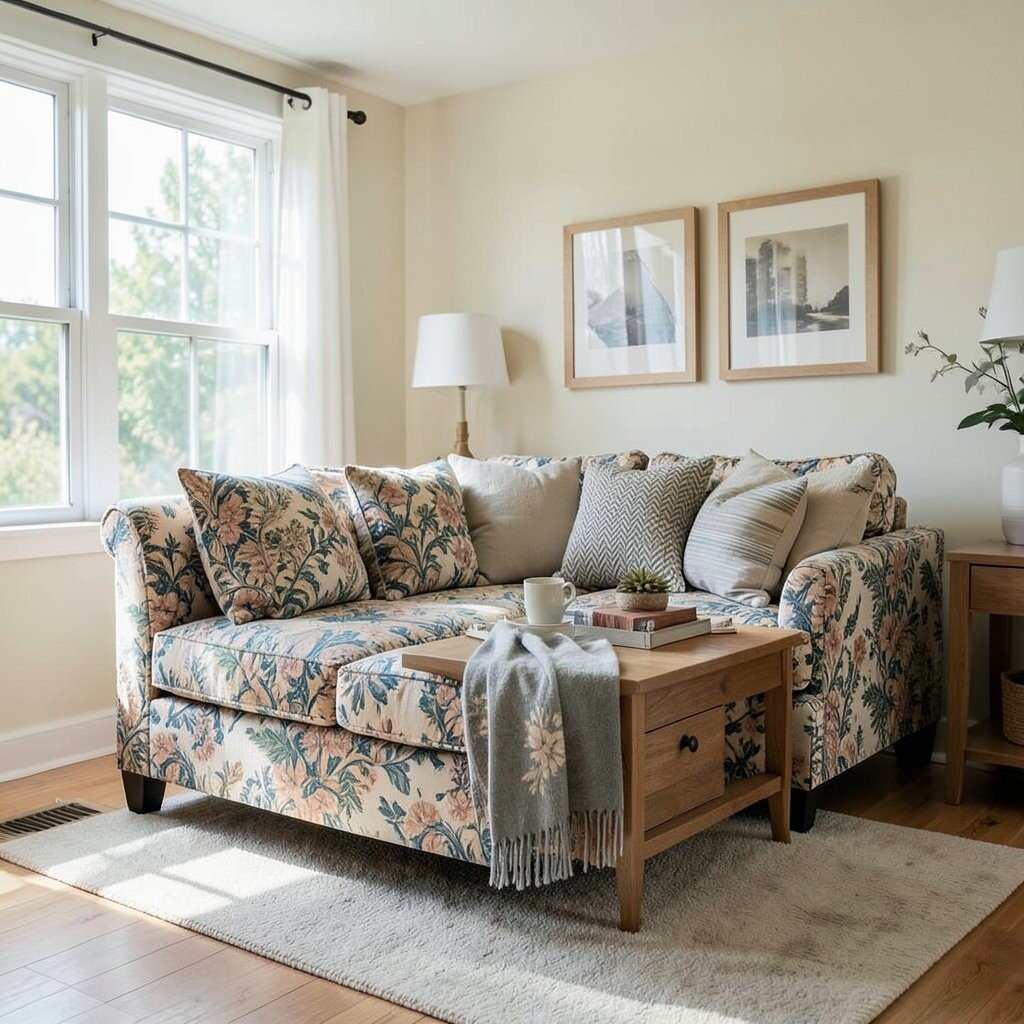
Photos online can be inspiring, but your room has different light and colors. A paint shade that looks amazing in one home can look dull or mismatched in another.
Think about your current color palette before you paint or stain. If your space has warm wood tones, a creamy or honey finish might blend better than a cold gray. If your home is bright and airy, you can play with bold accents while keeping the base neutral for balance.
Personalization works best when it reflects you, like using a fabric pattern you love or adding hardware in a finish you already have. This makes your item feel like it belongs, which is the heart of successful trash-to-treasure projects.
10. Forgetting to Check for Hidden Damage
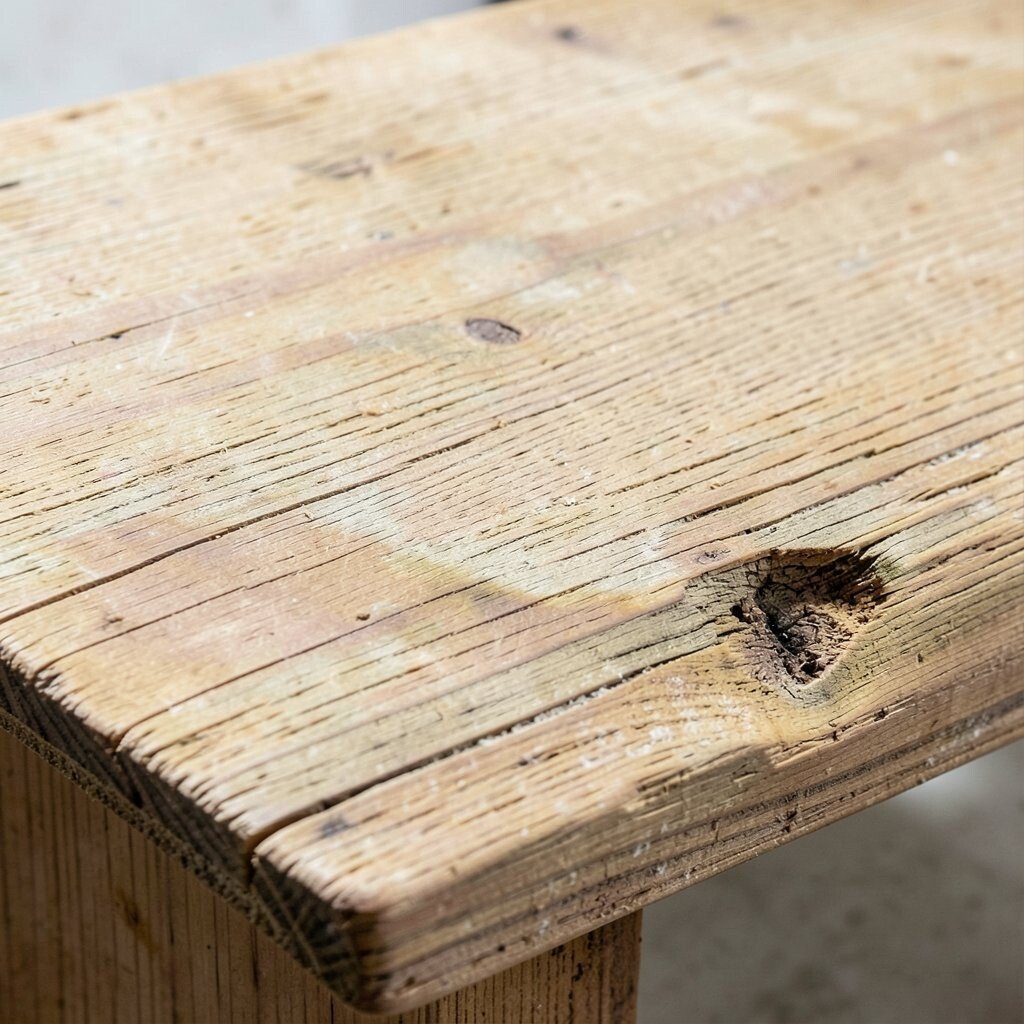
Some problems are invisible at first glance, like rot behind a board or cracks underneath paint. A quick look from the front can miss what’s happening under the surface.
Inspect joints, backs, and underside corners where damage often hides. Tap gently to listen for hollow spots and look for soft areas on wood. When you check closely, you avoid surprises that can derail your timeline and cost you extra money in repairs.
This habit also helps you choose the right level of effort. If an item needs too much structural work, you can pass it and keep your budget focused on finds that are more likely to succeed.
11. Using Too Much Filler Instead of Solving the Real Issue
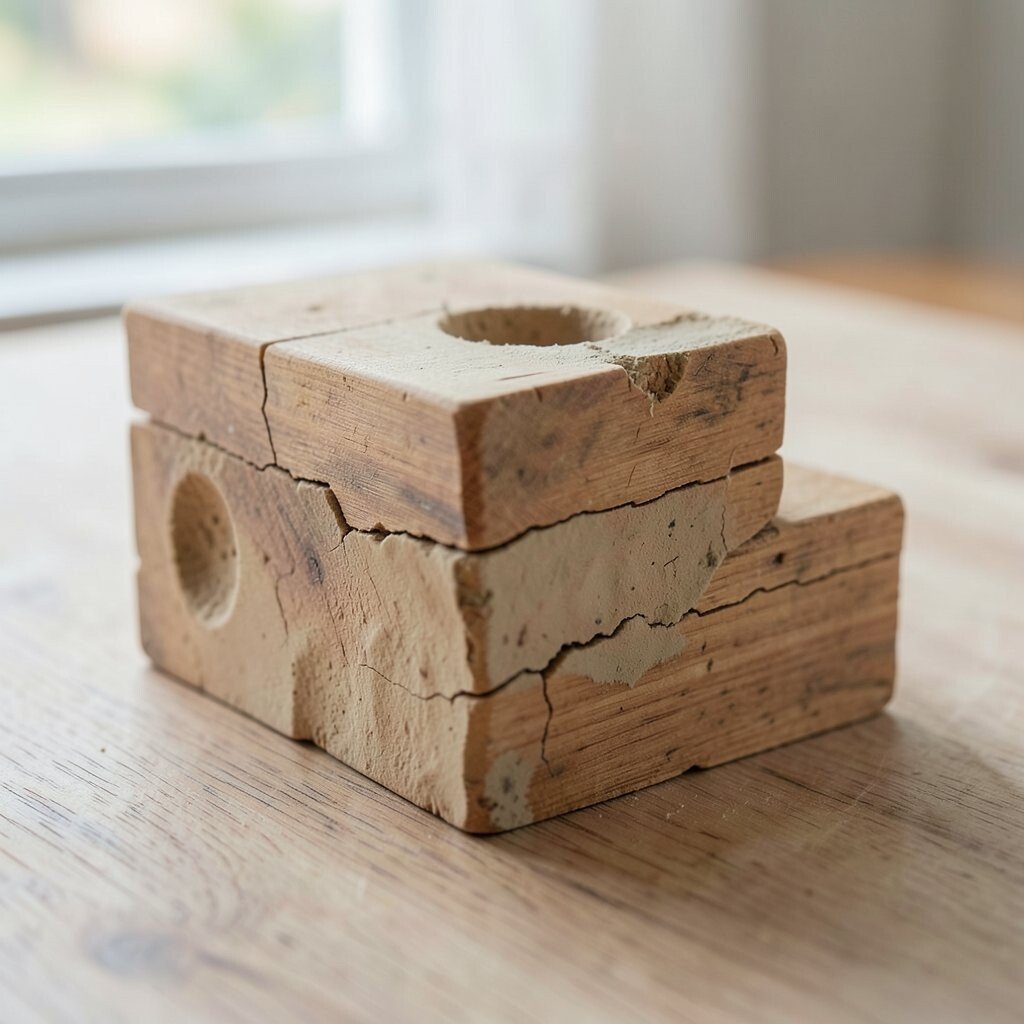
Filler can hide dents, but it doesn’t fix weak joints or warped shapes. When you cover a bigger problem, you may end up with a finish that cracks later.
Address the root cause first, like sanding down a raised area or tightening loose parts. Then use filler only for small gaps so it looks smooth and stays stable. This is especially helpful for pieces with old wear, where gentle correction often looks more natural.
By working smarter instead of heavier, you keep your project looking clean and realistic. Many modern trends favor subtle repairs and authentic texture, so a careful fix can make your piece feel more original and less “overdone.”
12. Choosing Handles and Hardware That Don’t Fit the Style
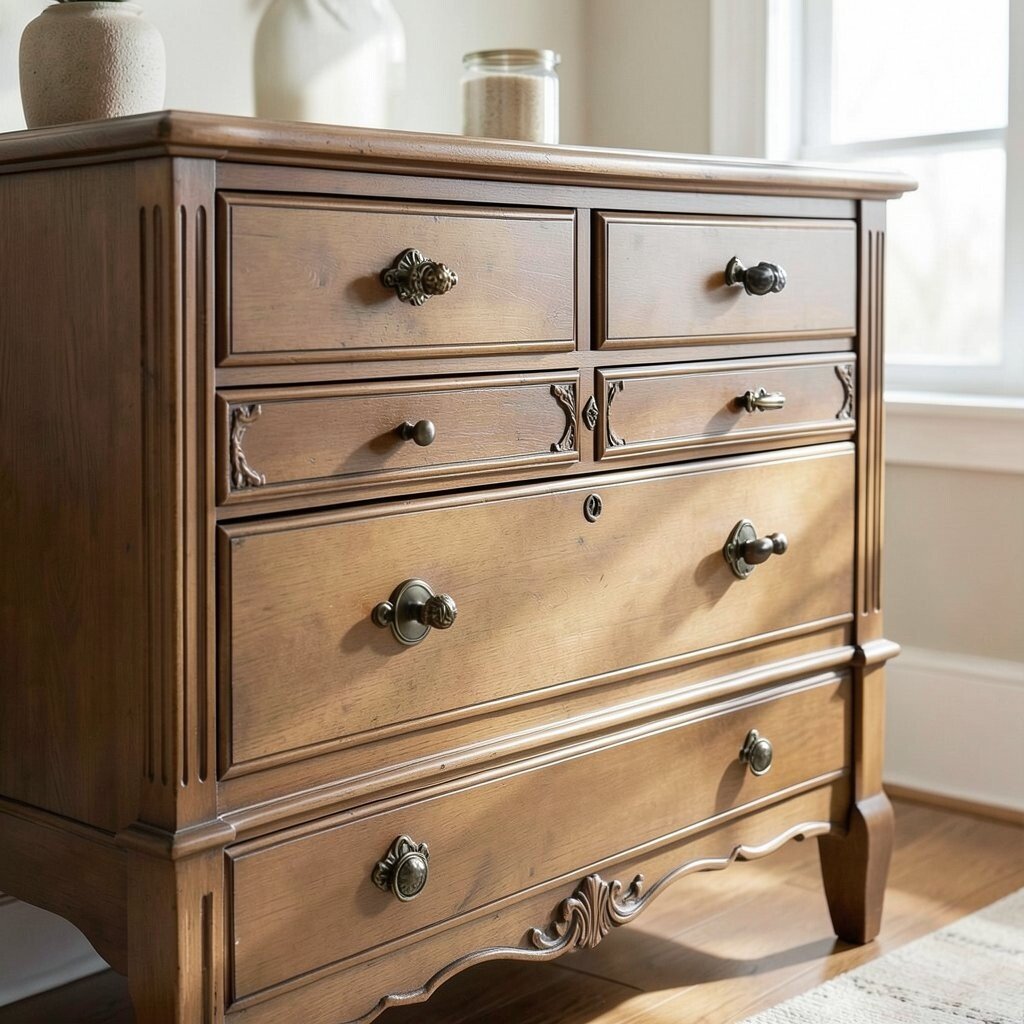
Hardware makes a huge visual impact, and the wrong style can throw off the whole piece. Even a beautifully painted item can look awkward if the knobs and pulls feel mismatched.
Match the hardware to the item’s era and shape, not just the color. If your dresser has ornate lines, consider curved or vintage-style knobs, while modern straight edges might suit sleek pulls. This small choice boosts uniqueness and makes the final look feel deliberate.
You can also save money by reusing good parts from other items if they fit. Keep a small hardware stash for future projects, so you don’t have to buy new pieces every time you want to update a finish.
13. Waiting Too Long to Plan the Next Step
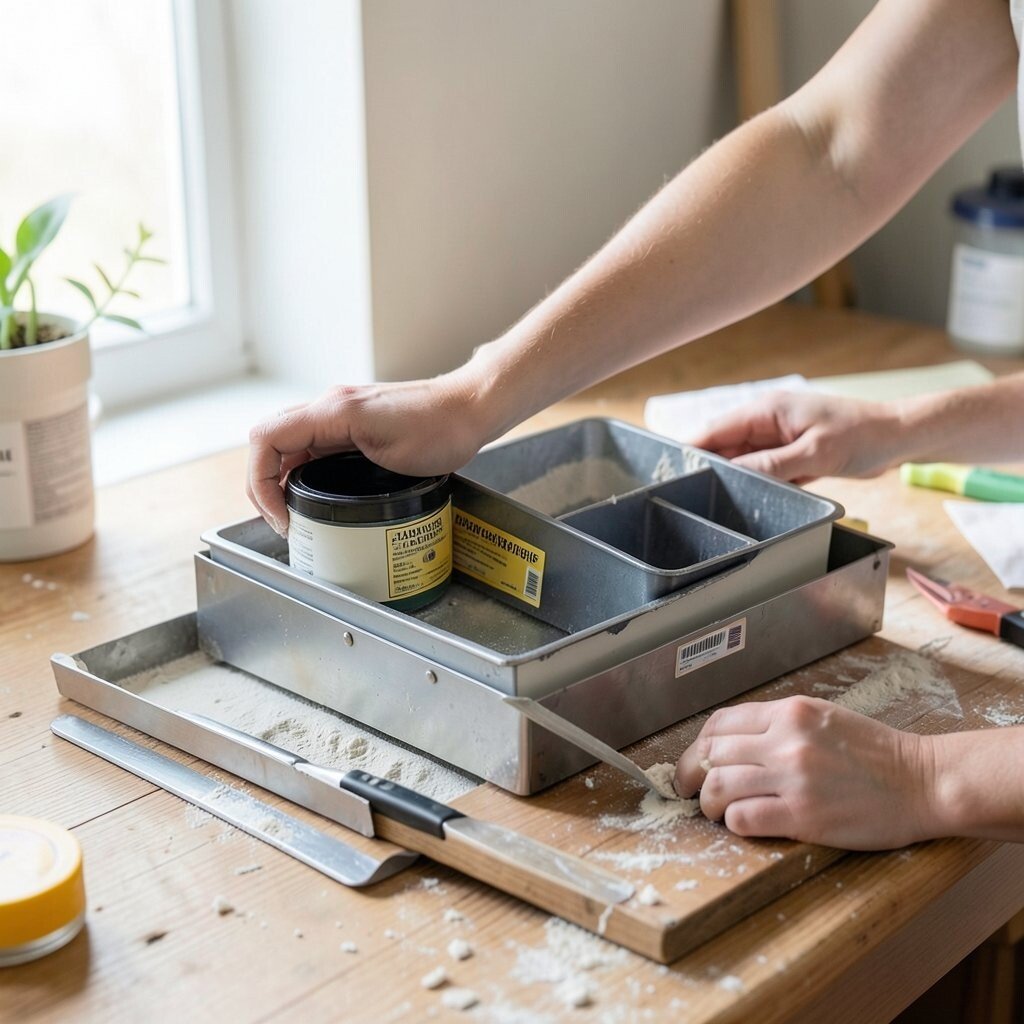
A project can stall when you don’t decide what happens after cleaning. You might get stuck with an item that looks half-finished and starts taking up space.
After you pick a find, sketch a quick plan in your head: clean, fix, prep, then finish. Gather what you need before you start the sanding or painting so you don’t pause mid-job for missing supplies. Planning keeps momentum, and that momentum is what helps you complete a piece that actually gets used.
It also helps you stay current with trends, because you can choose finishes and details while you’re still in the mindset. Right now, people love layered looks, mixed metals, and practical storage, so your plan can include useful upgrades like liners, dividers, or fresh labels.
14. Treating Every Find as a Permanent Commitment
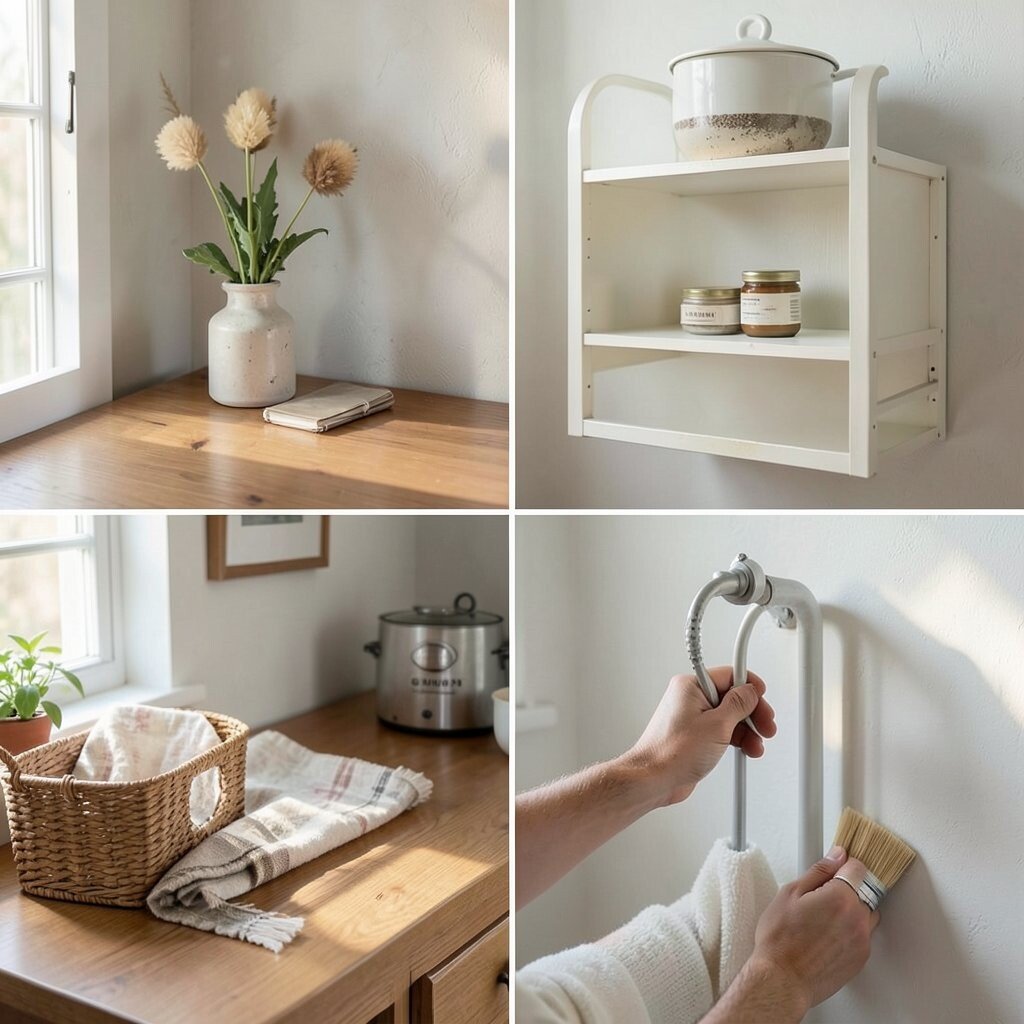
Not every treasure should stay forever, and not every test needs a permanent finish. If you rush into a full repaint, you might end up stuck with something you don’t love.
Try a small change first, like changing knobs, adding a removable shelf liner, or testing paint on a hidden spot. This approach lets you learn what suits the piece and your taste without wasting money on large mistakes. Over time, you’ll build a personal style and get better at spotting what will look great after the work is done.
When you keep your options open, your finds stay fun instead of stressful. That mindset helps you turn random items into meaningful pieces that match your life and your space.