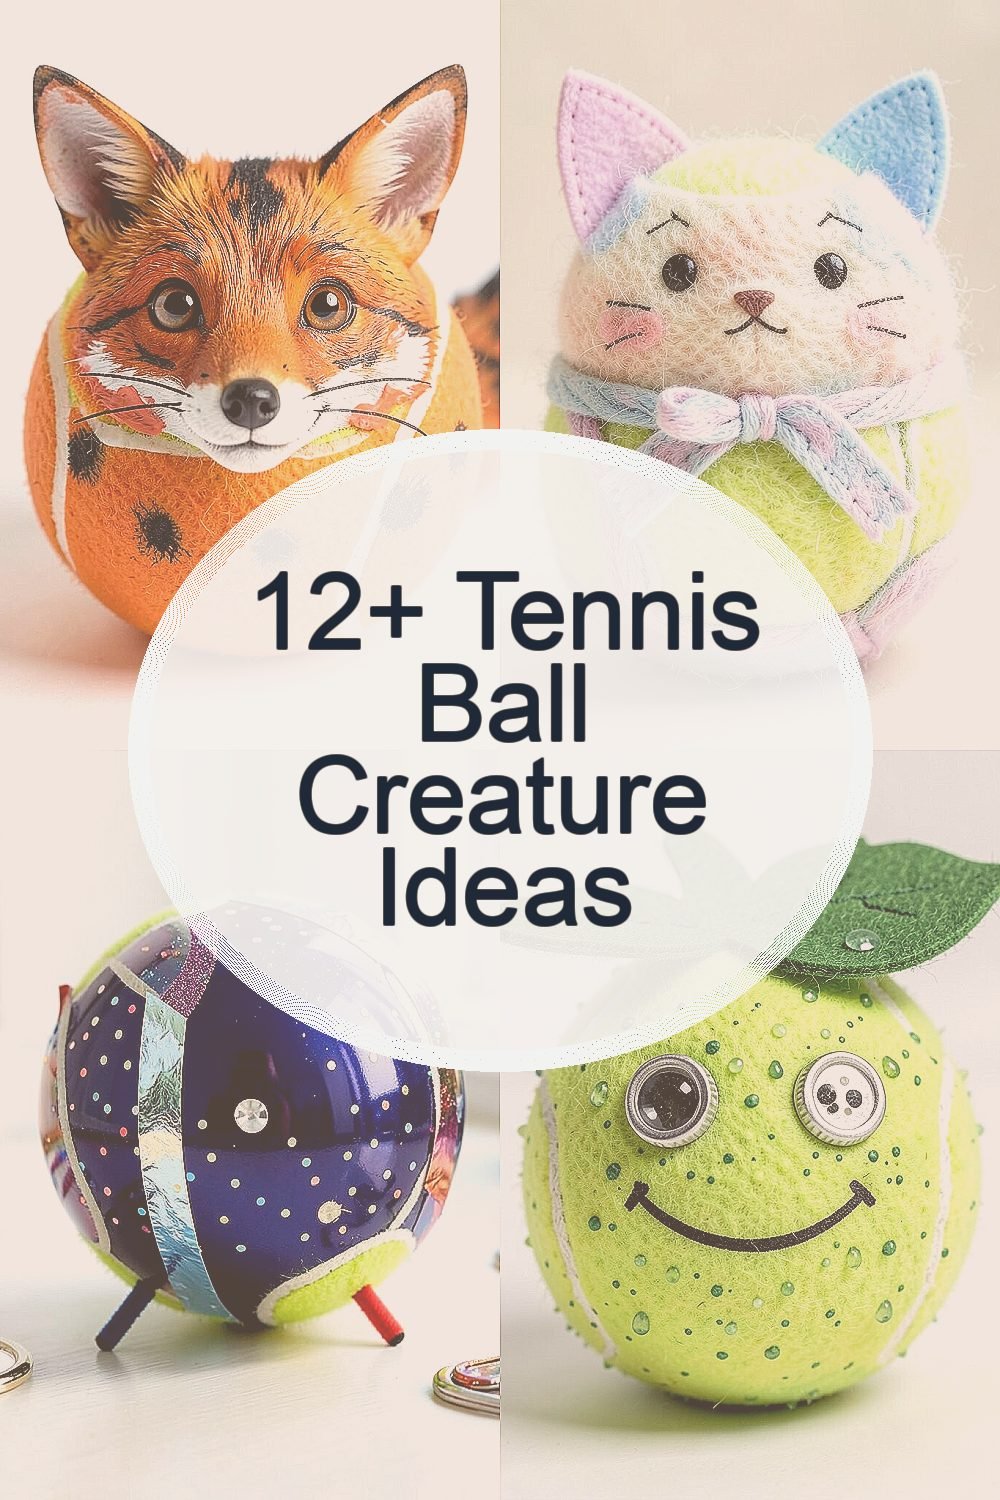
A tennis ball can be silly, cozy, and surprisingly stylish at the same time. With a little imagination, it becomes a tiny creature that looks great on a shelf or in your hands.
You can make it feel like yours while keeping the process simple and budget-friendly.
1. The Spry Spotty Fox

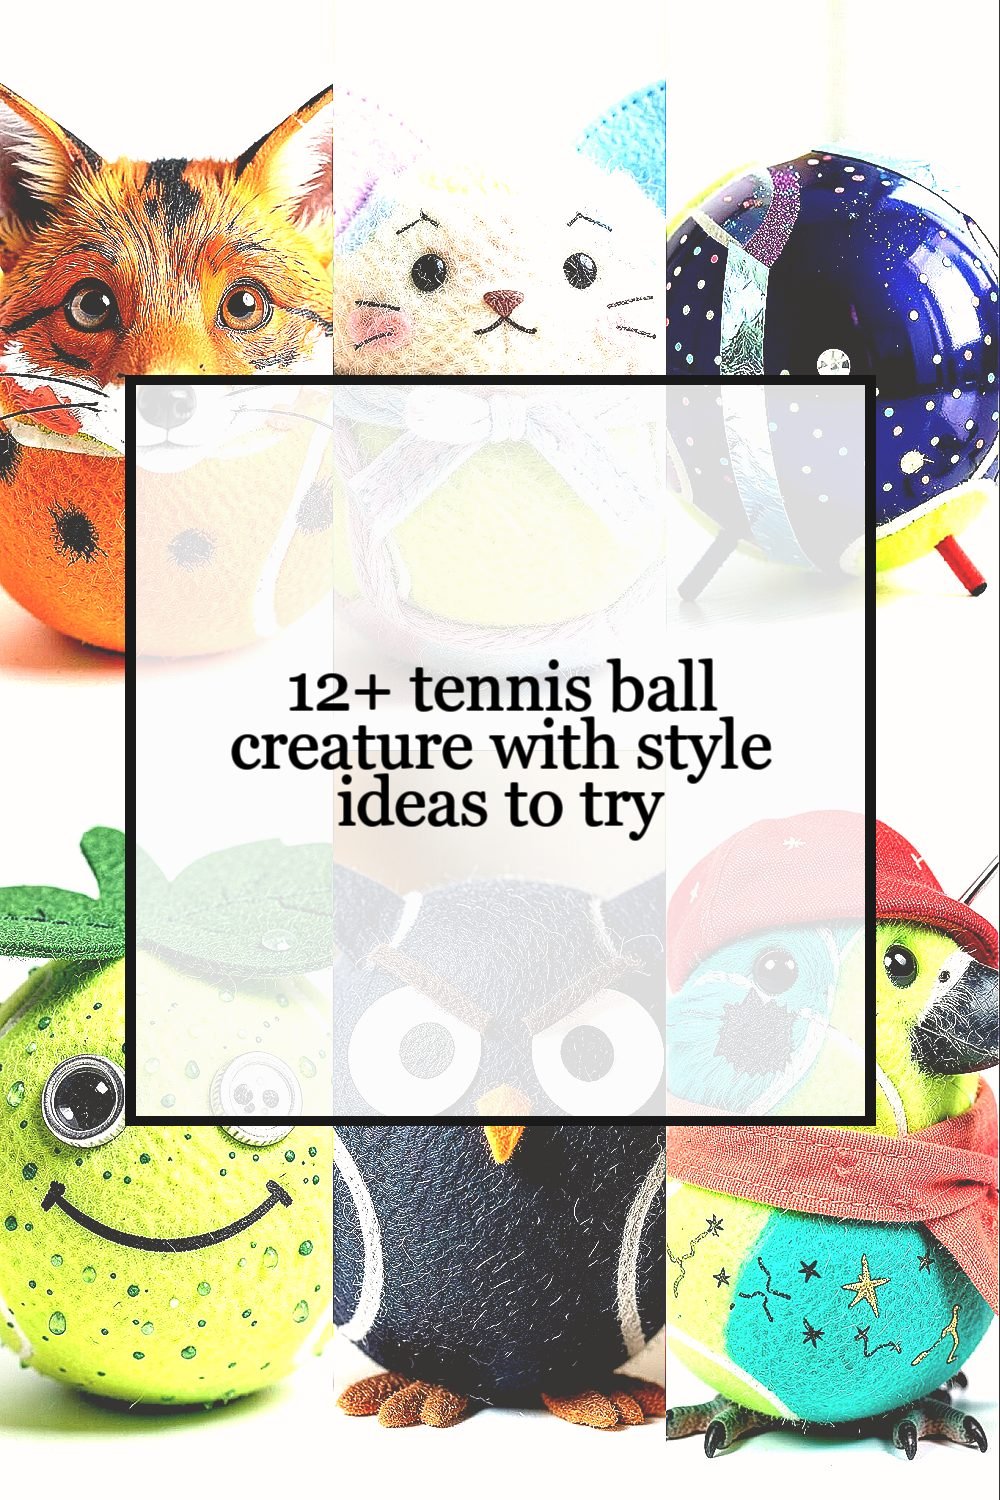
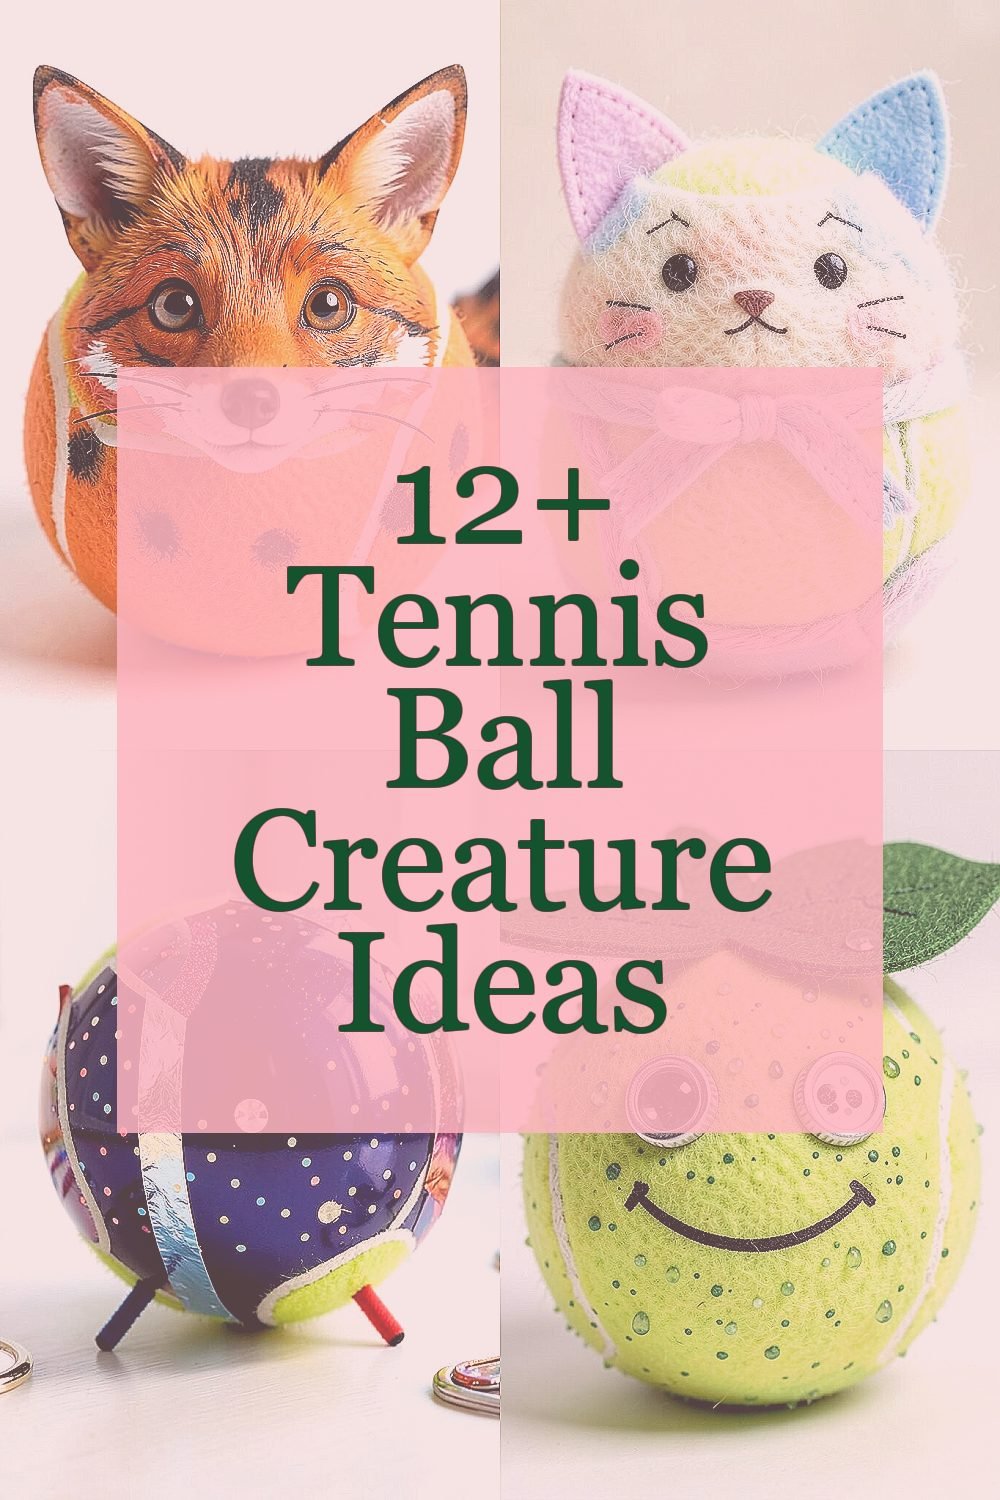
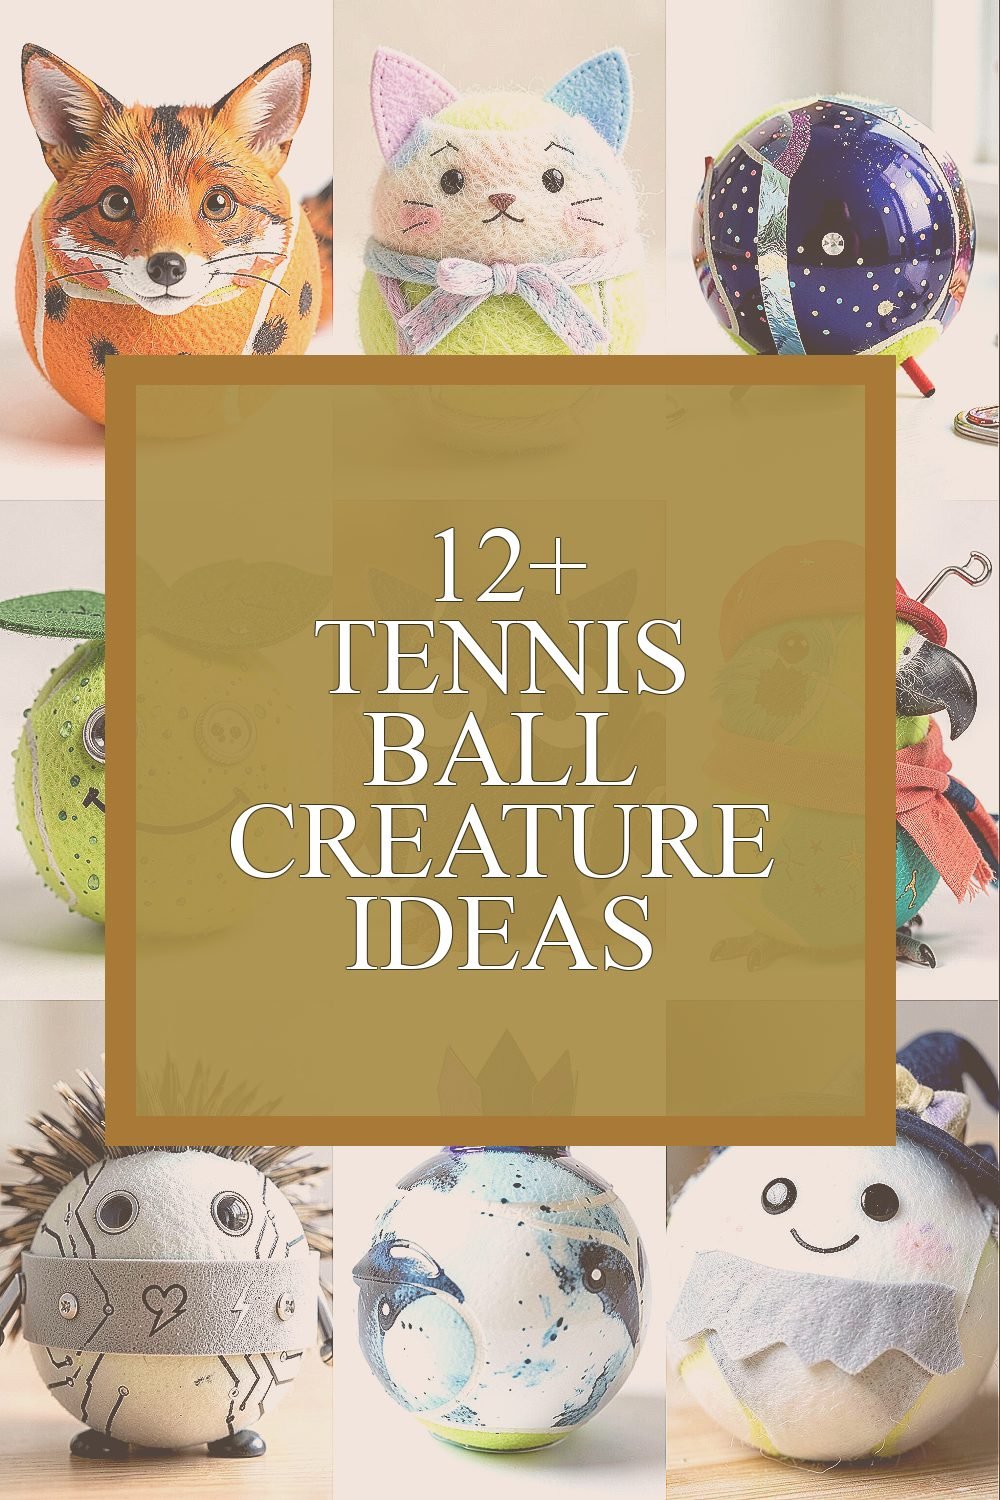
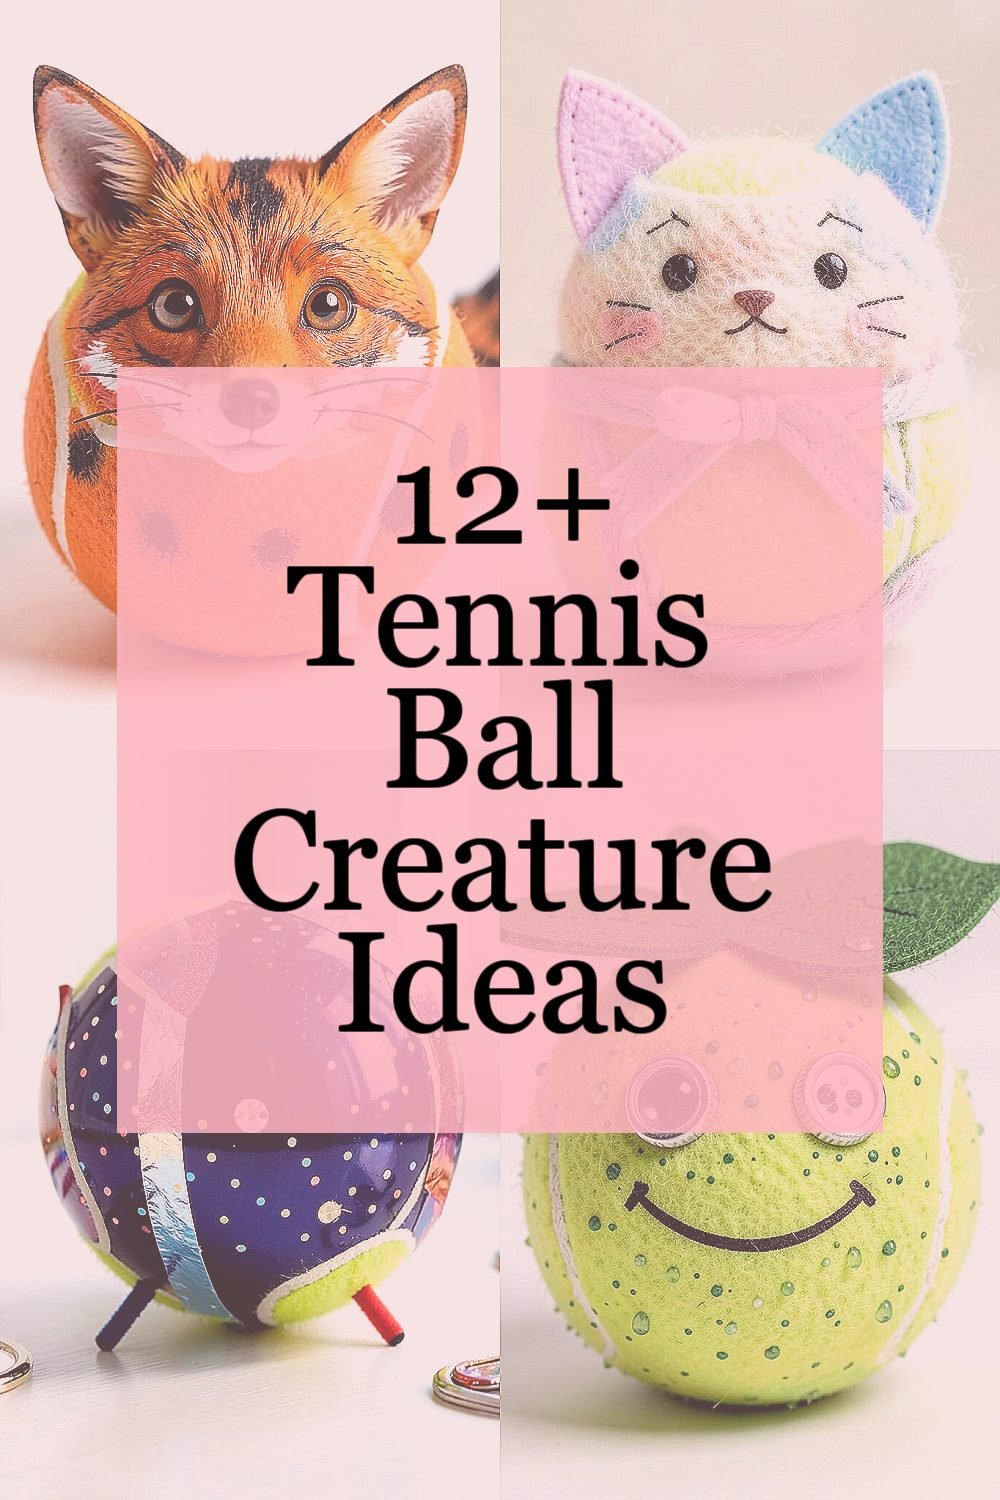
Turn a tennis ball into a quick, cheeky fox by adding orange paint or marker and a few darker spots. Glue on small paper ears and draw a friendly snout with a white gel pen.
This creature looks lively, and the spots make it stand out from plain crafts. Use a slightly thicker layer of paint where the cheeks would be, so it feels textured when you tap it. For personalization, sketch little whisker lines that match your style, and adjust the face to look more surprised or more calm.
For a neat finish, add a thin coat of clear glue after the paint dries to help it last. If you want it to be a trend-friendly desk buddy, keep the colors warm and simple, like terracotta plus black. It’s usually low cost since most supplies are markers, scrap paper, and basic craft glue.
2. The Cozy Cloud Cat

Make a “cloud cat” by wrapping a tennis ball with soft yarn or fuzzy fabric scraps. Add triangle felt ears and use small stitched lines or marker dots for eyes.
This design feels gentle and comforting because the yarn creates a squishy, cozy look. To keep it tidy, wrap the yarn in small sections and secure each band with a dab of glue. Choose pastel shades if you want a current, calming vibe, and stick to two or three colors so it looks clean.
For benefits, it’s great for sensory play, since the fuzzy surface feels pleasant. Personalize it with a little scarf made from a scrap strip, and tie it around the neck area. If you’re watching costs, use leftover yarn ends from past projects instead of buying new skeins.
3. The Disco Beetle Buddy

Paint the tennis ball with a deep jewel color, then add shiny paper strips like foil or glitter tape. Finish with tiny legs made from pipe cleaners and dot patterns drawn across the shell.
The bright look gives instant sparkle, and it feels playful in any room. For practical tips, let paint dry fully before pressing the shiny strips so nothing smears. Add a small rhinestone or sticker for a “glint” point, and you’ll get a cool, nighttime feel even in daylight.
This creature is unique because it combines smooth ball shape with layered shine, like a little stage performer. Personalize it with a pattern inspired by your favorite outfit colors. Keep cost in mind by cutting shiny packaging scraps into small sections, since they’re often free and still look trendy.
If you want it extra stylish, place it near other shiny items like keychains or desk organizers so the vibe matches.
4. The Mini Garden Toad

Give your tennis ball a garden toad face using green paint and a bumpy look created with small foam dots. Make eyes from two bottle-cap circles or craft beads, then add a gentle smile with a black marker.
This build is charming and earthy, and it helps you bring a calm, natural feeling to your space. Add a simple leaf hat by cutting a leaf shape from felt and gluing it on top. For personalization, add tiny speckles like raindrops, and adjust the mouth line to make the toad look friendly or sleepy.
5. The Stealthy Night Owl
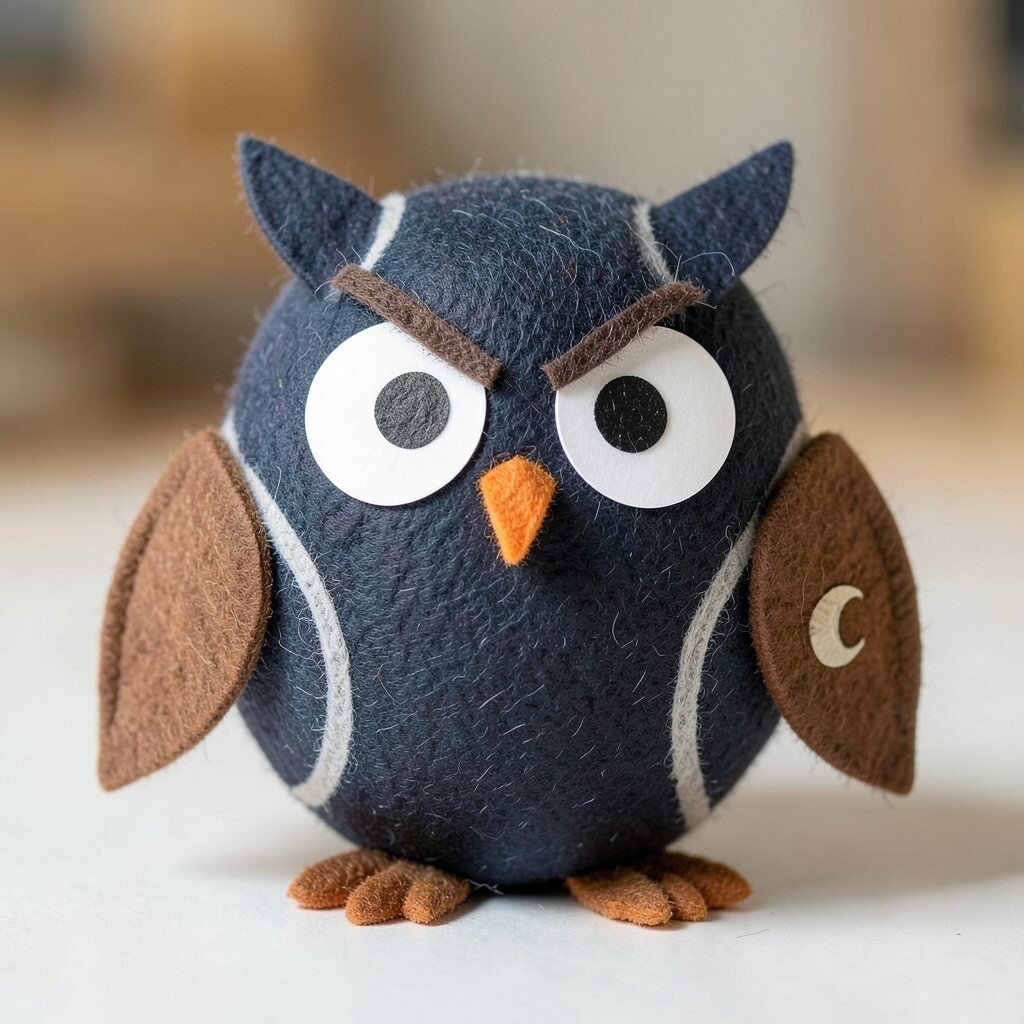
Paint the tennis ball dark gray or navy, then layer lighter streaks like feather lines. Create big eyes with white paper circles and black pupils, and add a small beak from orange felt.
This creature has a strong “watching quietly” personality because the eyes give it focus. Use a felt base for the wings so they look soft, not sharp, which keeps the craft friendly for kids. For practical tips, outline the eyes carefully so they stay centered and symmetrical.
To match current trends, lean into the cozy-cottage look with warm browns for accents or add a tiny crescent moon sticker. Personalize with a “sleepy owl” expression by lowering the eyebrows using marker lines. Costs can stay low since paper, felt scraps, and markers usually do the heavy lifting.
6. The Beachy Parrot Pirate

Color the tennis ball bright green or teal, then add a red cap using fabric scraps. Draw a bold beak and add one small patch on the “cheek” area with darker paint or marker.
This parrot pirate feels fun because it blends beach color with a cheeky character. Keep it practical by using fabric glue or strong glue for the cap so it won’t peel off. For personalization, add tiny treasure marks on the body, like star dots or mini stripes that resemble island maps.
To keep the look stylish, choose colors that pop together, like teal plus coral plus gold. If you want a budget approach, repurpose old clothing pieces for the hat and scarf. The uniqueness comes from mixing a cute animal face with pirate details, like a small “hook” made from a bent paper clip.
7. The Trendy Robot Hedgehog
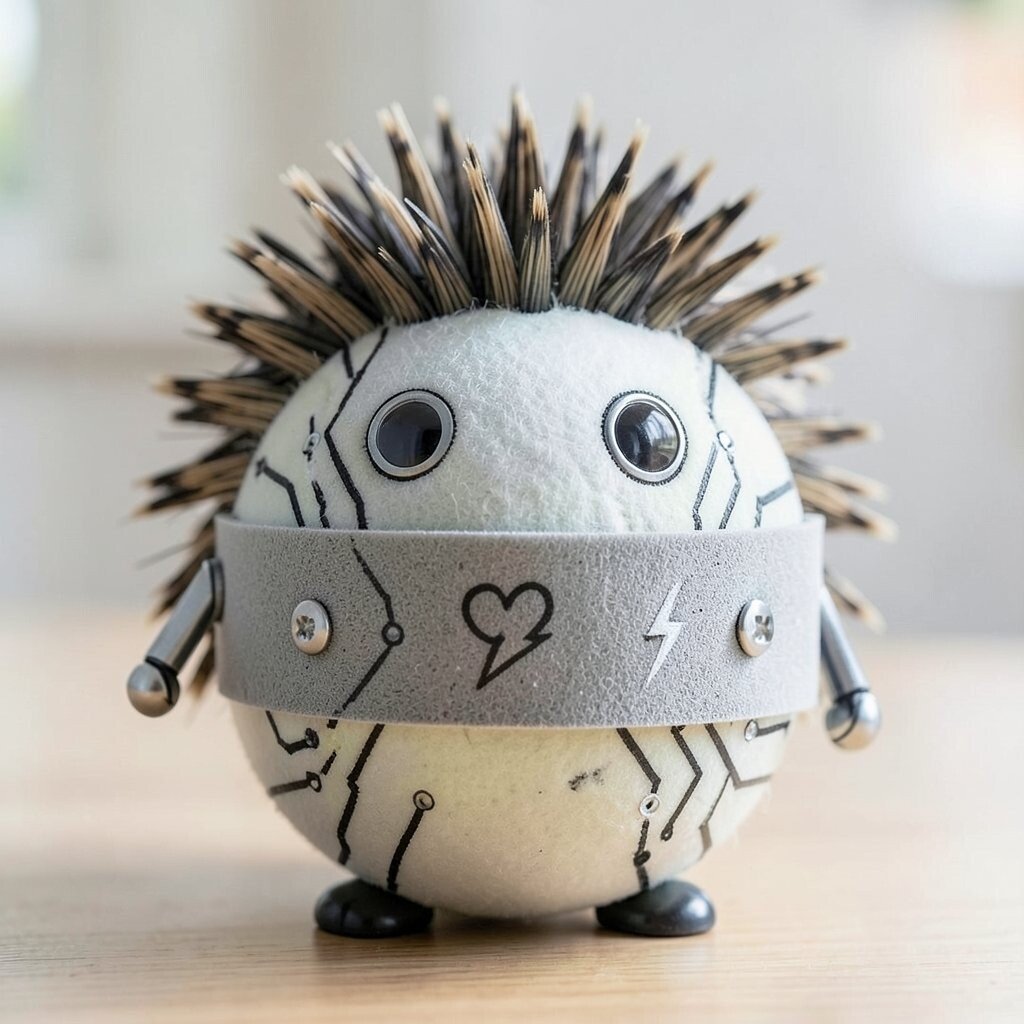
Paint the tennis ball light gray, then draw circuit lines with black and silver markers. Wrap a strip of craft foam around the middle to mimic a belt, and add small button eyes.
This style looks modern, and the robot theme makes it feel clever and different. For a simple upgrade, add a few faux screws using small bottle-cap bits or marker dots with a tiny highlight. Practical tip for neat lines is to outline first with a pencil sketch, then trace with marker when you’re sure of the placement.
This creature is unique because it blends a hedgehog feel with clean tech shapes, making it a great desk companion. Personalize the “signals” by drawing your favorite symbols, like hearts or lightning bolts, on the belt. Cost can be controlled by using markers and scrap foam instead of buying new beads or parts.
If you want a current look, keep the robot accents minimal and crisp, since clean lines are popular in handmade decor.
8. The Royal Crown Dolphin

Paint the tennis ball smooth white or light blue, then add darker splashes like sea foam. Make a crown from cardstock strips and glue it near the top so it sits like a little tiara.
This creature feels special and playful, and the crown gives it instant personality. Use a thin layer of glue under the crown so it bonds well without soaking the paper. For personalization, add a small swirl mark on the side to look like a dolphin tail pattern.
Practical tips help it stay durable, so seal the whole ball with a clear acrylic coat once everything dries. If you want to match today’s trends, use jewel tones for the crown accents, like purple or deep teal. Cost is usually easy to manage because cardstock and markers are affordable and you can reuse scrap materials.
9. The Spooky-but-Sweet Ghost
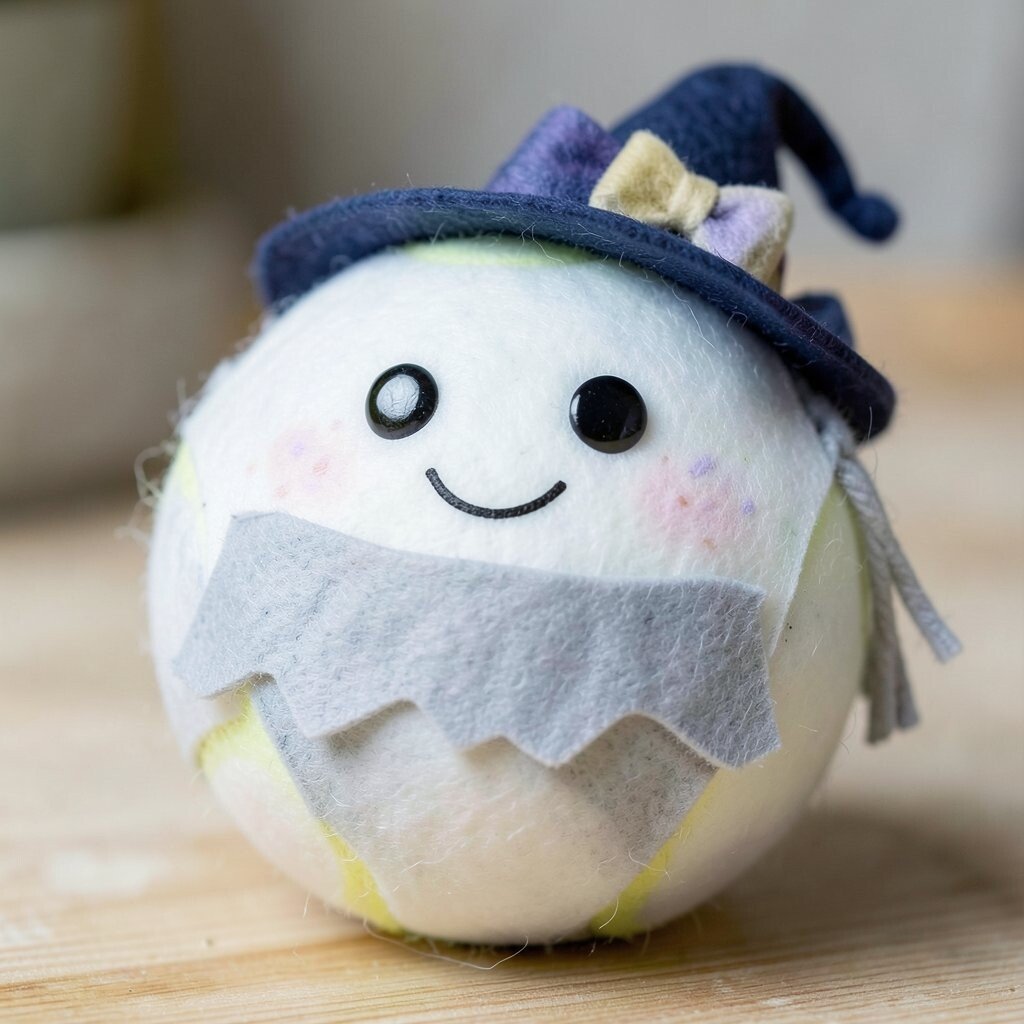
Turn the tennis ball into a ghost by painting it pale white or translucent gray. Cut a little fabric or felt “sheet” shape and glue it down the front, leaving wavy edges.
This one is friendly, not scary, because the rounded ball shape keeps it cute. For practical tips, use googly eyes or simple black dots, and keep the smile soft with a curved line. Personalize it with a small accessory like a tiny bow, a mini witch hat, or a scarf made from leftover yarn.
If you want a unique twist, add faint pastel freckles using light pink or lavender marker. Trends often favor gentle, cute Halloween vibes, and this design fits that mood. Costs stay low since paint, felt scraps, and basic craft supplies are all commonly available.
10. The Candy Stripe Turtle

Paint the tennis ball with a base color, then add candy stripe bands using masking tape. Make legs and a tiny head from felt or paper, and draw a calm face with simple dots.
This craft looks cheerful and colorful, and the stripes give it a fun, retro feel. Practical tip: press the tape down gently and remove it slowly while the paint is still slightly tacky for clean lines. Personalize it with stripe colors that match your room or your favorite treats, like mint and pink or yellow and red.
The uniqueness comes from the turtle shell looking like a candy wrapper, and it’s a great conversation starter on a desk. For benefits, the smooth stripes are easy to view and easy to hold, so it’s satisfying for quick fidgets. Keep cost considerations in mind by using tape and paint you already have, plus small felt scraps for the shell details.
If you want current style energy, stick to bold stripes and fewer colors, since crisp patterns are in demand in handmade decor.
11. The Wild West Cactus Buddy
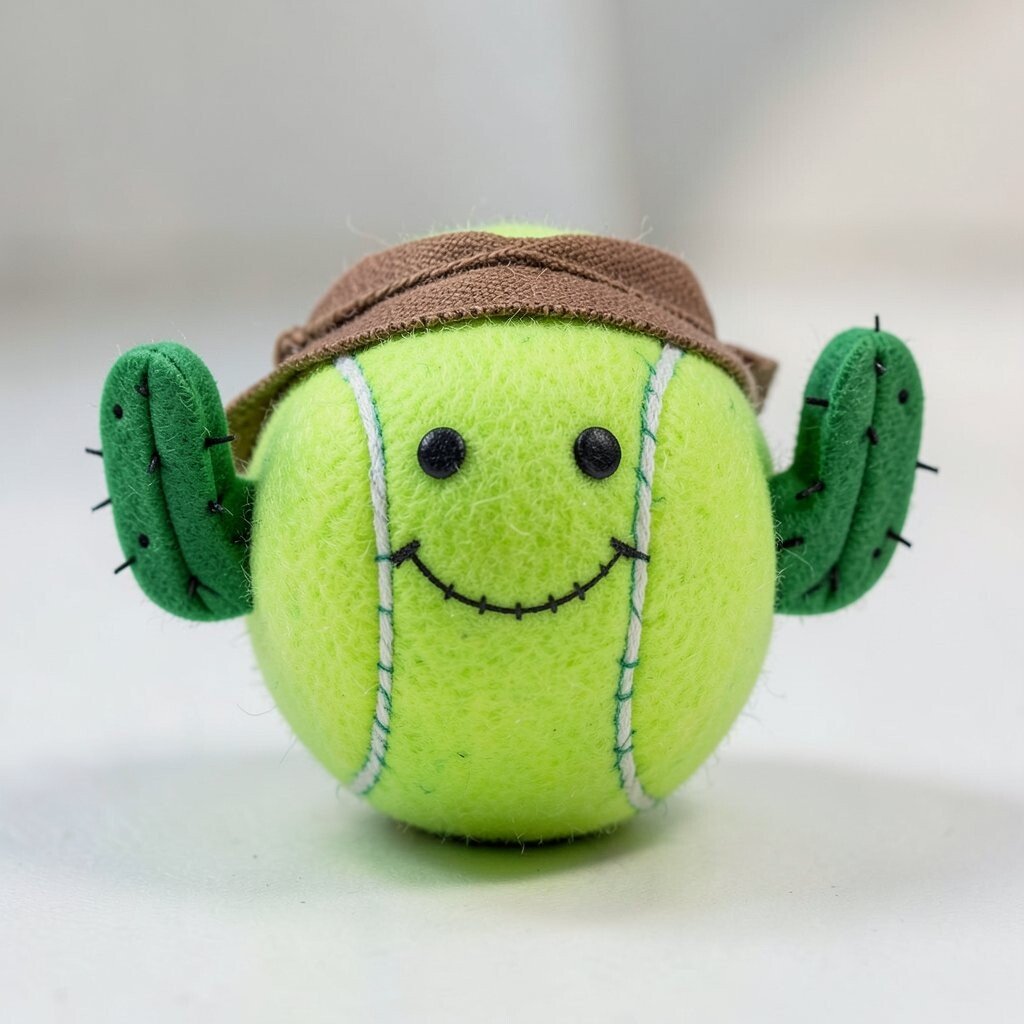
Paint the tennis ball in bright cactus green and add darker vertical lines for plant texture. Create tiny cactus “arms” from folded paper or felt, then attach them on opposite sides for balance.
This creature feels bold and outdoorsy, and it brings a warm desert vibe right to your space. Use a small strip of fabric or yarn for a bandana so it looks like a cowboy cactus. Practical tip is to trim felt edges carefully before gluing so the arms look neat.
Personalize it with a stitched-looking smile and tiny dot “thorns” made from marker dots. The design is unique because it turns a simple ball into a mini character that still reads clearly from across the room. Cost is usually manageable since green paint and felt scraps are commonly on hand.
12. The Sports Star Small Bull
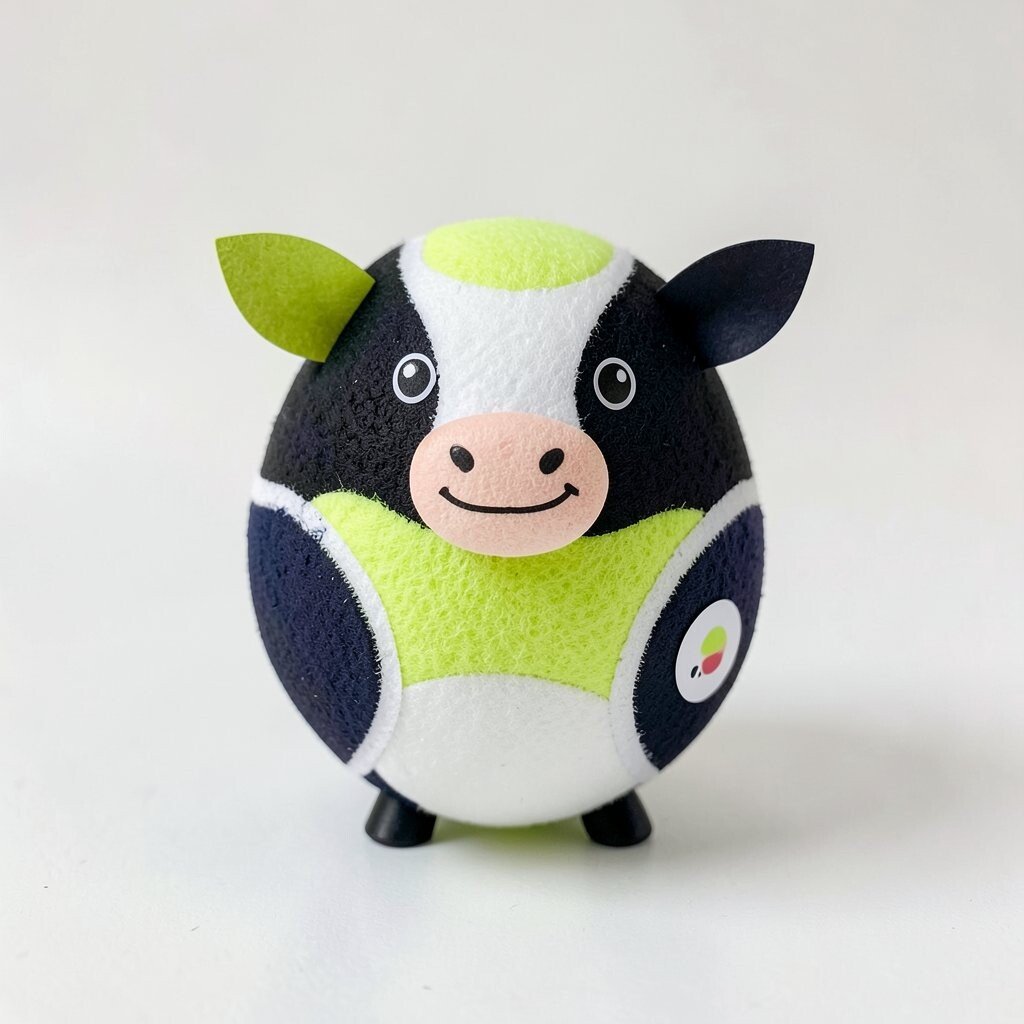
Paint the tennis ball with classic sports colors like black and white, then add a textured pattern using sponge dabbing. Make a small bull face with paper ears, and draw a confident expression with a steady marker hand.
This style feels energetic, and it can motivate you because the character looks ready to play. Practical tip: use light layers of paint and let each layer dry so the surface doesn’t get lumpy. For personalization, add a tiny number on the side using a sticker or painted dot, and match it to your favorite team colors.
It’s unique because it combines a small, handheld craft with a sporty personality. If you want a trendy look, choose modern color combos like black plus lime or navy plus silver. Cost considerations are simple here since paint, paper scraps, and markers are low cost, especially if you already have a few colors.
13. The Moonlight Mermaid Fin Friend
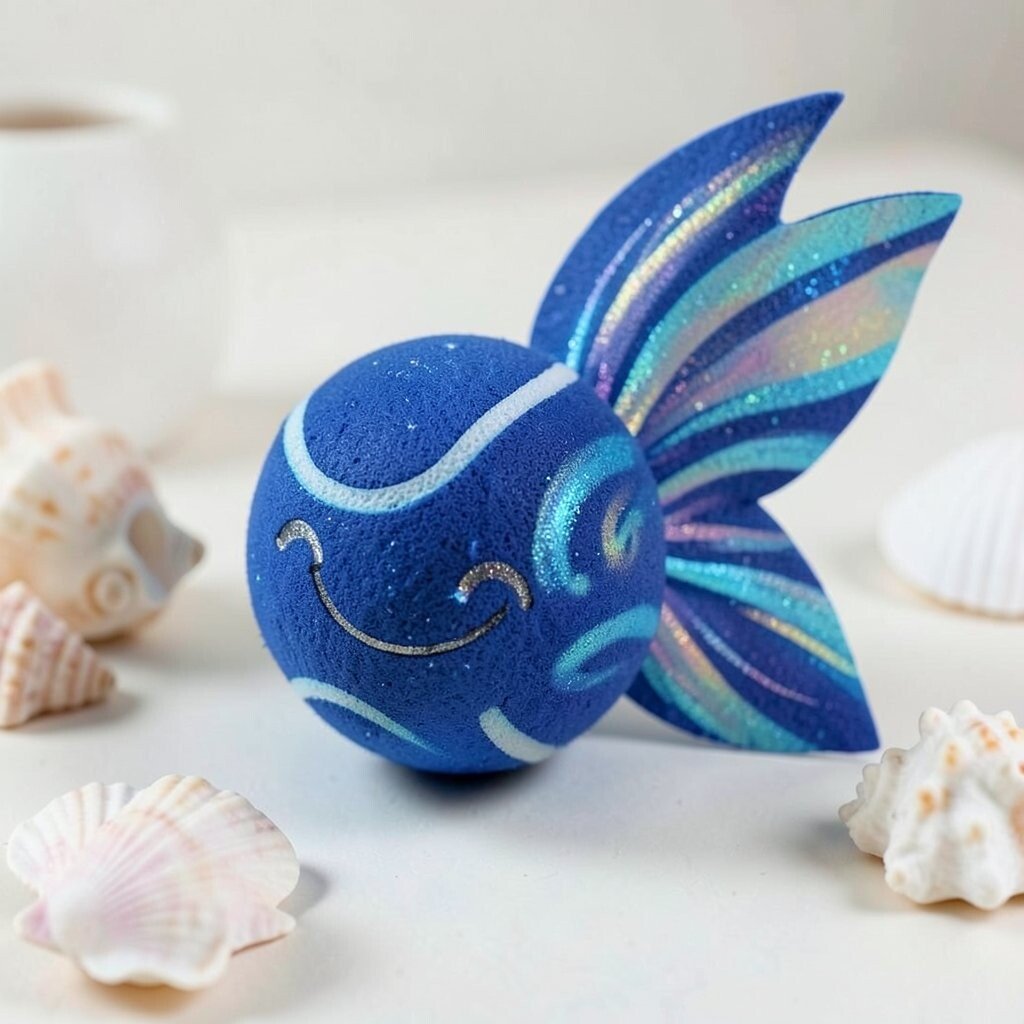
Paint the tennis ball in deep sea blue, then add swirled lighter streaks like moonlit water. Make a fin and tail shape from foam sheets or thick paper, and glue it behind or along the sides.
This creature looks magical because the swirls mimic waves, and the fin shape adds movement even when it’s still. For practical tips, blend colors with a sponge so the transitions feel smooth, not harsh. Personalize it with a little shell charm made from a cutout sticker or small scrap, and draw a gentle smile with shimmering gel ink if you have it.
The uniqueness comes from combining a soft ball body with flowing fin details, giving it a “floating” look. If you want it to feel current, lean into iridescent accents, since they’re popular in craft decor right now. Cost can stay reasonable by using craft foam pieces, old packaging stickers, and leftover paint.
When you’re done, place it near other ocean-themed items like seashell decorations so it feels like part of a coordinated set.