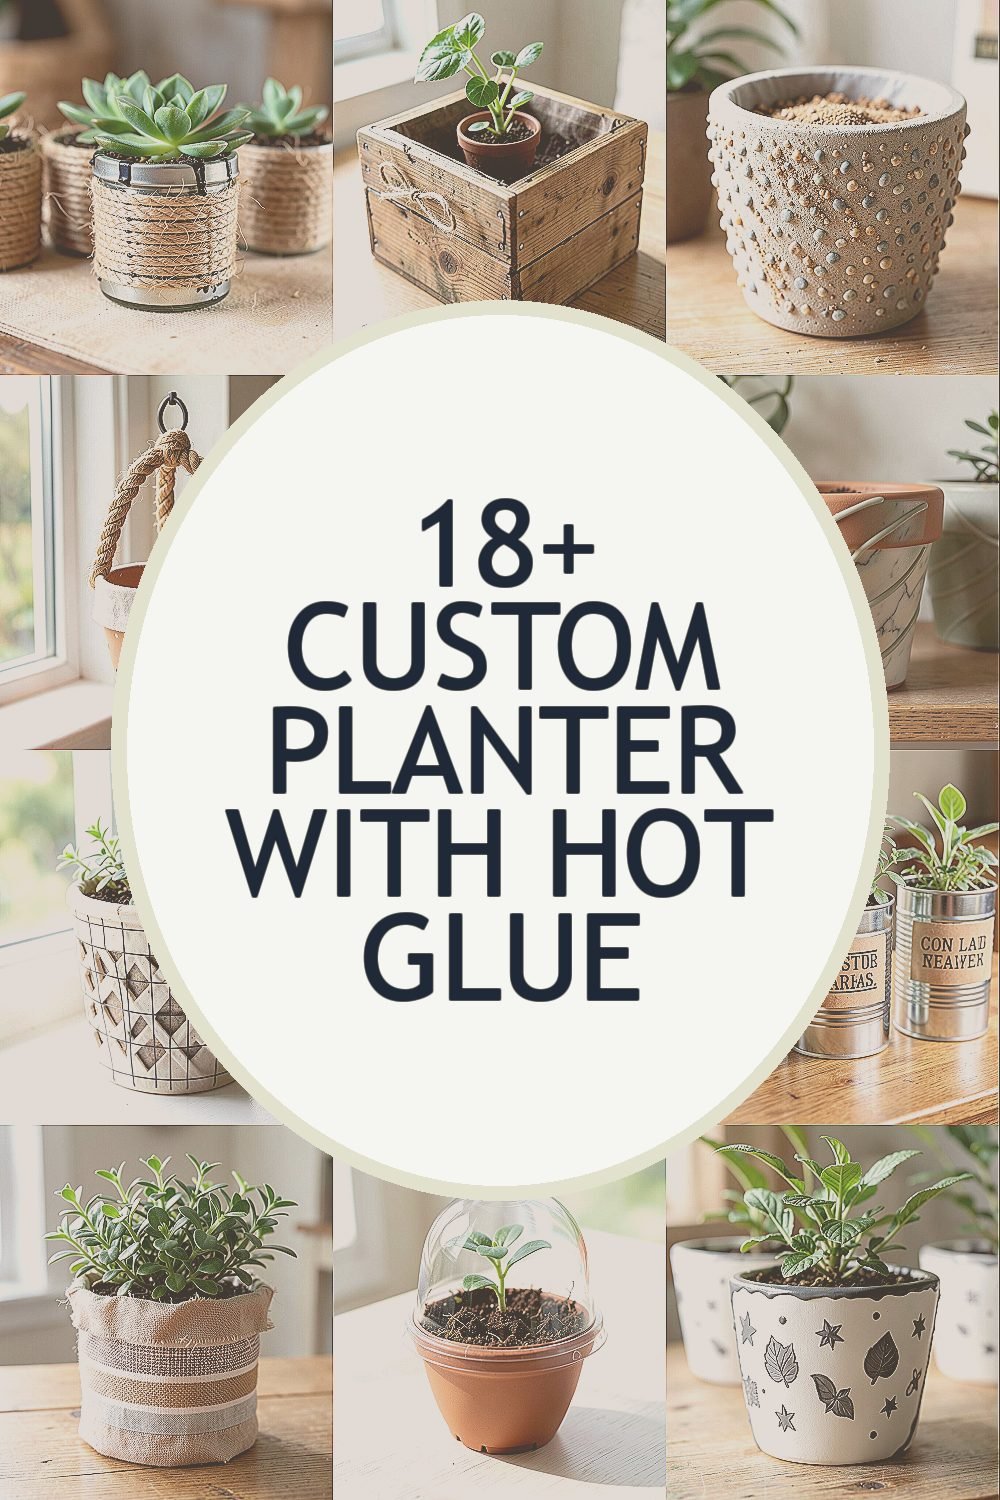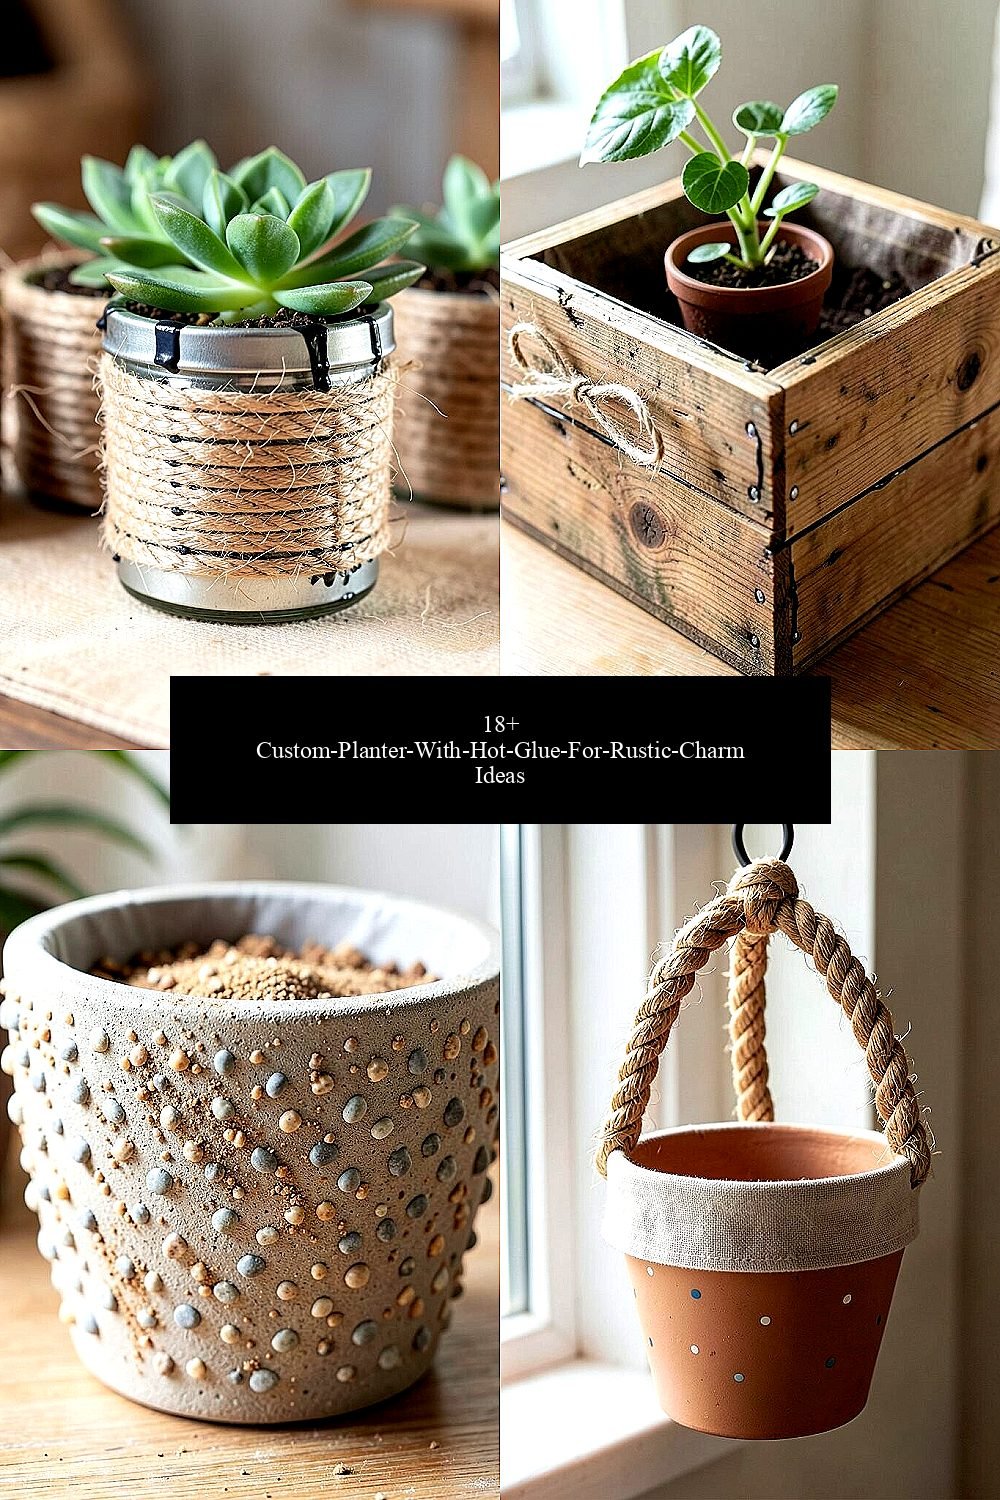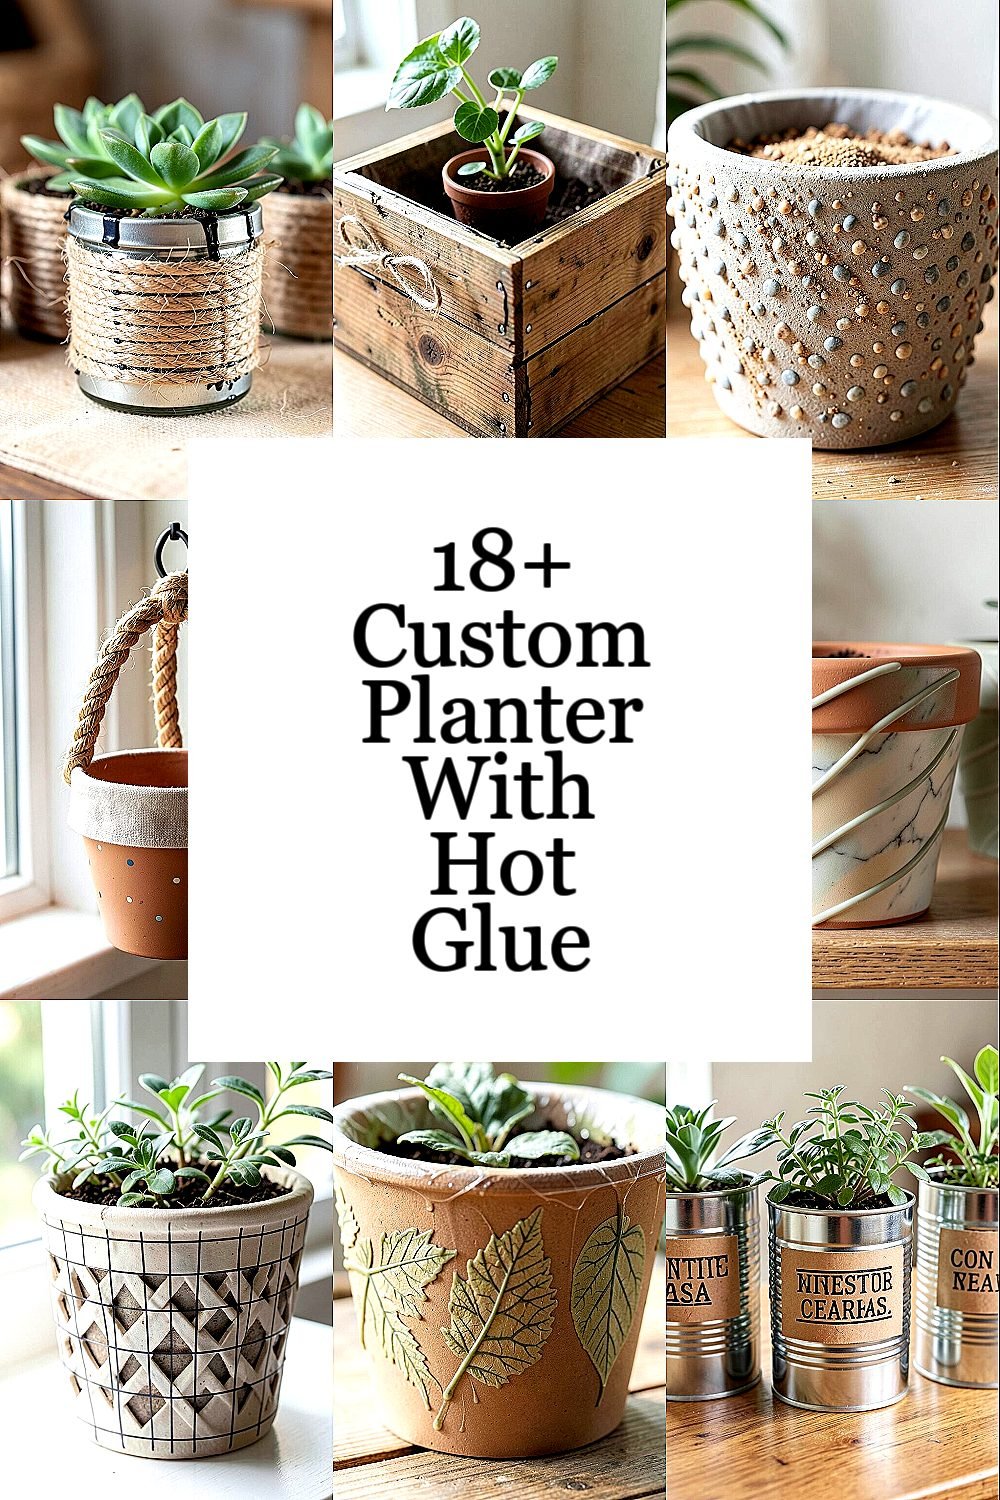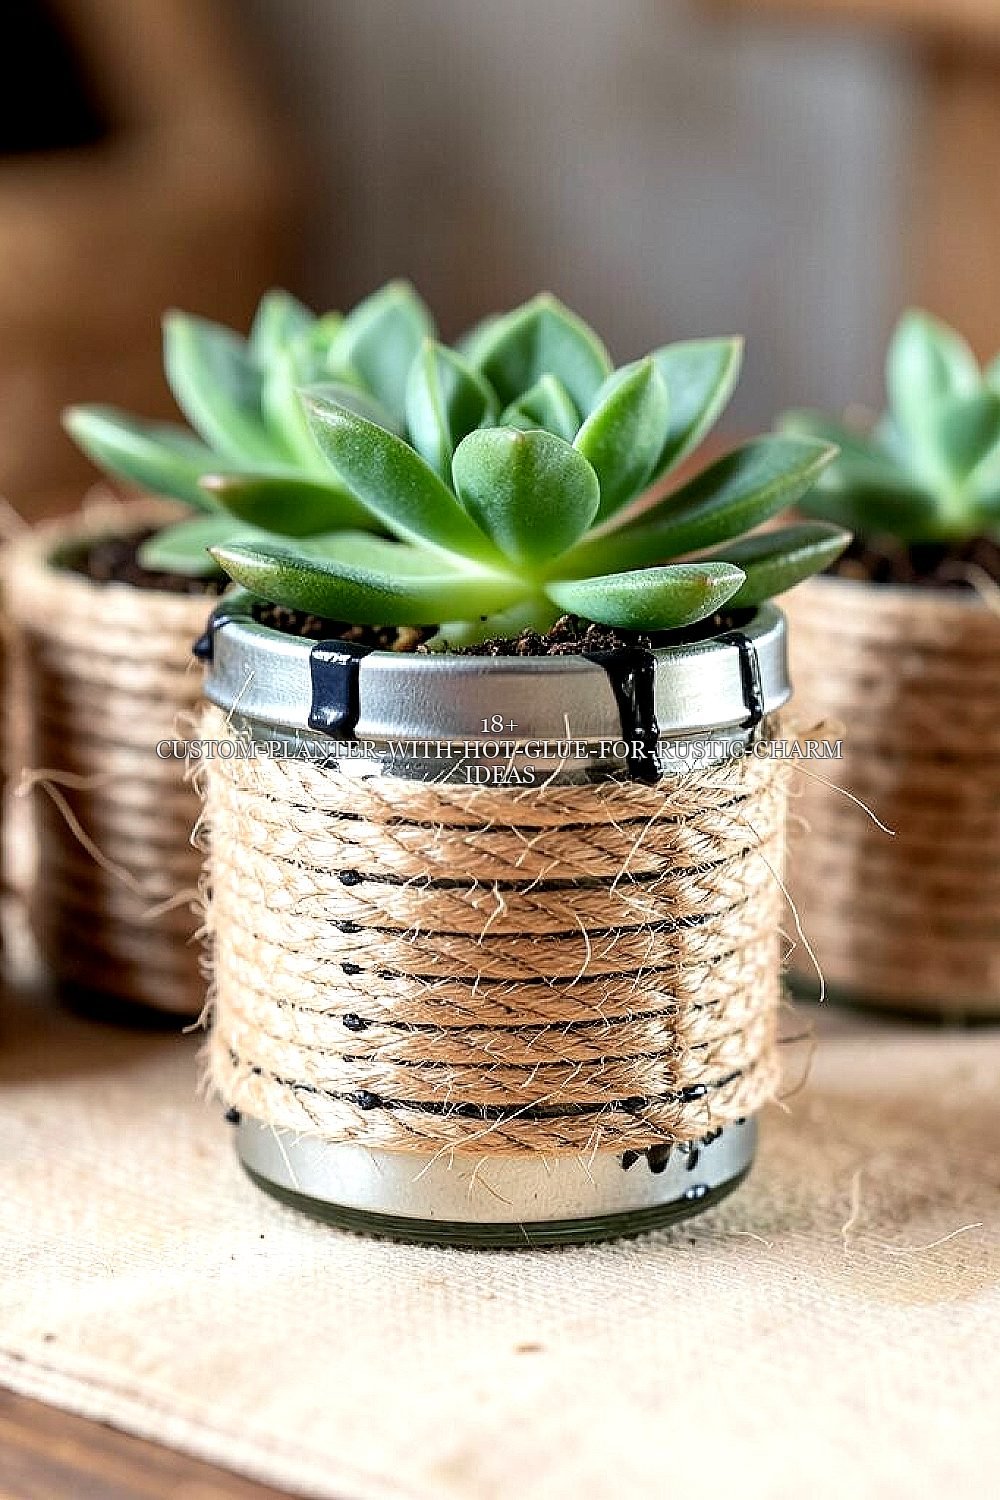
The right planter can make any corner feel cared for. Hot glue helps you build rustic charm fast, with room for your own style.
1. Twine-Wrapped Mini Planters with Hot-Glue Seams

Wrap a small jar or tin with twine, then hold each strand in place using hot glue along the seams. You will see a textured spiral pattern that looks like it came from a country market stall.
These planters work well for small succulents, herbs, or even fake greenery. The hot-glue points keep the twine from slipping, which saves time when you move them around. For a neat finish, press the twine firmly as you glue and trim any stray fibers with sharp scissors.
2. Reclaimed-Wood Scrap Planter Frames

Use thin wood scraps to build a small box frame, then glue the corners with hot glue before reinforcing with simple brads if you want extra strength. The surface will show grain lines and small dents that make the whole piece feel lived-in.
Set a liner inside so the plant stays safe while the wood stays rustic. This gives you a sturdy look without needing complex tools or carpentry skills. If you want it to match your room, stain the wood lightly and add a little twine bow to the front.
Consider using quick-drying outdoor mod podge over the glue lines to help with moisture from watering. Keep the soil in a separate small pot so the wood stays dryer longer. When you shop for supplies, check craft stores and bargain bins for scrap boards to keep costs low.
3. Stone-Textured Planters Using Hot-Glue “Pebble” Dots
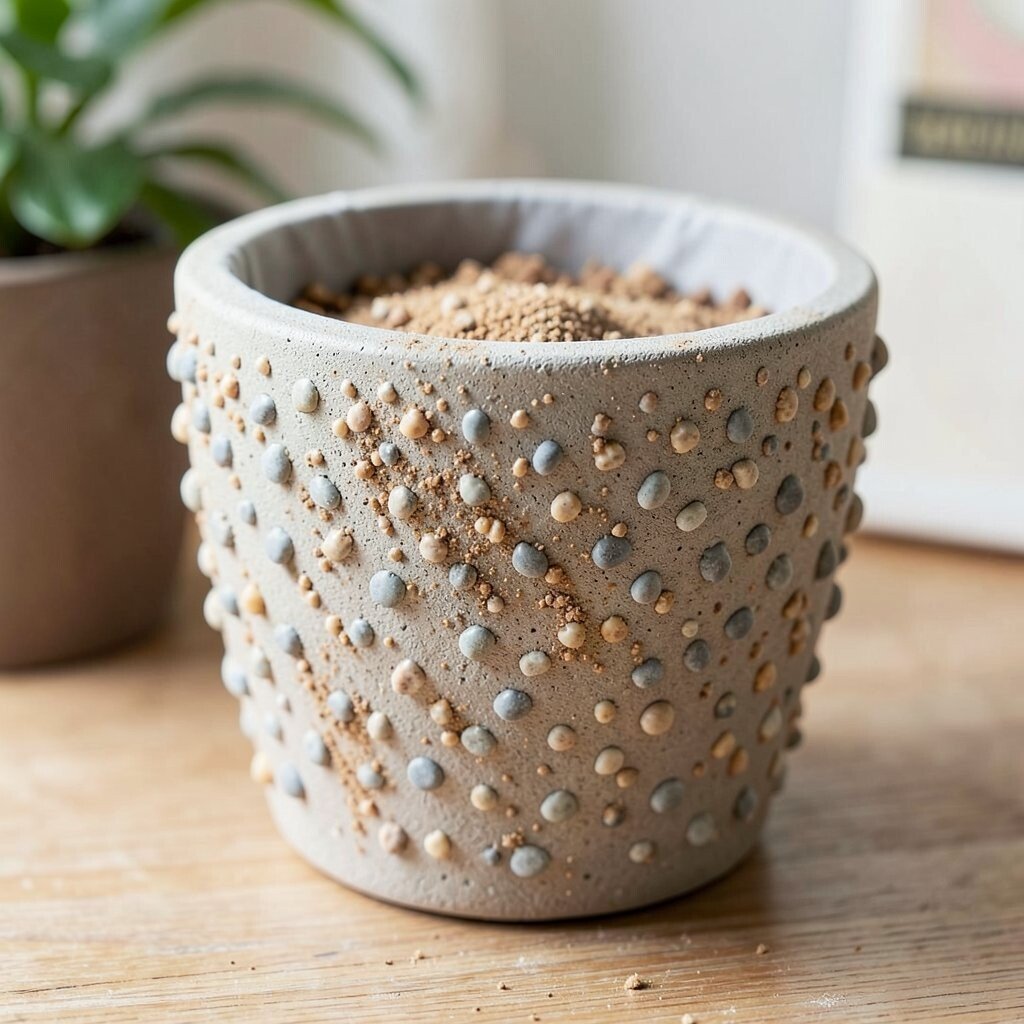
Dot a planter surface with hot glue in tiny clusters, then sprinkle sand or fine gravel onto the glue while it’s still warm. When it cools, the texture looks like tiny stones scattered across the body.
This method makes a plain container look fancy without heavy painting. It also hides small dents and uneven spots, which is great if you start with mismatched thrift items. Try mixing light sand with a pinch of brown pigment so the “pebbles” look natural.
Use a sealant made for crafts over the dried glue texture to protect it from water splash. A liner or internal pot will help you keep the surface clean. If you like trends, the stone-and-rugged style is showing up a lot in home decor because it feels earthy and modern at the same time.
4. Rustic Rope Handles on Hanging Planters

Coil rope into a loop handle and glue it onto a small pot, then attach the hanging hook with a secure knot. The result is a warm, rustic look that reminds people of old market stalls.
Hanging planters save floor space and make even a window ledge feel like a mini garden. Hot glue holds the rope ends quickly so you can finish a set in an afternoon. To personalize, paint tiny dots on the pot or wrap the top rim with a thin strip of fabric.
5. Dried-Flower Seeded Planters with Hot-Glue Holders
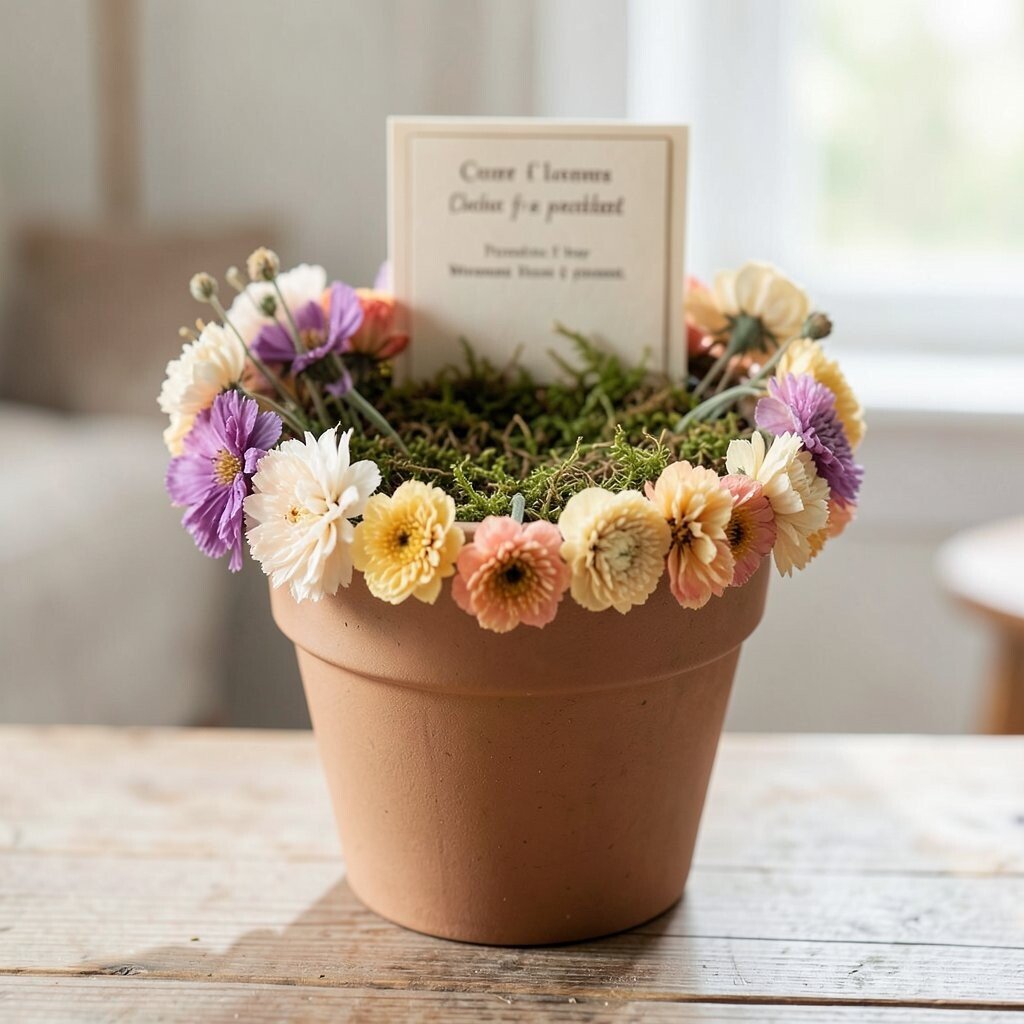
Glue small clusters of dried flowers around the top rim using hot glue, then tuck a thin layer of moss or paper liner inside. Your planter will look like it’s wearing a crown of gentle colors.
This style adds a soft, romantic feel and works beautifully for arrangements that need less watering. It’s also a great way to use what you already have from pressed bouquets. Keep the glue away from where water will soak in by using a separate inner pot or a waterproof liner.
For a practical twist, add a small label card behind the blooms so you remember what’s planted. If you want a current vibe, neutral botanicals and preserved textures are popular because they look calm and cozy. Choose flowers that are already in your color palette to avoid spending extra on matching bundles.
6. Ceramic-Look Planters with Glue-Smeared “Marble” Swirls
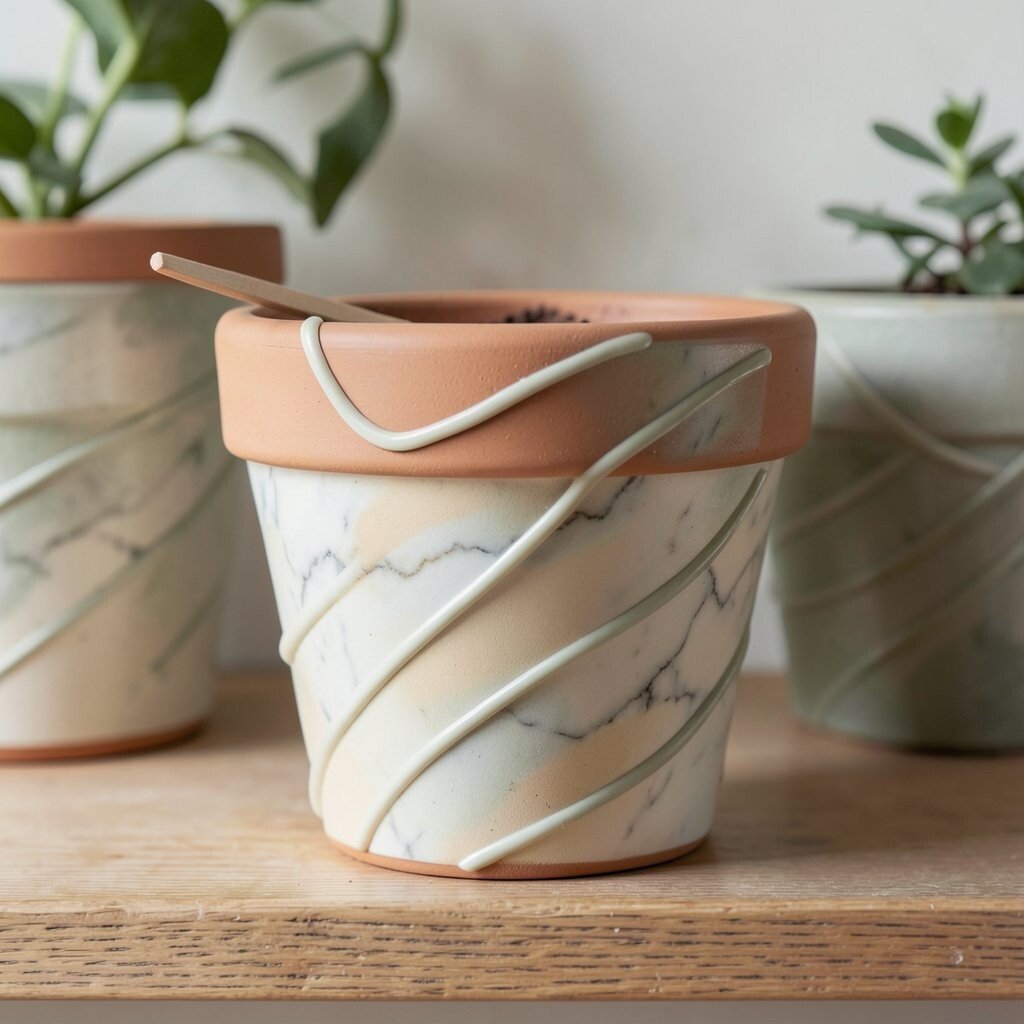
Start with a basic plastic or terracotta pot, then squeeze thin lines of hot glue in flowing curves. Smooth some lines with a craft stick while the glue is warm, and then paint over it lightly for a marble-like finish.
The visuals will look like ceramic with swirly movement, even if you began with something plain. The benefit is that the texture catches light in a pretty way, making your planter stand out on a shelf. Personalize with a color wash that matches your decor, like warm cream, muted sage, or soft clay tones.
7. Hot-Glue Lattice Pattern Planters for Window Sill Charm

Draw a grid lightly on the pot with pencil, then glue vertical and horizontal lines in small sections. Fill in spaces for a lattice effect, and you’ll see an airy pattern that feels rustic but still clean.
This style gives you a modern twist on country decor, which is why it feels so wearable in many homes. It also helps hide imperfections in a thrifted container. If you want it to last, let the glue cool fully before painting, and use a liner for the plant.
8. Leaf-Imprint Planters with Hot-Glue Veins
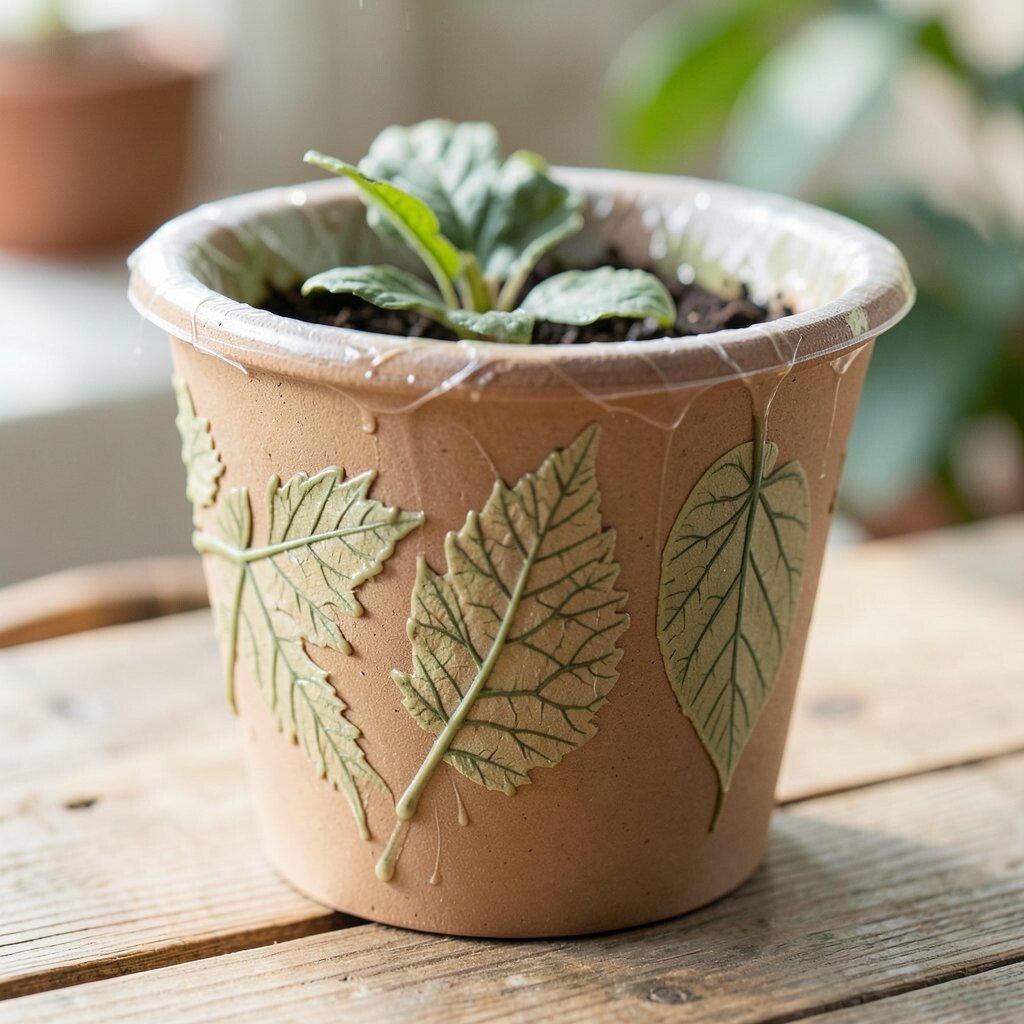
Press real leaves lightly against hot glue spread on the pot surface, then lift them to reveal vein patterns. The planter looks like it holds nature’s own handwriting.
It’s a unique approach because each leaf makes a different shape and texture. The benefit is a high-end look without expensive tools, since you can use what grows nearby or what you find in a dried bundle. Try sealing the top layer with a clear craft coat so the details stay sharp over time.
Personalize by choosing leaves with the shapes you like best, such as fern-like edges or broad, round forms. Keep watering gentle and use an inner pot so the glue area stays mostly dry. This kind of botanical texture matches the current trend toward natural surfaces and handcrafted details.
9. Tin Can Planters with Hot-Glue Label Collars
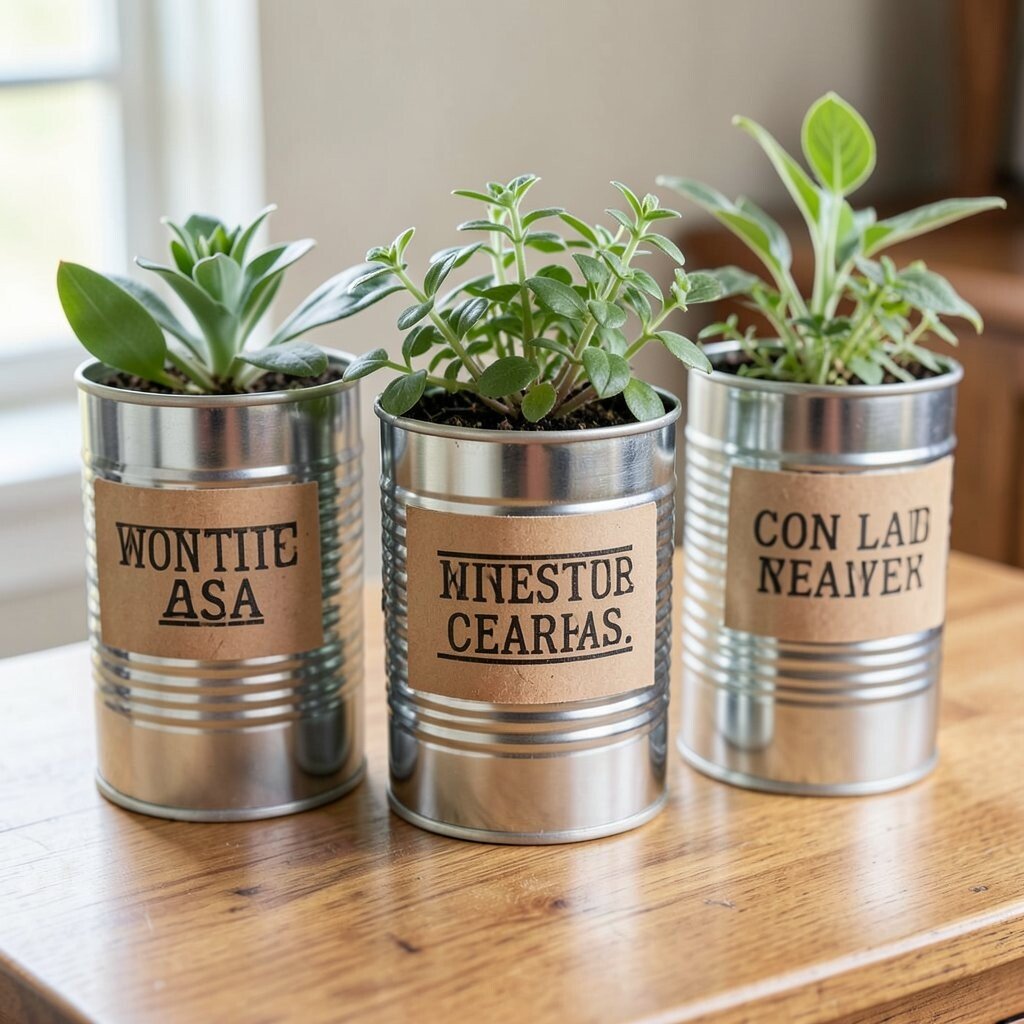
Clean tin cans, then glue a strip around the top like a label collar using hot glue. Add stamped letters on card stock and glue them in place for a charming, farmhouse feel.
These planters are easy because tin cans are light and simple to repurpose. The benefit is clear personalization, since you can name plants or add dates for each season. Use thicker card stock so the label holds up and doesn’t sag from moisture.
10. Fabric-Ribbon Framing with Hot-Glue Corner Tucks

Wrap a pot with fabric ribbon, then create neat corner tucks by gluing small folds at the top. The visual effect is like a framed picture, only it’s holding your greenery.
This looks soft and cozy, which makes it perfect for bedrooms, reading corners, and gentle seasonal displays. Hot glue grabs fabric quickly, but you should still add a protective liner for spills. Personalize with ribbon patterns like burlap stripes, small checks, or simple linen tones that match your room.
If you want it to feel more rustic, choose slightly frayed ribbon edges and trim them unevenly on purpose. Keep a low-cost approach by using leftover scraps from old gifts or worn-out clothing. When you finish, place the planter where it won’t get splashed often to preserve the fabric look.
11. Mini Cloche-Style Desk Planters with Hot-Glue “Lids”
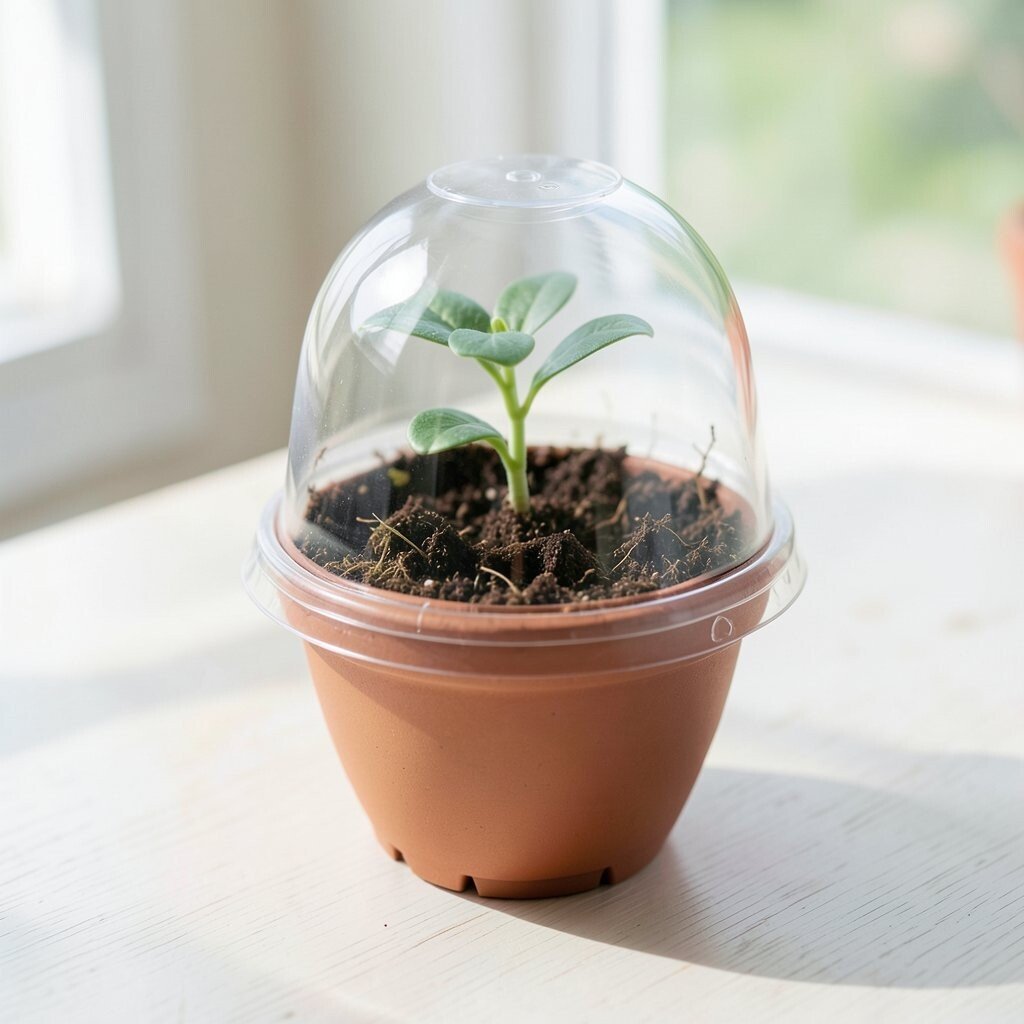
Build a small dome lid from clear plastic sheets or lightweight materials, then glue it to a base ring around your planter. The visual gives you a tiny greenhouse vibe for a single plant or cutting.
This helps protect delicate seedlings from drafts and makes a cute centerpiece feel extra special. Hot glue makes the dome quick to assemble, especially for small scale projects. If you want practical function, add small vent gaps so air can move while the soil stays comfortable.
12. Chalk-Paint Planters with Hot-Glue Stencil Edges
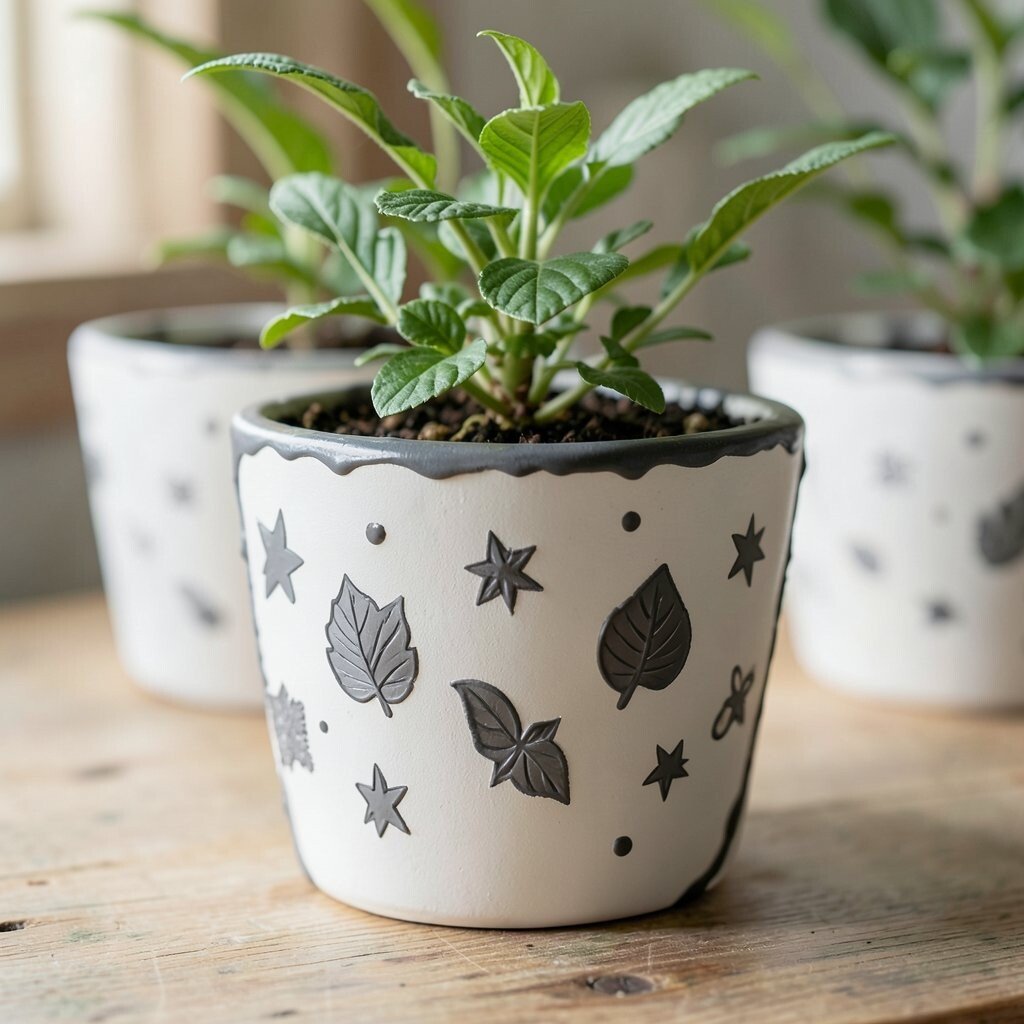
Spread a thin layer of hot glue along the outside of a stencil shape on the pot, then paint over it with chalk paint. When you remove the stencil, the raised glue line creates a crisp border that looks like etched design.
The benefit is a clean, patterned look that still feels handmade. It’s also a simple way to personalize since you can pick shapes that match your style, like leaves, stars, or small dots. For current trends, farmhouse chalk tones and gentle matte finishes are still very popular because they fit nearly every interior.
Let the glue cure fully before painting so it doesn’t smear. Use a clear sealer after the paint dries, especially if you water near the surface. For cost considerations, use store-brand chalk paint or mix your own small batch in a leftover container.
13. Old-Key and Twine Accent Planters

Glue small old keys, screws, or metal bits around a pot using hot glue, then wrap twine around the center for balance. The planter will show a mix of shiny history and rough natural texture.
This is unique because the metal pieces catch light and create a story-like look. It also makes an excellent gift since people love seeing meaningful objects reused. Use a waterproof liner inside the pot and keep hot glue away from areas that stay wet.
14. Hot-Glue “Rope Knot” Base for Flat Planters

Create a raised base using hot glue in rope-knot loops on a flat dish or shallow tray, then add soil inside a small inner pot. The visual becomes a decorative stand, not just a container.
The benefit is that you can make a simple planter feel elevated, which is great for shelves. It also prevents direct soil contact with your decorative surface when you use the inner pot. Personalize the look by varying knot sizes and spacing so it feels balanced rather than perfectly identical.
15. Crackle-Effect Planters with Glue-Crack Lines
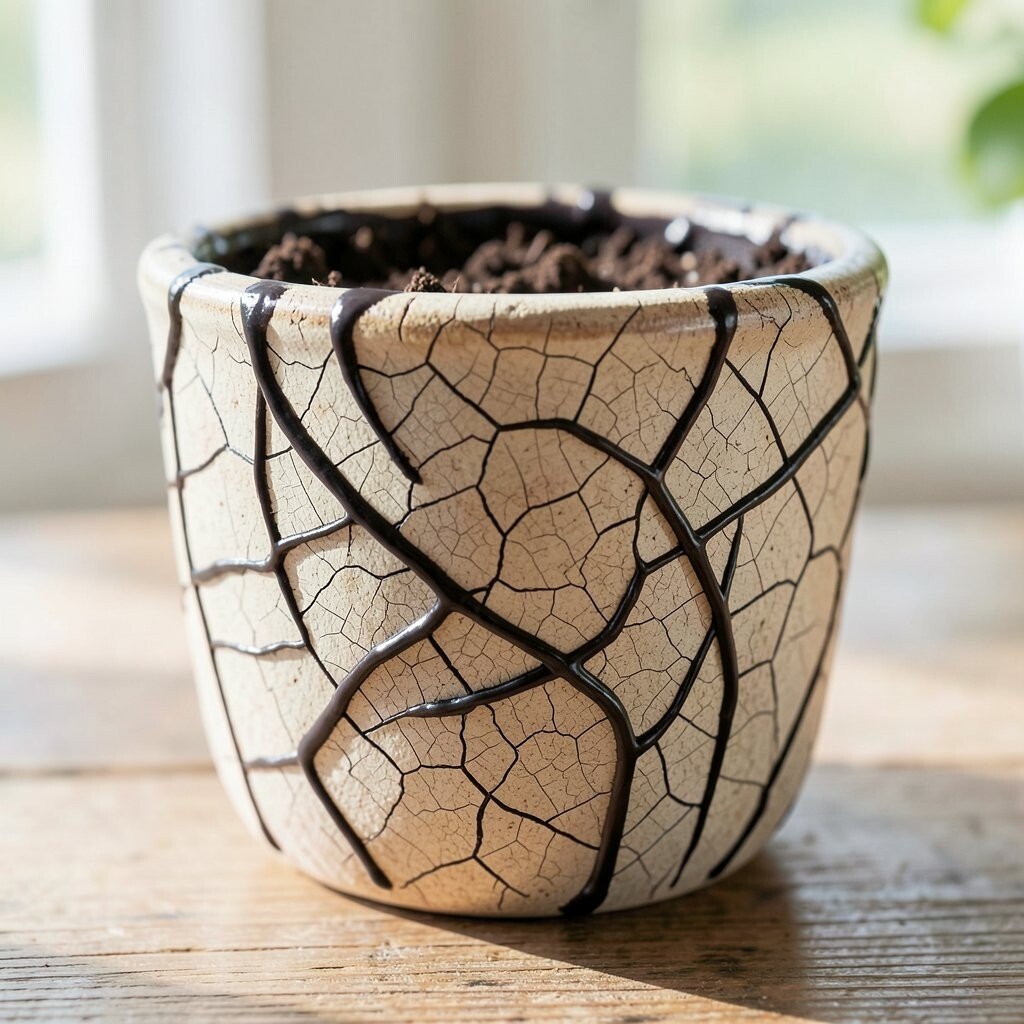
Apply hot glue in broken lines across the pot, then paint over it while keeping the pattern uneven. After drying, the glue lines can create a natural crackle effect that looks like aged pottery.
This technique gives rustic charm with a worn-in look that many homes crave. The practical benefit is that cracks hide minor scratches, so a thrift find can be turned into a standout piece. For personalization, choose darker paint in the crevices by brushing a small amount into the lines and wiping the rest away.
16. Water-Resistant Liner Planters with Hot-Glue Rim Seals

When using hot glue on a planter that will get regular watering, focus on the rim instead of the inside surface. Glue a thin ring on the top edge, then add a waterproof liner such as plastic or a sealed paper pot inside.
This helps keep the decorative portion safer from moisture, which makes the piece last longer. The benefit is peace of mind because your craft effort stays crisp even after repeated watering. Personalize by decorating only the rim area with twine, painted dots, or leaf textures so the glue works as a protective border.
For cost considerations, you can often reuse containers you already own, then spend a small amount on liners and a simple sealer. A current trend is using practical interiors that still look handmade, and this approach fits that perfectly.
17. Hot-Glue “Canyon” Texture Planters with Layered Ridges
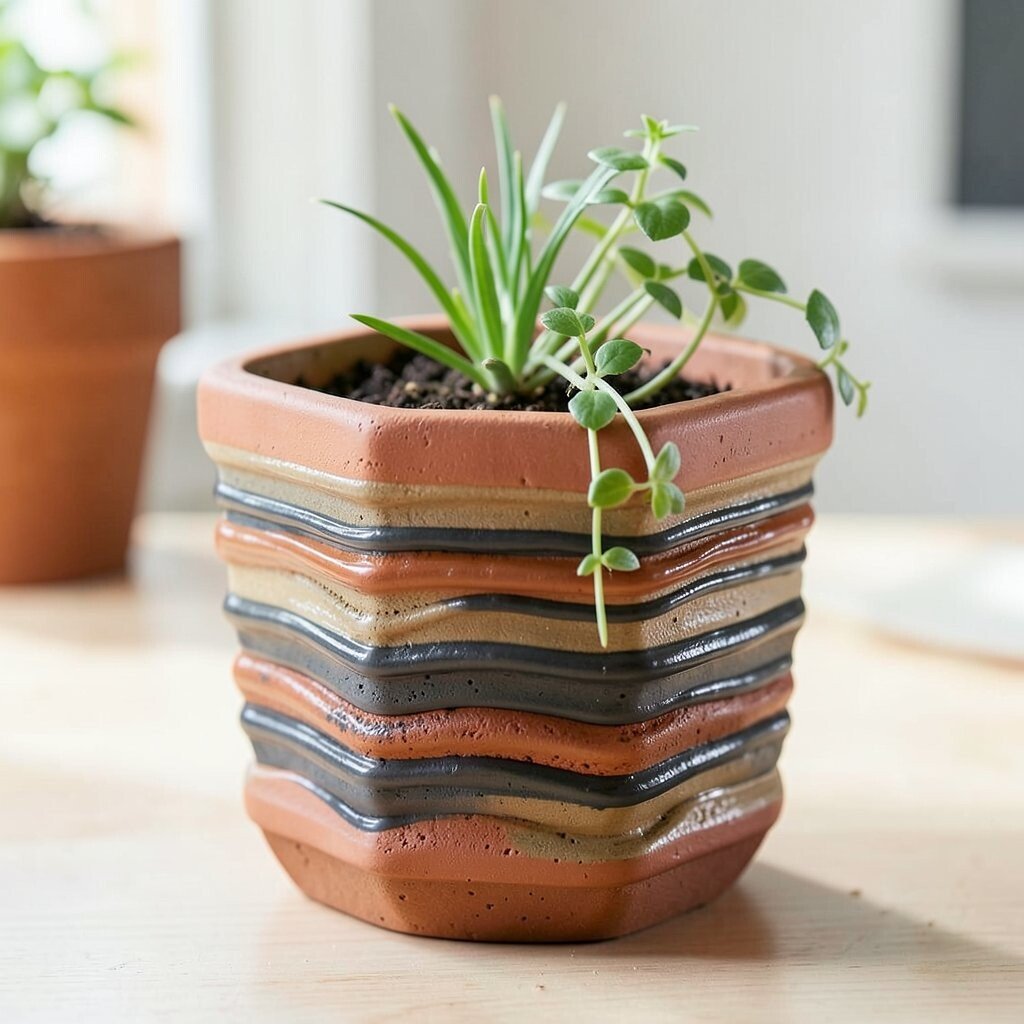
Build ridges by stacking lines of hot glue in uneven layers, moving from bottom to top like canyon walls. Once cool, brush paint over the ridges and let it settle into the grooves for a deep, rustic look.
The visual effect is bold, especially if you use earthy colors like terracotta, charcoal, or warm brown. The benefit is a tactile surface that adds interest even when the plant is small. Personalize by mixing two paint tones, then dry-brushing the lighter color so the texture pops.
If you want practical tips, keep the plant in an inner pot so water doesn’t soak directly into the ridge texture. When you’re planning your design, pick a simple plant shape like a small grass or trailing vine so the contrast stays strong. This kind of layered texture matches the current popularity of tactile, sculptural decor.
18. Personalized Photo-Memory Planters with Hot-Glue Corner Frames

Print a small photo or draw a little memory on cardstock, then glue a decorative corner frame around it using hot glue. Attach the photo to the planter body so it becomes a wearable keepsake.
This creates a heartfelt planter that feels special, not generic, and it’s a fun way to use old photos. The benefit is easy personalization, because you can make one for each family member or for different seasons. Use a clear protective film over the photo to reduce fading and keep it looking fresh.
19. Herb-Label Planters with Hot-Glue Marker Dots

Glue small raised dots in a row near the top of the planter, then paint over them so they act like marker points for labels. Write the herb name on small tags and glue the tags near the dots for an organized rustic look.
This style is practical because it helps you remember what’s planted, especially if you grow several herbs at once. The unique charm comes from the tactile marker dots, which look like little handcrafted signs. Personalize the tags with different fonts or tiny icons like a leaf, seed, or sun.
For cost considerations, use scrap paper for tags and reuse old spice jars as planters. Keep the hot glue near the dry upper section and rely on an inner pot for soil. Right now, people are choosing kitchen decor that feels handmade and useful, so this fits perfectly on a windowsill or countertop shelf.