The small moves add up fast. When kids get strong hands, school tasks feel smoother and more fun.
Below are practical, kid-friendly activities that build control, coordination, and confidence at home. Each one includes simple ways to try it today and make it fit your child.
1. Playdough Shape Creations

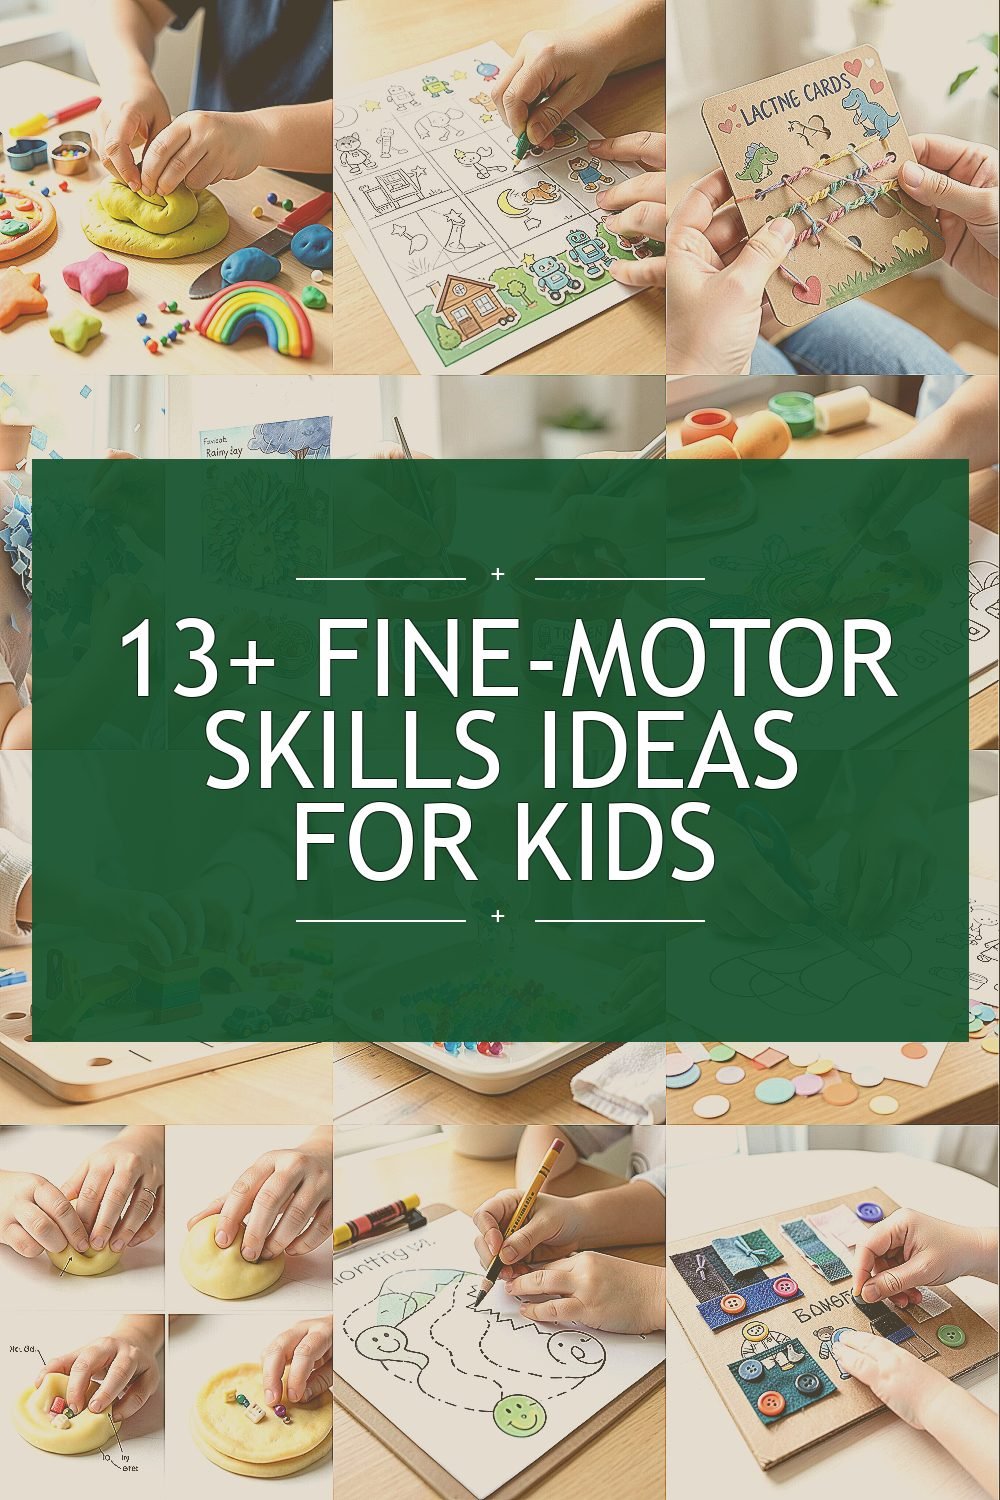
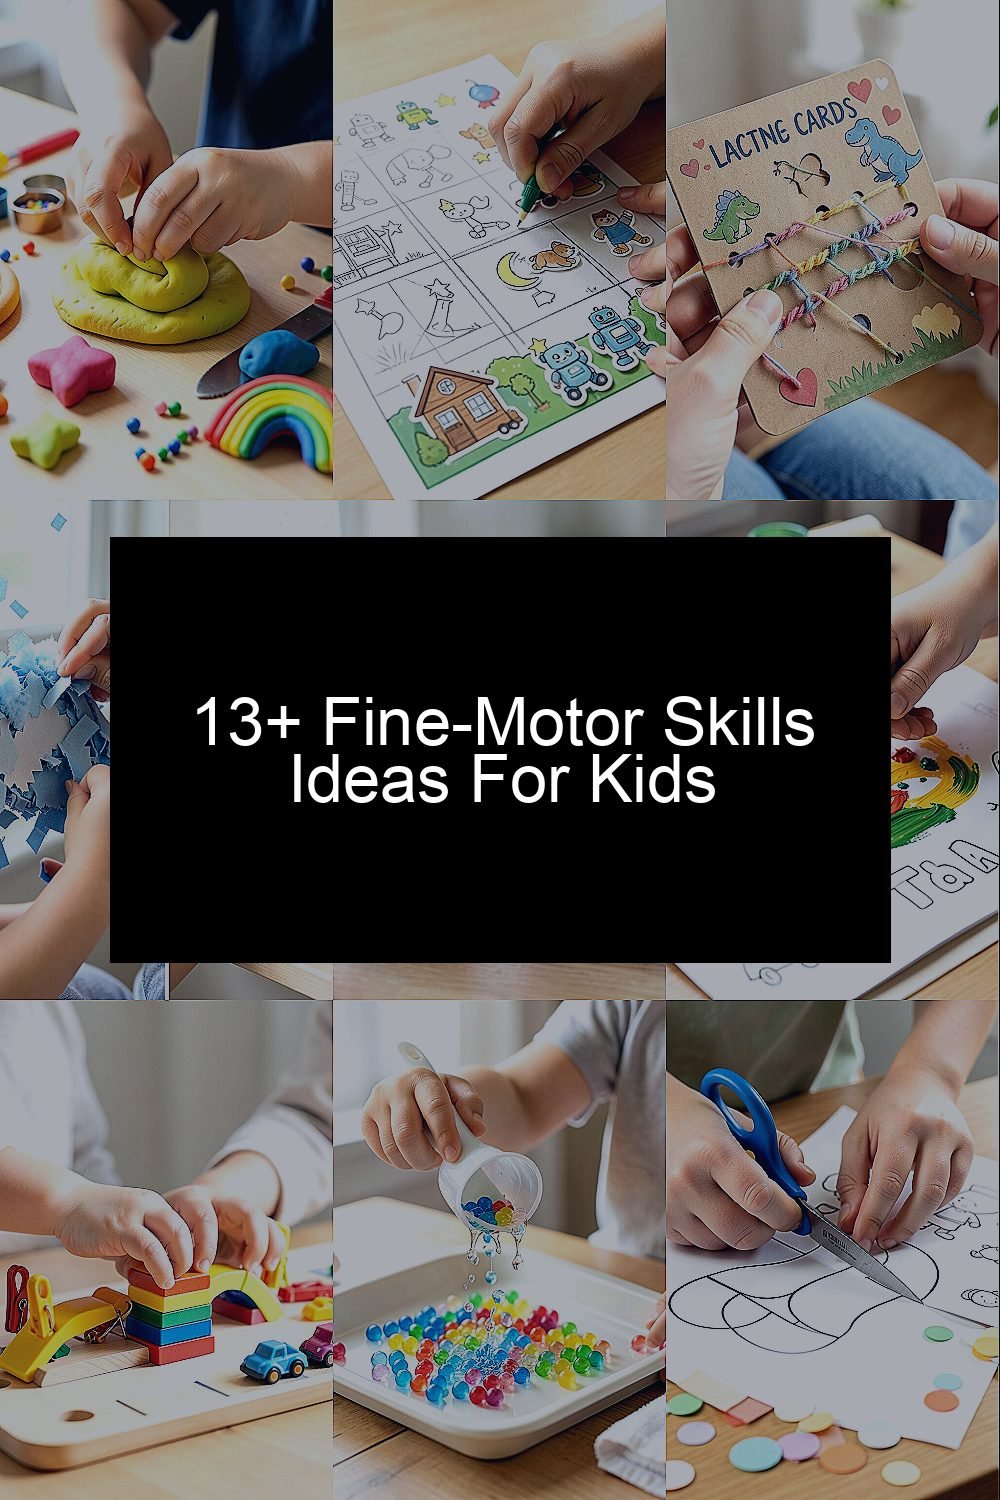
Watch your child press, pinch, and roll the soft dough into bright shapes. On the table, it looks like tiny pizzas, snakes, stars, and rainbow blobs. This activity strengthens finger muscles while teaching steady hand pressure.
Set out cookie cutters, plastic knives, and small beads for “sprinkles.” Encourage them to start with big shapes and slowly make smaller details. Keep it personal by choosing dough colors tied to your child’s favorite animals or celebrations.
2. Sticker Pattern Mosaics
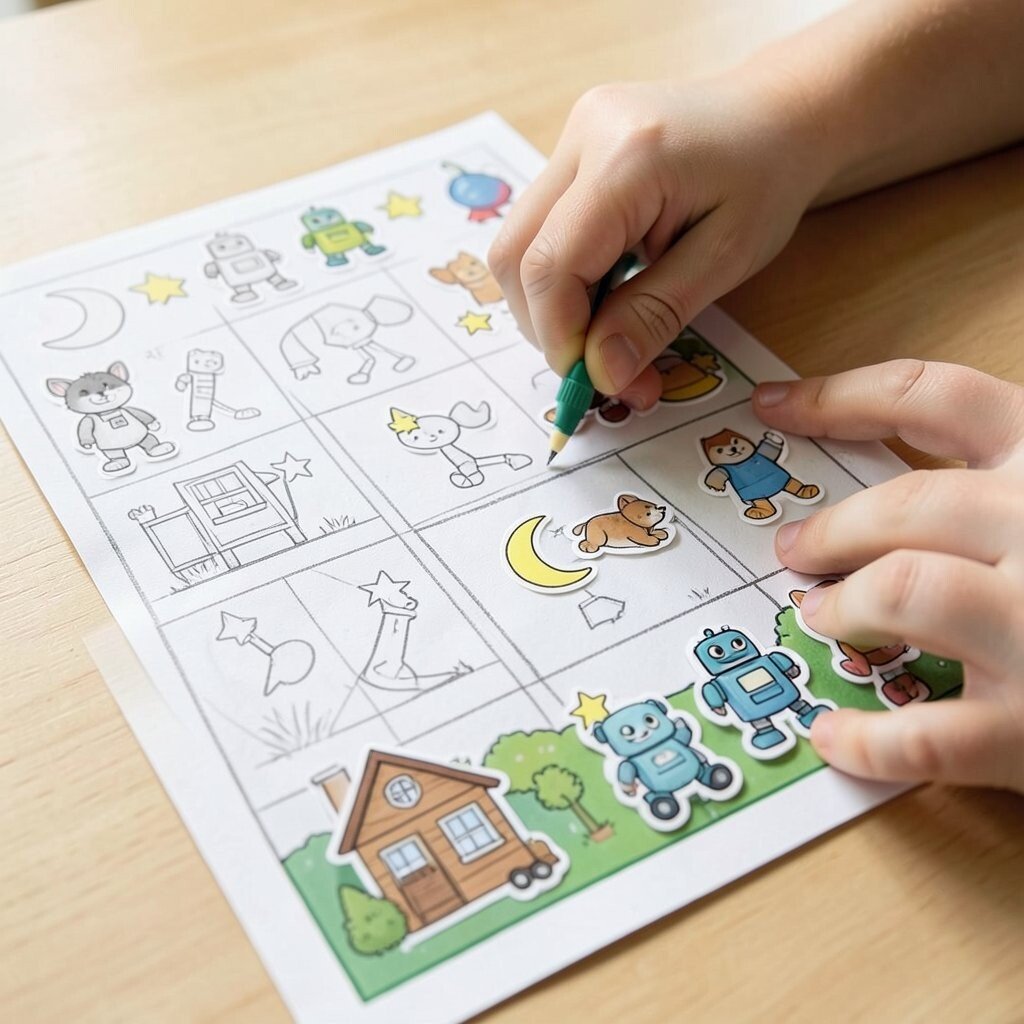
Stickers glide across paper, and you can almost see the careful planning happening. Your child lines them up to form a picture, like a neat garden path or a friendly robot. Placing stickers improves grip control and eye-hand coordination while building a sense of order.
Give them a sheet with faint pencil lines or simple grids made from washable marker. Ask them to copy a pattern using two shapes in repeating order. To keep cost low, reuse old sticker sheets, and swap in magazine cut-outs when stickers are limited.
Let your child design their own scene and explain what they made. They might place “stars” around a moon shape or build a house with window stickers. Use trends by trying sticker books that use popular themes like space, sports, and cute pets, which many kids already love.
3. Lacing Cards and String Adventures

Thin strings slip through punched holes, and the whole page starts to feel like a tiny playground. A finished lacing card looks like colorful braids stretching across a card. This strengthens fine-motor control and helps kids practice patience and sequencing.
Try starting with thick yarn and larger holes, then gradually switch to thinner string. Hold the card steady with one hand so the other hand can lace more comfortably. Personalize it by making cards in your child’s favorite theme, like dinosaurs, hearts, or simple letters.
For a budget-friendly option, cut holes in sturdy cardboard and use shoelaces or yarn that you already have. Keep the pace light, and celebrate the progress instead of the exact final design. Many kids also enjoy making “bracelets” from laces afterward, which turns practice into a wearable reward.
Choose rounded tips on plastic needles if available to reduce frustration. If your child struggles, widen the holes with a bigger punch so success comes sooner. Pair lacing with a short music break to make repeated practice feel natural.
4. Paper Tearing for Collage Stories
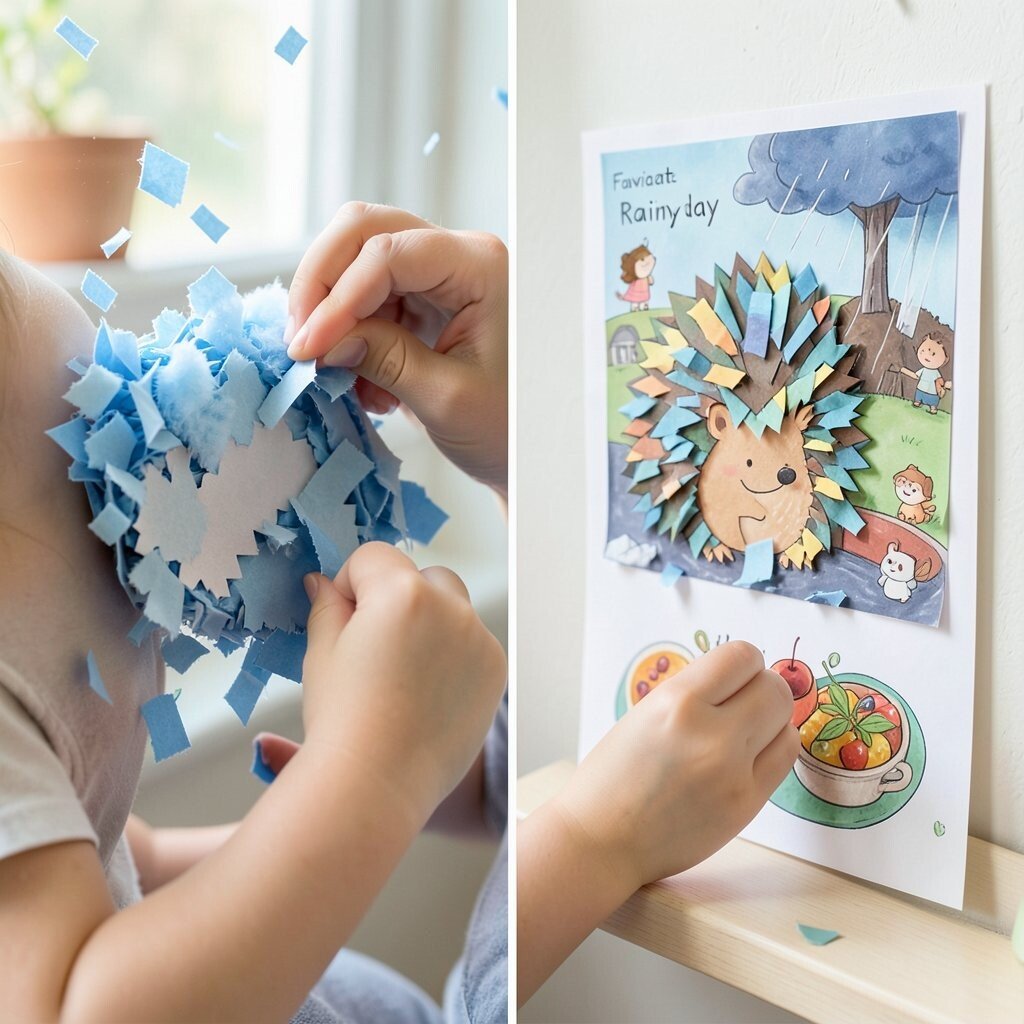
Tiny paper pieces flutter down like confetti when a child tears with focus. You might see a sky built from fluffy blue scraps or a hedgehog made from neat zigzag bits. Tearing paper trains finger strength and hand control while encouraging creativity.
Provide two colors at first and model how to tear slowly using a thumb and index finger. Suggest building from large areas to small details so the picture feels achievable. Save time and money by recycling old flyers, junk mail, and printed drawings, then letting your child choose the colors.
Personalize by making collages that match your child’s day, like a “rainy day” scene after a storm or a “favorite food” poster when they feel hungry. Use current trends by leaning into popular story themes from kids’ shows and picture books, but keep the focus on the making. Put the final collage on a shelf so it becomes a proud daily reminder.
5. Tweezers Treasure Sorting

Small objects look like treasure when kids try to pick them up with tweezers. You’ll notice careful pinching and steady hovering before each placement. This builds finger strength and coordination, especially for kids who need help with grasp and control.
Start with bigger items like pom-poms, paper clips, or cotton balls, then move to smaller beads later. Set up two cups labeled with pictures, like a red cup for red treasures. Keep cost in mind by using items you already have, such as buttons, dried beans, or small craft gems.
Make it personal by sorting by theme, like “ocean animals” or “spaceship parts.” If your child gets frustrated, try training tweezers with wider tips for a few sessions. Pair the activity with a fun timer and a short goal, such as filling one cup before a snack.
6. Finger Painting With Thick Tools

Thick paint makes every swirl easy to spot, and it feels exciting on a page. Kids can make bold lines, tiny dots, and smooth curves that look lively and bright. This activity supports grip development and promotes coordinated wrist and finger movement.
Use tools like sponge brushes, foam rollers, and stampers instead of only a skinny brush. Encourage slow movements for line work and quick taps for textured dots. Personalize by printing simple outlines of things they love, like cars, butterflies, or their name in block letters.
7. Building With Stacking and Clipping
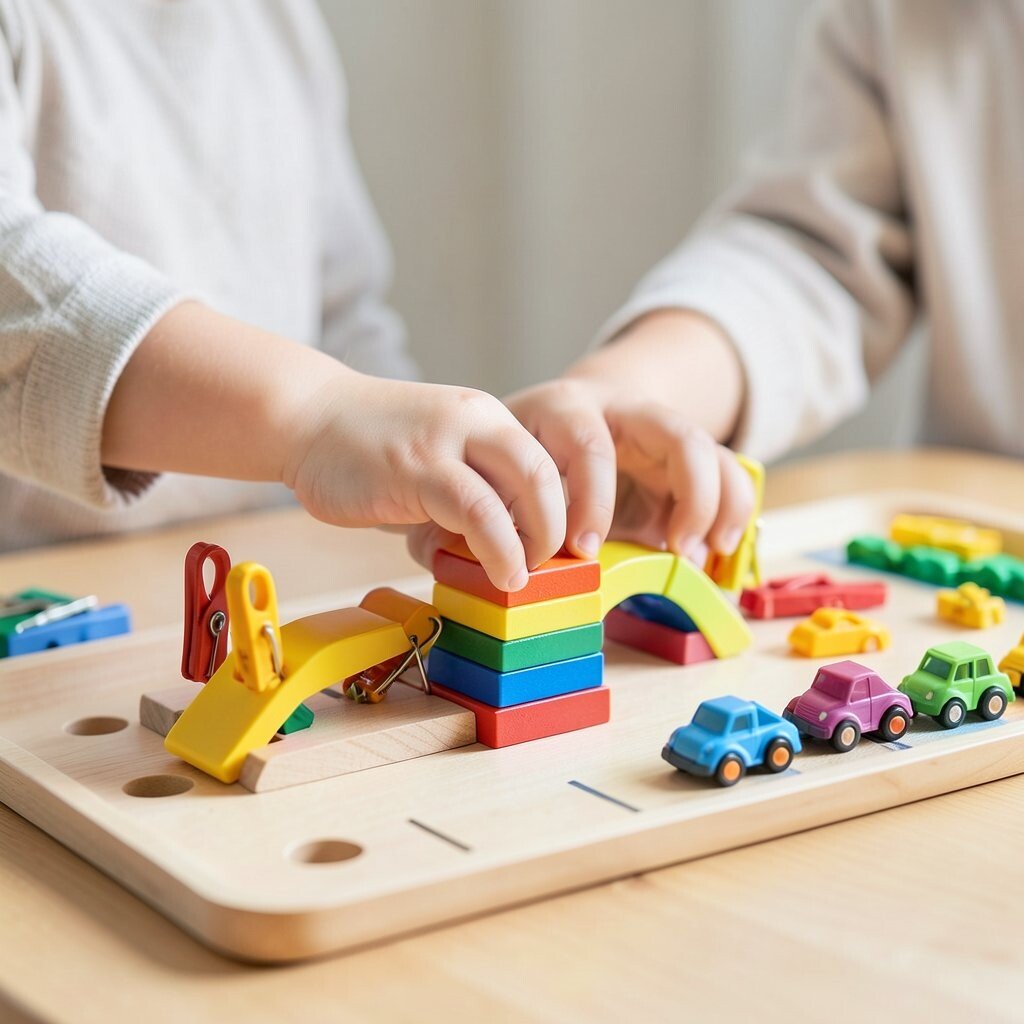
Stacking blocks is a classic game, but clipping adds a new level of finger control. You may see your child squeeze plastic clips onto a board like they are building a fence. That pinch-and-release action strengthens the thumb and index finger teamwork used for writing.
Try using clothespins, binder clips, or mini clamps with safe supervision. Set a tray with matching holes or pegs, then ask them to clip one item at a time. Make it unique by building patterns that match your home, like a “rainbow bridge” using colored pieces.
For cost considerations, clothespins and binder clips are usually cheap and last for years. Look for current trends in STEM building kits, but feel free to keep it simple with everyday tools. If your child loves vehicles, turn the pegs into a parking lot and clip toy “wheels” in place.
8. Water Bead or Gel Drop Transfers

When water beads or gel drops slide from one container to another, the motion looks almost magical. Children watch as the tiny pieces land with satisfying little sounds on the tray. This strengthens coordinated hand control and encourages careful scooping and releasing.
Use a small scoop, spoon, or turkey baster for transfer practice. Keep a towel nearby, and choose a tray with raised edges so spilled pieces stay contained. Personalize the shapes by using different colors and asking your child to sort them into matching cups.
9. Cutting Practice With Safety Scissors
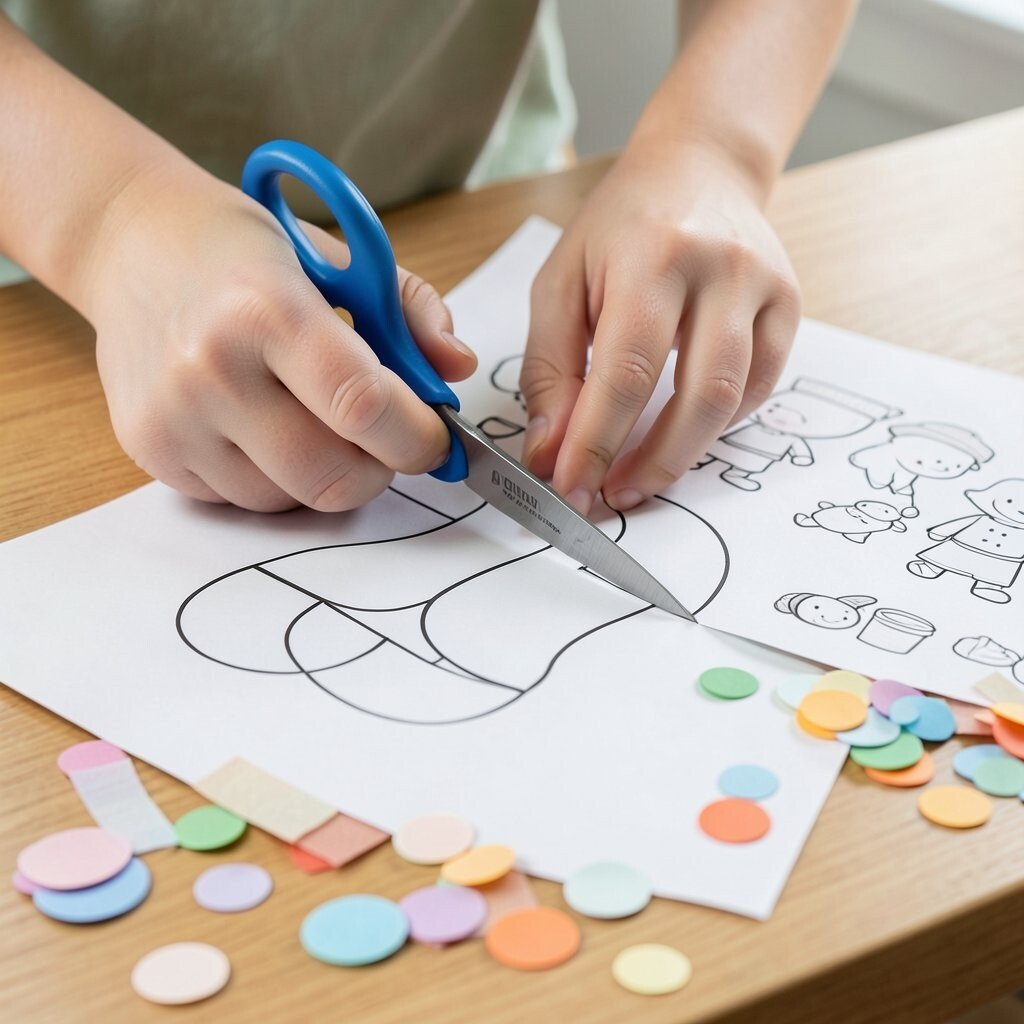
Snipping along a line creates a clear sense of progress, almost like a secret mission. You might see strips, circles, and paper “confetti” pile up on the desk. Cutting improves hand strength, finger separation, and planning skills needed for handwriting and crafts.
Start with easy materials like thick paper, then move to lighter craft paper when control improves. Use pre-drawn large curves and simple shapes so the child can focus on the motion. For a practical approach, make a “cut and paste” activity using grocery coupons, old magazines, or printed shapes from home.
Personalize by letting your child cut borders for a card to a family member. Try trends by using popular coloring pages from kids’ books and then turning them into cut-out characters. If scissors feel too hard, choose kid-safe blades with wider handles so the grip becomes comfortable.
10. Finger Gym With Putty and Stress Tools
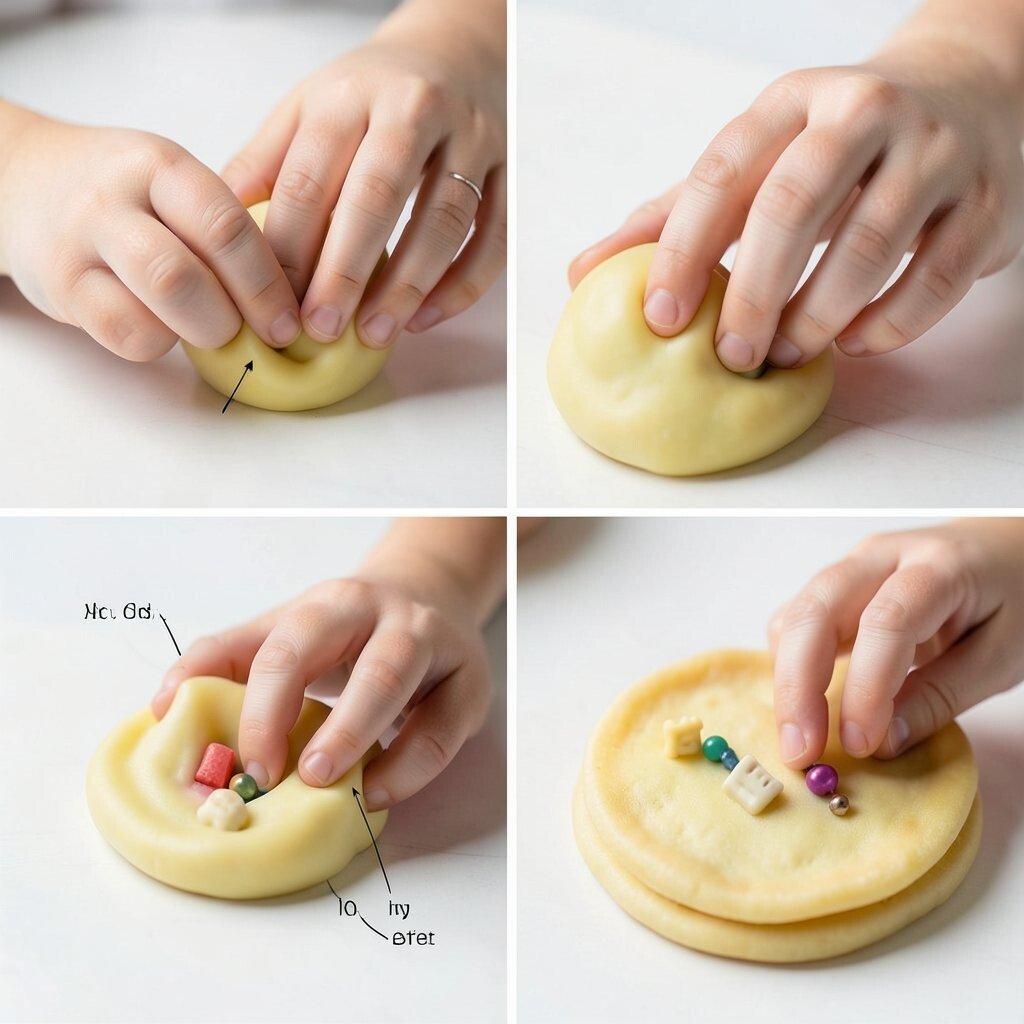
Putty stretches, squishes, and springs back, making the hands feel awake and strong. Kids often enjoy pressing small shapes into it and then pulling them out again. This builds strength and coordination in the fingers while helping many kids regulate tension.
Give them a few simple actions, like roll a ball, flatten a pancake, and pinch off small bites. Encourage them to keep movements slow at first so each finger does its job. Personalize by hiding tiny objects inside the putty, such as beads or mini erasers, and asking them to “find treasure.”
11. Handwriting Prepping With Tracing Paths
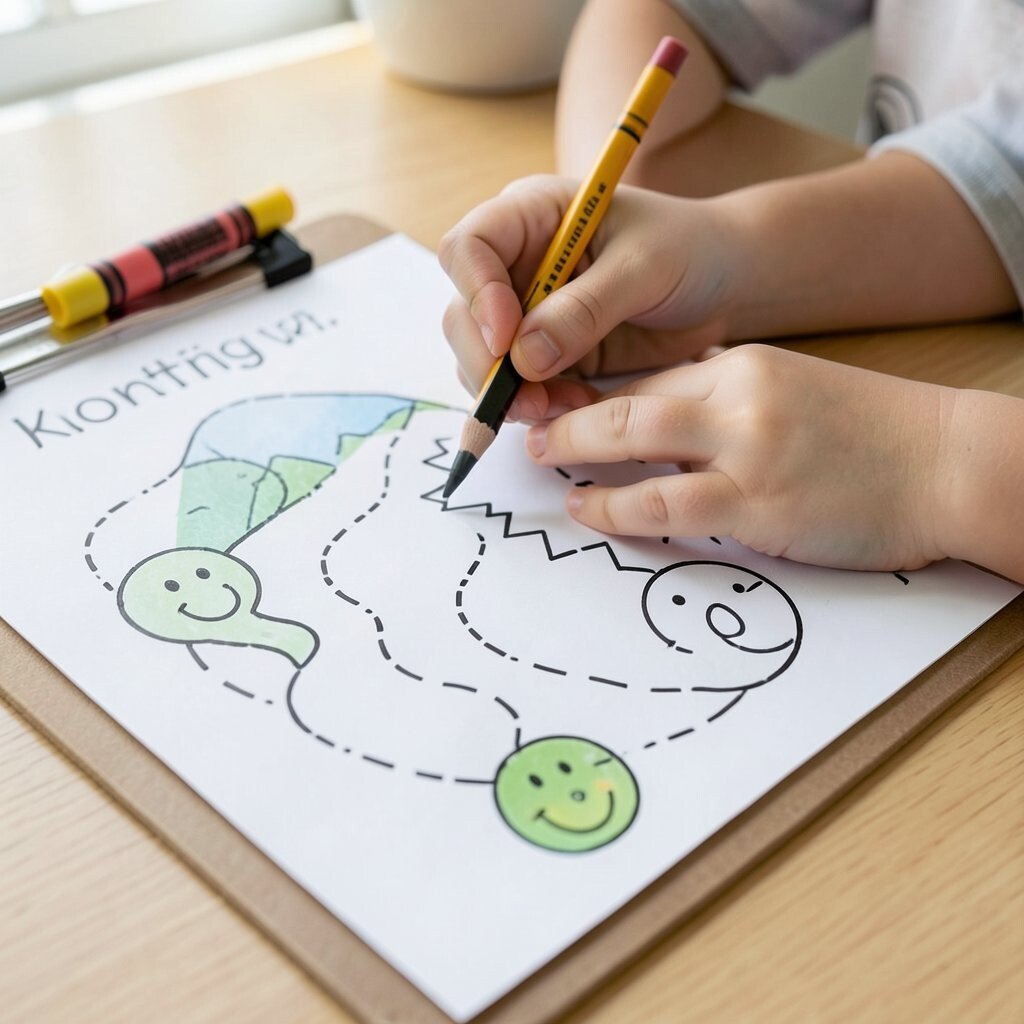
Tracing paths looks calm, but it trains serious control. A child follows a dotted line and the pencil moves with more steadiness each time. This supports grip, direction awareness, and the smooth movement needed for letters and numbers.
Use big crayons or thick markers, then switch to smaller tools later. Try tracing along curved shapes, zigzags, and circles before moving to straight lines. Make it personal by matching the tracing sheet to your child’s interests, like a winding “mountain road” or a “snake trail” that ends in a smiley face.
For cost considerations, you can reuse a laminated sheet with erasable markers or tape paper to a clipboard for quick setups. Keep the mood light by turning each path into a journey, with a small reward at the end. Many kids also like tracing with a finger before using a pencil, which can reduce fear of making mistakes.
12. Buttons, Velcro, and Fastener Play

Fastener play looks simple until you watch the careful pressing and pulling. A little button clicked into place feels satisfying, and the hands learn the exact motion. This builds coordination for dressing skills while strengthening pinch, grasp, and hand separation.
Create a small “busy board” using cardboard, fabric scraps, and safe fasteners. Add Velcro strips, fabric ties, snap tabs, and large buttons for different challenges. Personalize it with a theme like a “space suit station” or a “farm animal feeding gate” so each fastener feels like part of a story.
If you want a low-cost route, check fabric scraps from old clothes and reuse any spare buttons. A current trend is Montessori-style learning toys, but you can copy the approach with items around your home. Keep supervision in mind so your child can work safely, especially with small parts.
13. Play Dough and Pipe Cleaner Lining

Pipe cleaners curl, twist, and line up along drawn paths in a bright mess of creativity. Kids bend the wire carefully and press it into place like a living sculpture. This strengthens fine-motor control, wrist rotation, and the ability to plan movements.
Draw simple outlines on a card, like a heart, letter, or fence shape, then let your child trace it with pipe cleaners. Encourage pressing ends down so the shape stays put. Personalize by making letters for your child’s name, then add a small theme picture nearby.
14. Nature Sorting With Scoop and Tray

Outdoors, a tray becomes a mini laboratory for tiny treasures. Your child scoops leaves, smooth pebbles, or grass bits and sorts them into groups. This improves coordination, strength, and attention while also connecting fine-motor practice with real-world textures.
Use a garden trowel for larger items and a small scoop for fine transfers. Provide sorting categories based on what you find, like color, size, or shape. Personalize it by creating a “science map” with pictures on paper, then matching each item to the picture.
To keep cost low, use whatever you already have, like muffin tins, egg cartons, and small containers. A current trend in mindful play is bringing gentle nature experiences into daily routines, and this fits perfectly. Bring a small cloth bag to collect and reuse items safely, then rinse and store everything for next time.
Make it actionable by setting a simple goal, such as filling three sections or making a pattern with stones. If your child needs help, start with bigger items and gradually mix in smaller pieces. Celebrate the effort by praising steady hand movements and clear sorting choices.