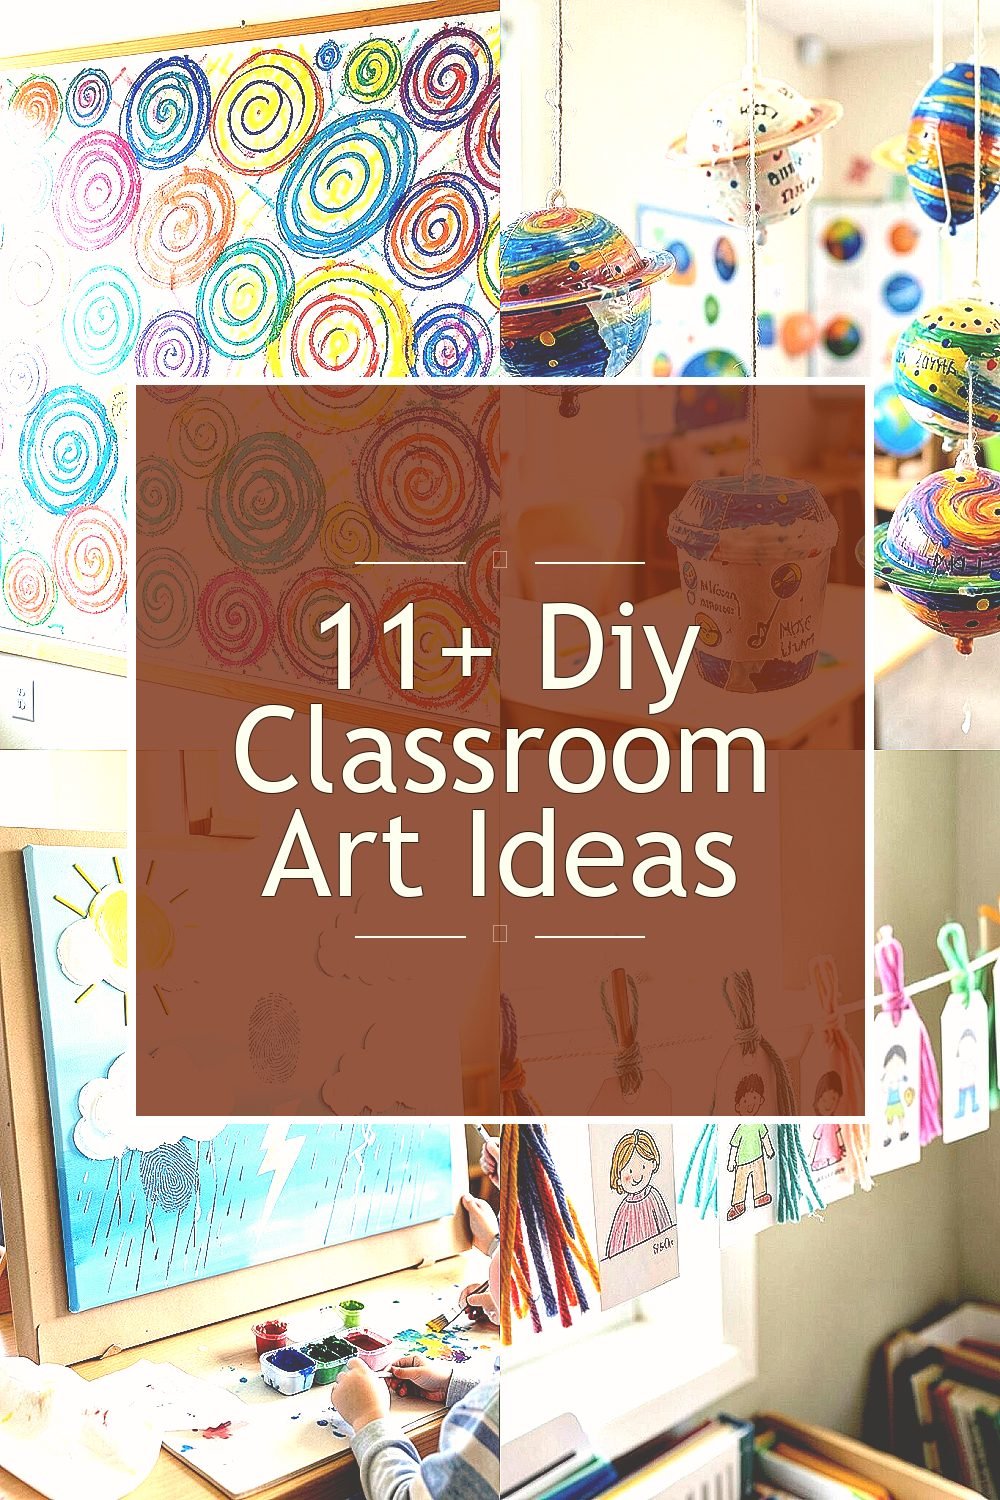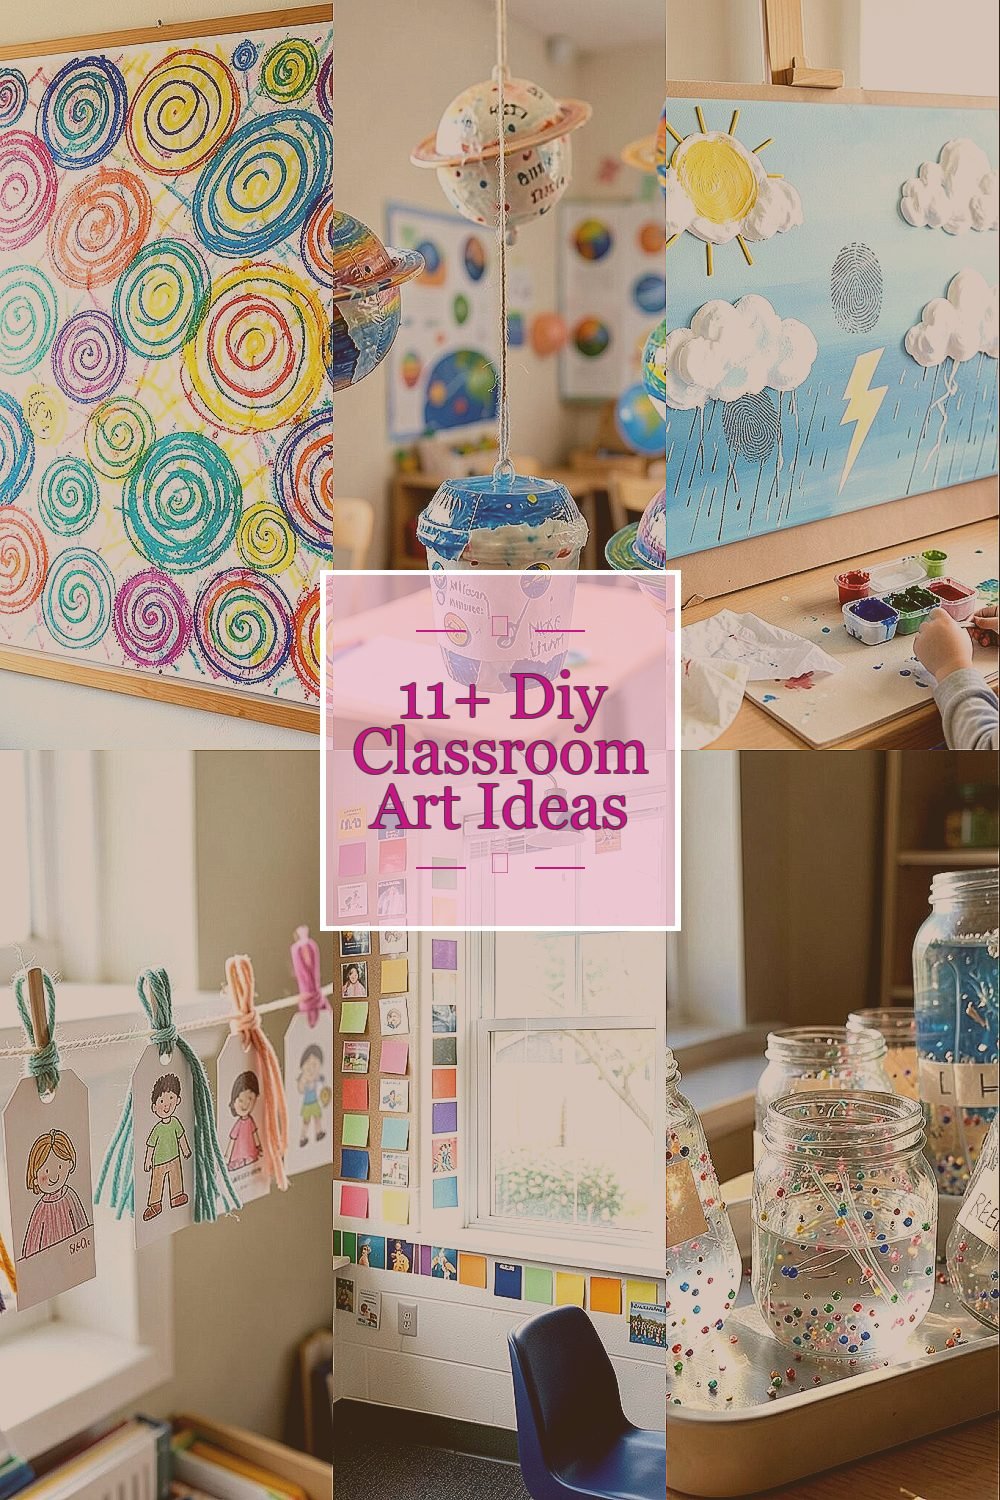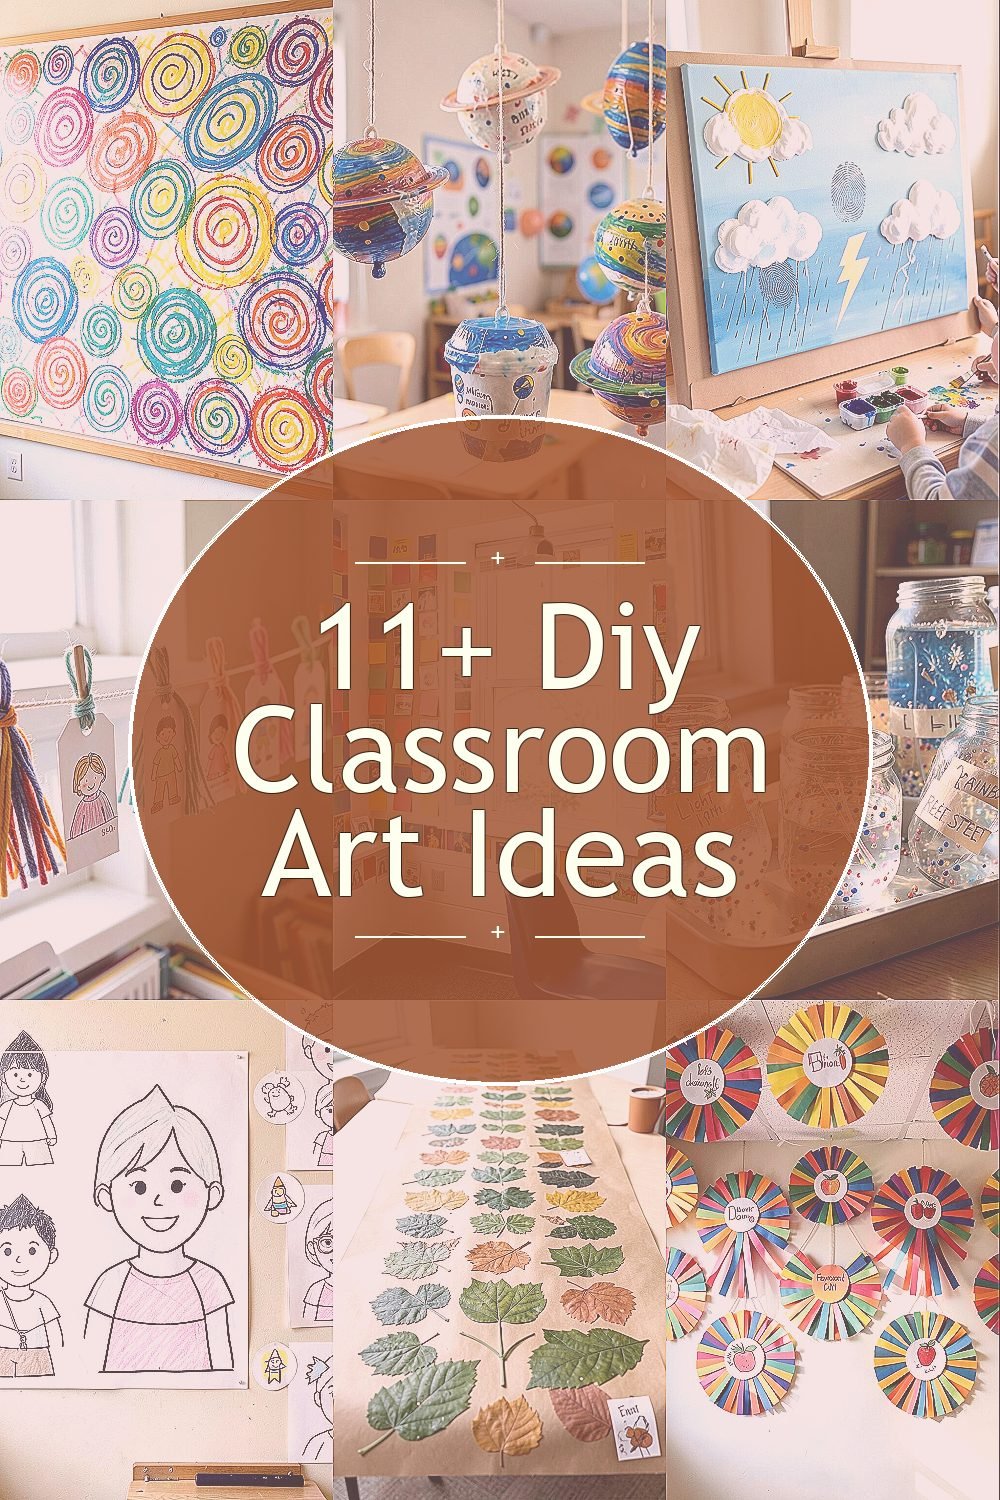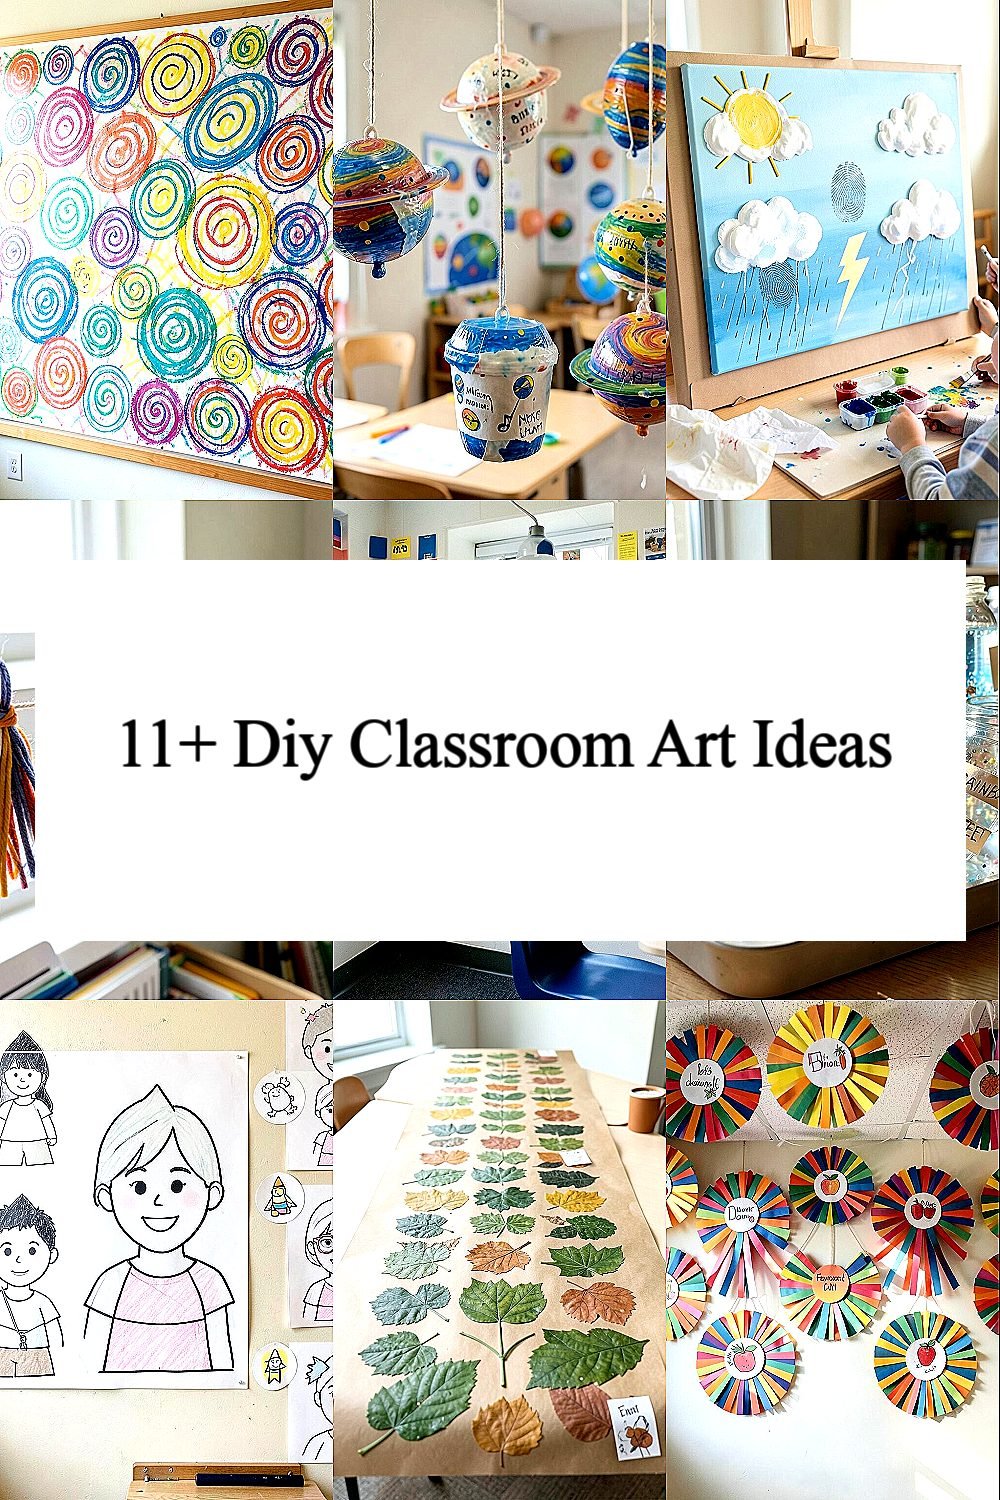
The room feels happier when students see their own creativity hanging on the walls. Simple DIY projects can bring color, pride, and calm to any classroom.
When you make art together, the space starts to feel like a community. Even small changes can make a big difference in how students show up each day.
1. Crayon Resist Color Bloom Wall
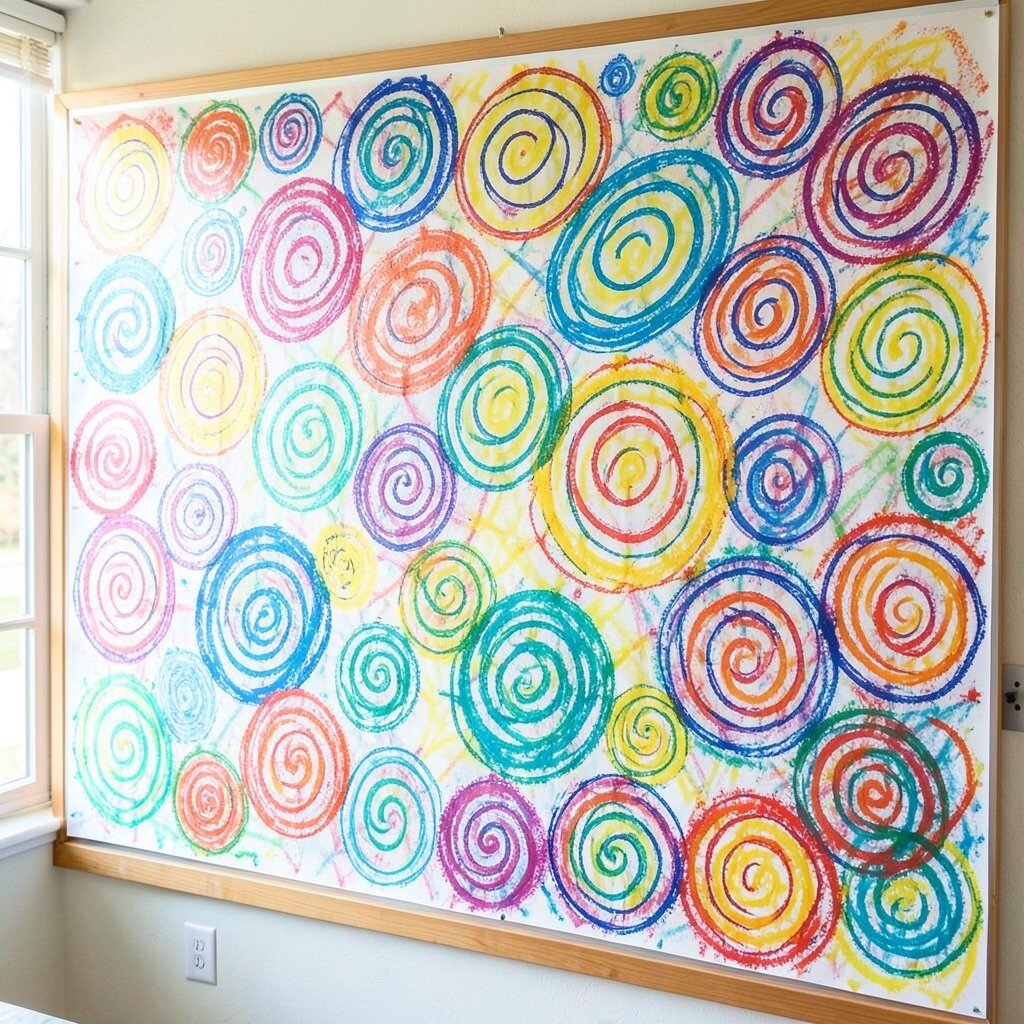
Cover a bulletin board or large poster paper with crayon in chunky swirls and shapes. Then paint over it with bright watercolor or tempera so the lines glow like stained glass. This creates a lively visual that feels both playful and special.
Students love spotting their own marks after the paint dries. Use washable supplies and give them a steady pace so the surface stays even. For personalization, let each student pick a color theme based on seasons or favorite animals, and keep leftover paint so you can touch up faded spots later.
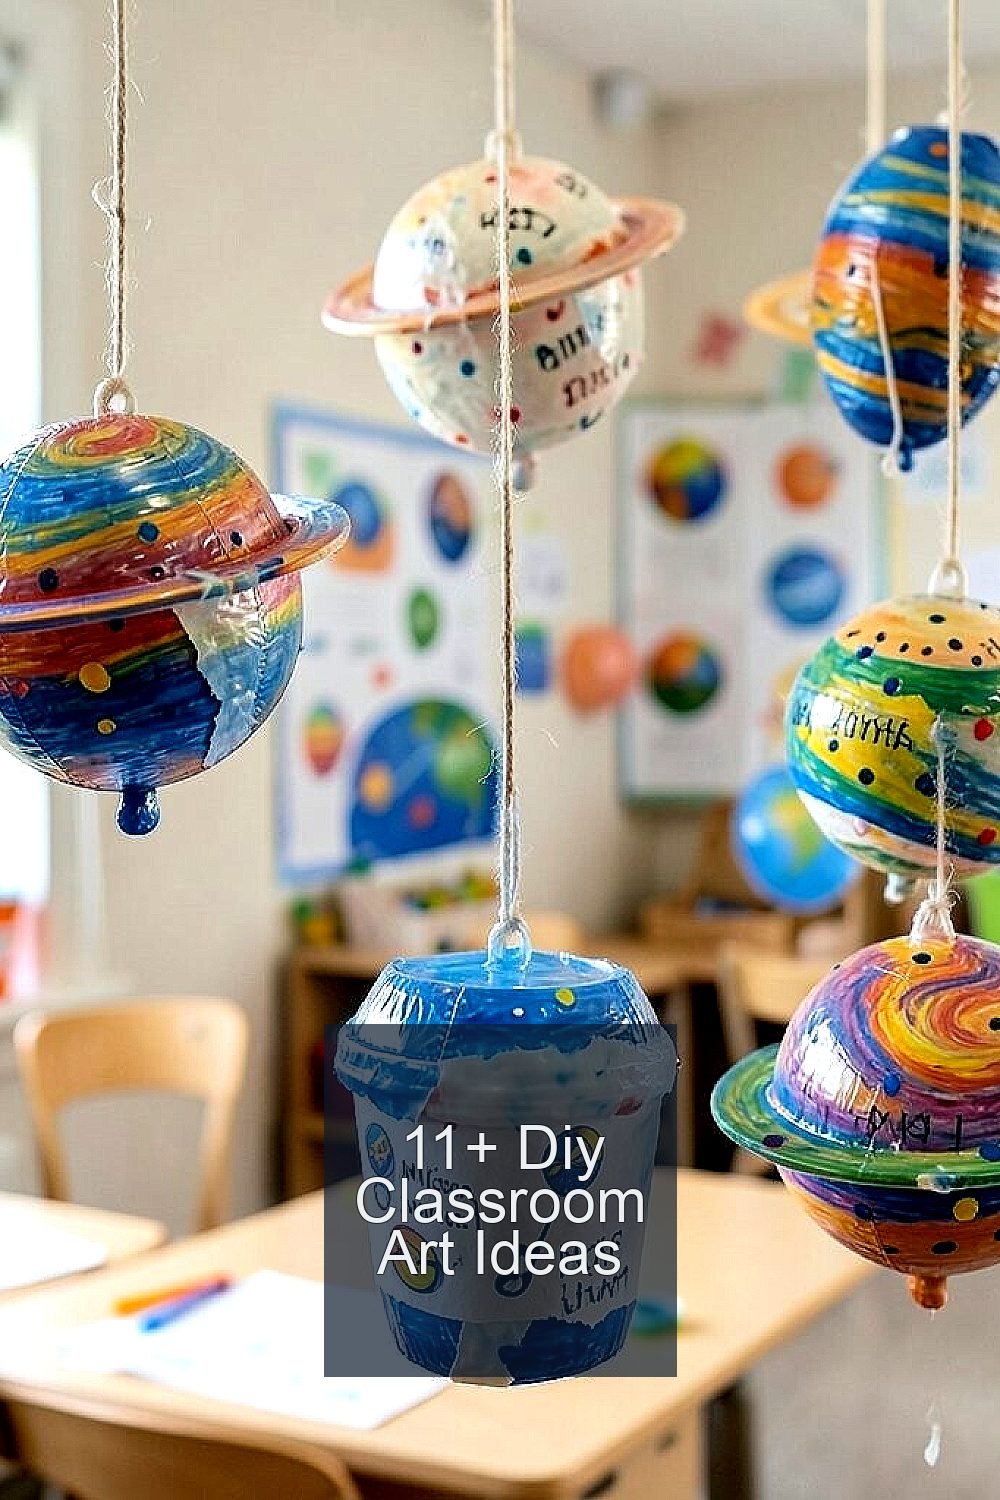
2. Paper Mâché Planet Ornaments
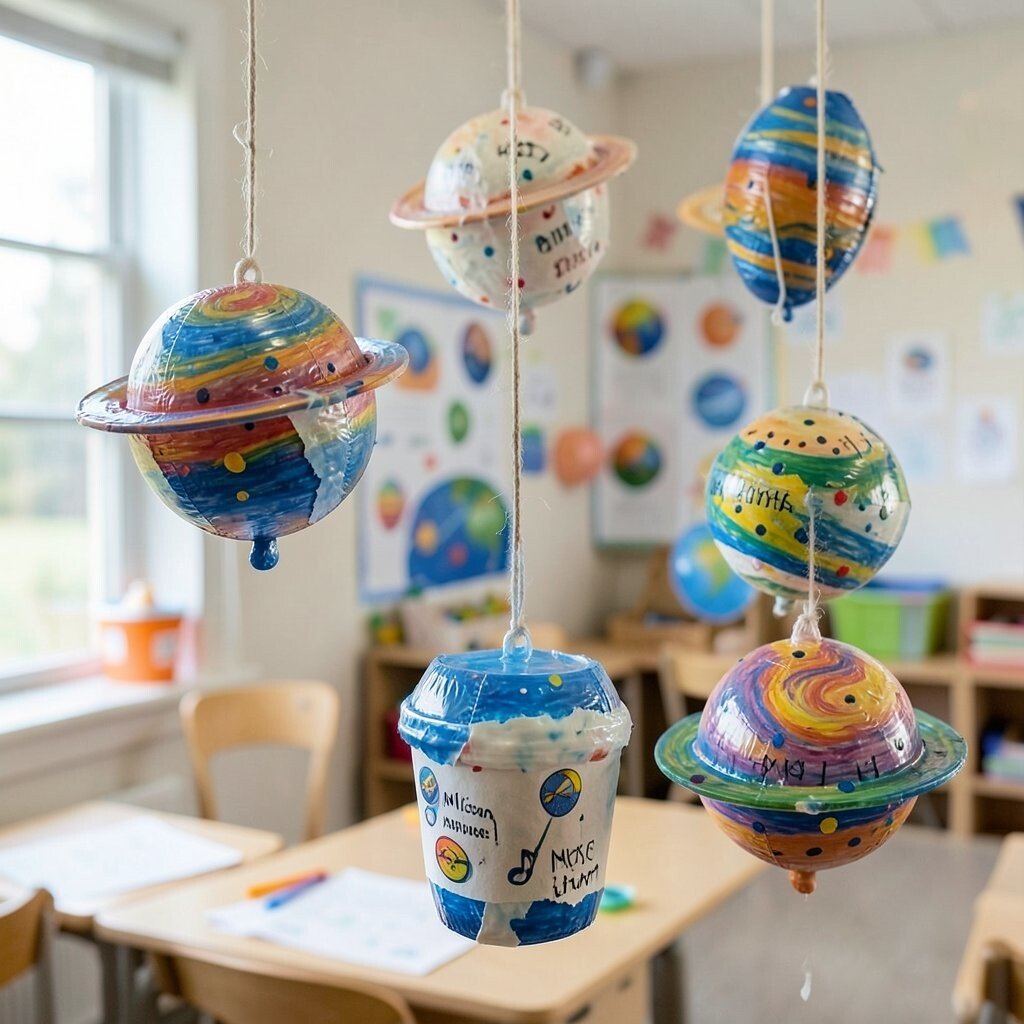
Make small planet ornaments by layering torn paper with a glue-and-water paste over balloons or cups. Once dry, paint the surfaces with swirls, dots, and rings, then attach string for easy hanging. The result looks like a mini space gallery that moves nicely across the room.
These ornaments spark curiosity and support hands-on fine motor practice. Keep the glue mixture thin, and let each layer dry fully so the texture holds up. For cost, use scrap paper from old worksheets and leftover craft paint, and aim for fewer but thicker layers to save time.
To personalize, have students add names or “mission patches” that match their interests, like music, sports, or reading. A current trend in classrooms is themed decor that matches learning units, so you can align planets with science topics. Display them at different heights so the room feels full without needing bulky furniture.
3. Classroom “Weather” Canvas with Fingerprints
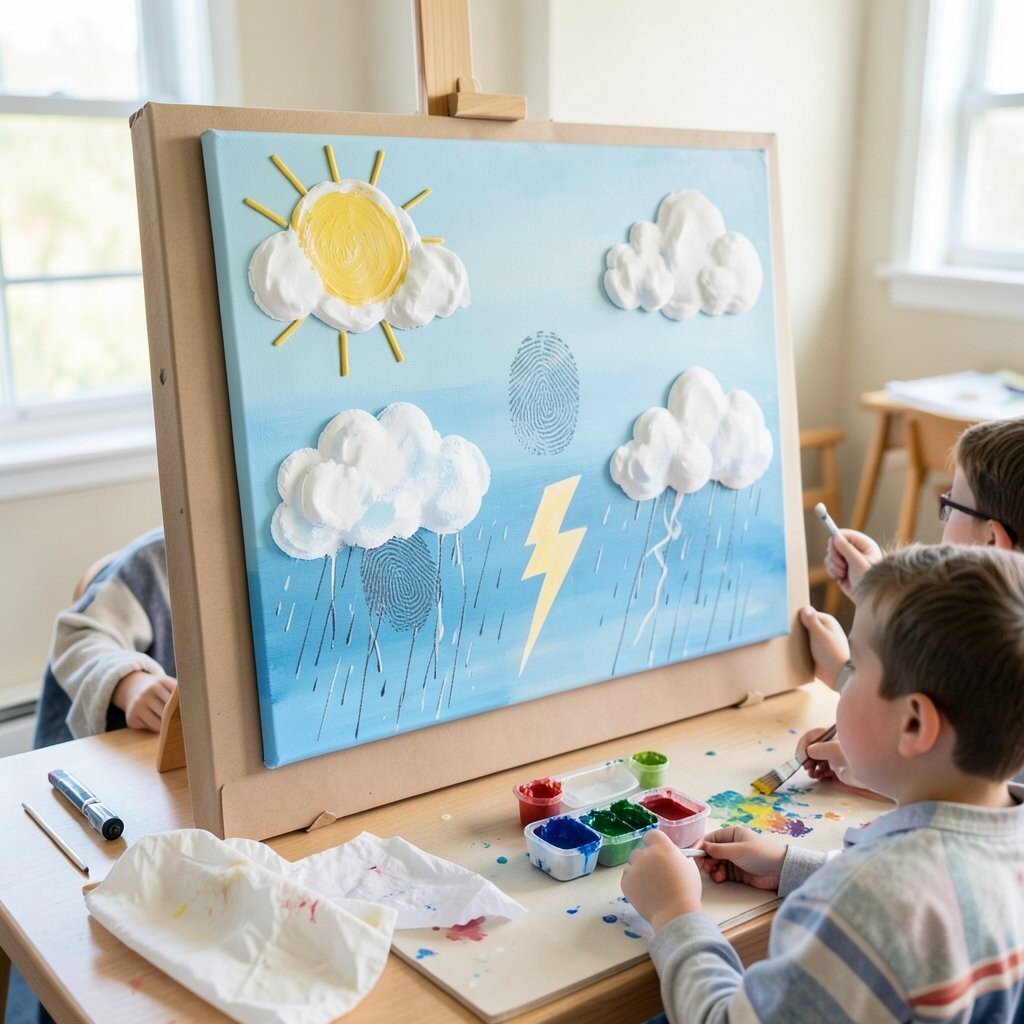
Paint a canvas panel with a sky gradient using light blues and soft white clouds. Add fingerprint clouds for sunny days and use cotton swabs to build rain textures for stormy scenes. The bright shapes create an instant mood shift the moment students walk in.
This art idea supports sensory exploration and helps students practice control and grip. Use non-toxic paint and provide smocks to keep mess low. If fingerprints feel tricky, try stamping with foam circles first so everyone has a clear start.
Personalize by letting students choose the weather symbol they want, such as sun rays, lightning bolts, or breezy arrows. Keep a small “mixing station” with pre-made colors for consistency and less cleanup. It also looks great when you frame it in a simple border made from construction paper.
When you rotate the canvas seasonally, the display keeps feeling new. Students will check it like a living dashboard, which makes the space feel welcoming all year.
4. Tassel Bookmark Gallery on a Ribbon Line
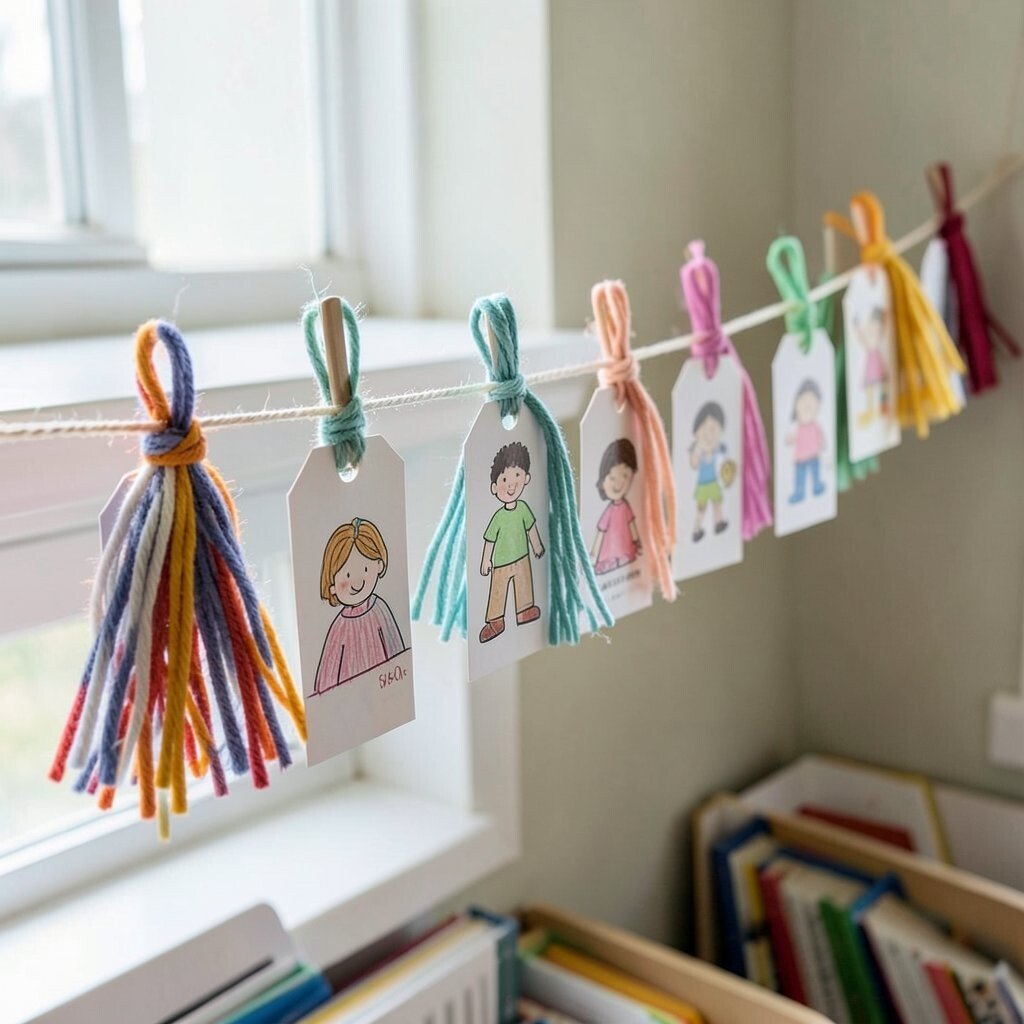
Create tassel bookmarks using scrap yarn, paper strips, and craft sticks. Tie yarn through a hole in each bookmark, then add small paper tags with student-made designs. Hang them on a ribbon line across a shelf or reading corner so the display doubles as usable items.
This project boosts reading enthusiasm because the art is also a tool. Keep knots tight and use a quick-drying glue for the paper tags so bookmarks don’t sag. For cost considerations, repurpose leftover yarn from craft bins and cut tag shapes from old folders.
5. Tile-Style Paint Chip Mosaic Borders
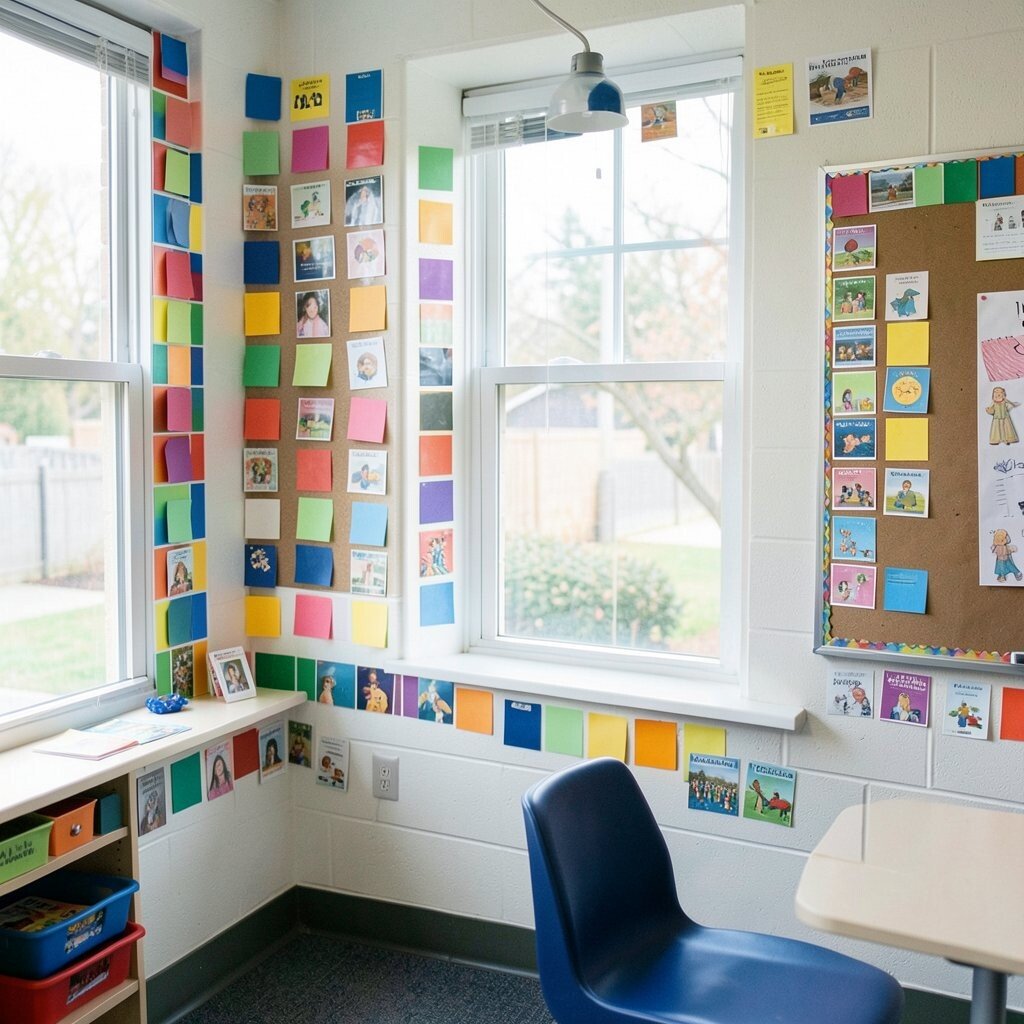
Use paint sample cards or leftover colored paper to cut small squares and rectangles. Arrange them like tiles along bulletin board edges, shelf fronts, or around classroom windows. The mosaic look brings crisp structure while still feeling bright and friendly.
This style is unique because it makes everyday scraps look organized and polished. Keep the pieces varied in size so the border feels dynamic rather than flat. Personalize by letting students select colors that match their learning goals or favorite stories, then you can group similar palettes together.
To keep it practical, apply a thin layer of glue to the back and press firmly for a few seconds. For a current classroom trend, many teachers use “micro-displays” along corners, and a border is perfect for that. If you want extra durability, seal the mosaic with a clear matte spray, as long as it’s safe for your materials and space.
6. Upcycled Jar “Light Catcher” Sea Glass
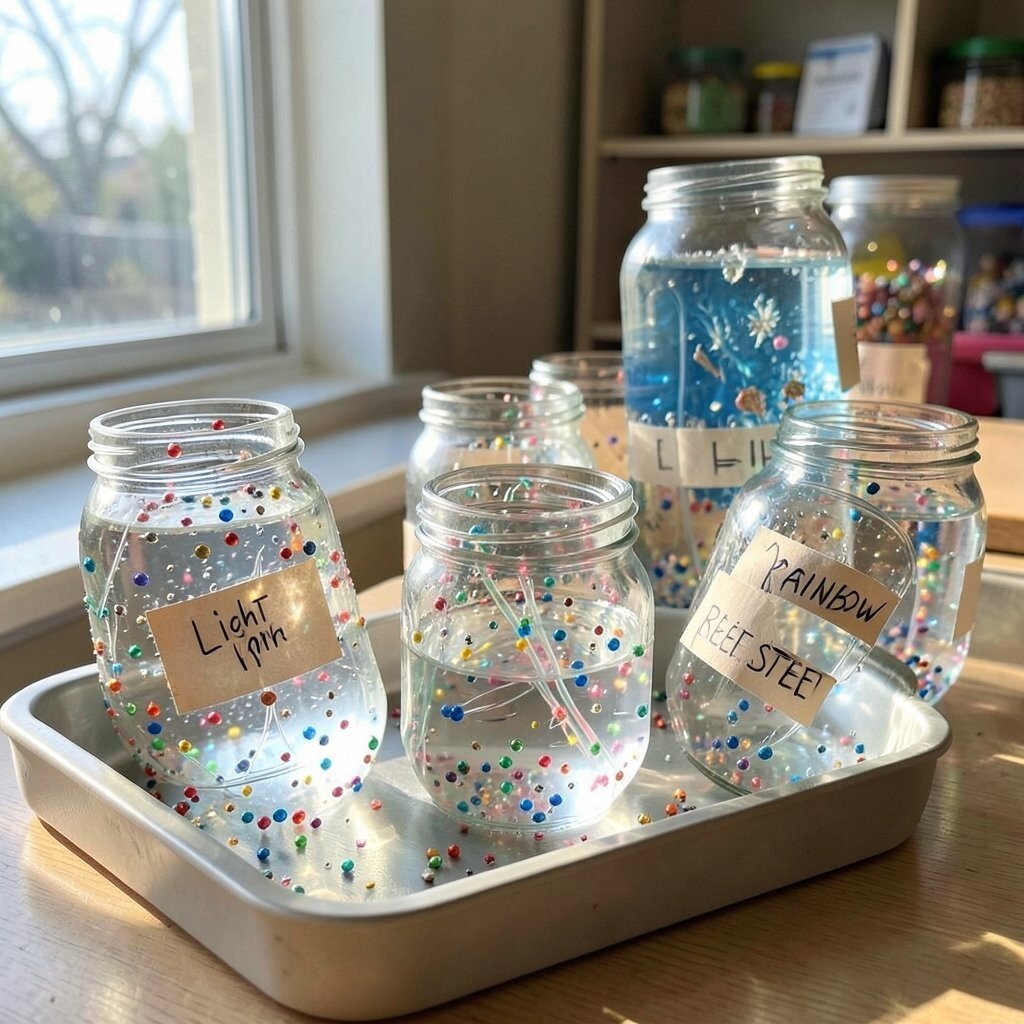
Fill small jars or glass containers with clear glue diluted with water, then sprinkle in colored beads, paper confetti, or tiny craft jewels. Tilt and rotate the jar so the materials cling in streaks, then let it set. When sunlight hits, the jar creates shimmering reflections that look like sea glass.
This makes the classroom feel calm and magical without a lot of space. Use lids or place jars inside a safe tray so they don’t slide. For cost, hunt for spare jars from pantry items and reuse decorative pieces from old jewelry or craft kits.
Personalize by assigning each jar a theme like ocean, garden, or “rainbow street.” You can also label each jar with student handwriting on small strips of tape. Arrange them near a window and stagger heights so reflections spread across the room.
7. Reusable Shape Tracing Self-Portrait Wall
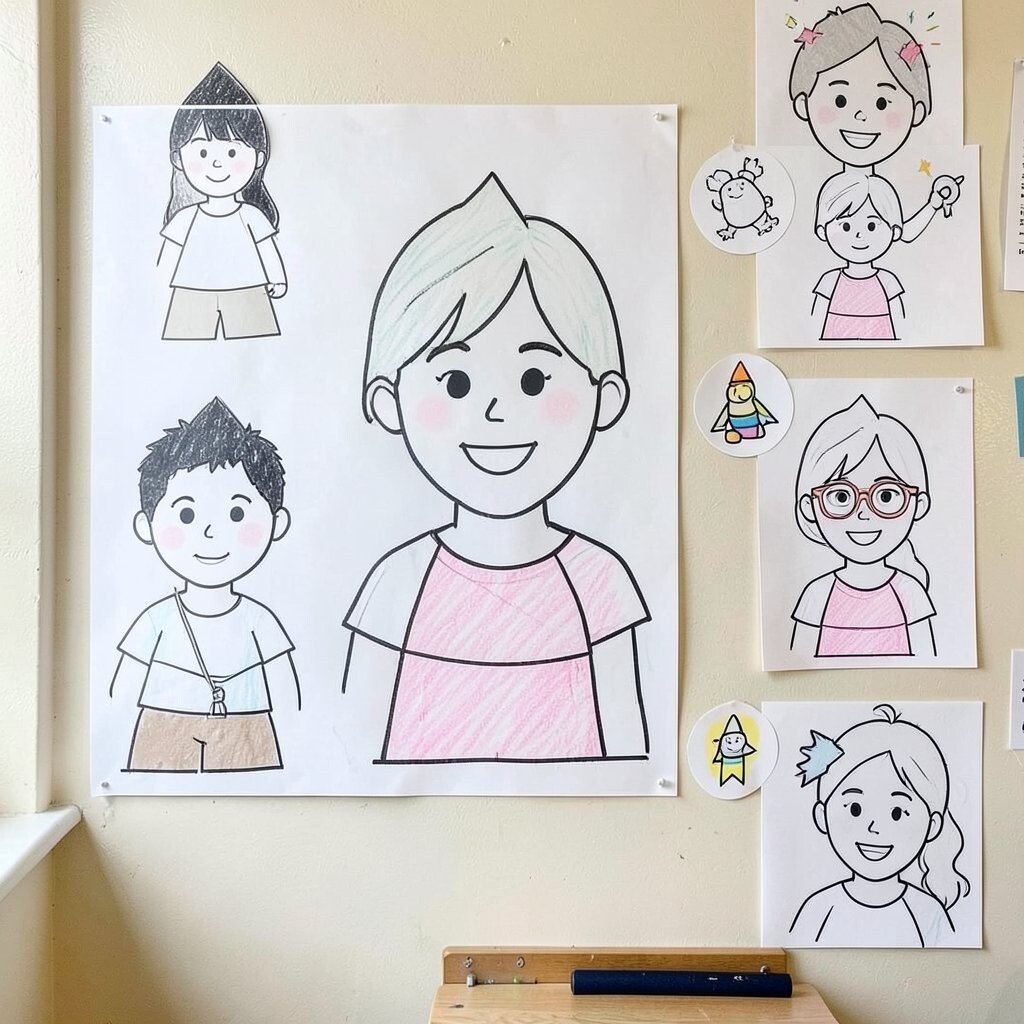
Trace simple shapes onto large craft paper, then ask students to turn the shapes into self-portraits using crayons, markers, and cut-out details. Give them choices like using circles for faces, triangles for hair, and layered rectangles for clothing. The visuals look bold and approachable, even for kids who think they “can’t draw.”
This project builds confidence because each step is guided but still personal. Keep shapes limited and provide model examples so students understand how to combine parts. For personalization, let students add one meaningful element, like a hobby symbol or a small “superpower” icon.
8. Nature-Inspired Leaf Printing Table Runner
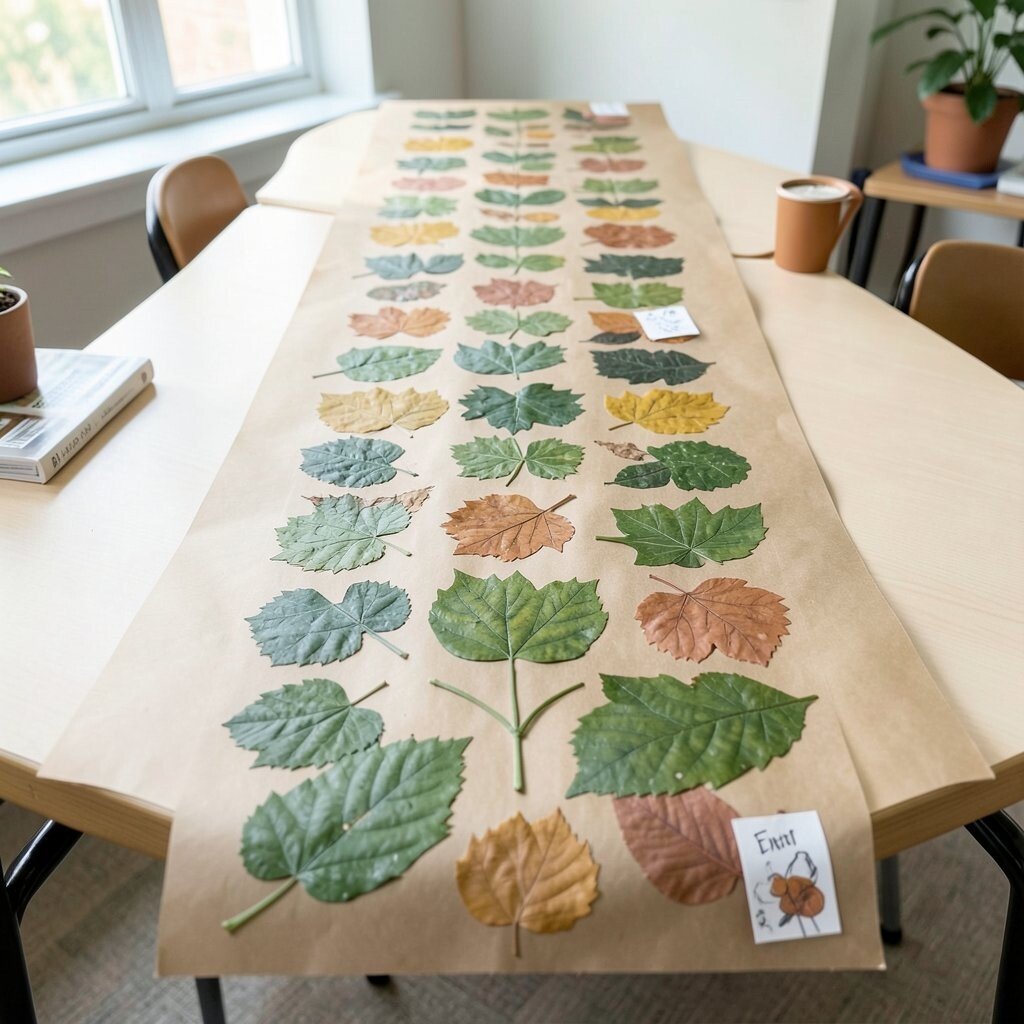
Make a long runner for desks or a center table using leaf printing on kraft paper. Press fresh leaves or flat plant cuttings into paint, then stamp across the paper in repeating patterns. The result looks earthy and modern, like a classroom greenhouse captured in color.
This can calm the room and turns outdoor textures into a shared keepsake. Use kid-safe paint and test the pressure first so leaves don’t tear the paper. For cost, collect leaves during a walk, then use paper you already have from old packaging or craft rolls.
Personalize by letting students add a name tag or small doodles at the ends of their sections. A practical tip is to assign “paint colors of the day” so the runner stays cohesive. If you want a current trend feel, lean into botanical palettes like sage green, warm mustard, and gentle terracotta.
9. Statement Sunburst Paper Medallions
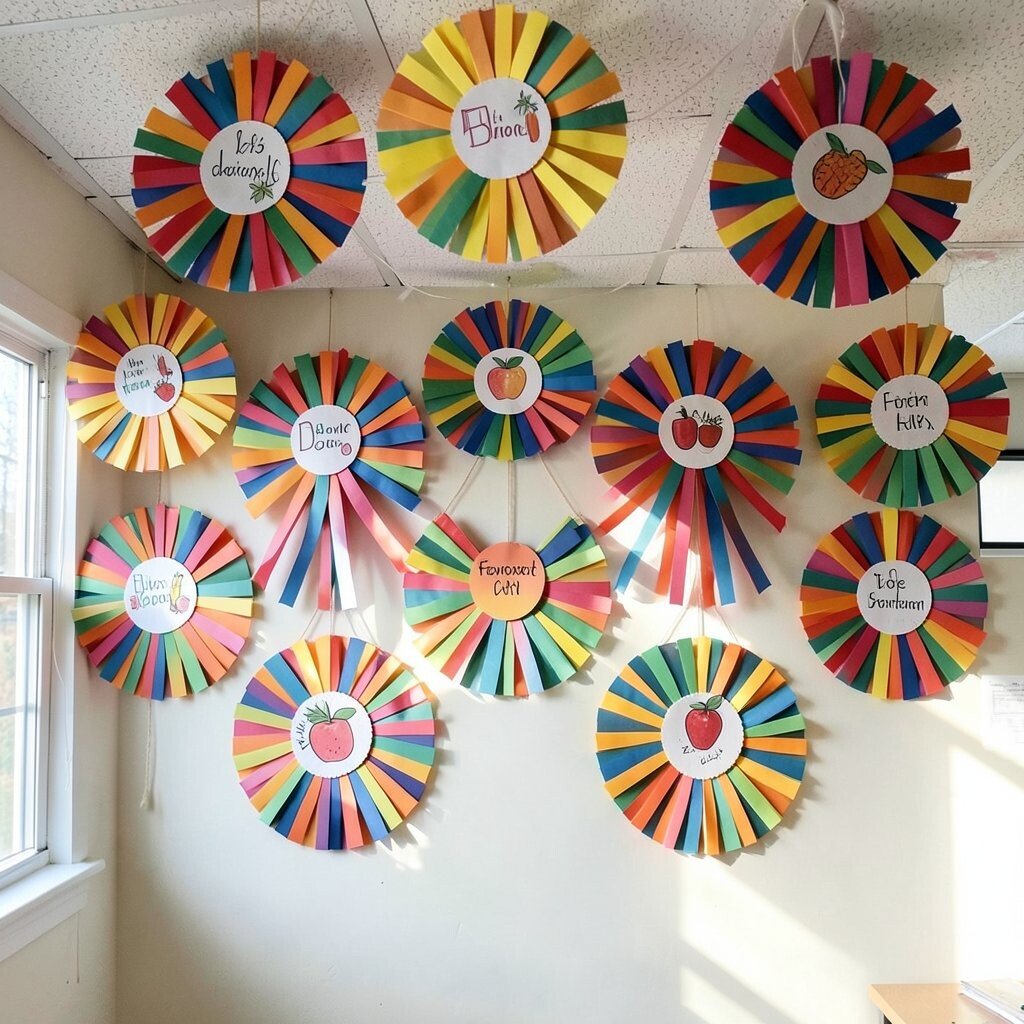
Fold and cut paper strips, then glue them into layered sunburst medallions for wall hangings. Choose bold colors and arrange the points so they radiate from a center circle. This creates an instant focal point that feels like sunlight landing on the room.
The medallions are unique because the lines catch light and look different from every angle. Keep strips consistent in width for neat symmetry, and provide templates so students can finish in a reasonable time. For cost, use colored printer paper, scrap construction paper, and recycled cardboard for extra sturdiness.
Personalize by giving each student a center theme, like a book title, team color, or favorite fruit, then write it in marker. You can also hang medallions at varying heights to create a layered ceiling effect. A practical tip is to use lightweight string and strong tape behind, so you don’t need to puncture walls.
10. Dream Catcher Letters with Yarn and Rings
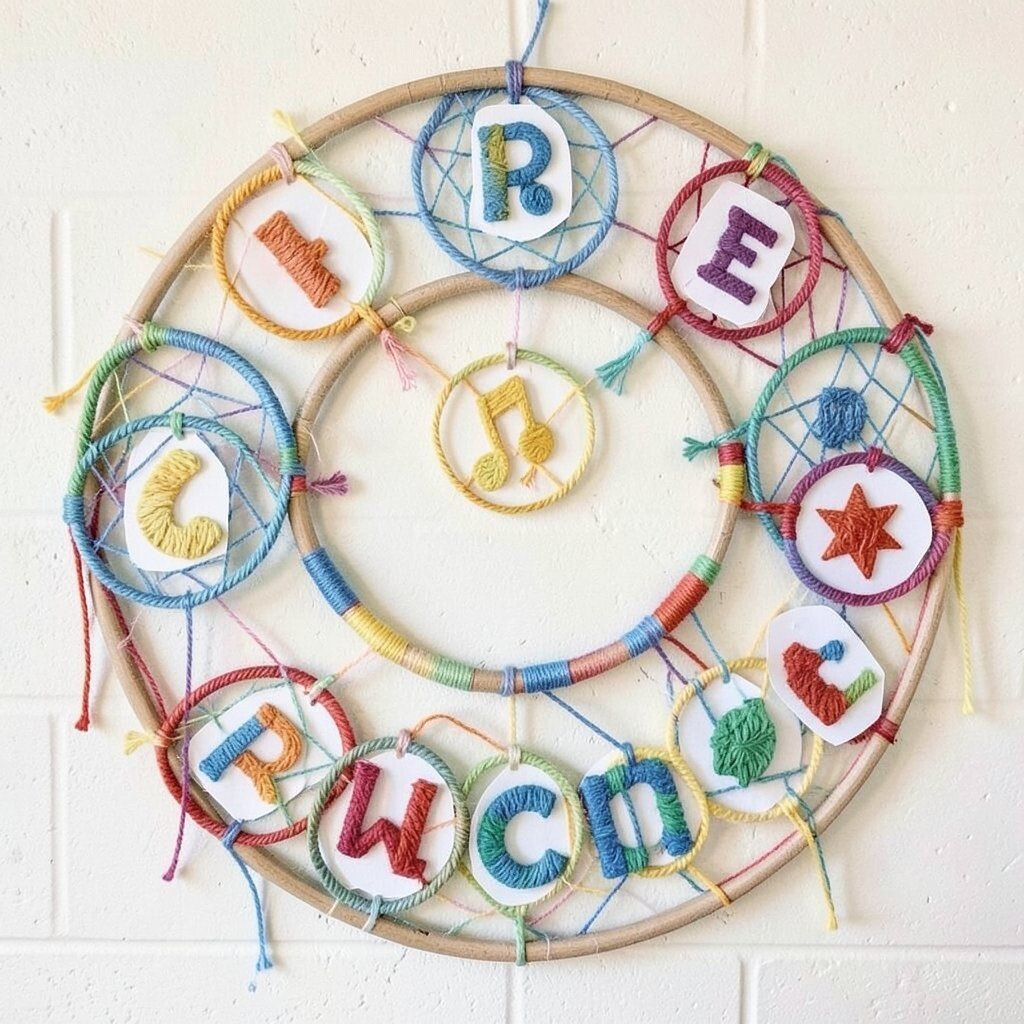
Turn a hoop or ring frame into a letter dream catcher using yarn and cut paper letters. Students weave yarn across the ring in patterns, then add a large uppercase letter and small symbols around it. The display looks artsy and encouraging, especially in a language or morning meeting area.
This supports literacy because students see the alphabet in a fun format they helped build. Use yarn that’s easy to work with, and secure ends so nothing unravels during daily movement. For cost, reuse embroidery hoops, pasta boxes cut into circles, or cardboard rings, then add yarn from scrap baskets.
Personalize by having students pick a “symbol of who I am,” such as a musical note, a star, or a leaf. Current trends often favor handmade texture, and yarn letters fit that style well. For a practical display plan, cluster letters to spell a classroom word like “welcome” or “read.”
11. Storybook Spine “Bookshelves” from Cardboard
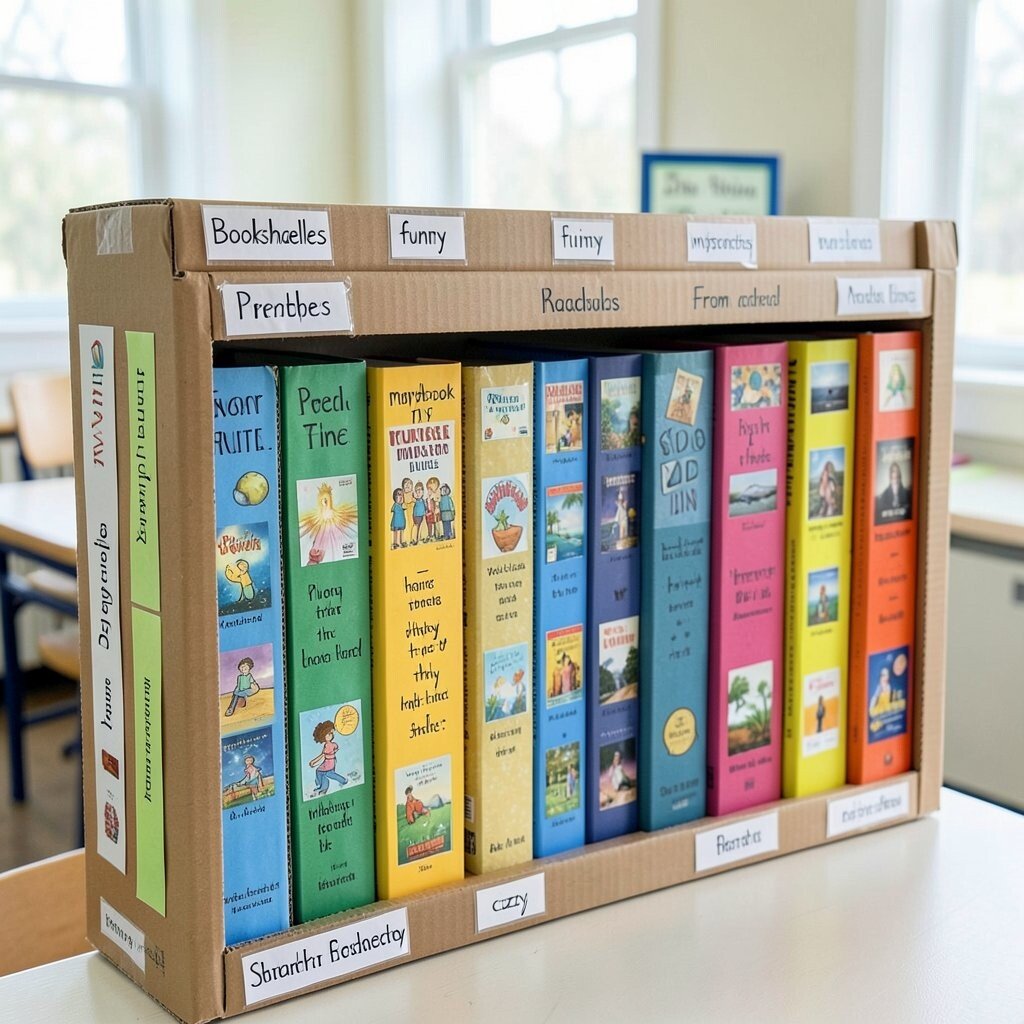
Build miniature classroom bookshelves by covering cardboard strips with colored paper and adding hand-drawn “book spines.” Students create titles, author names, and tiny cover icons, then glue spines onto the shelf base. The visual looks like a shelf walk-through, but it takes only simple materials.
This brightens reading corners and makes books feel like a star attraction. Keep spine sizes consistent so the shelf looks neat, and use clear labels for student names if you plan to rotate displays. For personalization, encourage students to write a short blurb about why they chose the title, like “funny,” “mysterious,” or “cozy.”
Cost stays low because cardboard and scrap paper are usually available. If you want a trend-friendly look, add a small “color banding” layout like real bookstores do. You can also repurpose leftover contact paper to add a glossy finish that resists smudges.
12. Scratch-Off Color Motivation Posters
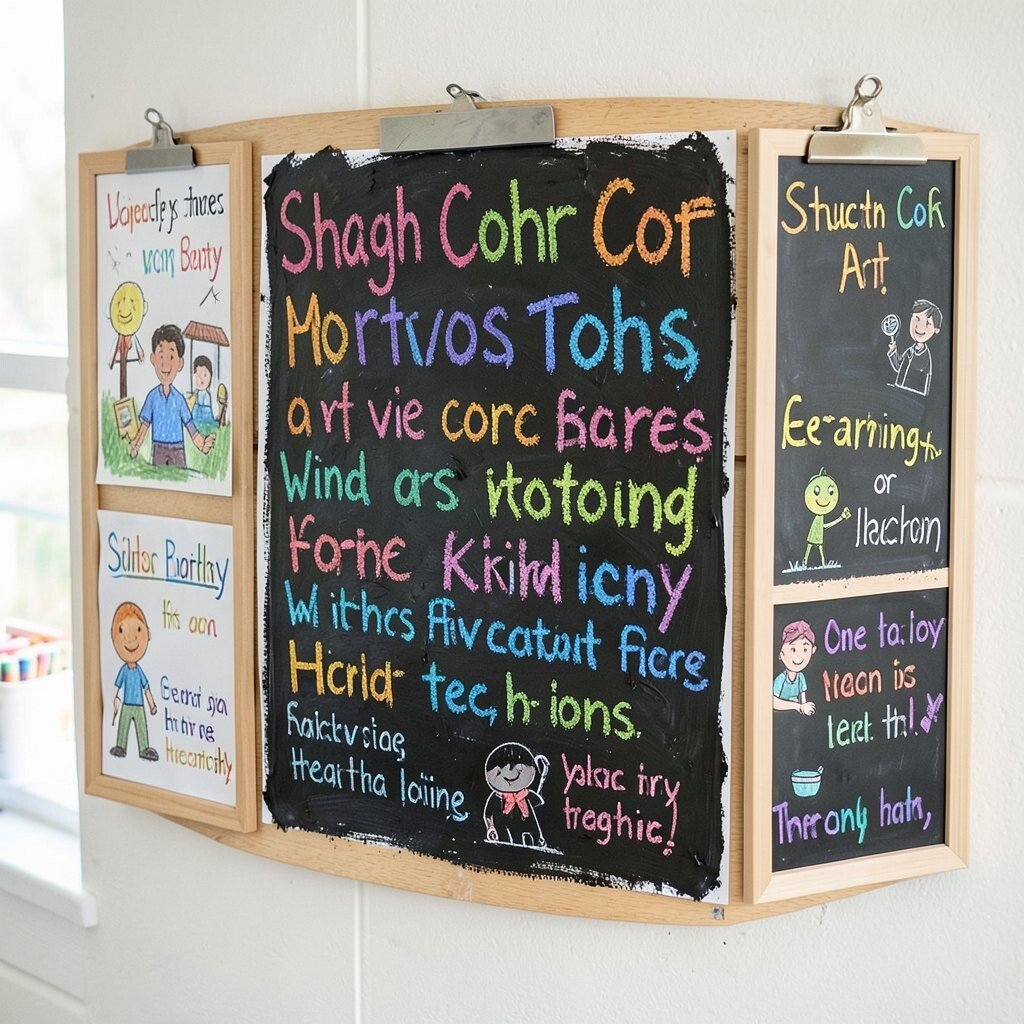
Make motivation posters by painting a thick layer of crayon and then covering it with a dark, opaque paint mixture. Students draw colorful goals or kind messages on top using a stylus or the side of a crayon. As they scratch, hidden color pops through, creating a wow moment that feels interactive.
This works well because it turns writing into art and keeps students engaged longer than plain worksheets. Use non-toxic materials and supervise closely with tools if needed. For practical tips, practice on a scrap first so the paint thickness is right for clean scratch lines.
Personalize by letting each student choose one goal related to behavior, learning, or teamwork, then include a small drawing that matches the message. Current classroom trends often highlight student voice and choice, and scratch-off art is a perfect way to show that. For cost, use leftover crayons and any dark paint you already have so you avoid buying special supplies.
Mount posters with a simple frame or clipboard clip so you can rotate them monthly and keep the walls fresh. Students will love seeing their message appear again and again each time the display changes.