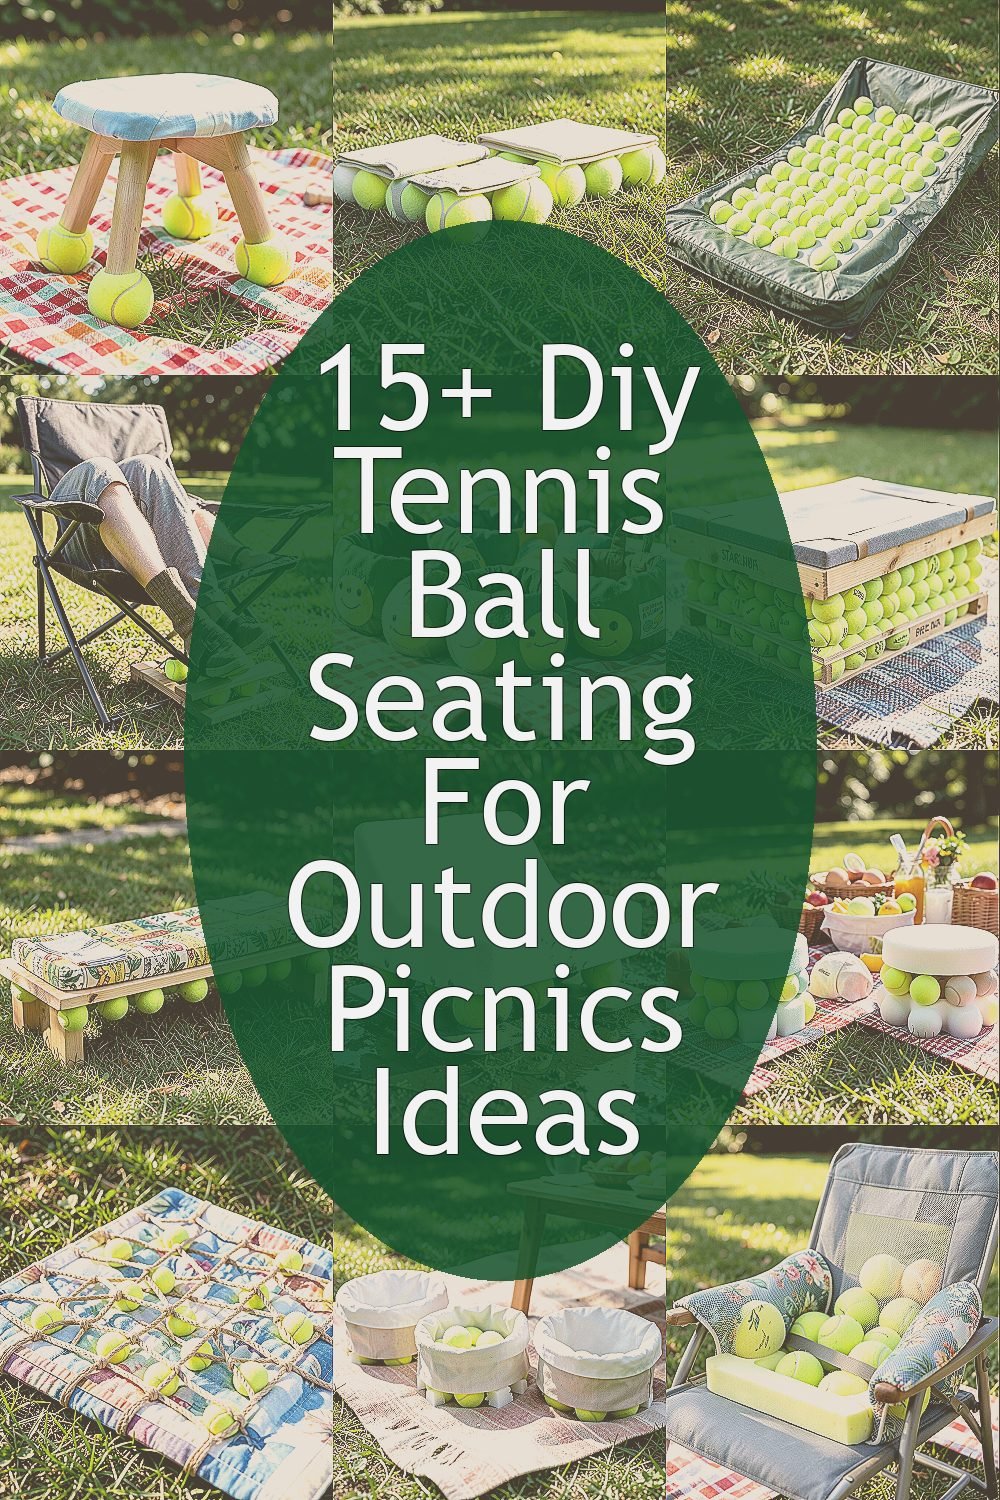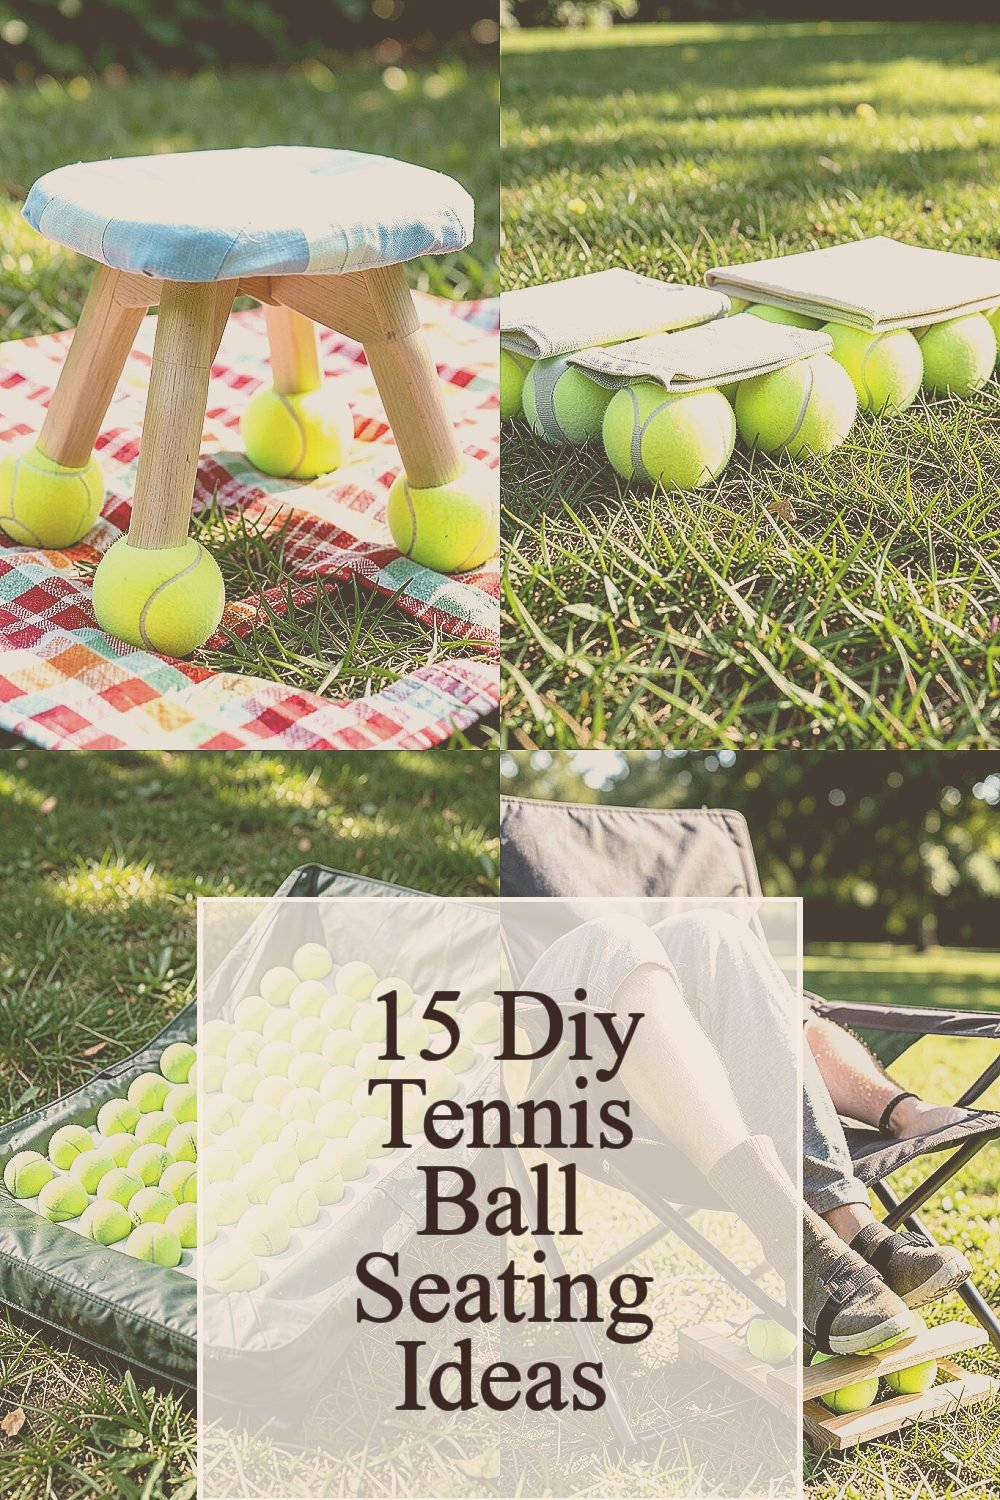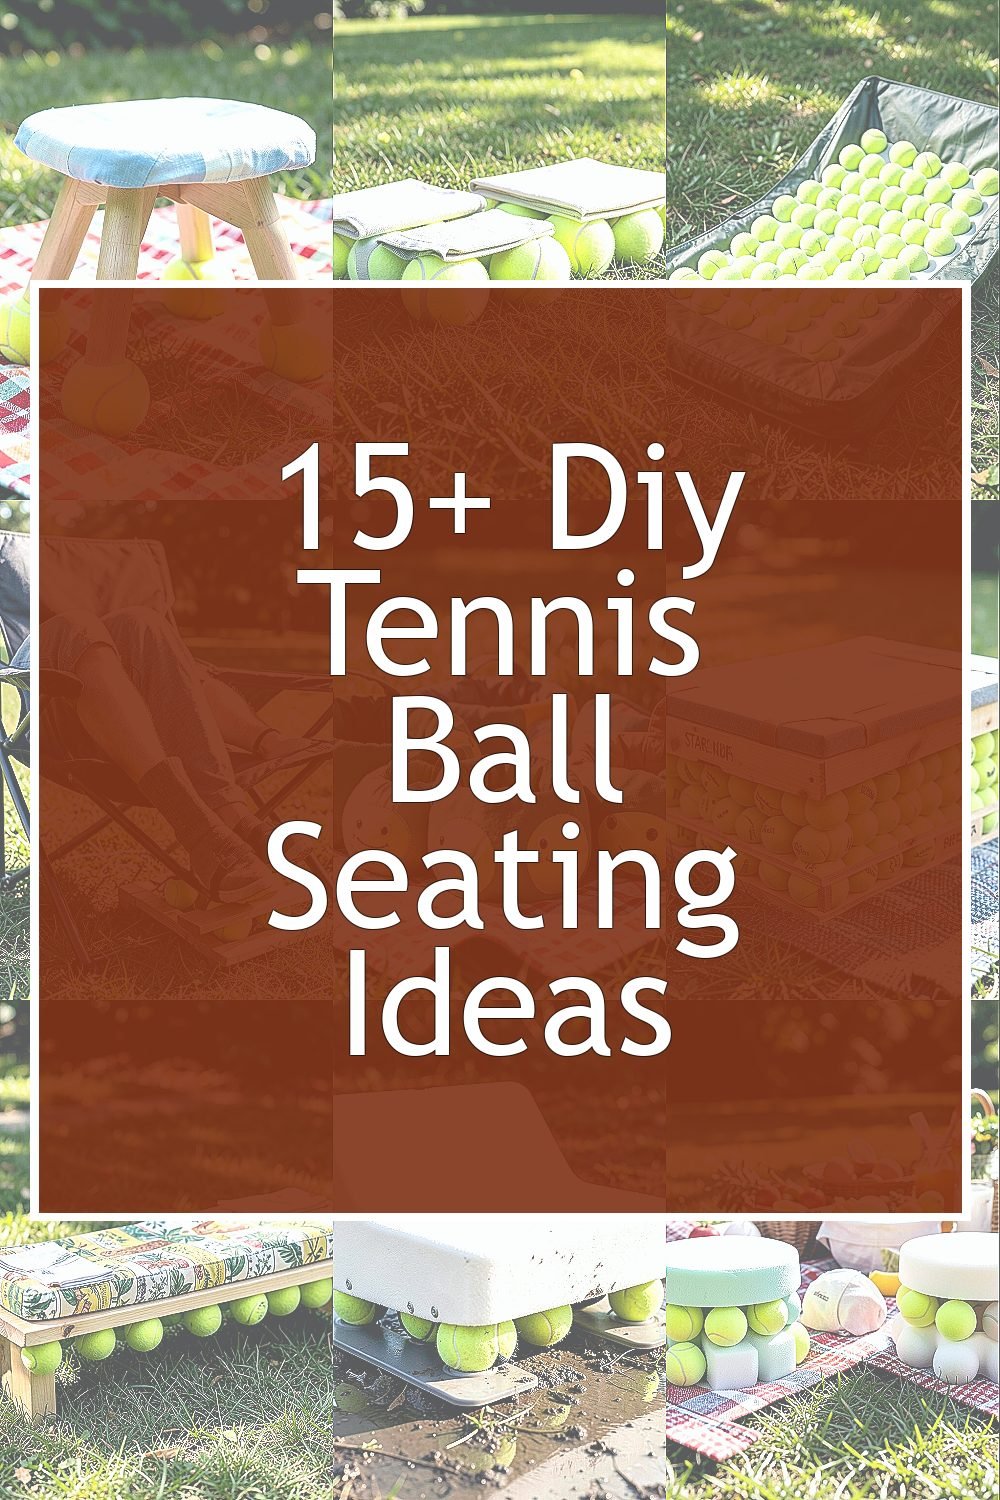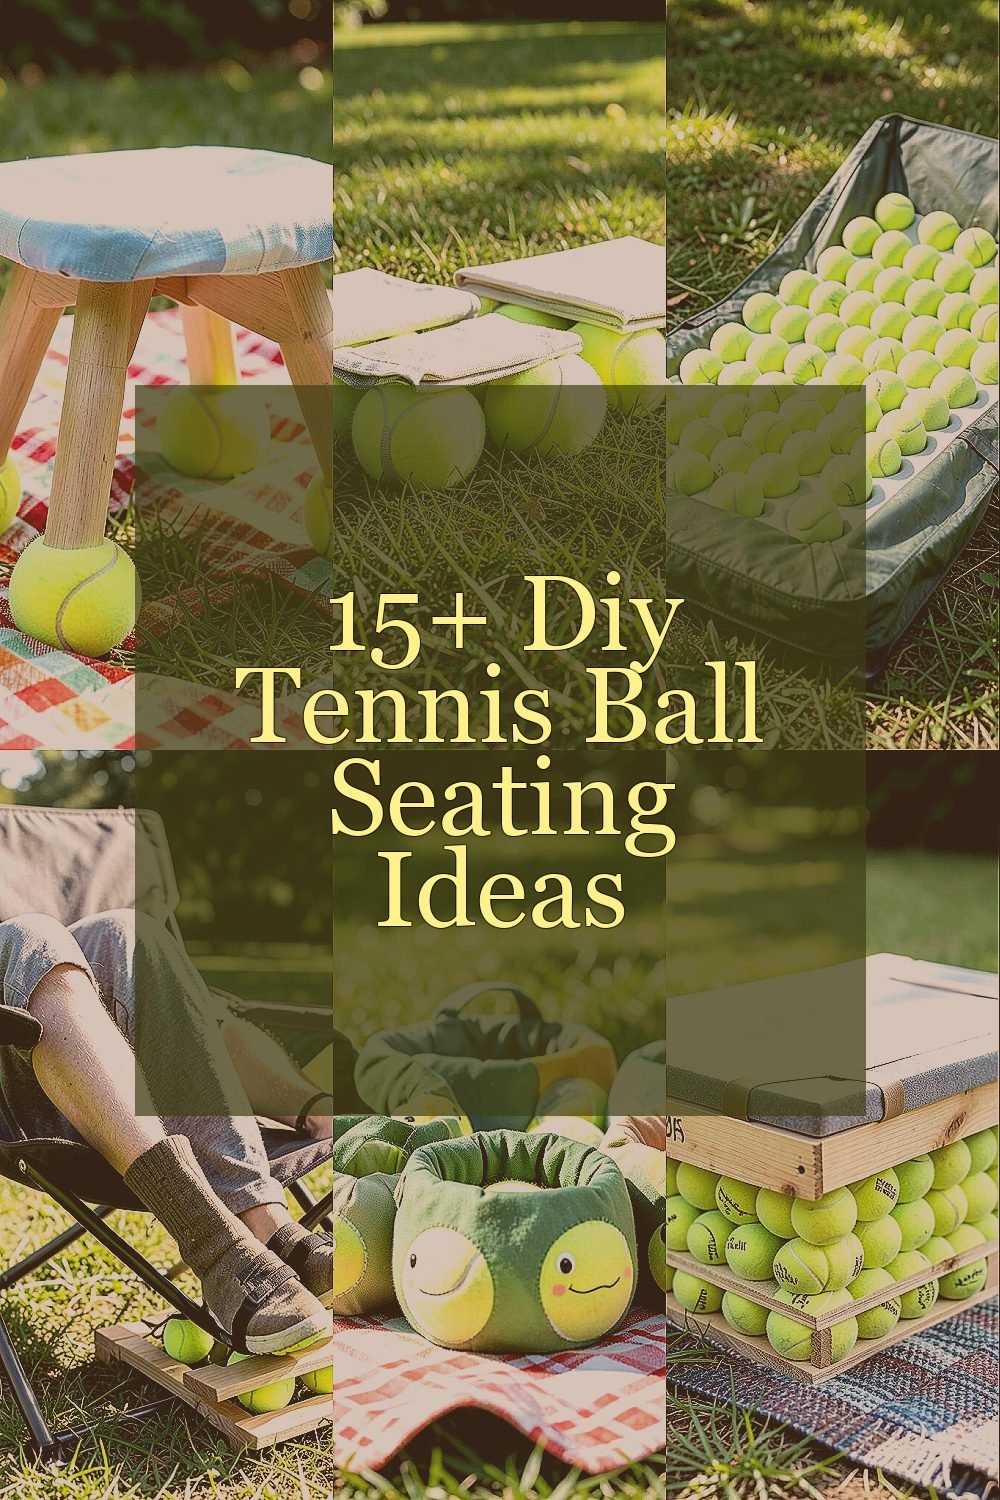
The idea of sitting outside can feel simple, but comfort is what makes it memorable. DIY tennis ball seating turns an everyday item into a fun, practical upgrade.
You’ll find comfy options, clever ways to stabilize seats on grass, and small touches that make each picnic feel like yours.
1. Tennis Ball Stool With Fold-Out Legs
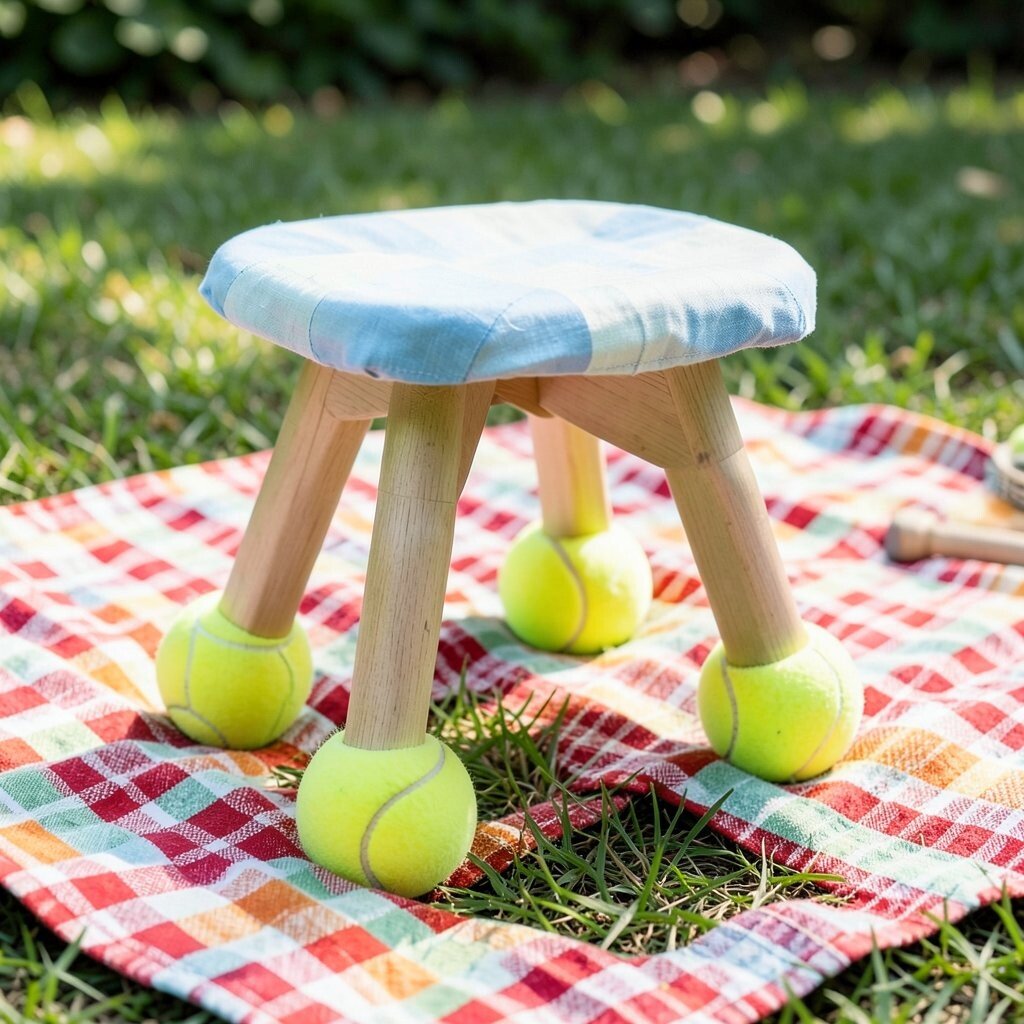
Imagine a small, bouncy stool that looks playful and feels surprisingly steady once it’s built right. Tennis balls act like cushioned feet, so the surface stays friendly even on uneven ground.
Start by attaching a lightweight seat top to two fold-out supports, then glue or fasten tennis balls to the bottom ends. Use weatherproof glue and let it cure fully before testing. For personalization, paint the tennis balls in bright picnic colors or add fabric covers that match your blanket.
2. Wrapped Tennis Ball Cushion Seats for Grass
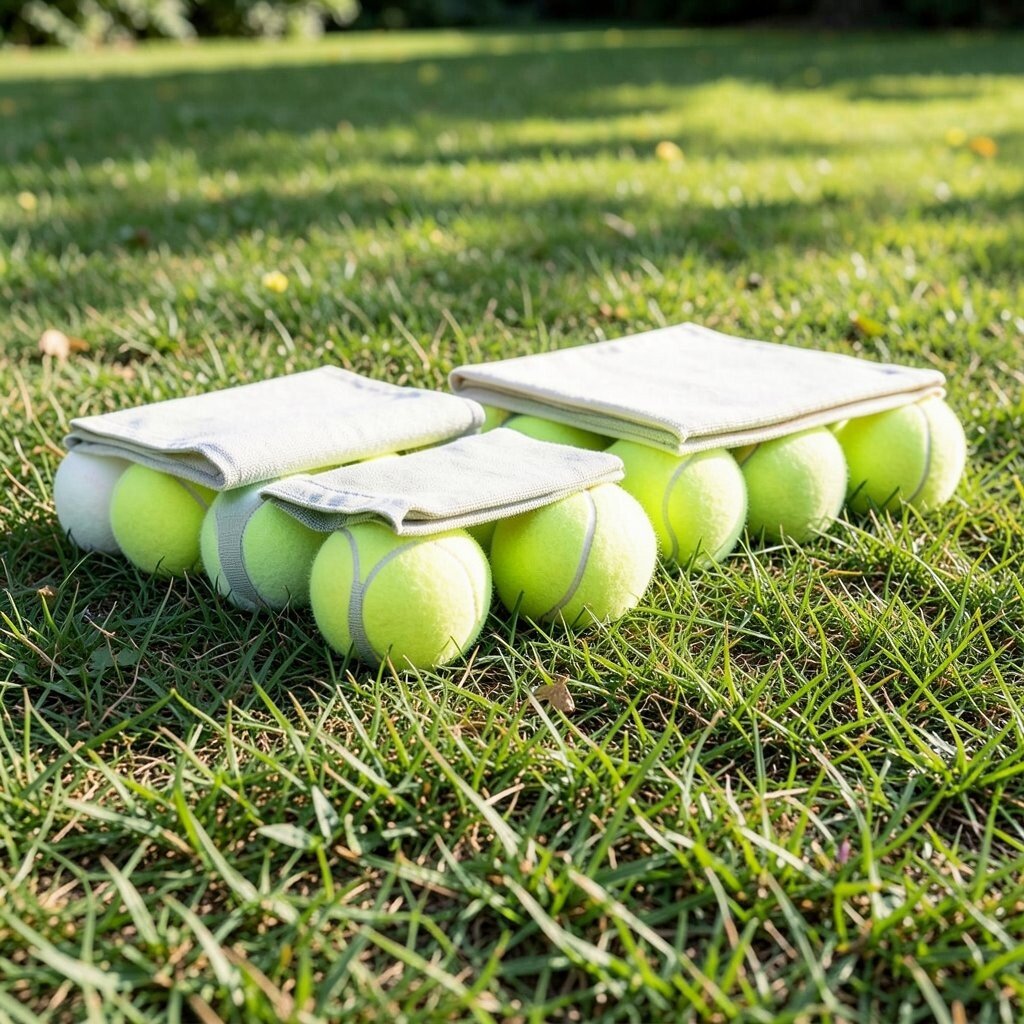
These seats feel soft and springy because each tennis ball is wrapped like a mini cushion. You can line them up in a row to create a low seating area that still looks cute.
To build them, wrap tennis balls with thick outdoor fabric and secure the edges with strong thread or a snug elastic strap. Add a flat top layer using foam or folded towel fabric so you can sit without wiggling. When you plan a picnic, bring a small cloth to wipe off dirt since the fabric makes cleaning easier than bare rubber.
Current picnic trends favor cozy, colorful accessories, and these match that vibe with minimal effort.
3. Tennis Ball Picnic Lounger Pad

Picture sliding down onto a soft pad that has little bouncy anchors underneath. The tennis balls create lift and comfort, which helps when the ground is chilly or damp.
Cut a camping mat or sturdy foam into a lounger shape, then attach tennis balls in a grid so they support your weight evenly. Cover everything with an outdoor slipcover so it doesn’t get sticky if it rains. For practical comfort, keep spacing consistent and press-test the pad before you fully sew or glue.
Because this uses mostly fabric and foam you may already own, it can stay budget-friendly compared with store-bought outdoor seating.
4. DIY Tennis Ball Footrests for Any Folding Chair
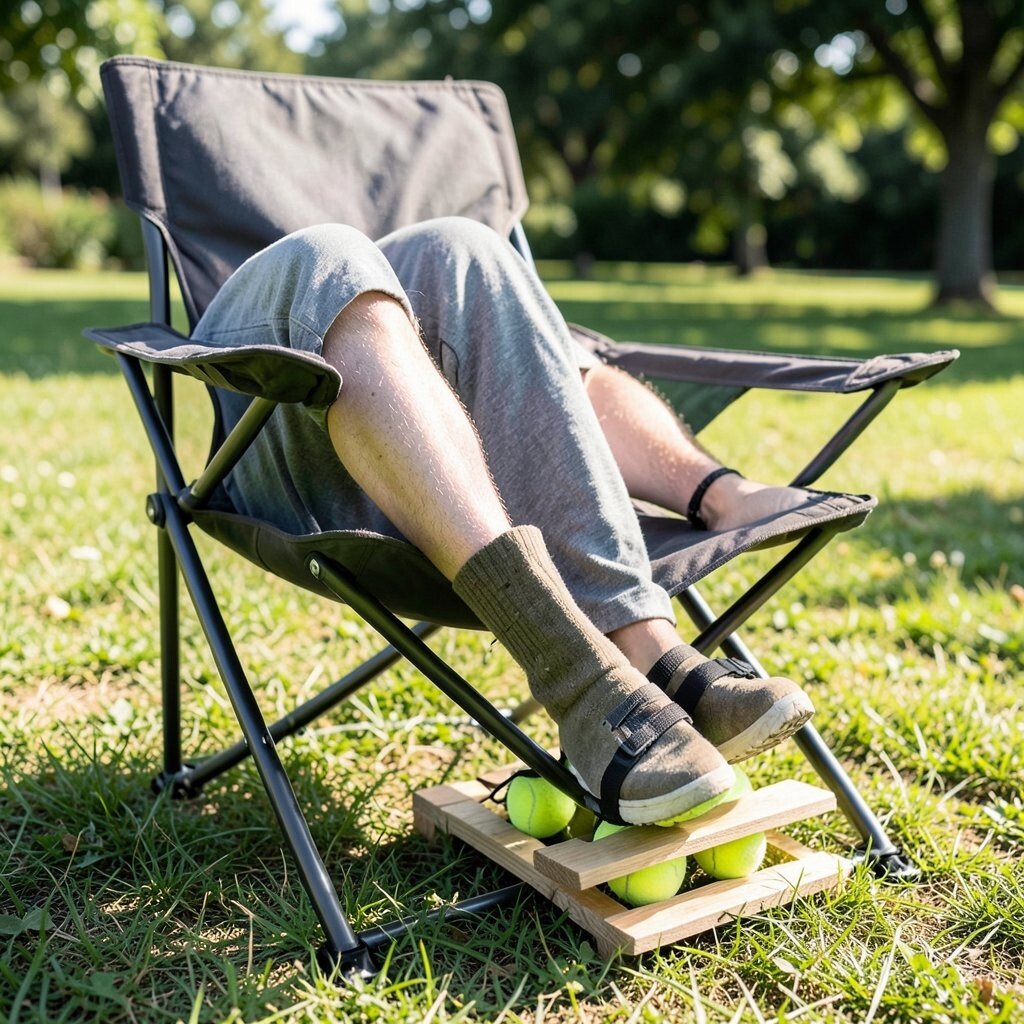
Sometimes the best outdoor seating fix is improving your posture. Tennis ball footrests turn a plain chair moment into a relaxed, supported sit.
Use tennis balls as grippy bumpers on the underside of a simple wood or plastic foot platform. Attach straps or a sliding sleeve so it fits different chair heights. You’ll notice the benefit right away as your feet rest securely and don’t sink into soft soil.
5. Tennis Ball and Fabric Seat Covers for Kids
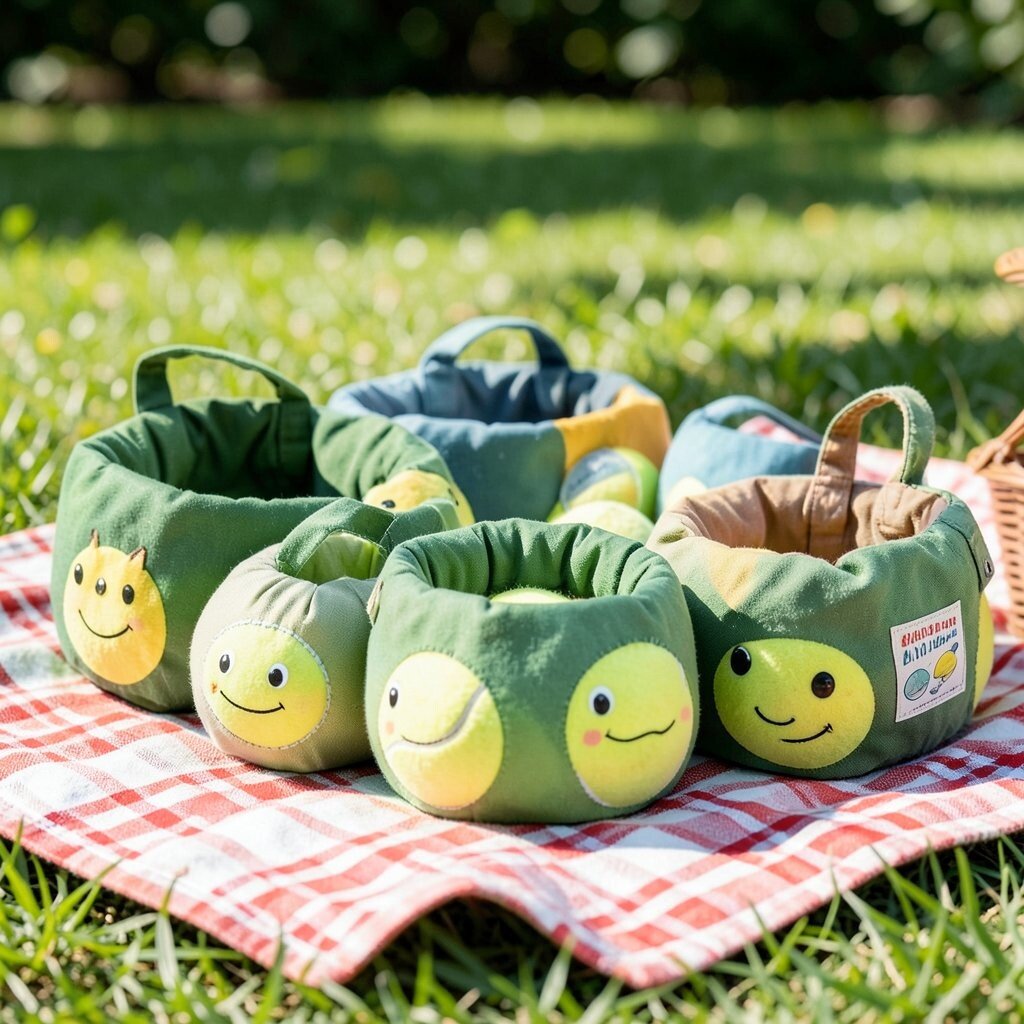
For family picnics, kids need seats that are comfy and playful without being bulky. Tennis ball covers add cushion and grip, and they look like tiny creatures lined up on the blanket.
Make covers by sewing thick outdoor fabric around tennis balls, leaving a top opening for comfort padding. Add a soft handle loop so kids can carry their seats and adults can move them quickly. To personalize, add letters or small patches using fabric markers or iron-on decals.
This approach is great for cost control since a few tennis balls can create multiple seats with simple materials.
6. Stackable Tennis Ball Seat Blocks
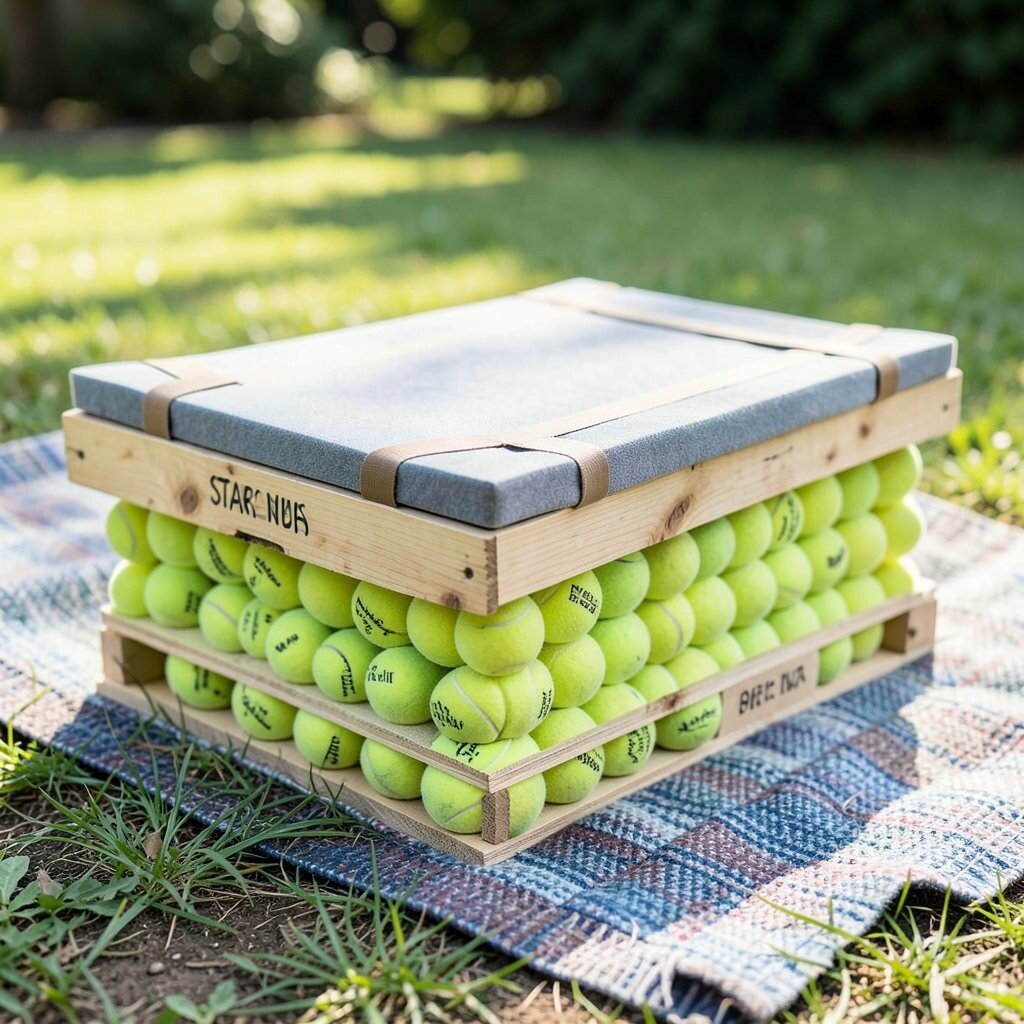
Stackable blocks give you seating options that can grow with your group. Each block uses tennis balls as the base, so you get bounce while still keeping the top flat.
Build rectangular frames from scrap plywood or thick cardboard, then mount tennis balls underneath at the corners. Add a foam or outdoor cushion on top and secure it with straps so it stays put. For practicality, label the blocks with washable paint so you can grab the right set fast when you’re packing.
Outdoor picnic trends love modular gear, and these blocks help you scale from small hangouts to larger gatherings.
7. Tennis Ball Seat Bench for Two

This bench idea feels perfect when you want space for two people without hauling heavy furniture. The tennis balls add a gentle spring that makes sitting on grass more comfortable.
Choose a narrow bench plank or a flat board, then attach tennis balls along the bottom in a straight line. Add a non-slip layer under the top cushion so the fabric doesn’t slide when someone shifts positions. Personalize by wrapping the top with a patterned outdoor cloth that matches your cooler or napkins.
Cost stays manageable because most of what you need is wood, fabric, and a handful of tennis balls.
8. Tennis Ball Seating With Weatherproof Bottom Skids
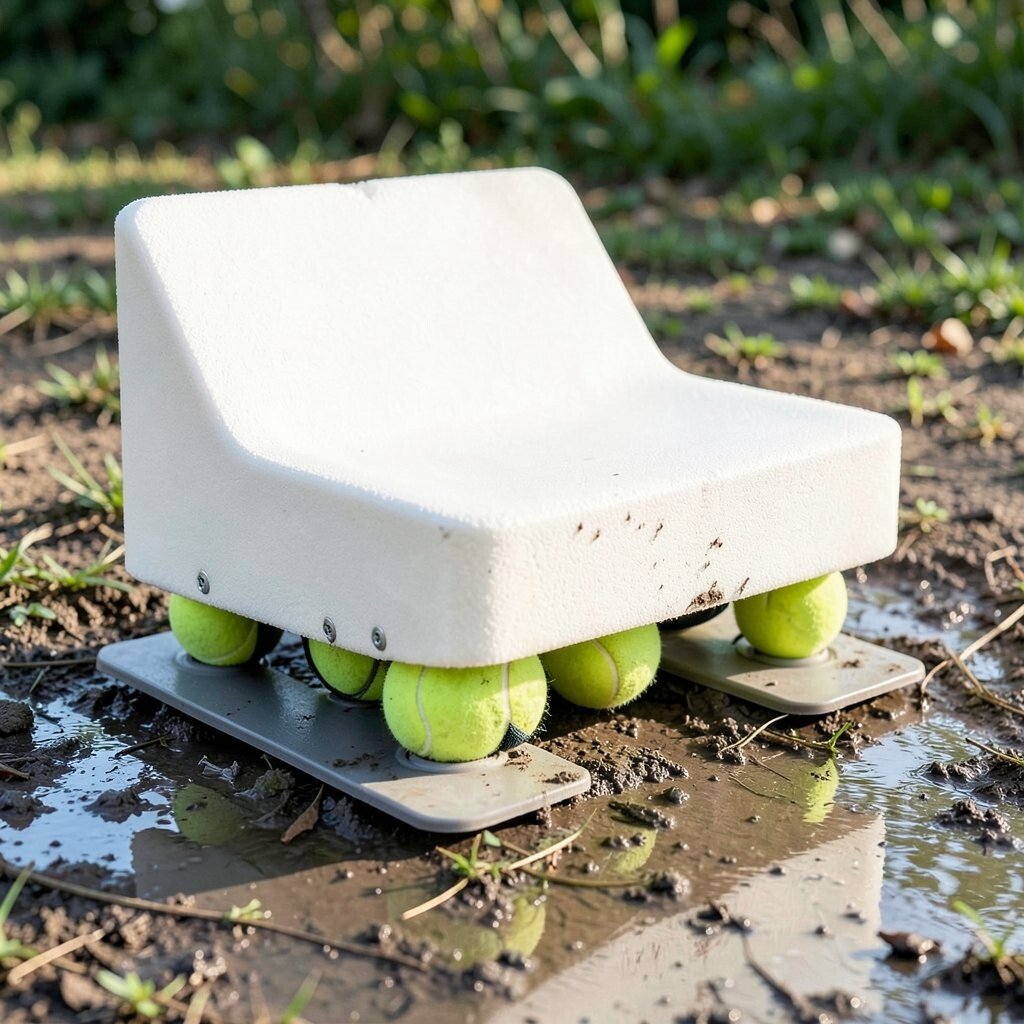
Outdoor ground changes from dry to damp fast, and seating should still feel stable. Skids made with tennis balls can help lift and protect your seat from mud.
Attach tennis balls to the bottom of a simple foam seat using grommets and reinforced straps. Add two flat skids made from thin plastic or old cutting boards to help with traction while still using the bounce. A quick benefit is easier pickup at the end of the picnic because lifted seats collect less dirt.
9. Mini Tennis Ball Stools for Centerpiece-Like Seating

If you want seating that looks like part of the picnic décor, mini stools are a fun choice. They can sit near snacks or drinks and still provide real comfort for short chats.
Create small circular seats using a foam disk or a cut piece of thick pool noodle. Glue a few tennis balls to the underside in a radial layout so each stool sits evenly. For a unique touch, paint the tennis balls in a gradient from bright to neutral so the set looks styled in photos.
To keep it practical, choose a top cover that wipes clean and replaceable later if it gets worn.
10. Tennis Ball and Rope Lattice Seat Pad

A rope lattice can look artsy while still helping you sit comfortably outdoors. When tennis balls are used as anchor points, the pad feels bouncy but controlled.
Stretch rope in a crisscross pattern over a frame, then add tennis balls at the contact points where your weight lands. Tie knots tightly and seal rope ends so they don’t fray after a few picnic days. Personalize by using rope colors that match your outdoor blanket or picnic theme.
This idea is unique because it combines playful texture with the kind of grip that helps you stay in place on grass.
11. Tennis Ball Seat Pods for Blanket-Like Layouts
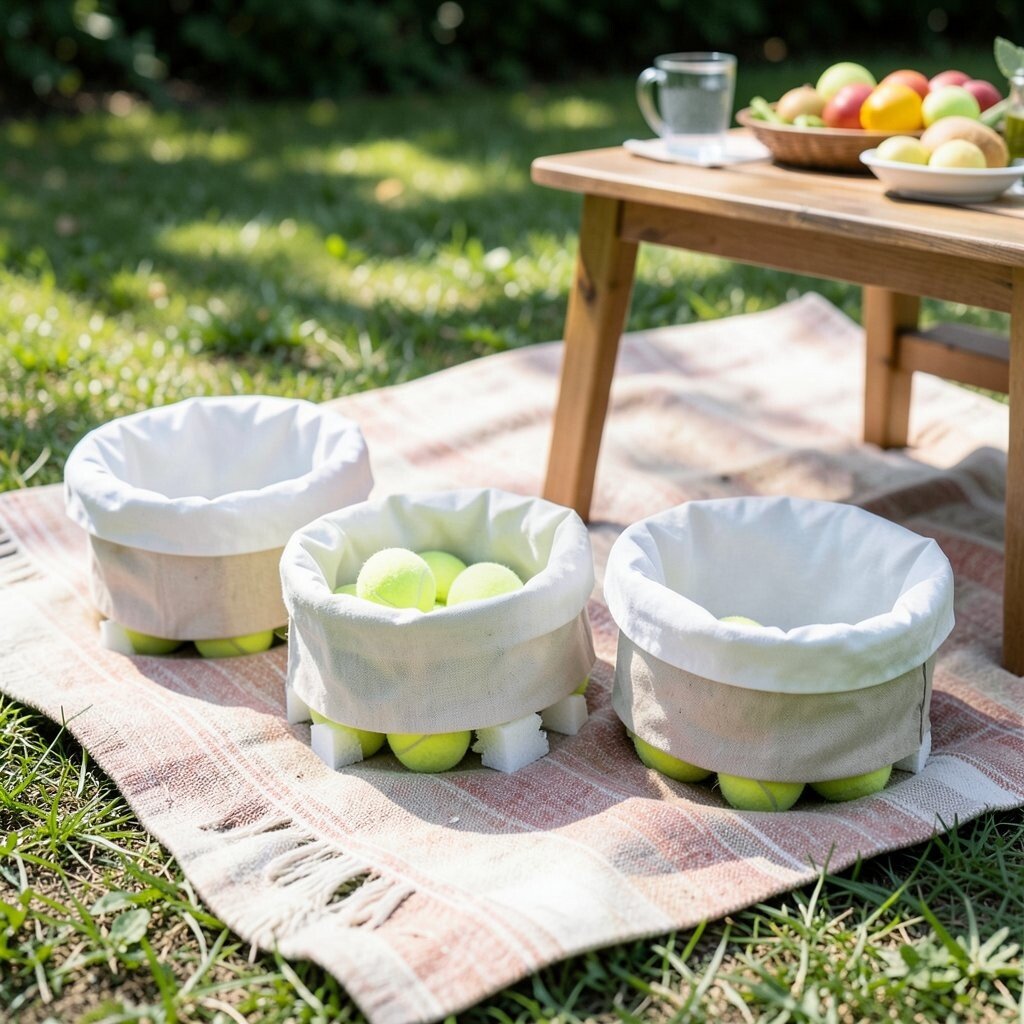
Seat pods are a great way to keep your picnic area tidy and organized. Instead of scattered seating, you get a neat set of pods that feel like they belong together.
Make small pod bases using fabric sacks filled lightly with foam scraps, then attach tennis balls underneath like hidden feet. Put a removable cover on top so you can wash it after sandy picnics. For practical use, size pods so two or three fit neatly on one blanket without crowding the food table.
12. DIY Tennis Ball Armrest Cushions for Comfort
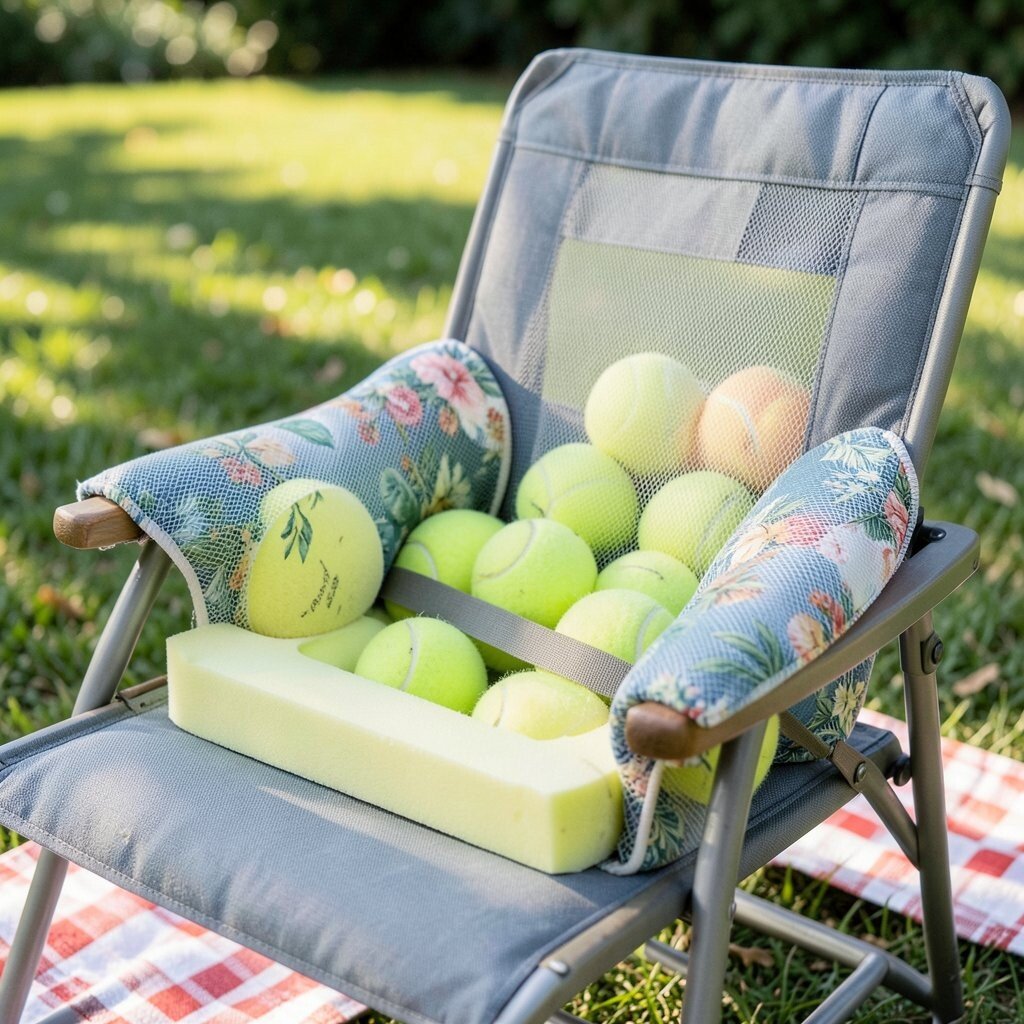
Even if your picnic chair is fine, your comfort can still suffer when arms rest on hard edges. Tennis ball armrest cushions create a softer, warmer feel.
Cut a simple strap-on pad from foam and add tennis balls beneath in small clusters. The balls give bounce and grip, so the cushion stays put when you lean. Personalize by covering the pads with breathable outdoor mesh or patterned fabric that matches your chair color.
This is a lower-cost upgrade because it uses minimal materials compared with building new seating frames.
13. Tennis Ball Raised Seating for Damp Ground

If you’ve ever sat on damp grass and felt uncomfortable quickly, raised seating helps a lot. Tennis balls naturally lift your seat surface, so you stay drier while staying comfy.
Attach tennis balls to the underside of a flat cushion or a thin outdoor bench pad using strong adhesive and optional screws. Add a tarp-like layer under your cushion so water doesn’t soak through quickly. For practical tips, keep your cushion in a reusable bag so you can shake it off before placing it on wet ground.
Right now, people are paying more attention to outdoor comfort gear, and moisture protection is a big part of that trend.
14. Tennis Ball Seating Circle for Group Hangouts
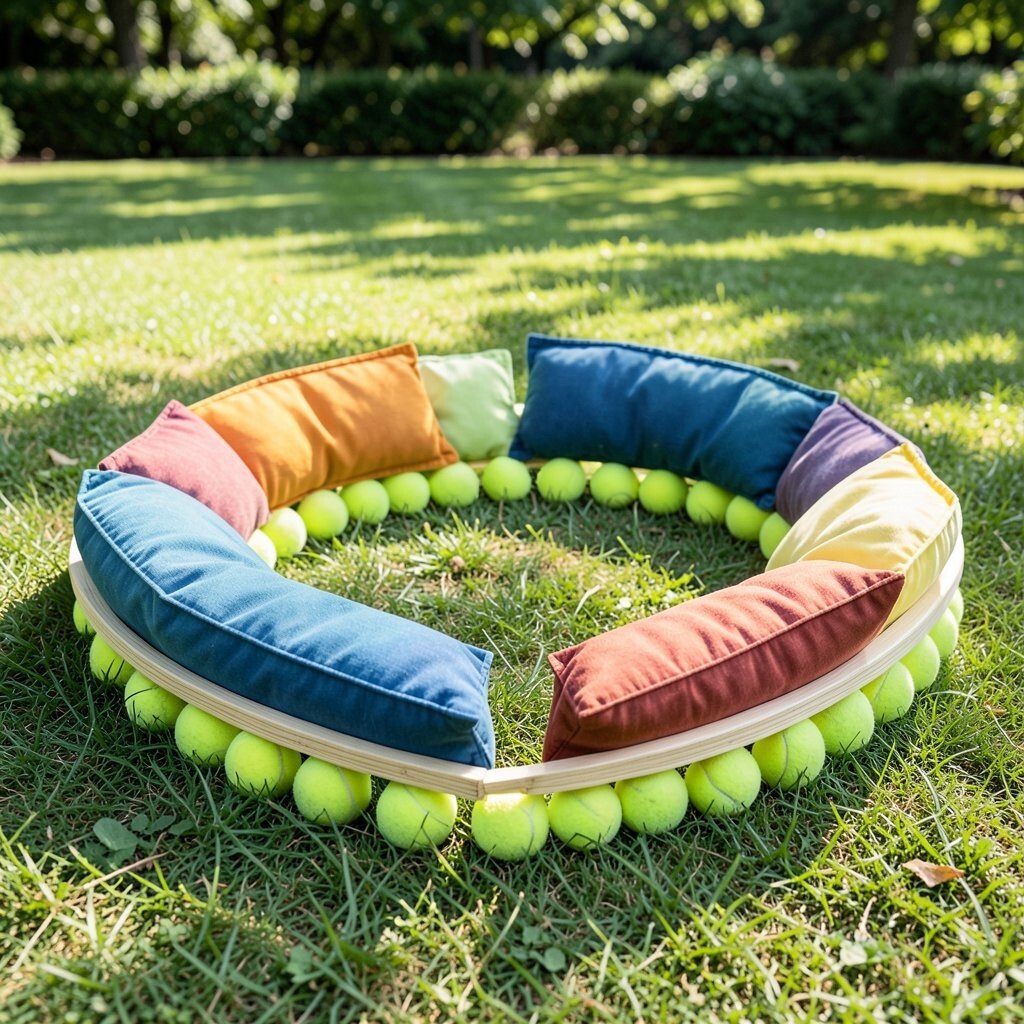
A seating circle makes picnics feel social, like a cozy outdoor living room. Tennis balls help define a sturdy ring that’s easy to set up on grass.
Build a ring using lightweight boards or thick fabric loops, then mount tennis balls underneath for bounce and stability. Add individual cushions or fabric wraps so each person has a comfortable spot. To personalize, use different cushion colors around the circle so the group looks coordinated without needing matching furniture.
15. Tennis Ball Cooler Side Seats With Storage Pockets
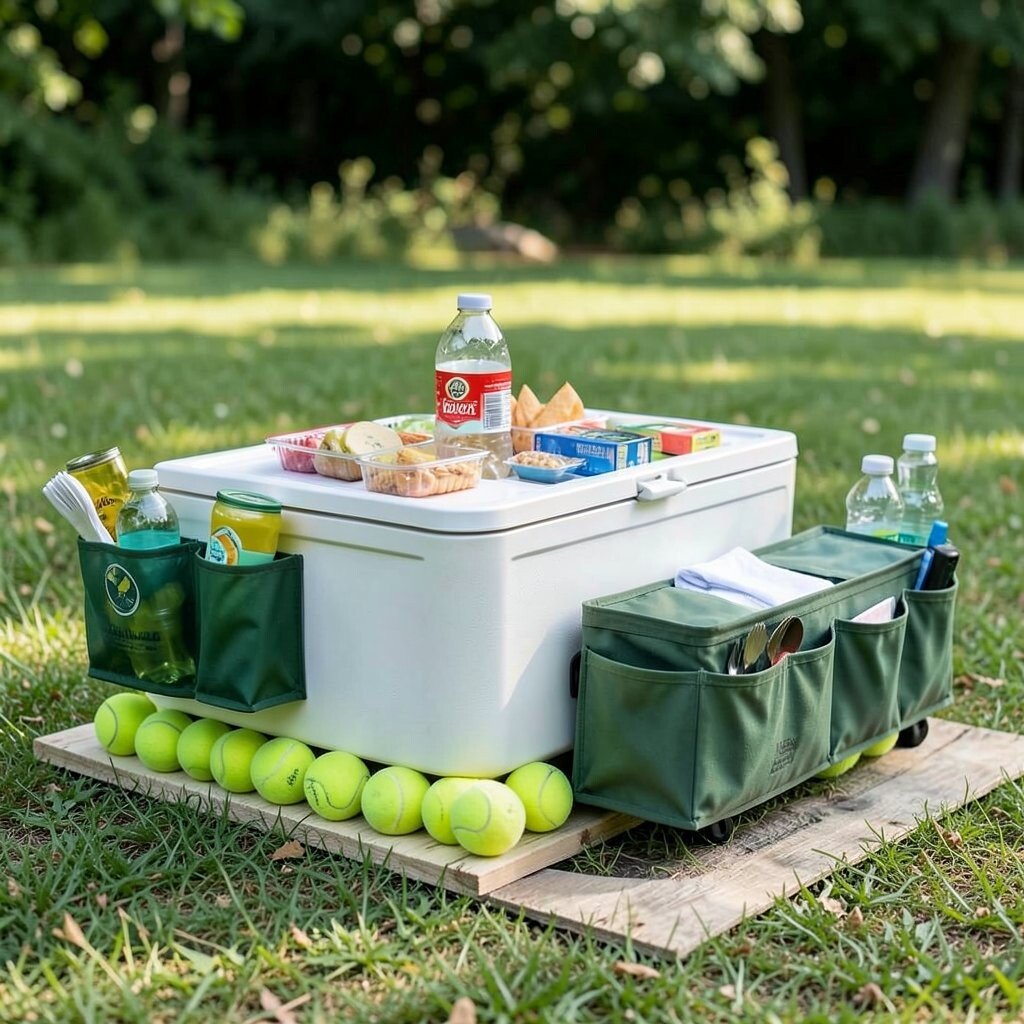
This idea solves two picnic problems at once, seating and snack access. By placing tennis ball seating near your cooler, you create a handy spot to rest drinks and grab small bites.
Use a cooler-height frame or platform and attach tennis balls underneath to keep it steady. Add storage pockets on the side using waterproof fabric so you can hold napkins, utensils, and a small towel. A practical benefit is fewer trips back and forth, especially when kids are helping themselves.
Cost considerations are friendly because you can repurpose a scrap platform or even a sturdy tote top instead of buying new boards.
16. Painted Tennis Ball Seat Clusters With Removable Cushions

Painted clusters make your picnic look cheerful, and they photograph beautifully. When you use removable cushions, you also keep maintenance simple and flexible.
Paint tennis balls with outdoor-safe spray paint, then mount them in a cluster pattern under a cushioned board. Make cushions removable with Velcro straps or ties so you can wash them after meals. For personalization, match paint colors to your seasonal theme or your picnic snacks, like bright fruit tones for summer outings.
This approach feels unique because the tennis balls become the visible design, not just hidden supports.
As a practical cost move, buy a few extra tennis balls so you can replace any that get scuffed without rebuilding the whole set.