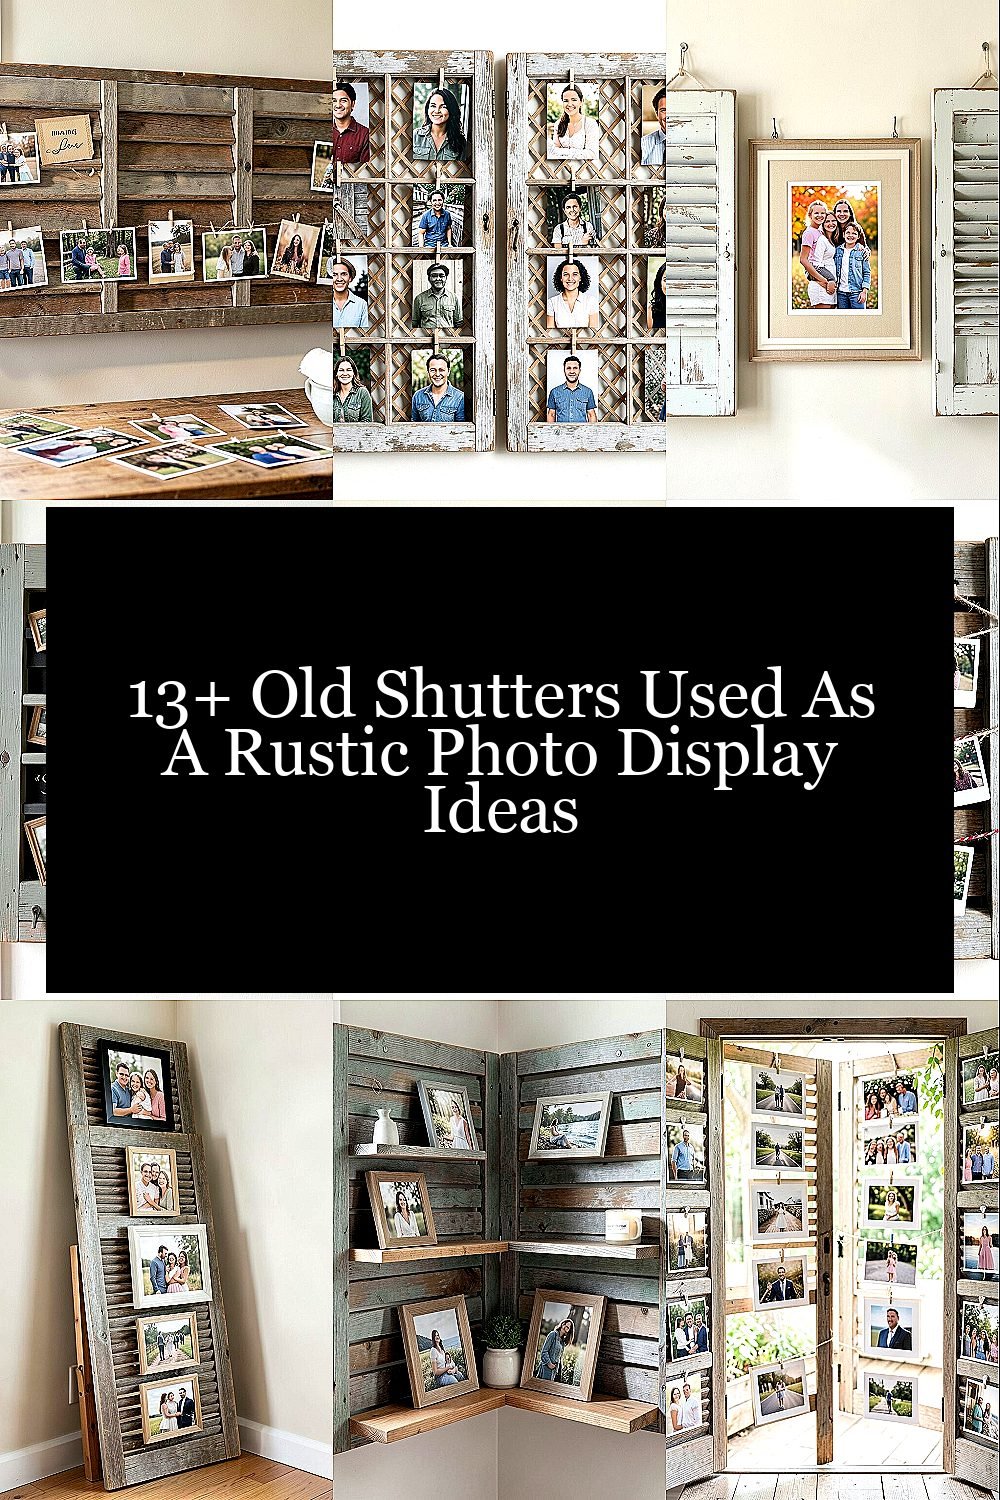
The moment you hang a photo, the room starts telling its own story. Old shutters make that story feel warmer and more lived-in.
With a few simple tools and some smart styling, you can turn forgotten wood into a charming, personal photo display.
1. Barn-Style Shutter Timeline Wall
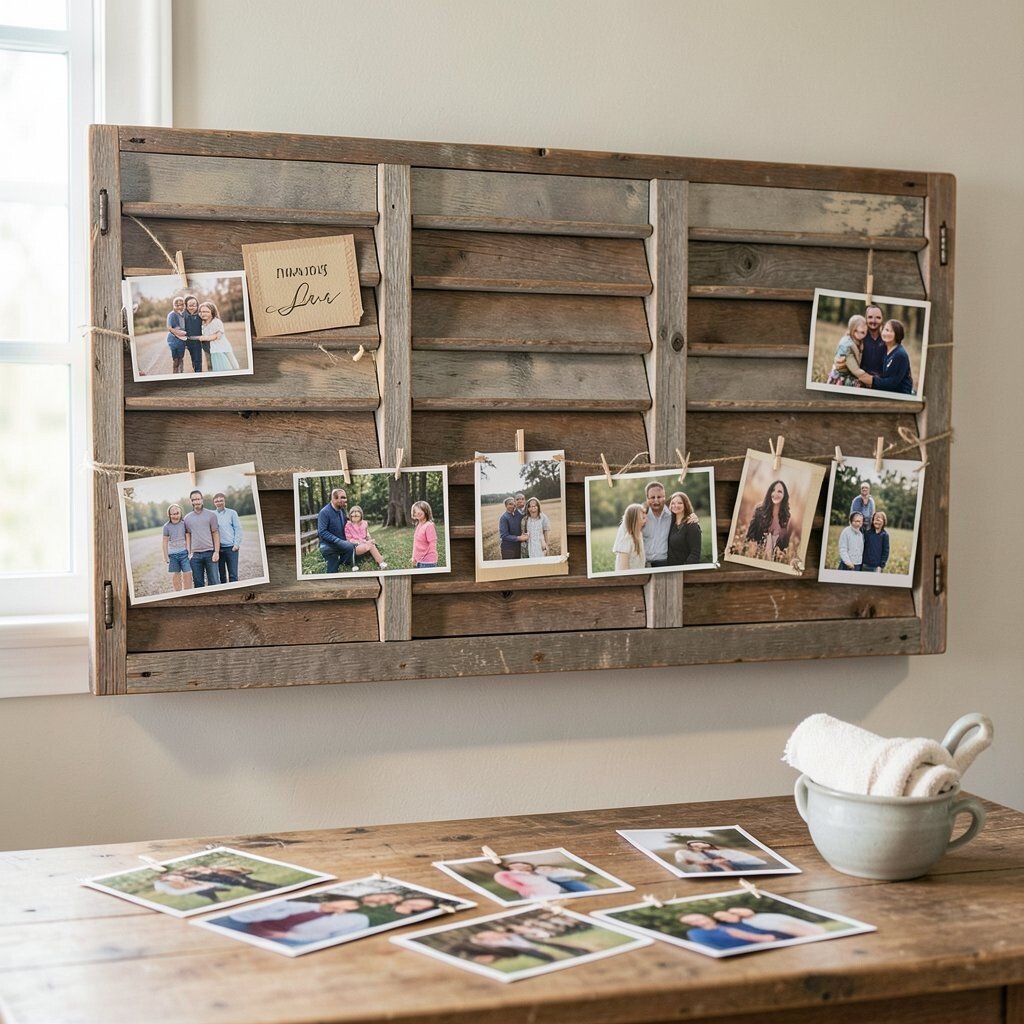
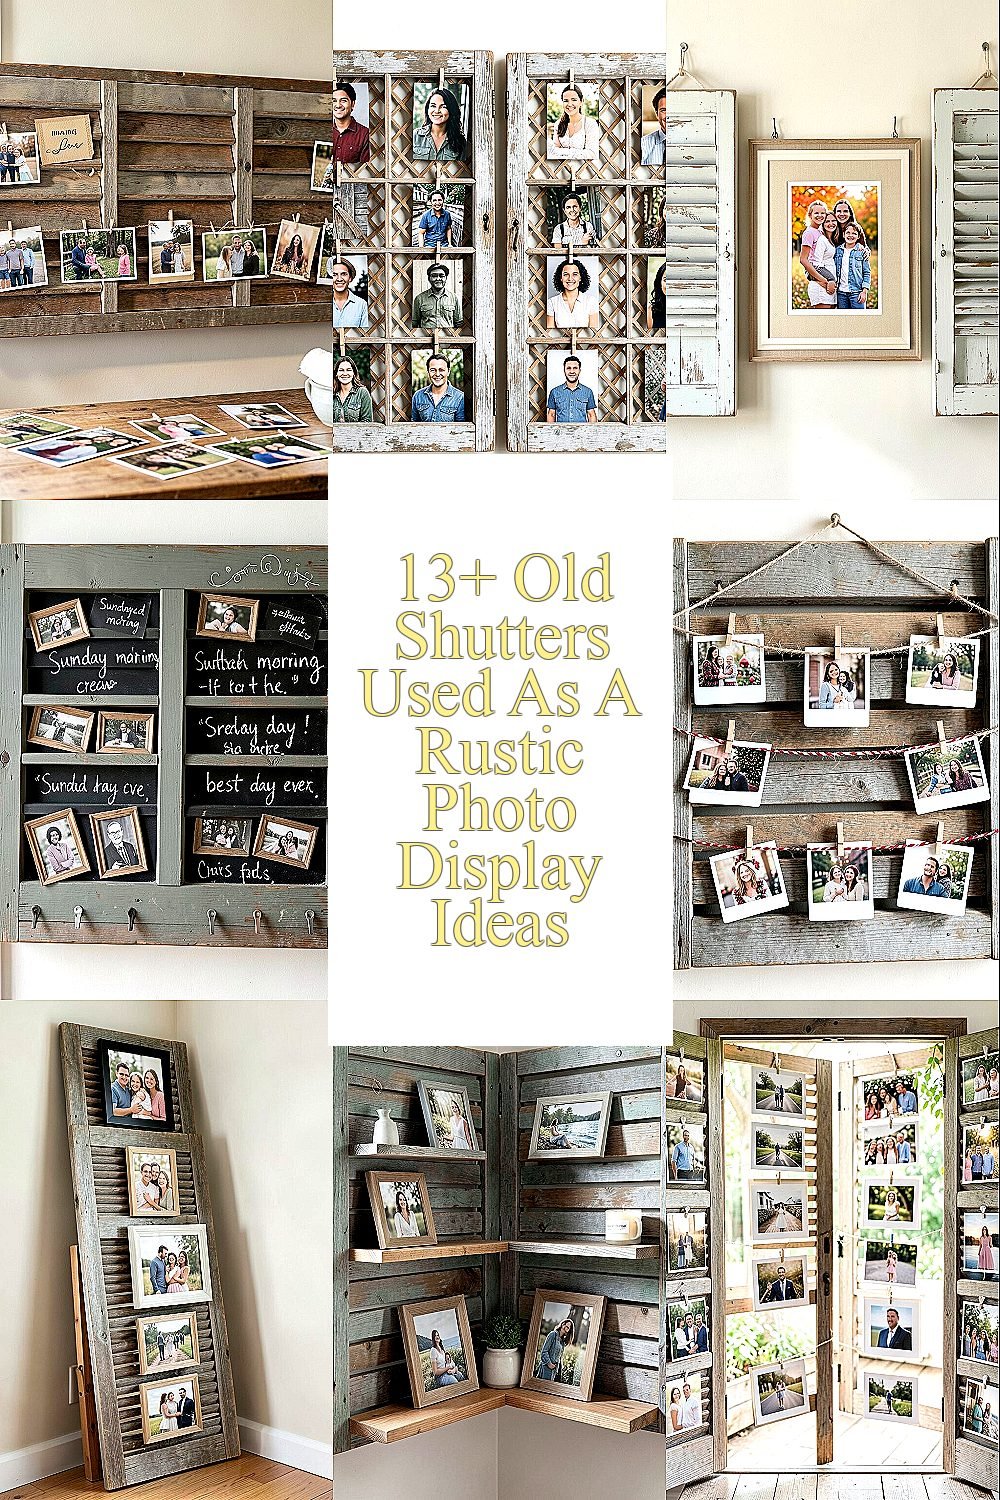
Find a wide shutter with sturdy slats and picture how your timeline would flow across it. Lay your photos out on a table first, then mark light pencil dots where each image will sit so spacing looks even.
Mount the shutter to a wall using a level, then attach photos with small wood clips, twine ties, or magnetic corners depending on the finish. This setup looks like rustic farmhouse decor, but it also keeps photos easy to swap when you have new favorites. For personalization, add a small date card behind one frame slot using scrapbook paper that matches your room colors. Choose smaller prints for busy family years and larger prints for milestone shots so the display feels balanced.
2. Weathered Shutter Photo Grid with Lattice Backing
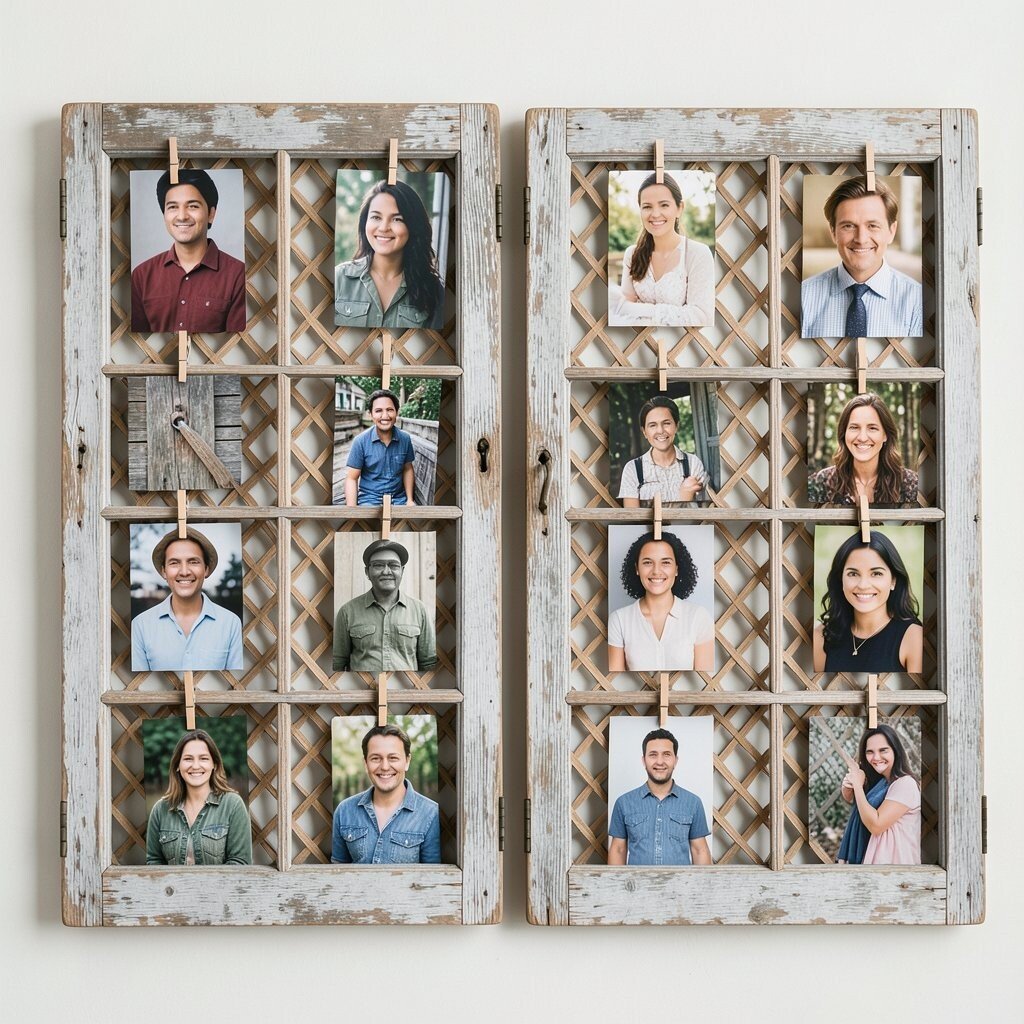
To create a grid, use one or two old shutters and mount them side by side with thin wood strips. For a clean look, add a simple lattice or thin backing board so each photo has a neat place to land.
Attach your photos with clothespins or picture ledges so they don’t sag over time. This method gives you lots of photo space without needing a lot of new hardware, and it fits current trends that favor mixed materials and textured surfaces. Try printing your photos slightly larger and cropping them tighter so faces stand out from the rough wood. When cost matters, look for shutter lots at salvage yards and pair them with inexpensive print sizes from local photo kiosks.
3. Shutter Double-Frame with Layered Mat Borders
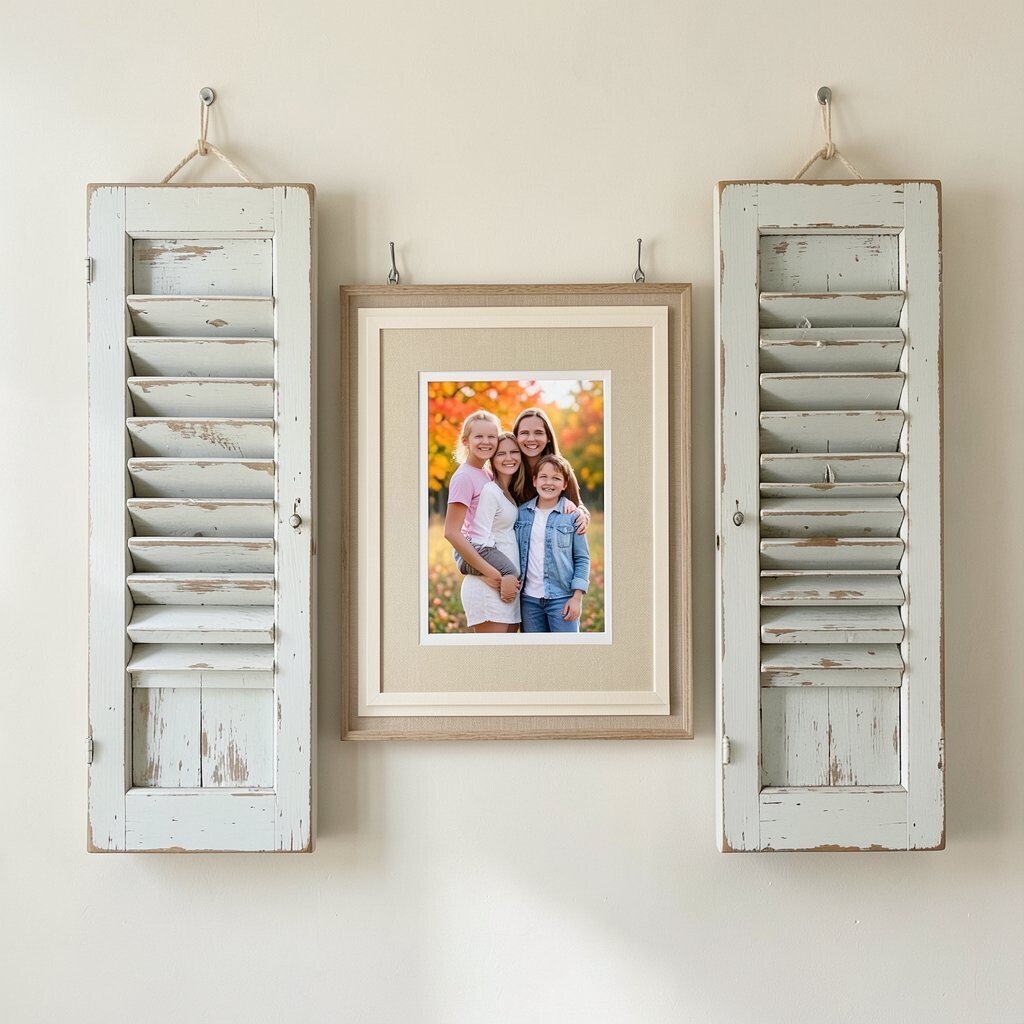
Select two shutters with complementary sizes so they can frame a shared center space. Sand lightly if the paint is thick, then wipe dust away so the surface is ready for clean edges.
Hang the shutters on either side and place a single photo in the middle with a layered mat border around it. The layered mat makes the image pop and softens the raw, worn texture of the wood. Use a warm neutral mat color like cream or light tan to keep the rustic mood.
For practical results, use sawtooth hangers or sturdy hooks so the display stays level, and keep heavier photo frames supported. Personalize by swapping the center photo seasonally, such as family portraits in fall and travel snapshots in summer. This idea feels unique because it turns two old shutters into a styled “window” for one special moment.
4. Chalkboard Shutter for Captioned Memories
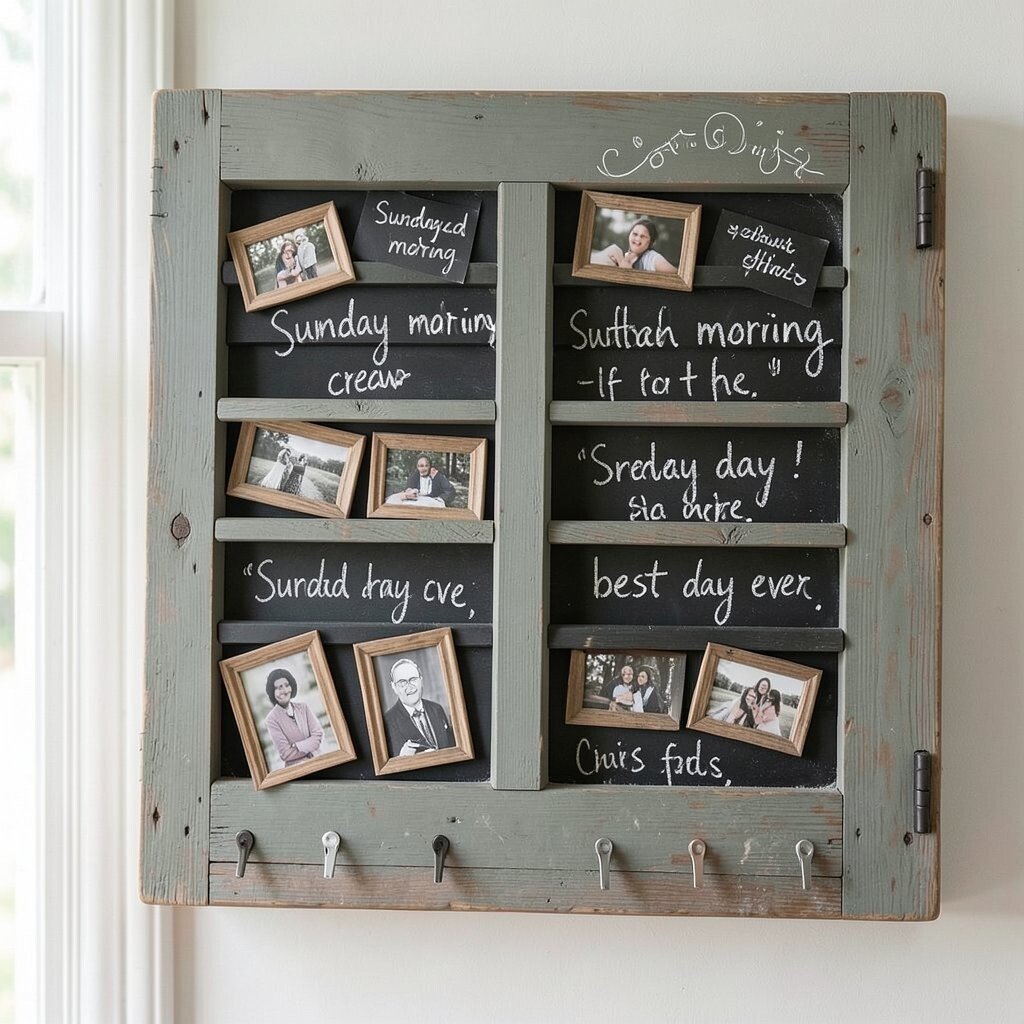
Grab a shutter with an intact surface and paint only the inside slats with chalkboard paint. Once it dries, you can write captions right across the wood while the grain still shows through.
Display your photos by sliding small frames into the slat openings or by attaching mini photo clips along the bottom. People love this setup because it adds story and context, not just pictures, and it’s a fun way to keep the room lively. Use thick chalk for legibility from a distance, and erase cleanly for future updates. Personalize captions with short phrases like “Sunday morning crew” or “best day ever” so it feels personal.
5. Mirror-Centered Shutter Photo Showcase
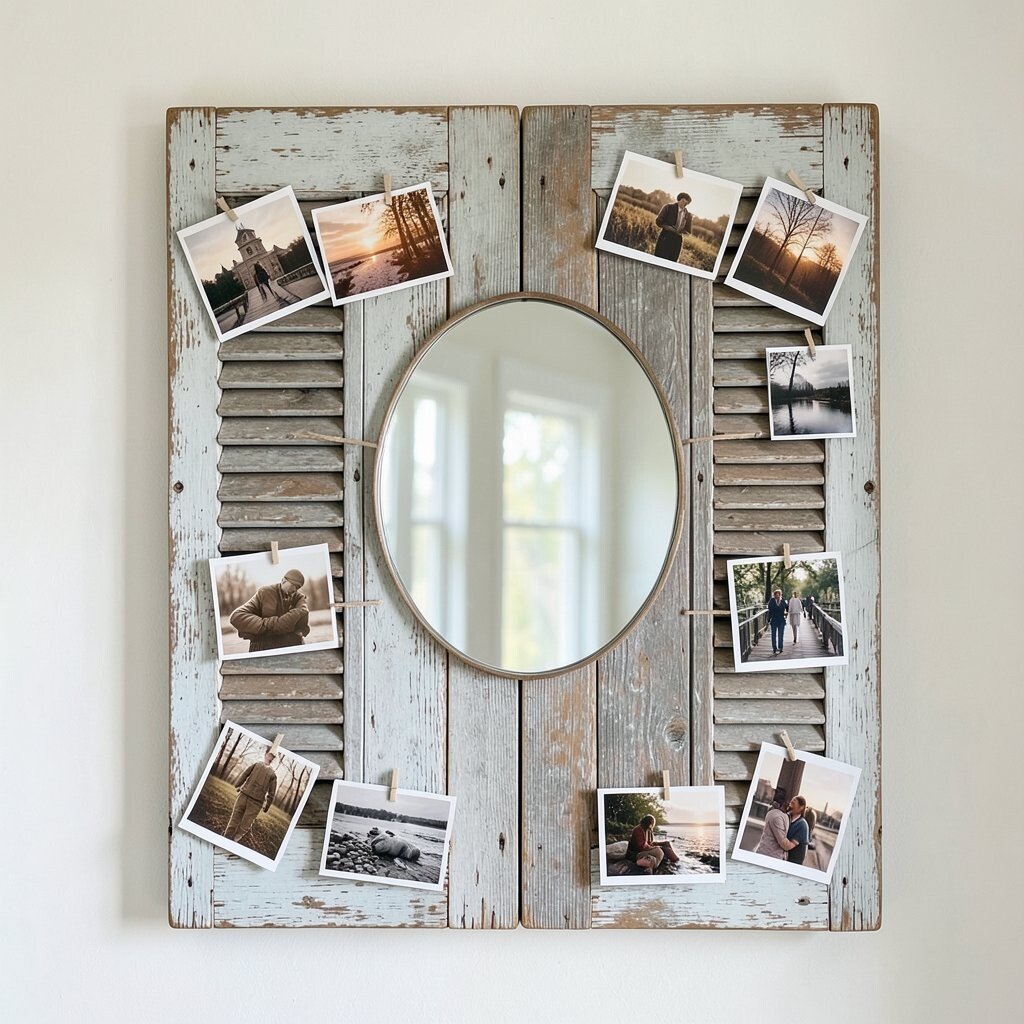
Choose a shutter that has one side cleaner than the other, then place a small round or oval mirror in the center. The mirror helps the display feel brighter, especially in hallways where natural light is limited.
Attach photos around the mirror using thin strips of wood or removable hooks so you can change pictures without damaging the shutter. This idea combines rustic charm with a more modern trend of mixed decor, where old wood pairs with reflective accents. To keep it practical, use photo sizes that match the mirror scale, such as medium prints that won’t crowd the glass. For cost control, use a thrifted mirror and print photos at home or through a budget-friendly service.
Personalize by choosing photos with similar tones, like warm sepia travel images, so the overall look feels intentional.
6. Twine and Pegs Shutter for Rotating Instax-Style Photos
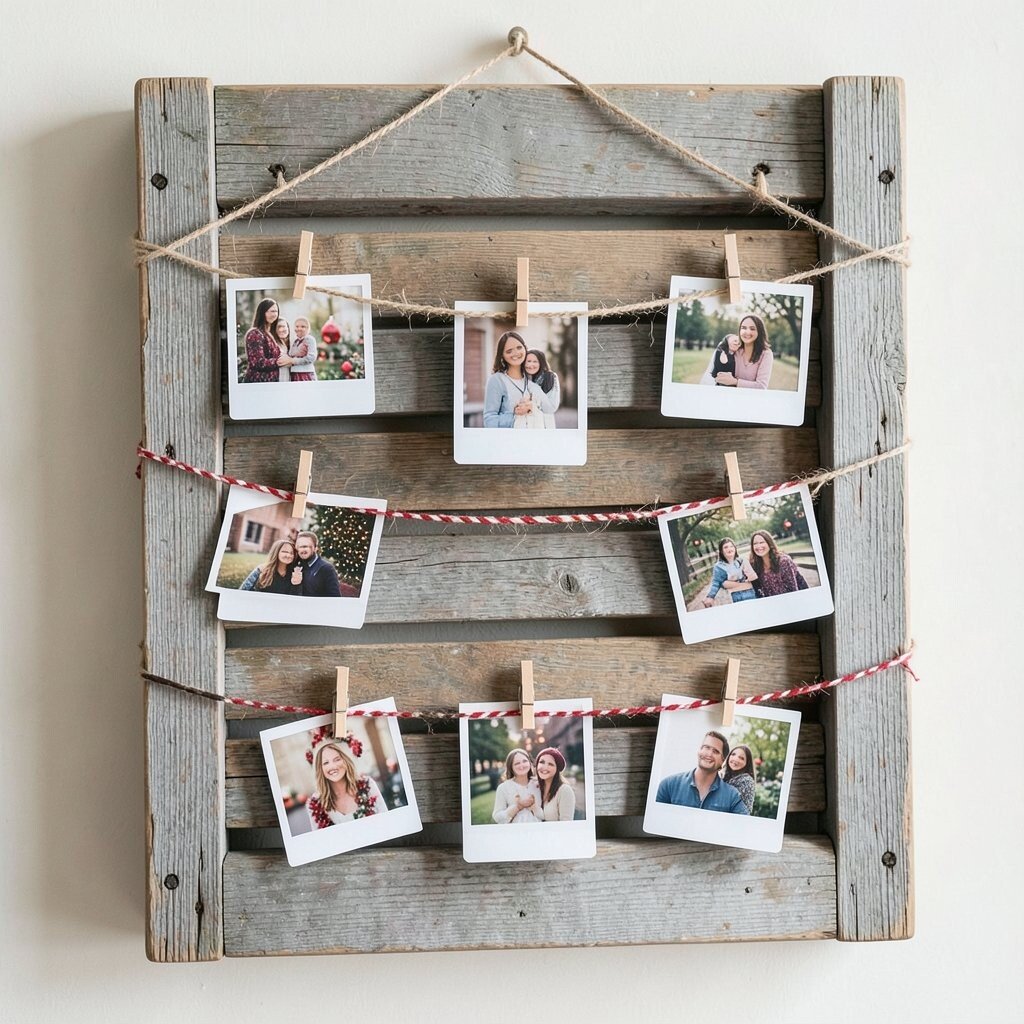
Hang the shutter flat or slightly angled, then stretch twine across it in a few horizontal lines. Add small wooden pegs or mini clothespins so each photo can clip into place.
This design makes swapping photos quick, and that’s great if you love featuring new moments often. The rough shutter slats add visual texture that pairs well with the current love for film-style prints and casual layouts. For a smooth setup, keep twine taut and anchor ends behind the shutter so nothing slips. Personalize by using themed strings, such as red-and-cream for holidays or dark brown for everyday warmth.
7. Vertical Keepsake Shutter for a Corner Gallery
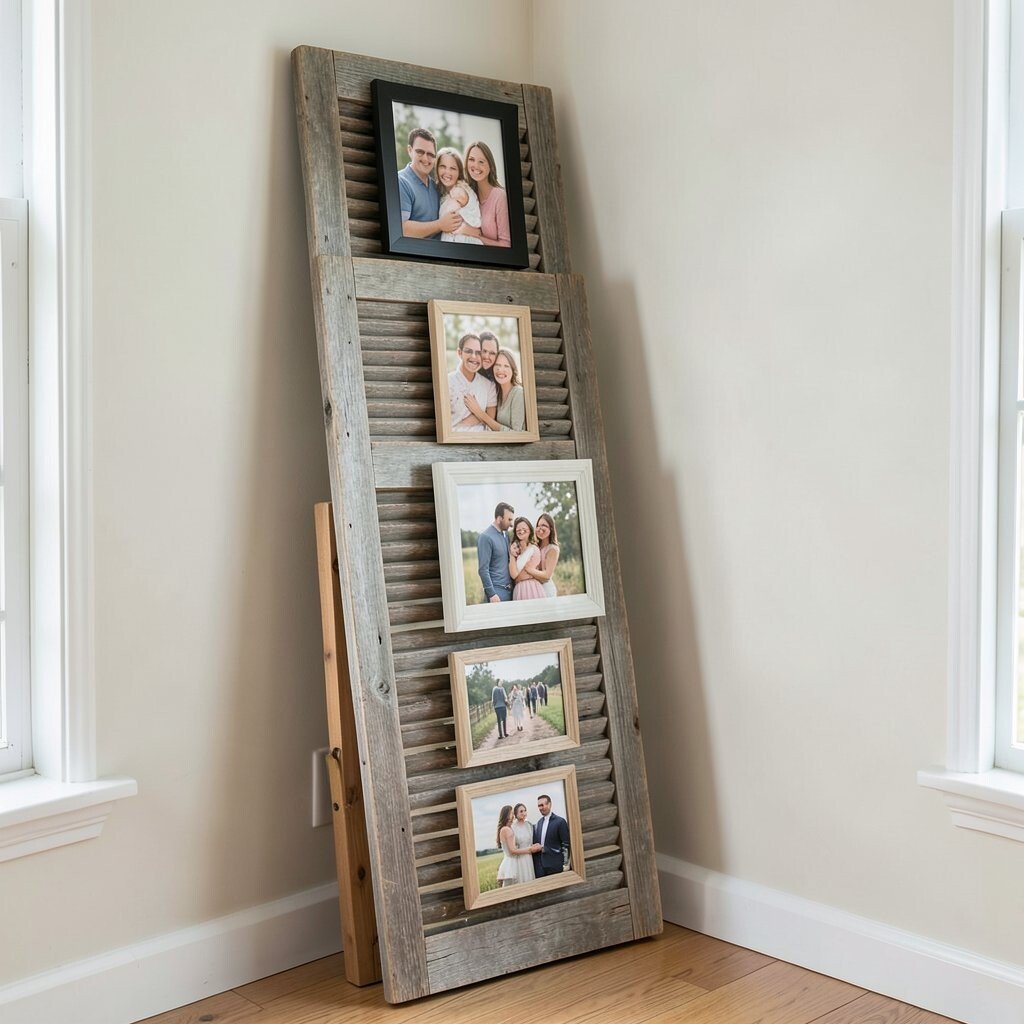
Use a tall shutter and place it in a corner where it can act like a small gallery wall. Lean it against a sturdy wall mount or build a simple stand from spare wood so it feels intentional, not temporary.
Display photos vertically by attaching frames at different heights, like a gentle staircase rising from family shots to special events. This approach makes even a small space feel cozy and full of personality. Keep the frames lightweight and secure them well, since corner placements can be bumped. Personalize by mixing frame finishes, such as one black frame with one distressed wood frame, while keeping photo sizes consistent.
To keep costs lower, hunt for small frames at yard sales and clean them with mild soap before use.
8. Shutter Corner Shelf with Photo Ledges
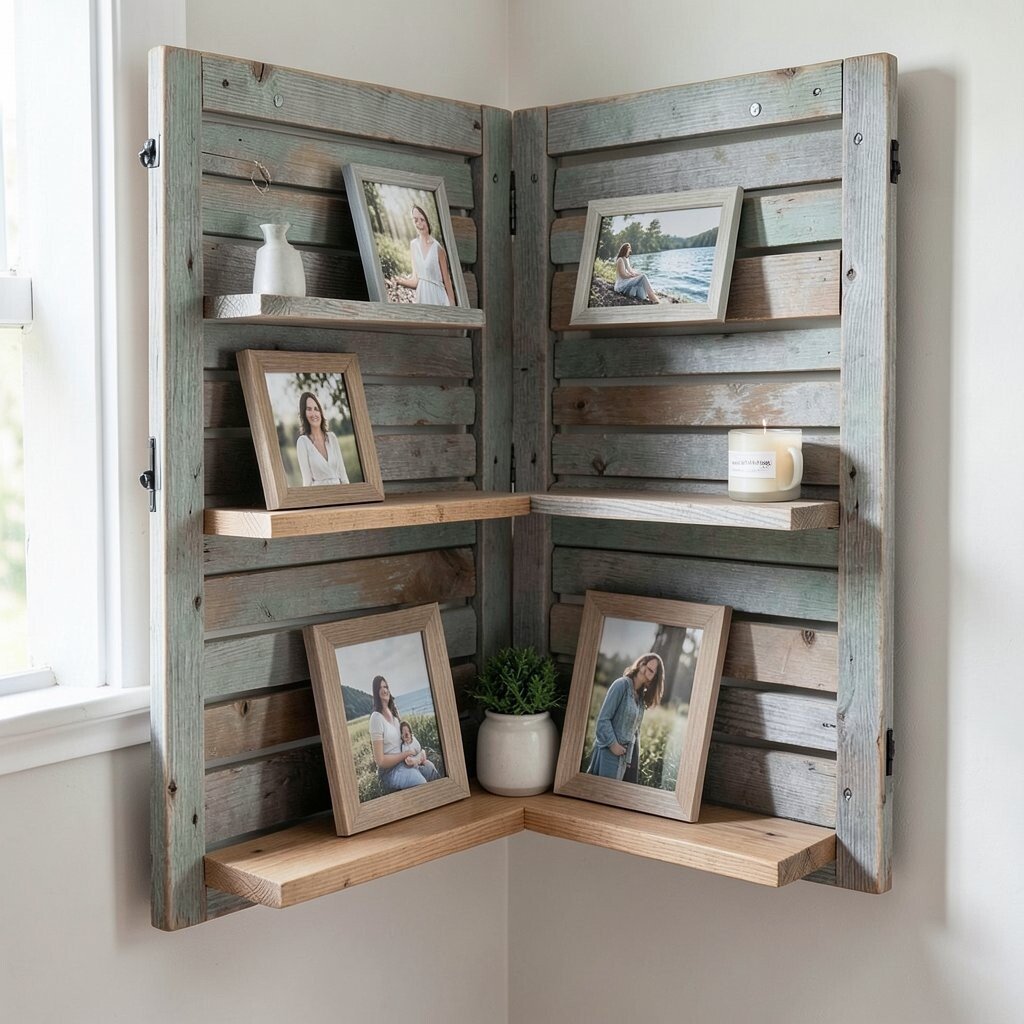
Turn the shutter into a functional display by adding shallow shelves on the front. Even thin wood ledges made from scrap boards can hold framed photos without overwhelming the rustic look.
This idea is great for people who want photos plus everyday items like a small vase, a candle, or a tiny plant. The benefit is that your photos don’t just hang, they sit with purpose, which looks polished. For practical tips, attach ledges to the shutter slats with screws and use a stain or clear coat that matches the shutter tone. Personalize by choosing a color scheme for the props so photos and decor feel like a set. If you want a budget-friendly route, reuse shelves from old furniture and paint them to blend in.
9. Shutter Doorway Photo Arch for Events and Holidays
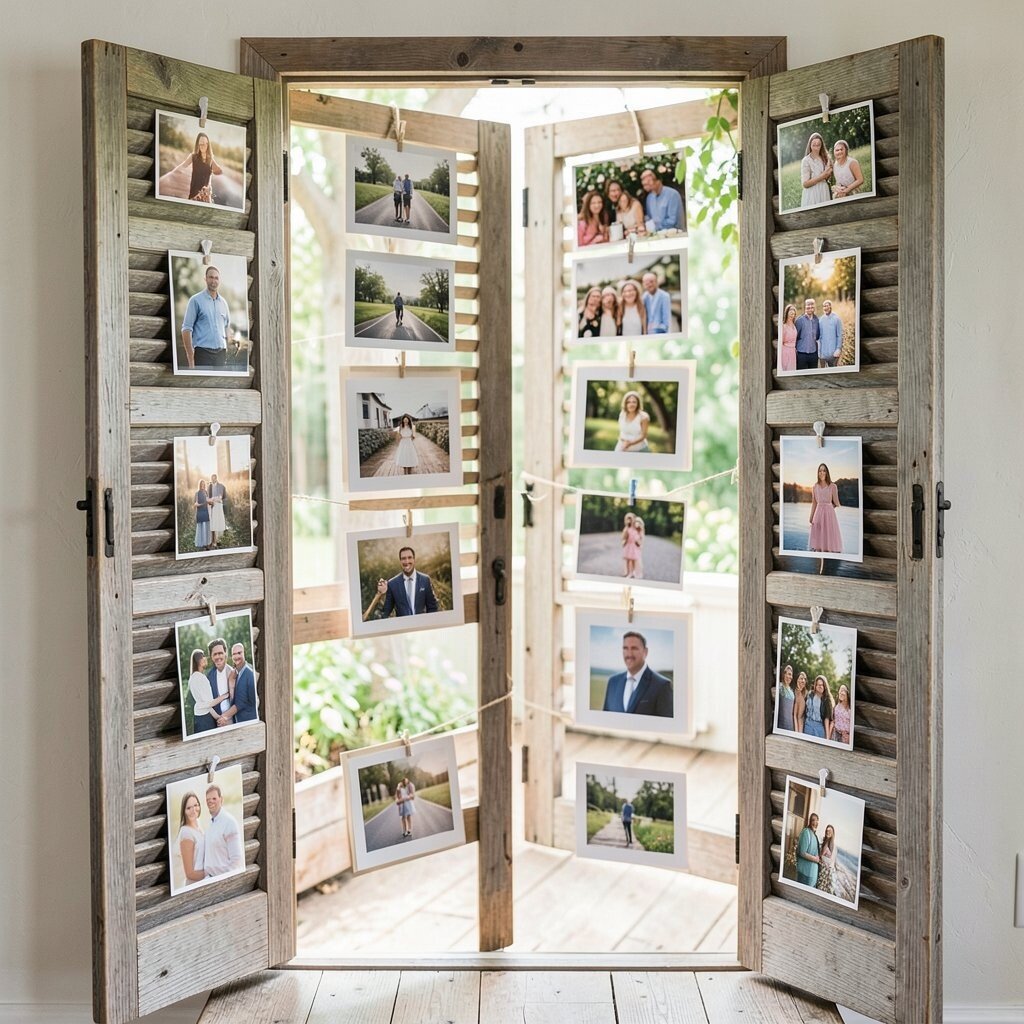
If you host gatherings, hang shutters to frame an entry area like a rustic arch. The worn wood instantly sets a cozy tone, and your photos become part of the celebration.
Pin or clip photo cards to the shutters so guests can see past memories while they arrive. This fits the trend of personalized event styling where everyday spaces borrow party energy without feeling flashy. For practical setup, keep fasteners lightweight so you can remove them quickly after the event. Personalize by arranging photos by theme, such as graduation, birthdays, or summer road trips. Cost-wise, you can use temporary string and paper frames, which is easier than building permanent mounts.
To protect the shutter finish, use removable adhesive hooks and test them in a hidden spot first.
10. Small Shutter Shadowbox with Layered Photo Stacks
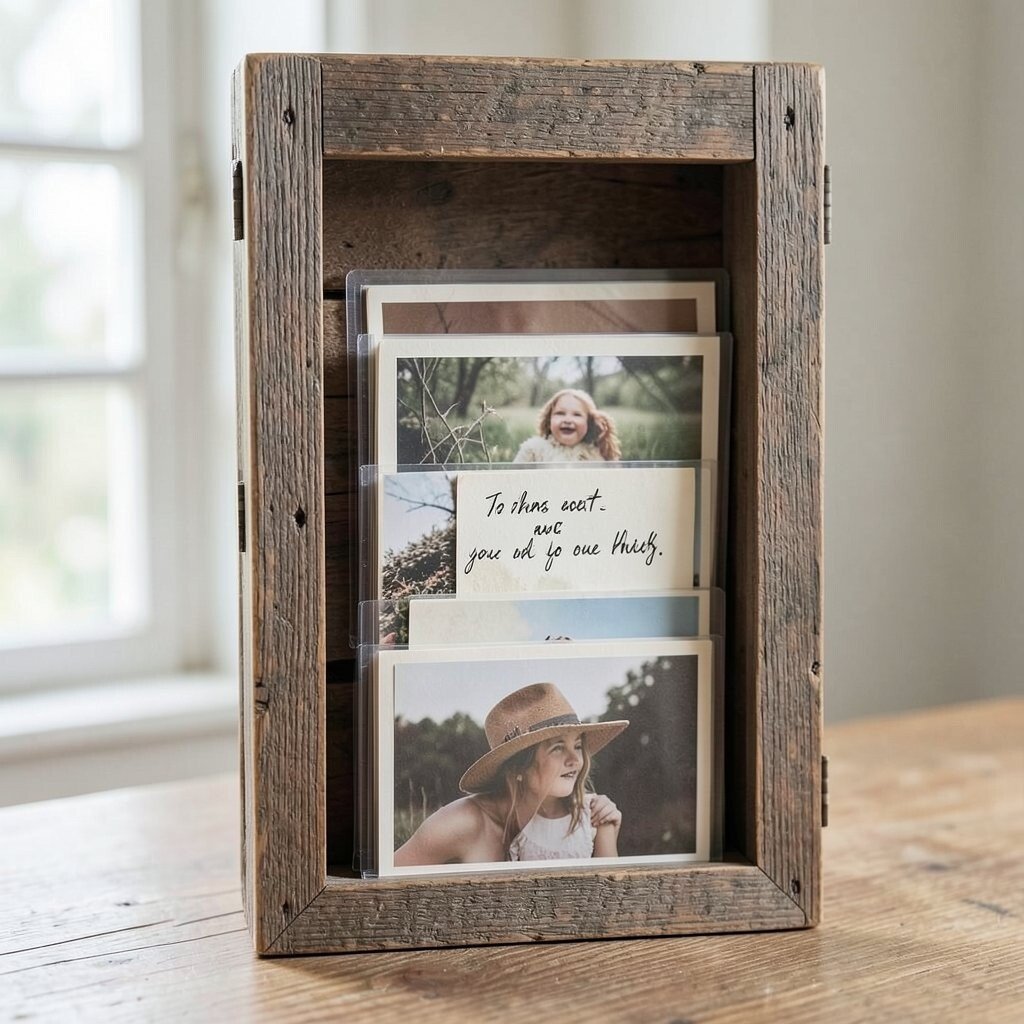
Choose a narrow shutter panel and build a shadowbox effect by adding a backing board and thin spacers. You can stack photos at different depths so they feel like layers of time.
Use clear plastic sleeves or thin paper borders so the photos stay aligned and don’t overlap messy. This creates a unique, museum-like look while still feeling rustic thanks to the wood texture. For practical tips, keep stack heights short and secure everything behind the shutter so it doesn’t shift. Personalize by adding one handwritten note tucked behind a photo layer for a secret message you’ll only see when you re-open the display. If you want to spend less, print a few favorites on heavier paper instead of buying many new frames.
11. Shutter Scene Divider for a Photo-and-Print Wall Mix
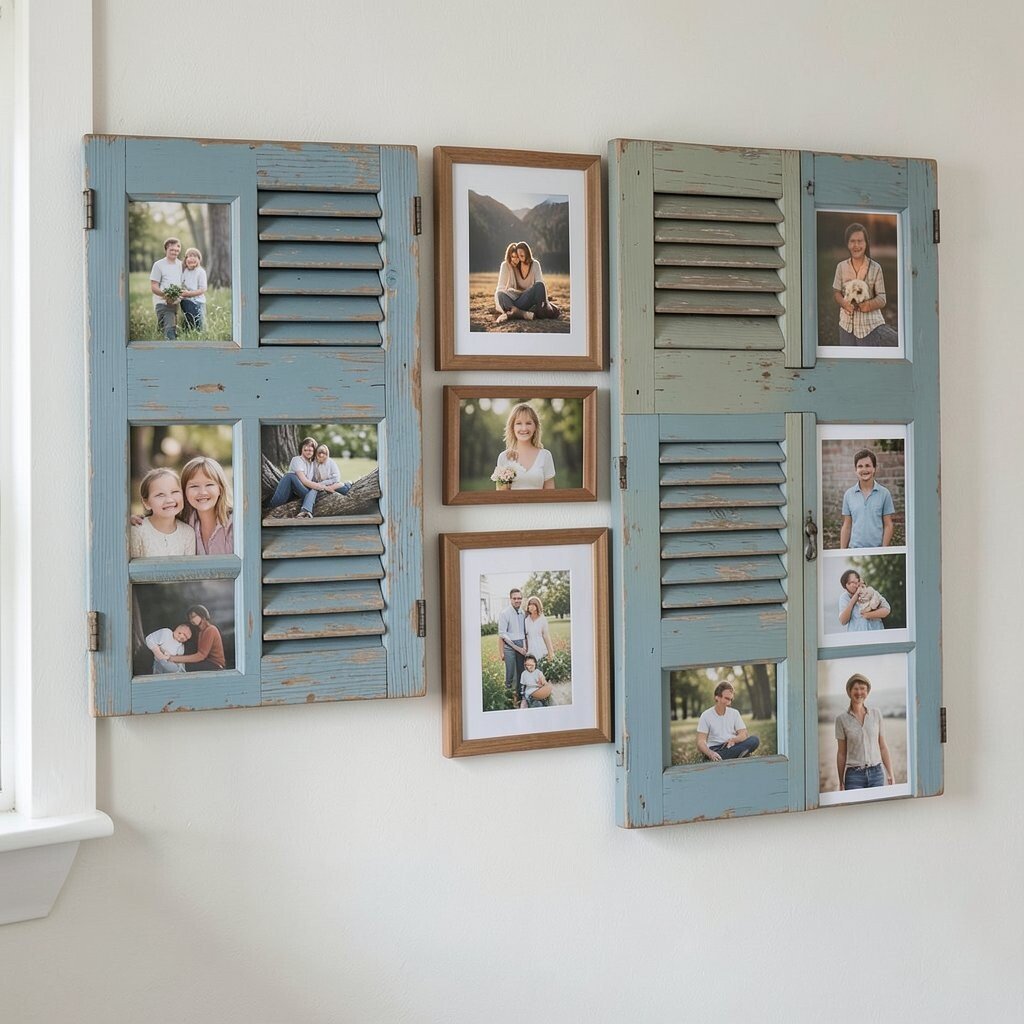
Use shutters as dividers between different photo sizes so the wall looks curated. A scene divider works especially well when you mix framed photos with unframed prints or art postcards.
Hang one shutter at an angle or flat, then place photos on each side like a split gallery. The benefit is visual order, which prevents a crowded wall from feeling chaotic. It’s also a current styling approach that mixes structured and casual elements. For practical results, keep a consistent spacing rhythm, such as the same distance between frames on both sides. Personalize by using a color theme, like muted blues and warm browns, so every piece feels like it belongs. Cost-wise, you can pair shutter frames from thrift stores with inexpensive printouts in matching mats.
12. Shutter Stair-Step Display with Mini Ledge Frames
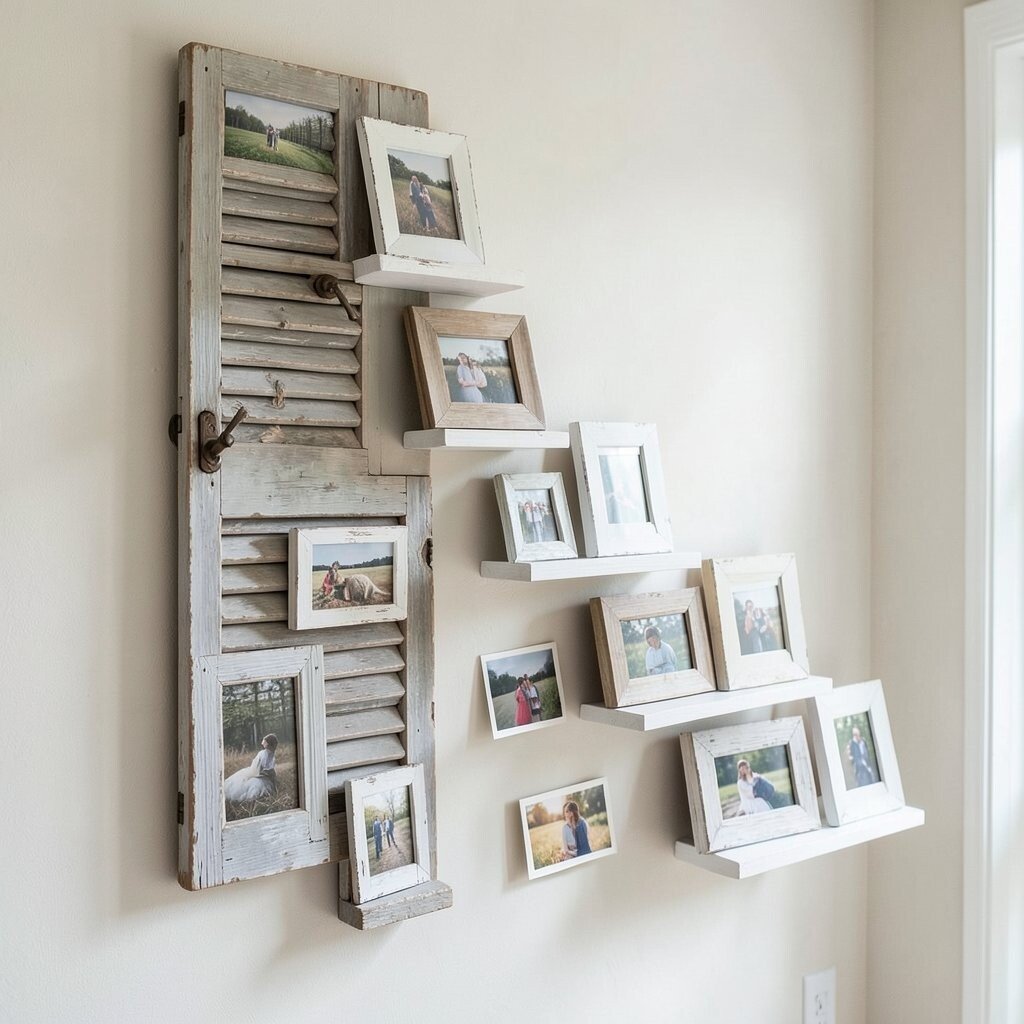
Create a stair-step look by mounting the shutter on a wall and adding ledges at increasing heights. Each ledge holds a small frame, postcard, or even a tiny photo collage.
This arrangement feels playful yet neat, and it’s a great way to show off many pictures without crowding the wall. The stair-step style is popular because it draws the eye upward and makes rooms look taller. For practical tips, measure ledge spacing carefully and use strong anchors since ledges add weight. Personalize by using frames that share one element, like all having distressed white edges, even if the sizes vary. If you’re working with a tight budget, look for uniform mini frames at discount craft stores and paint them to match the shutter.
13. Shutter with Hanging Ribbons and Photo Tags
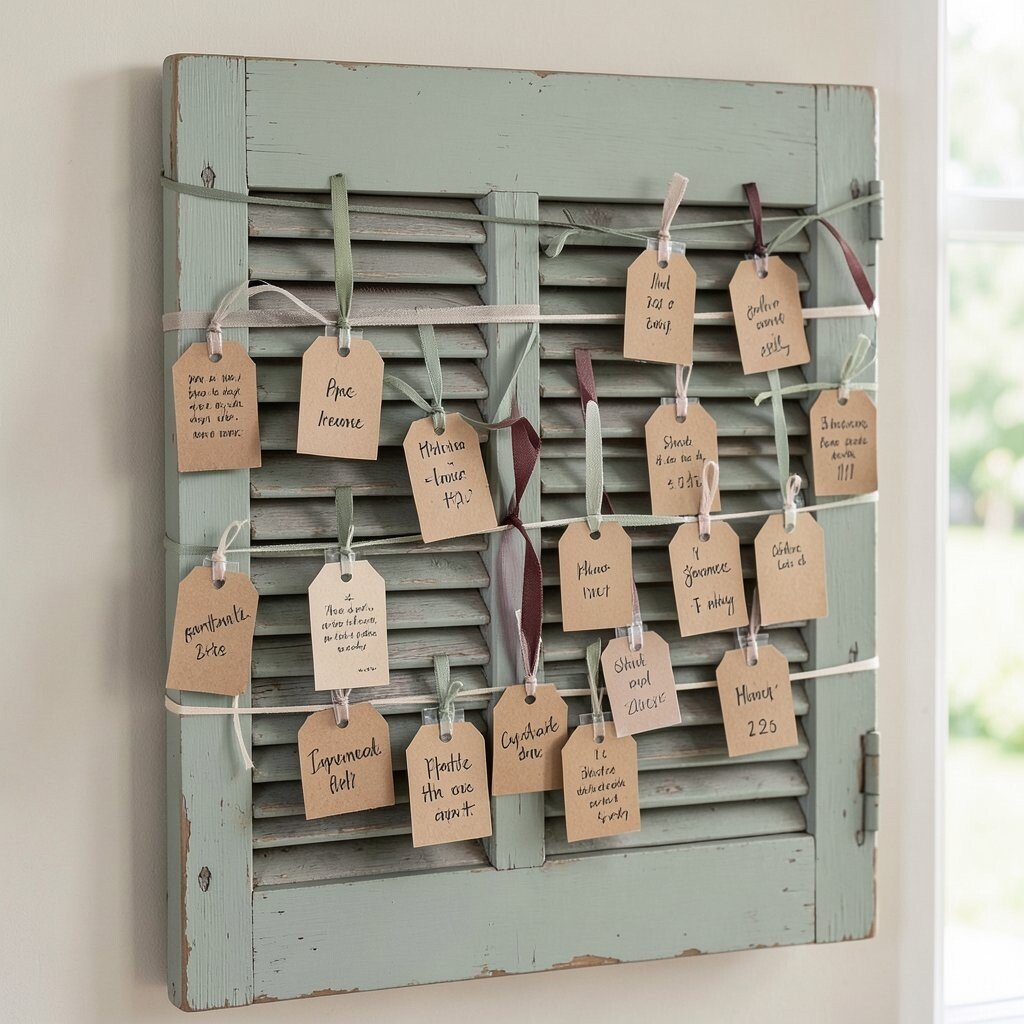
Attach small ribbon strips across the shutter like soft lines, then hang photo tags from each ribbon. You can use kraft paper tags, fabric-covered cardstock, or clear sleeves clipped to ribbon ends.
This design feels light and whimsical, and it’s perfect for showing lots of moments without permanently attaching each photo. The benefit is easy personalization because you can label photos with short names or dates using neat handwriting. To keep it practical, use photo tags that are lightweight so the shutter won’t tilt under added weight. Personalize by matching ribbon colors to your room, such as sage green for a calm look or deep rust for a cozy vibe. For cost considerations, craft tags from paper scraps and print photos on small squares to reduce ink usage.
14. Rustic Shutter Photo Wreath for Seasonal Swaps
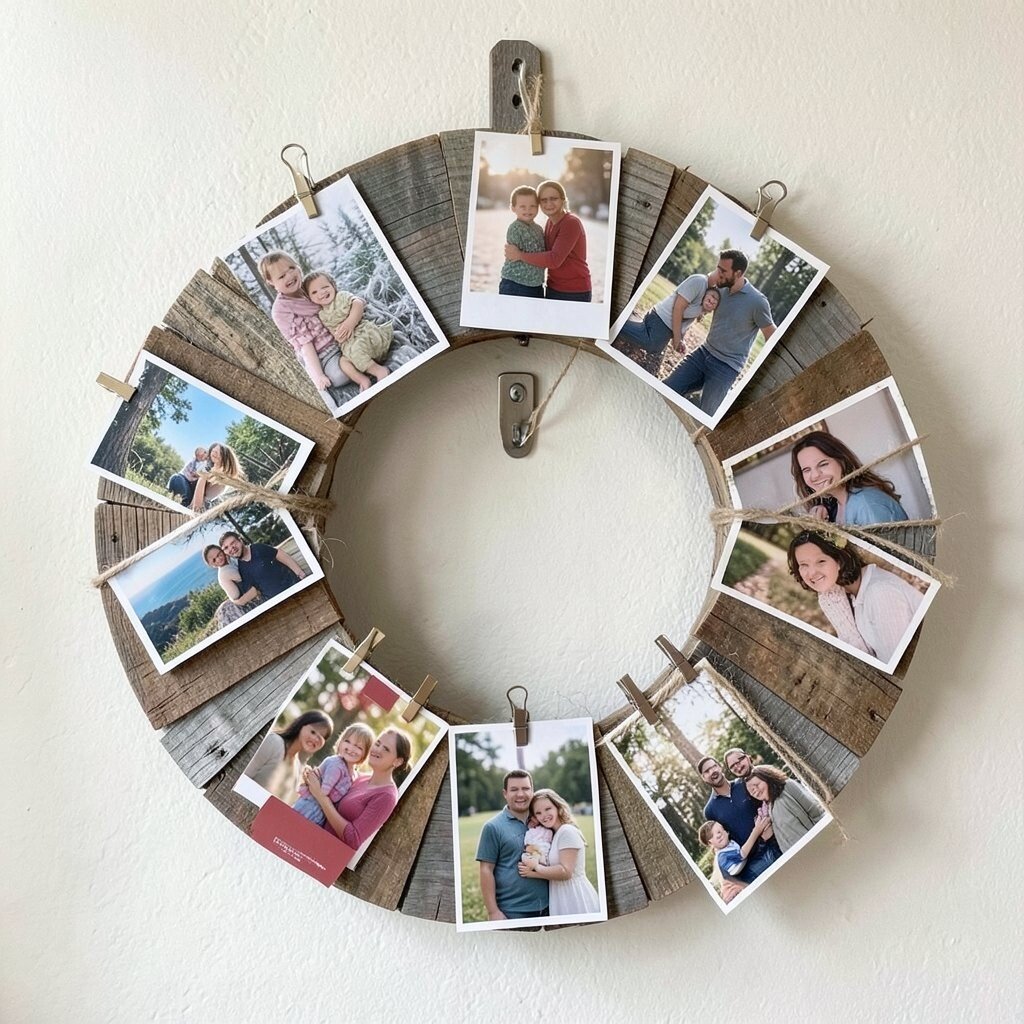
Turn a smaller shutter into a wreath-style display by cutting or bending it into a rounded shape using safe hardware and careful measuring. If cutting isn’t your style, you can arrange a shutter panel into a half-ring and finish the shape with extra wood strips.
Attach photos around the ring with clips, twine knots, or small picture hangers so you can swap pictures by season. This setup feels unique because it combines rustic shutters with a modern seasonal decor habit, where people refresh their walls often. For practical tips, choose a mounting point that’s stable, like a sturdy hook anchored into a stud, since wreath weight can add up. Personalize by alternating photo categories, such as family photos in winter and outdoor adventures in summer. Cost-wise, you can keep spending low by using printed mini photos and reusable clips from old craft supplies.
To make the look cohesive, use one accent color across the display, like muted red or natural twine, so every photo tag feels part of the same story.