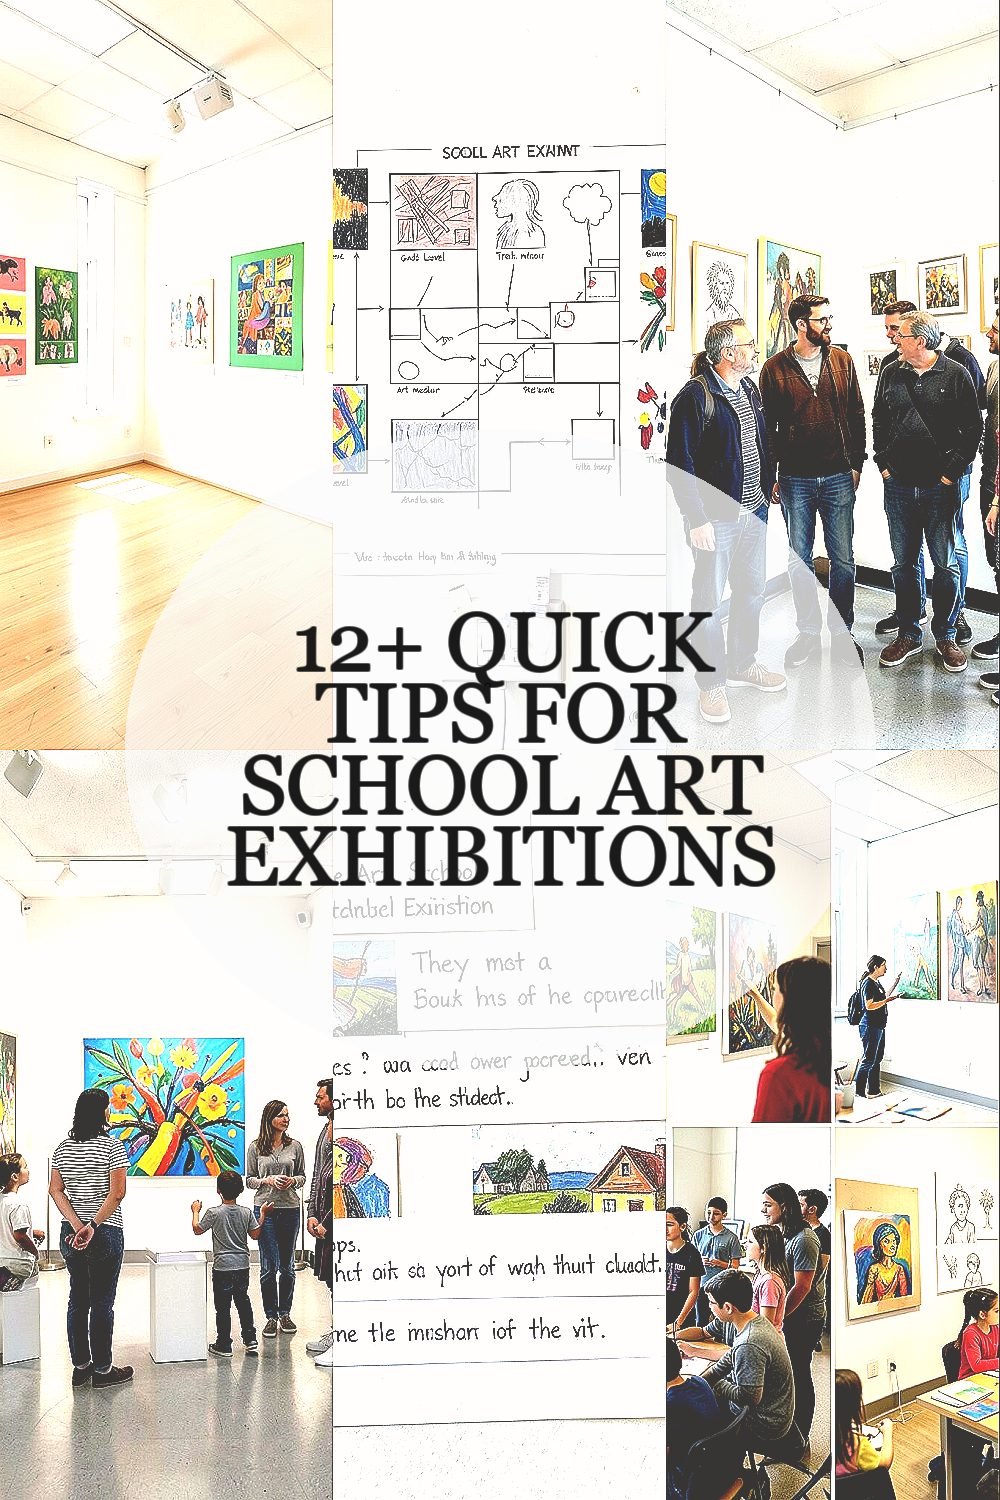
Walls can become a gallery in a single afternoon. When you plan with care, every student piece starts telling its own story.
1. Start With a Clear Vision for the Space

Picture your exhibition space like a friendly stage. Bright posters, clean sightlines, and a little breathing room help artwork feel important and easy to enjoy.
Decide what kind of mood you want, such as cozy and creative or bold and energetic. That choice guides where you hang work, how you label displays, and which colors you use for borders. It also makes the planning feel simpler because you know what “good” looks like.
2. Create a Simple Layout Map Before You Hang Anything

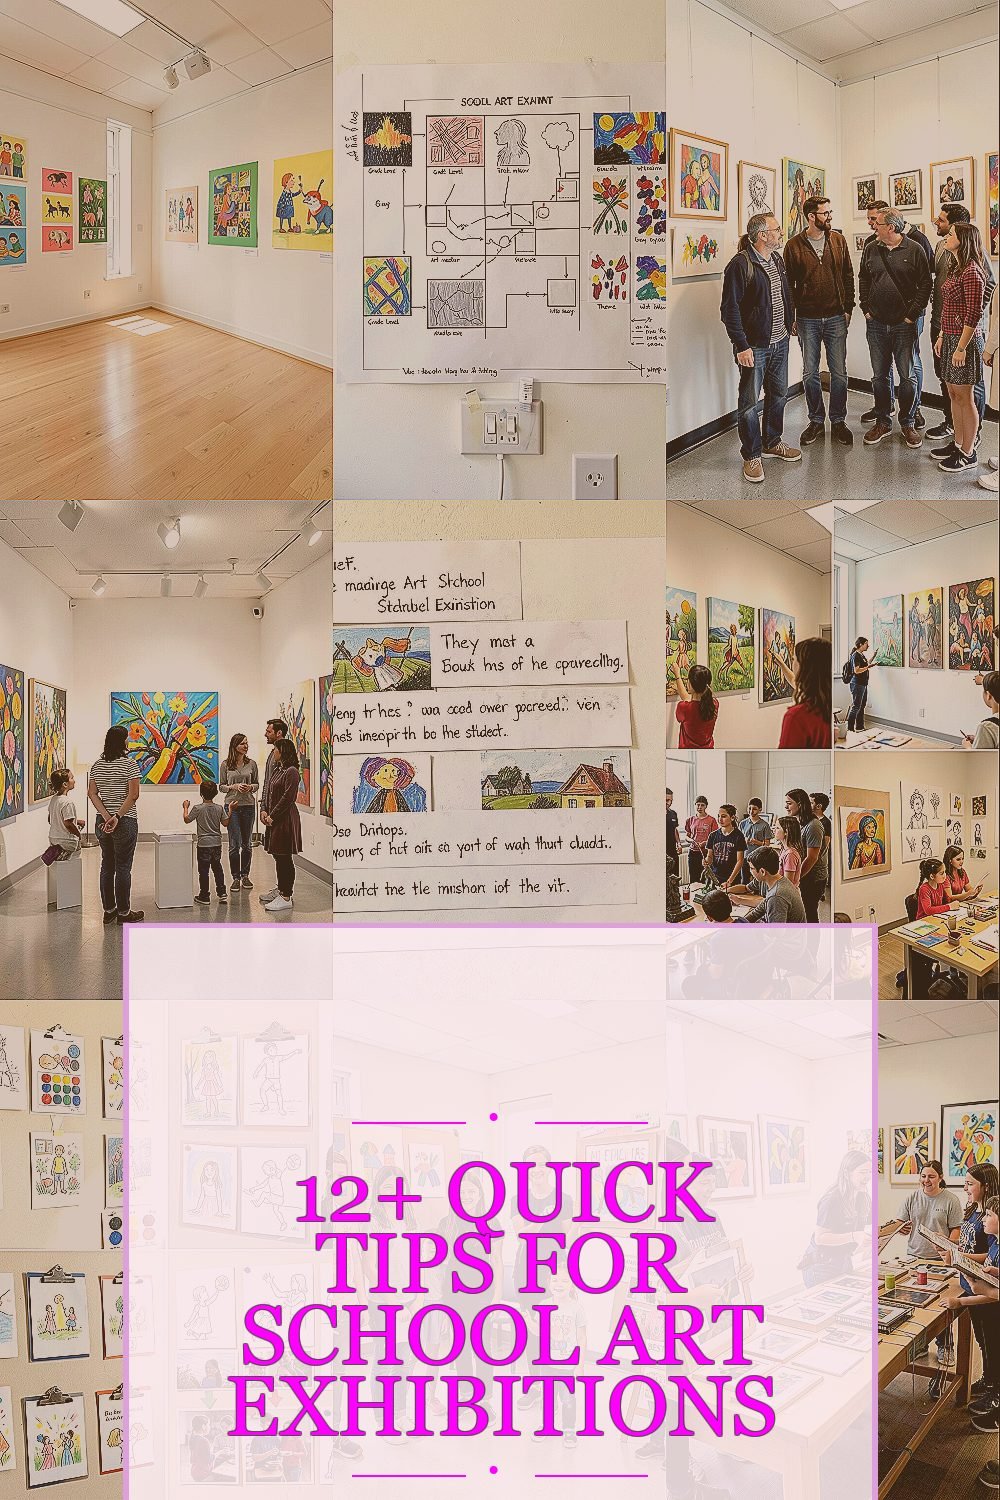
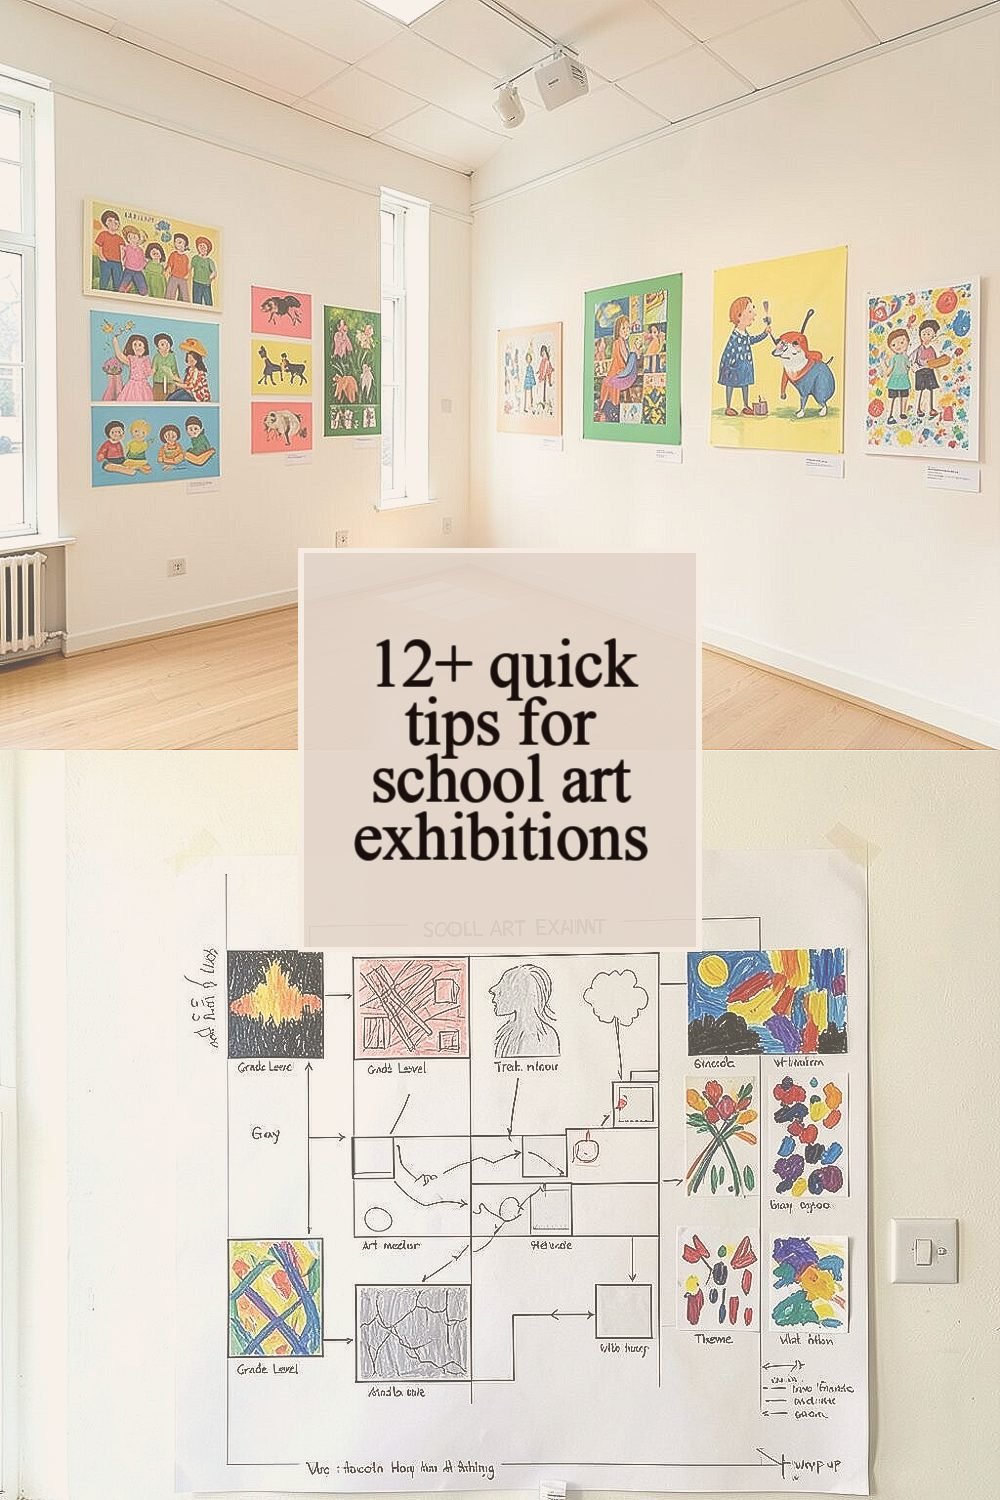
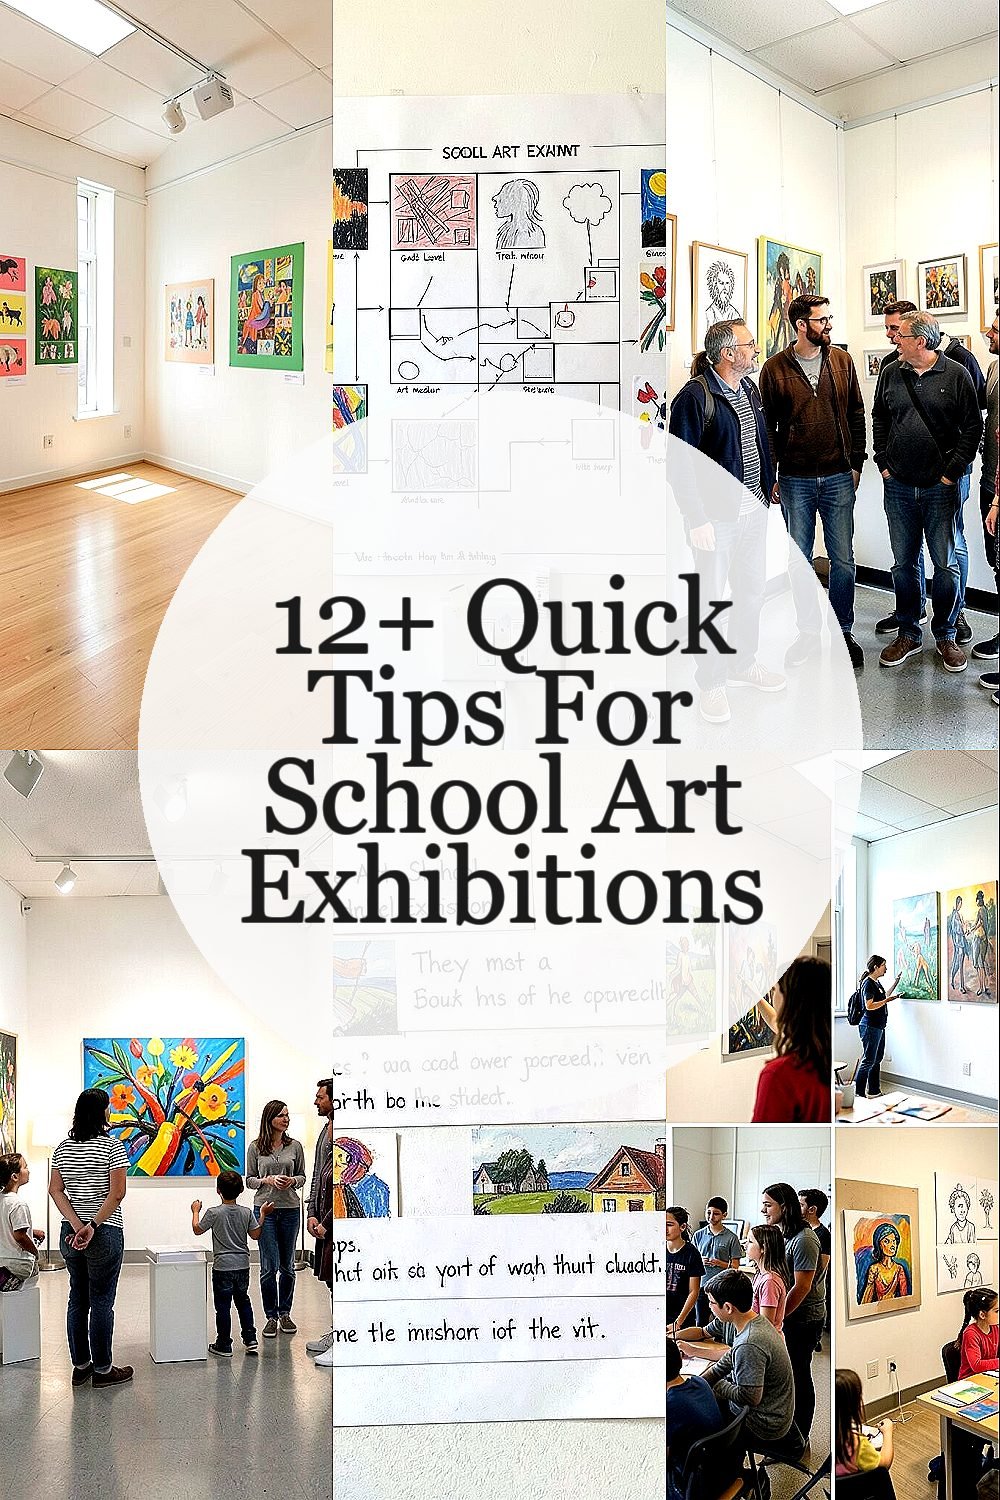
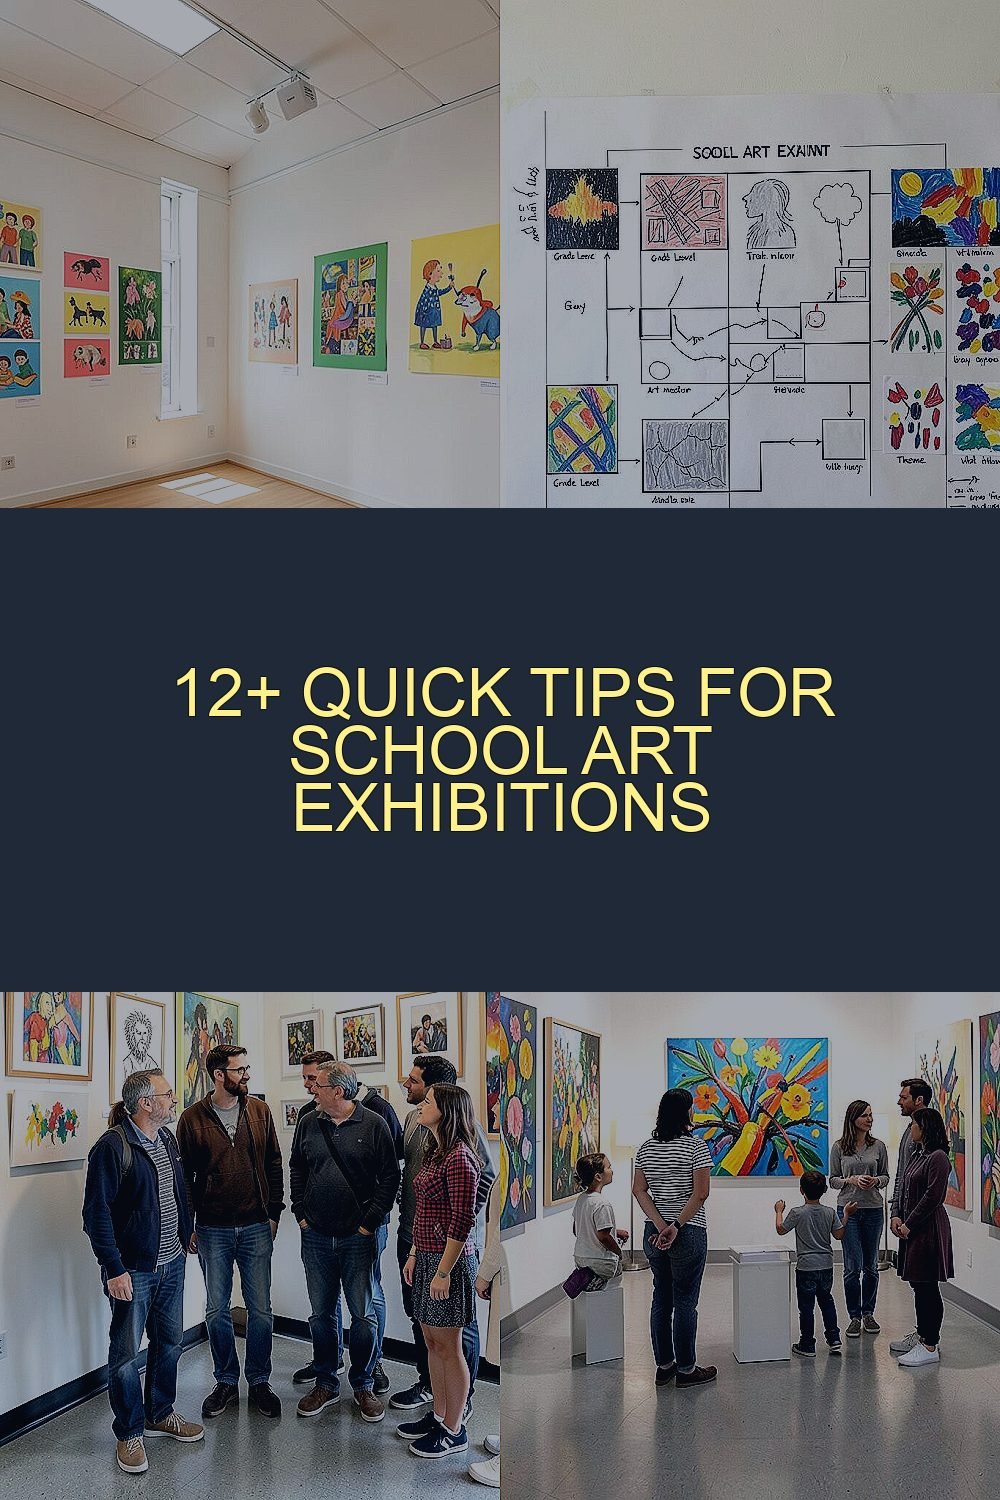
Before nails and tape come out, sketch a quick map on paper. Mark where the entrance goes, where people will pause, and how traffic will flow so students and families don’t bunch up.
Use simple groupings like grade level, art medium, or theme so visitors can follow the path. When the layout makes sense, the exhibition looks more organized, and you save time during setup. You can even leave small “wrap-up” space near the exit for comments or quick photos.
To keep it practical, note the wall length, the height of bulletin boards, and where outlets might be if you add a projector for slides. A layout map helps you spot weak spots early and adjust before everything is covered. It also supports fairness by giving each group a similar chance to shine.
3. Choose a Hanging Height That Feels Comfortable to Everyone

Think about how art looks when you’re standing with your friends. Aim for eye-level viewing so the average visitor can take in details without leaning or stretching.
Different sizes need different care, especially smaller works like sketches or watercolor studies. Use risers, clip rails, or spaced hooks so pieces don’t overlap and thin frames don’t get lost. When you hang art evenly, it instantly boosts clarity and makes the whole room feel welcoming.
If you want a personalized touch, hang the “big moment” pieces slightly higher so they catch attention at the entrance. It’s a small choice, but it can guide visitors gently through the show.
For cost considerations, you can often borrow display stands or use inexpensive foam board spacers from craft stores. Save money by reusing frames and using careful measuring instead of buying lots of new hardware.
4. Plan for Lighting That Brings Out Color

Lighting can change everything, like turning on the best kind of spotlight. If your room has overhead fixtures, check whether artwork looks shiny or dim from the visitor’s angle.
Use gentle, even light when you can, especially for glossy paint or dark charcoal. If you don’t have professional lights, try moving artwork away from glare and using simple lamps safely placed with help from staff. Better visibility makes details feel richer, and families stay longer to look closely.
5. Use Student-Friendly Labels and Captions

Good labels don’t have to be fancy to be meaningful. They can include the title, the materials used, and one sentence about what inspired the student.
For uniqueness, let students write a short caption in their own voice, even if it’s simple. When visitors read student words, the artwork feels more personal and less like a random wall of pictures.
Keep the design consistent by using the same font style and similar label size. Print or handwrite neatly, and include enough spacing so the text is readable from a comfortable distance. This also helps teachers track which piece belongs where, which saves time during judging and cleanup.
6. Group Artwork by Theme or Medium for Faster Enjoyment

When people enter a room, they love making quick sense of what they see. Grouping artwork by theme, like “seasons” or “community,” helps visitors spot patterns and talk about their favorites.
Another option is grouping by medium such as collage, painting, sculpture, or sketching. That makes it easier to compare styles and gives the show a clear rhythm. It also supports benefits for students because they get to see their own practice alongside classmates who used similar tools.
If you’re thinking about current trends, mixed-media displays and process-centered walls are popular right now. Adding a section for “sketch-to-final” examples fits that trend and shows learning growth in a friendly way.
7. Add Process Displays to Show Learning, Not Just Results

Finished pieces are exciting, but process work tells a deeper story. Include drafts, color tests, step-by-step photos, and thumbnail sketches so visitors can follow the journey.
This makes the exhibition feel richer and more unique, because you’re showing how students think and improve. It also gives families a reason to ask questions and encourages students to feel proud of their effort.
To keep it practical, use clear sheet protectors, small clipboards, or binder rings to hold work neatly. You can even create “mini timelines” with paper arrows showing the order of steps. That organization prevents papers from getting wrinkled and reduces cleanup stress after the event.
8. Make Photo Areas That Encourage Safe, Respectful Sharing

Families love photos, and a small photo area can make the whole event more fun. Choose a spot with good lighting and background space where students can stand comfortably.
Use simple props like a paper banner, a frame made from cardboard, or cut-out shapes that match the theme. Keep it respectful by posting rules about where to stand and how to handle artwork with care.
If you plan for cost, you can use recycled materials for photo props and print digital signs at school. A dedicated photo spot also helps manage crowds so they don’t block walkways while people take pictures.
Personalize the moment by having students vote for a “best color story” or “favorite texture” and display the results beside the photo area. It adds energy without needing complicated tools.
9. Involve Students in Setup to Build Ownership
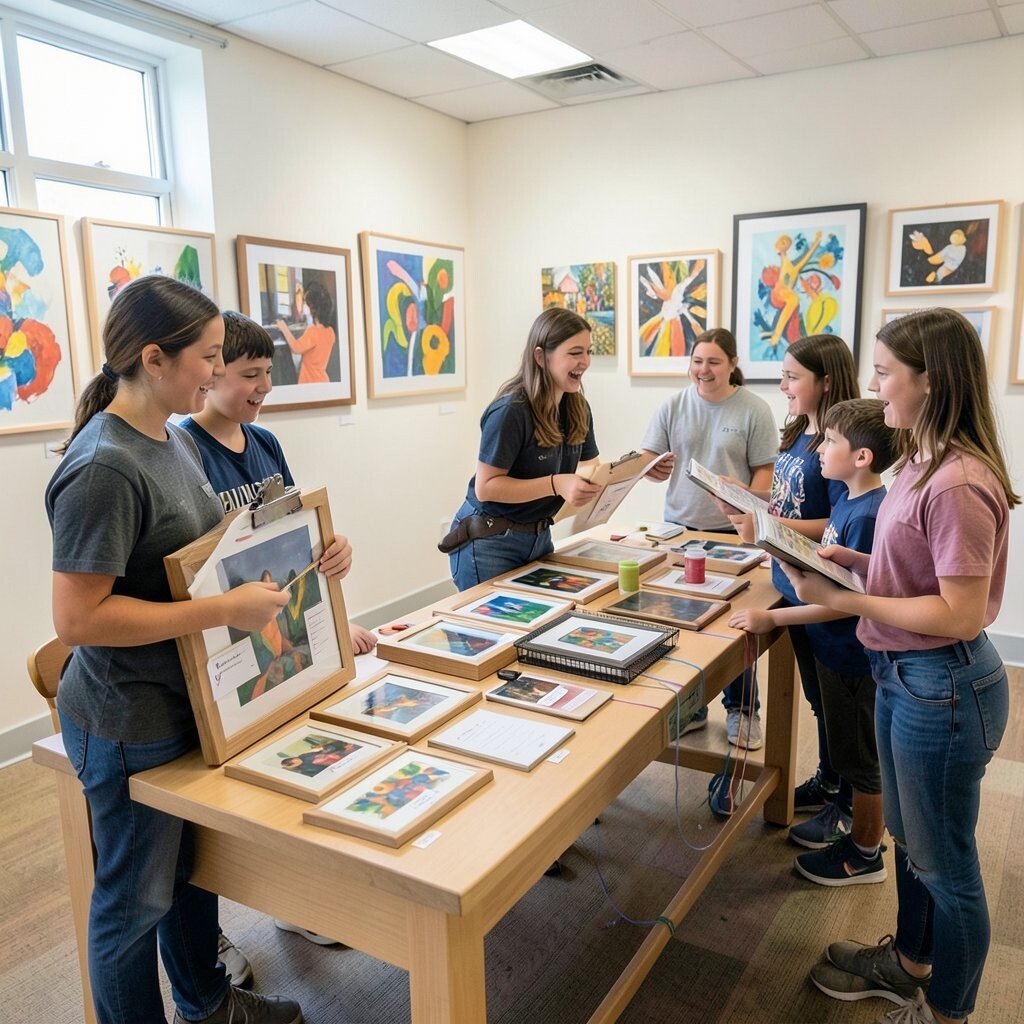
Students are more excited when they help build the gallery. Give them clear jobs like carrying frames, sorting labels, or arranging pieces in the right order.
When students participate, the exhibition feels truly theirs, which boosts confidence. It also improves uniqueness because they pay attention to small details that adults might miss, like spacing and alignment.
For practical tips, create a short checklist for each group and pair experienced students with younger ones if you can. Use clipboards or simple checkmarks to keep tasks moving, especially if multiple classrooms are involved.
To manage cost, rely on what you already have, such as paper, tape, strings, and leftover frames. Your students can still make it look special without buying a lot.
10. Offer Accessibility Options for Visitors With Different Needs

A friendly exhibition includes everyone, not just the easiest-to-reach visitors. Consider wheelchair access, comfortable viewing distances, and clear pathways through the room.
Make sure text labels are readable, and keep them consistent in height and spacing. If possible, use larger print for key information so older visitors and younger children can read without strain.
For practical personalization, you can add a few tactile elements using safe materials like textured paper swatches. That can help visitors understand the idea of texture even when they can’t lean close to the artwork.
Accessibility also supports benefits for the whole school community because it shows care and planning. When families feel considered, they return and encourage others to attend future events.
11. Budget Smart With Reusable Supplies and Borrowed Tools

Money matters, so it helps to plan purchases carefully. Start by listing what you already have, like frames, bulletin boards, string, clips, and display stands, then build from there.
For cost considerations, borrow items from local businesses, other departments, or past event organizers. Community groups and libraries often lend display equipment, and schools may already have crates of reusable signage supplies.
You can also create budget-friendly options by using craft paper for borders, clear tape for protective corners, and washable markers for label designs. That keeps everything tidy and reduces last-minute running around.
To keep it unique without splurging, use a theme color palette and repeat it across signs and borders. Consistency makes the exhibition look intentional, even when materials are simple.
12. Use QR Codes or Digital Slides for Extra Context

Technology can be helpful when it adds meaning instead of noise. A QR code can link to a short slideshow with student quotes, process photos, or a message from teachers.
This matches current trends toward process storytelling and digital archives, which many families love. It also gives teachers an easy way to share resources after the event, like where to find the lesson plan or how students made the work.
To stay practical, keep the page short and readable on a phone. Use clear headings and avoid heavy loading, so families don’t get frustrated waiting for images.
13. Prepare a Calm Schedule for Setup, Viewing, and Cleanup

A smooth timeline keeps the exhibition from feeling chaotic. Set a clear setup window for hanging and labeling, then schedule a quick “final check” time to adjust alignment and spacing.
During viewing, manage crowds with friendly flow, such as reminding visitors to walk through and leave space for others. If you have student guides, brief them so they know what to say and how to answer common questions.
For cleanup, plan ahead so pieces and supplies return to their proper places fast. When you organize bins for labels, tape, and fragile frames, the next classroom project gets easier.
Personalize the event by adding a simple closing moment where students thank visitors or share one line about what they learned. That small ritual makes the day feel special while still keeping everything efficient.
When you end with order, the whole school benefits because future exhibitions start faster and with less stress.