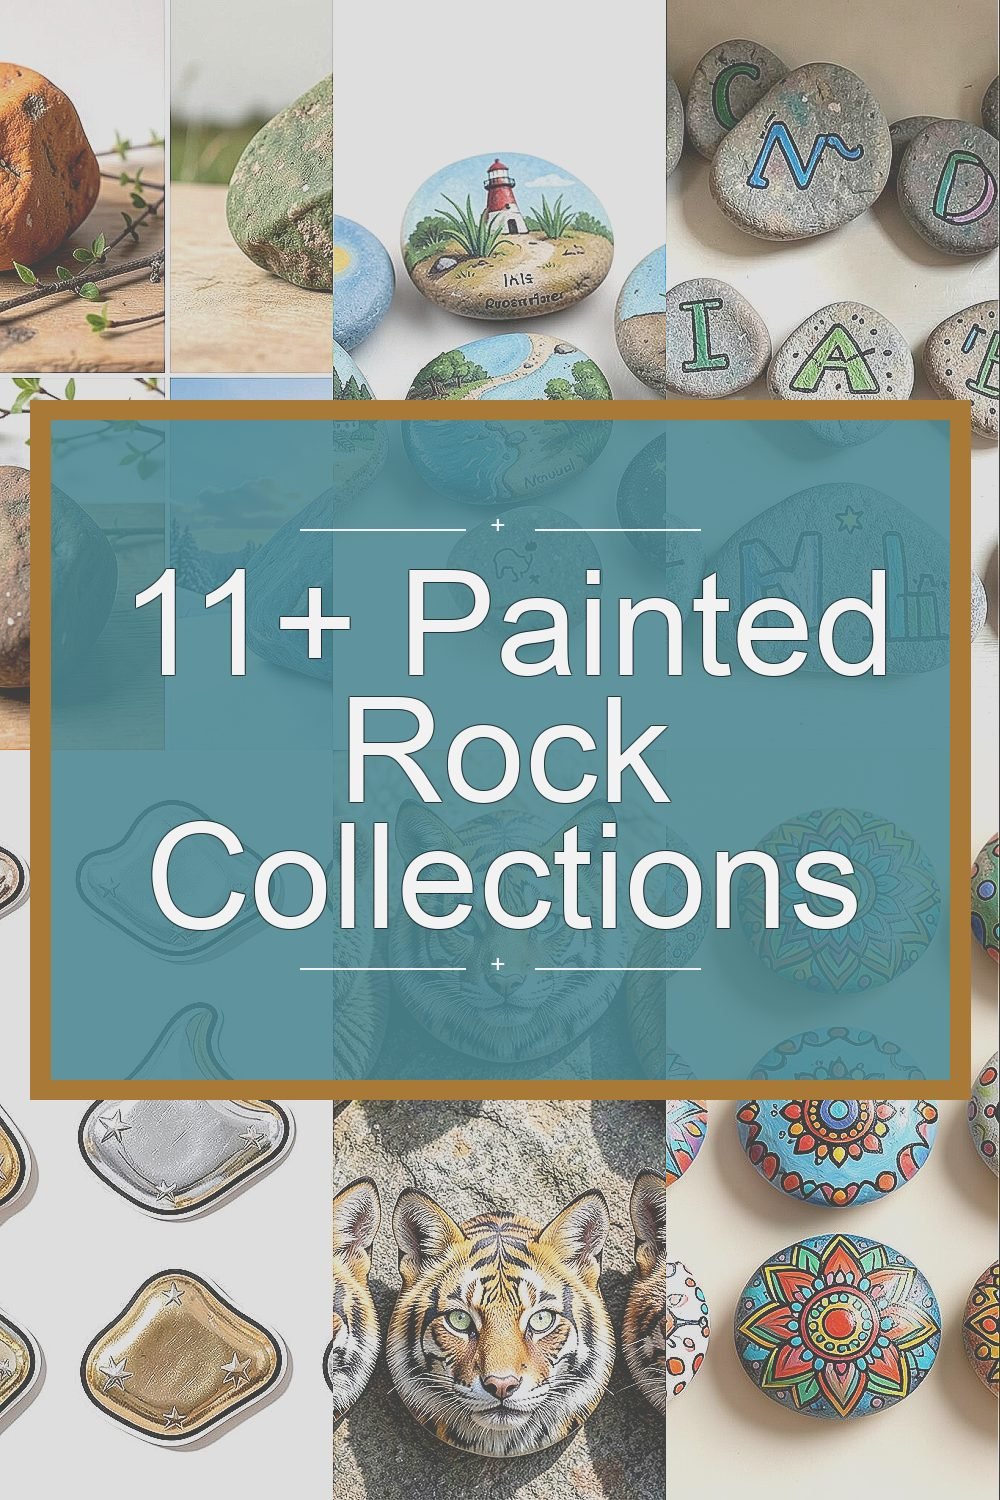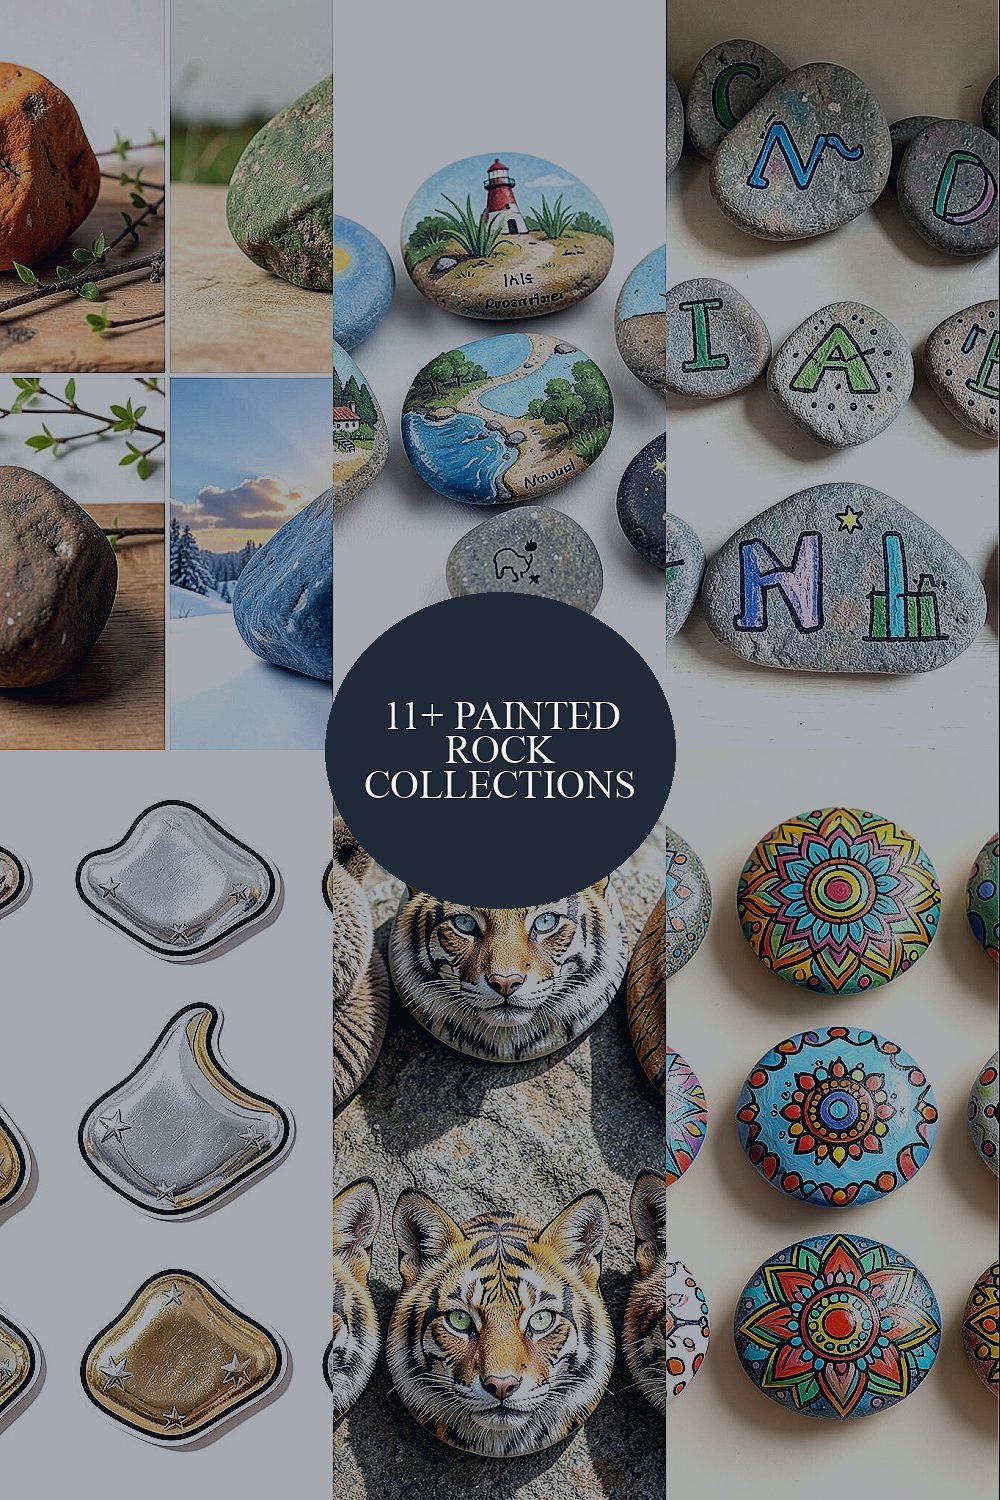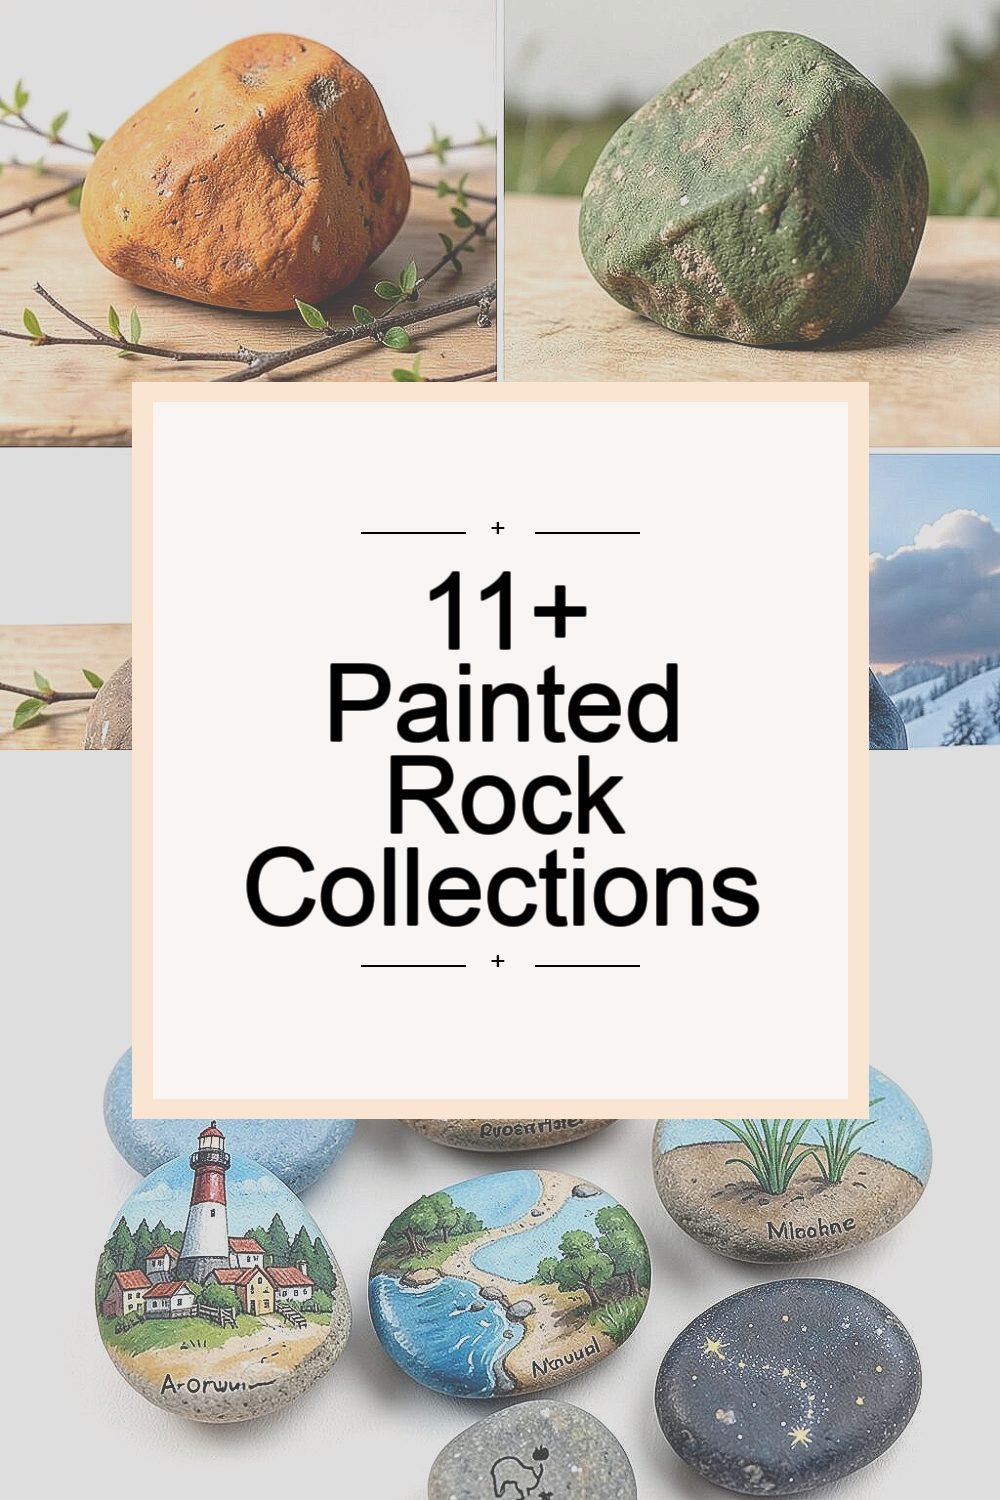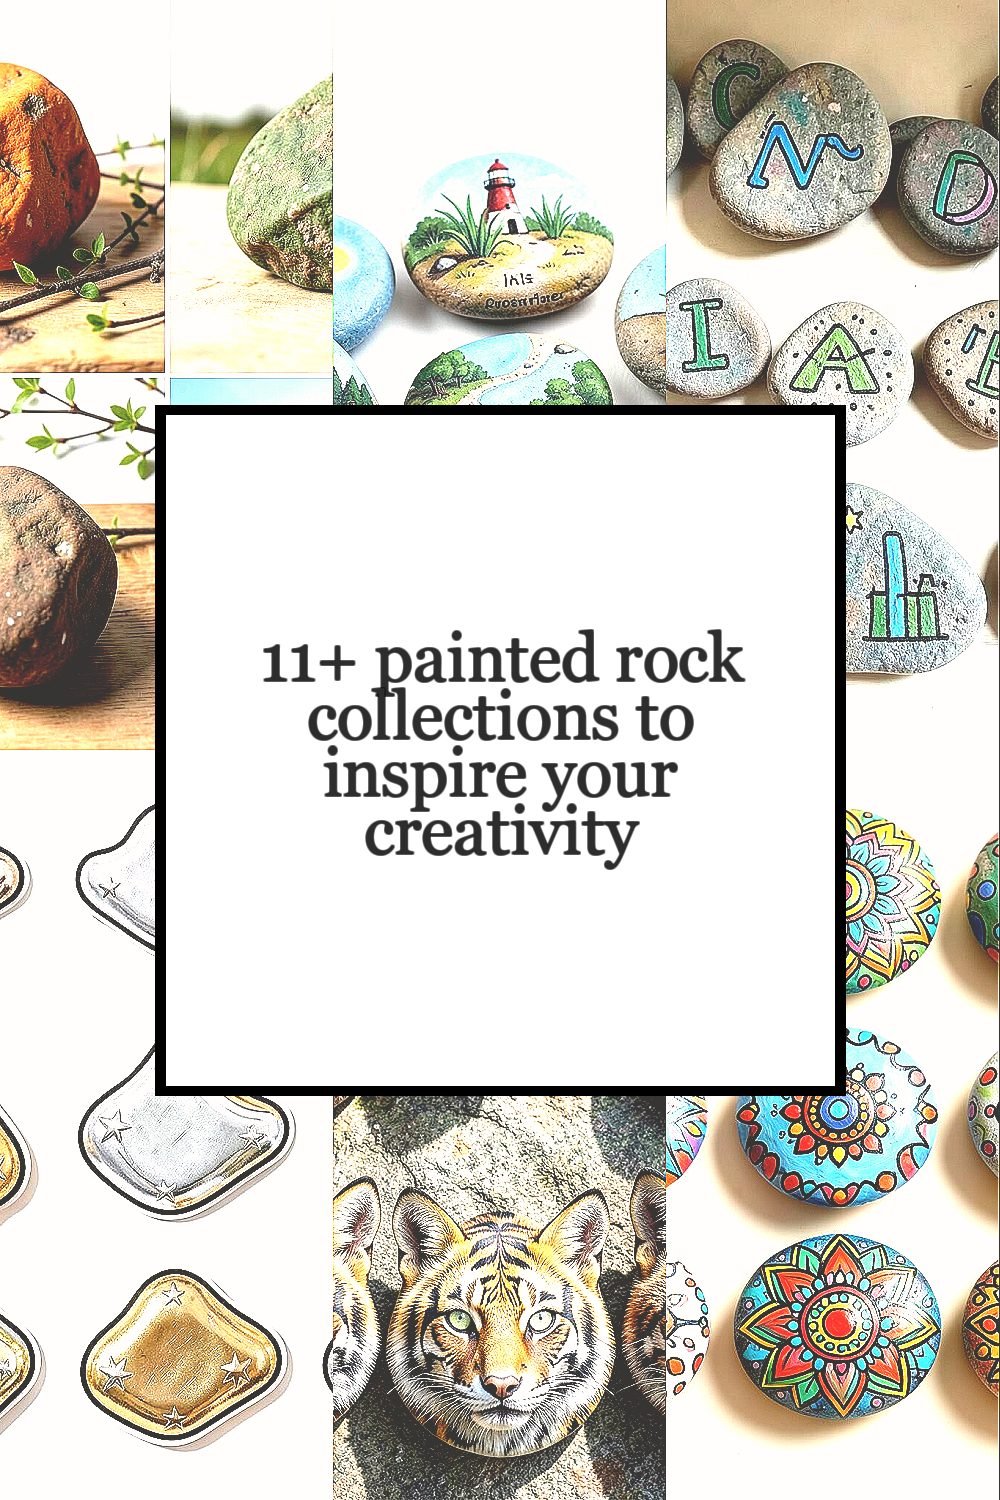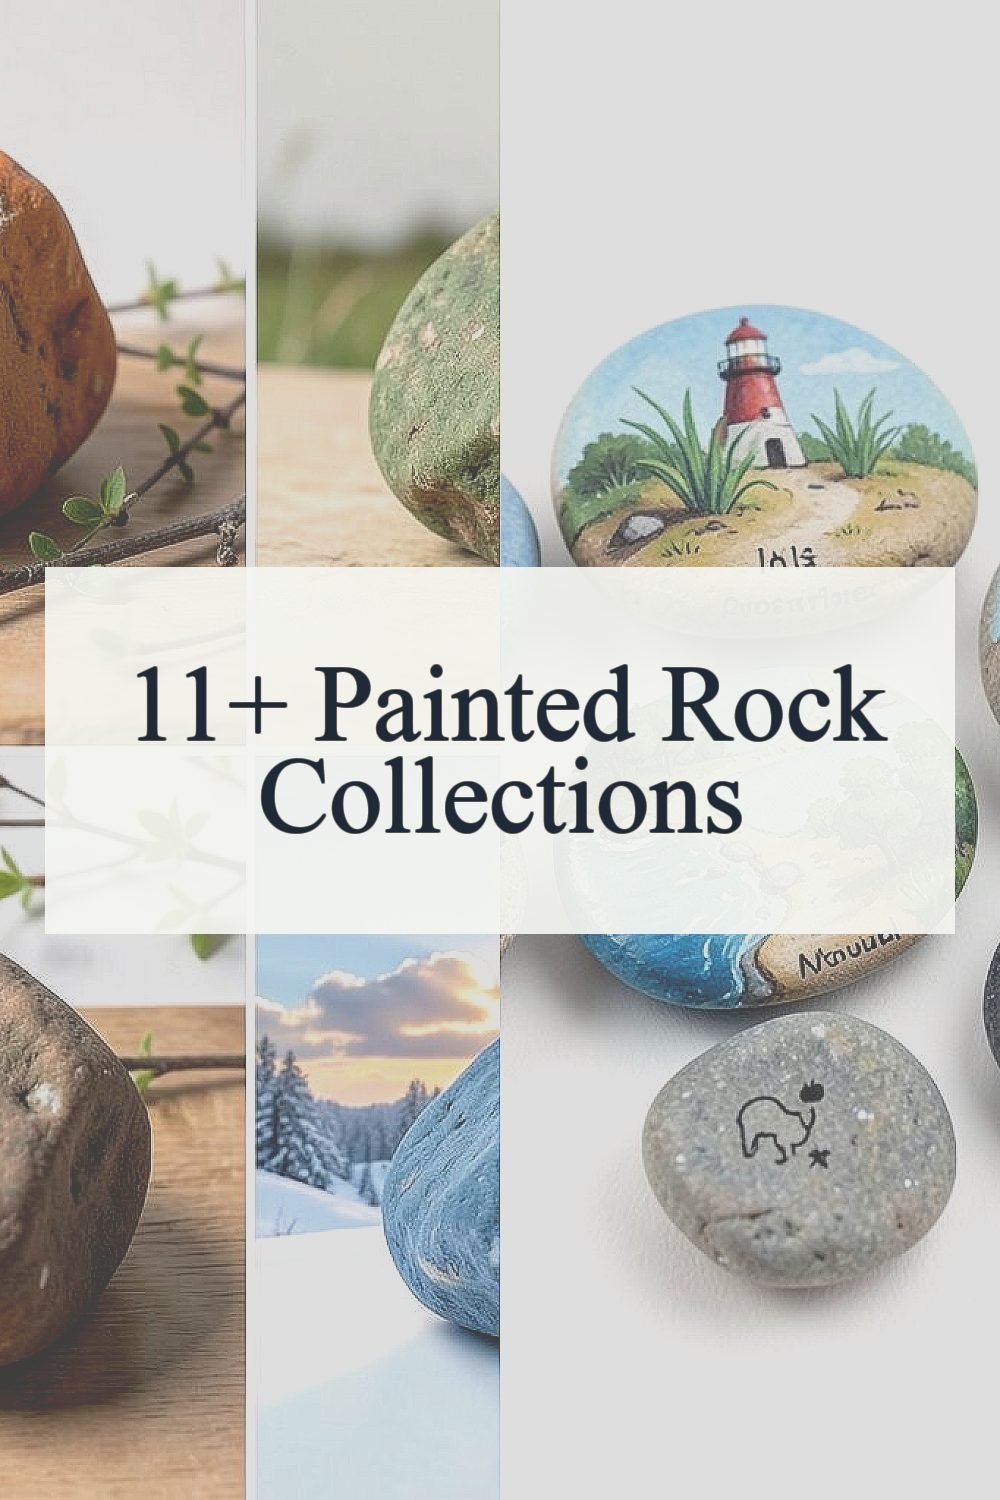
A small painted rock can feel like a whole world. These collections give you a fresh way to plan your next batch of art.
Each idea below is made to help you see what to paint, how to organize it, and how to make it feel like you.
1. The Seasons in a Pocket Collection
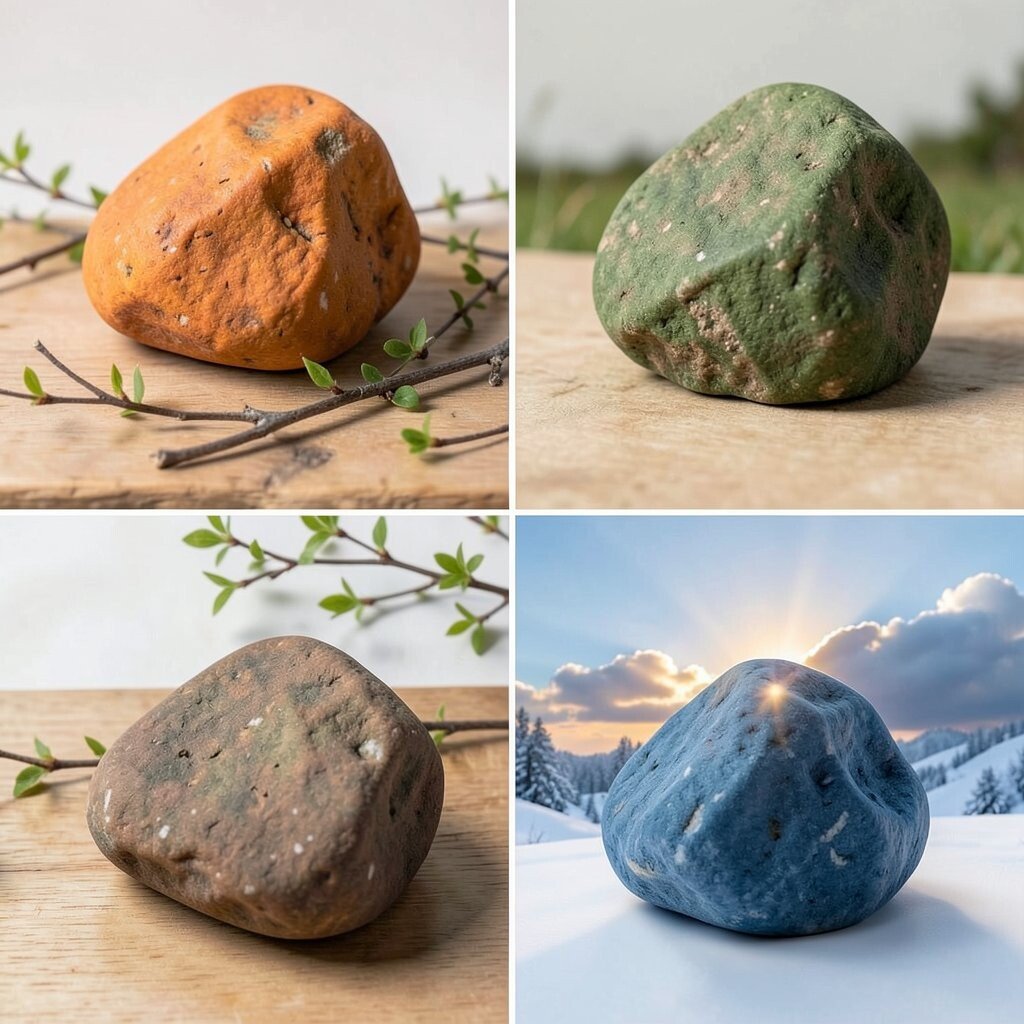
Paint a set of rocks that match the changing outdoors. Think warm sunset oranges for summer, soft greens for spring, dusty browns for fall, and cool blues for winter.
Use simple scenes such as a twig with tiny leaves, a snowy hill line, or a sun peeking through clouds. You will love how fast this collection grows because every season gives you a clear theme. Keep a small notebook of color mixes you like so your next rock looks even smoother.
2. Tiny Worlds Around a Theme Map

Choose one “map” idea, like a beach town, a forest path, or outer space, then paint rocks as if they are different spots on that map. You can show a lighthouse on one stone, sea grass on another, and a little star trail on a third.
What makes this collection special is how each rock supports the others, even when they are spread out. Use consistent details such as the same sky color, the same border style, or the same tiny font for names. To make it personal, add a small symbol that means something to you, like your initials or a favorite animal.
For practicality, try grouping rocks by size so your lines stay neat and your scenes fit. The cost stays friendly because most designs only need a few paint shades and a fine brush. A current trend is people sharing “micro story” rocks online, so you could photograph your map rocks together as a set.
3. Alphabet and Name Rocks for Everyday Magic

Paint letters, numbers, and names so the rocks feel useful, not just pretty. A “C” can become a seashell shape, and a “7” can turn into a winding hill path.
These rocks bring big joy because they can be used during play, sorting games, or simple desk decoration. Add matching styles, like thick outlines for all letters or tiny dots for the background on every rock. When you personalize, paint someone’s name using their favorite color and add a tiny birthday star or heart to make it feel special.
If you want to keep it budget-friendly, start with the alphabet for one or two people you love. You can use acrylic craft paint, then seal with a clear coat when you’re done. Many makers now share “learning rocks” that help kids match shapes and sounds, and that idea fits perfectly here.
Try painting a small set for each month, like a letter linked to the season, then display them on your shelf in order.
4. Metallic Accent Collection With Bold Outlines

Try a style that mixes regular paint with metallic accents so your rocks catch the light. Start with a solid base color, then add metallic stars, moon tips, or shiny stripes at the edges.
This collection stands out because it looks crisp from far away. Use a thin black outline to make each rock feel like a mini poster, and keep your background colors simple so the shine stays visible. For personalization, pick a signature metallic, like gold for sunshine vibes or silver for winter nights.
5. Animal Portraits With One Consistent Eye Style

Paint animals as portraits, but keep one eye style the same across the whole collection. Maybe you always use bright dot highlights, or always use a tiny crescent highlight in the corner.
You’ll notice how quickly the collection feels cohesive, even when the animals change. Add uniqueness by choosing different textures, like fuzzy dots for a bear, smooth stripes for a tiger, or leaf-like marks for a fox. For a practical approach, paint the eyes first, then let them guide the rest of the face so you avoid getting lost in details.
To manage costs, use a limited color palette and repeat it across your animal set. Many people follow trending “cute realism,” where faces look friendly but not overly complex, so you can keep it approachable. If you seal the finished rocks, the colors will stay brighter when they sit outside for a while.
6. Mandala and Dot Patterns That Build Like a Playlist

Make a collection of mandala-style rocks that feel rhythmic and calming. Each rock can start with a circle center, then build outward with dots, petals, and wavy lines.
This collection is soothing because you can repeat shapes while still making each one unique. Use one background color for the whole set, then switch the inner colors so the rocks feel like a matching collection. Personalize by adding a tiny hidden message in the pattern, like a small heart, a peace sign, or your favorite color combination.
For a practical tip, set up your workspace with scrap paper so you can test dot sizes before you paint the rock. Acrylic paint dries fast, so it’s easy to layer and keep moving. A current trend is high-contrast mandalas, so using dark outlines and bright inner dots can make your rocks pop in photos.
7. Food Fun Rocks for Gifts, Parties, and Smiles

Paint food items like tiny pizza slices, cupcakes, strawberries, or iced coffee cups. Keep the designs playful and slightly simplified so they look sweet, even on a small stone.
This collection brings instant warmth because food images feel familiar and cheerful. Add uniqueness by giving each rock a little flavor name or a tiny swirl detail that hints at your style. For personalization ideas, paint the foods connected to a favorite meal you share with friends, or match the colors to a holiday you enjoy.
To keep costs reasonable, use a limited set of common colors like red, yellow, green, white, and brown, then mix small amounts for highlights. You can also use a sponge for quick frosting texture. People love sharing “themed rock bundles” for birthdays, and this one is perfect for sending as a surprise gift.
When you’re ready, package them in small boxes or wrap them with simple paper and tie a ribbon for extra charm.
8. Ocean, Sky, and Wave Stories With Layered Blue Textures

Choose ocean and sky themes, then build your waves using layered blue shades. Paint a light blue base, then add darker lines for depth, and finish with tiny white highlights that look like foam.
This collection is relaxing and also makes your rocks feel like they belong outside near plants or a walkway. Make it unique by changing the mood each time, like a calm sunrise sea, a windy storm sky, or a dreamy star night. For personalization, add one small landmark on each rock, such as a shell, a sailboat outline, or a moon shape that matches your memory.
9. Hometown and Memory Street Signs

Turn rocks into mini street signs and landmarks from places that matter to you. Paint tiny fences, a small house, a favorite corner shop, or a sign that reads a short word like “home” or a neighborhood name.
This collection helps you remember moments because every rock can represent a specific walk, trip, or season you associate with a place. Use practical tips by keeping lettering simple and using a pencil first so you can adjust before painting. Personalize with small symbols like a tree you love, a sport you played, or a color linked to a family tradition.
Cost-wise, you can keep supplies light since many signs need mostly background color, a few darker shades, and one thin brush for the lettering. A current trend is “local love” art, where people share items connected to their community, so photographing your hometown rocks for friends can feel extra meaningful.
If you want, create a matching set of three rocks that follow a route, like from your old school to a favorite park, and label them using tiny marks instead of full words.
10. Fantasy Creatures With Quick Silhouette Magic

Paint fantasy creatures such as dragons, owls, mermaids, or little goblins, but start with bold silhouettes. Fill in the main shape first, then add details afterward, like a tiny pattern for wings or a glowing eye.
This collection feels unique because the silhouette method makes every design readable, even when you’re painting in a hurry. You can personalize by giving each creature a “signature,” like a color tail stripe, a specific accessory, or a little charm hanging from a neck. For practical results, use a thicker brush for the silhouette and a fine brush for eyes and tiny highlights.
Keeping cost in mind, choose two base colors and one highlight color, then reuse them across multiple creatures. Many artists are sharing quick “character rock” videos, and the silhouette style works well for that because it looks great on camera. If you seal your rocks, the colors stay bright and the shine helps the creatures look more alive.
11. Color-Theory Packs From One Palette to Many Styles

Pick one color palette, like coral, teal, cream, and navy, then make a whole set using that palette in different styles. One rock can be a mandala, another can be an animal face, and another can be a simple abstract wave.
This collection is helpful because it teaches you what colors look good together while still giving you variety. Uniqueness comes from repeating the palette but changing the technique, such as dot textures, line art, or sponge blending. Personalize by naming each palette after something you like, like “ocean candy” or “forest dusk,” and keep a reference card in your art box.
For cost considerations, buying a small set of quality paints can last longer when you use only a few shades. You can also mix your own intermediate tones with leftover paint so you don’t need many new bottles. A current trend is palette-based art challenges online, so you might join one and share your painted rock progress with others.
12. Seasonal Holiday Jars of Mini Rock Surprises

Create a collection that lives in jars, like a “holiday jar” or a “winter comfort jar.” Paint small themed rocks, such as hearts for Valentine vibes, pumpkins for fall, snowflakes for winter, or lanterns for calm evening light.
This collection is special because it feels like a secret stash you can give away anytime. Keep the designs consistent by using the same border style or the same background color for each jar. Personalization is easy since you can tailor each jar to a person’s tastes, like cozy socks and hot cocoa for one friend or bright stars and candy swirls for another.
To stay practical, label the outside of the jar with the season and a quick theme word, then keep a small bag of extra rocks for swaps. Costs stay manageable because mini rocks need less paint and fewer brushes. Right now, people love “small surprise” traditions, and a jar of painted rocks fits that trend beautifully.
When you finish, place the jar where you can see it so you’ll feel excited to add to it over time.