A squeaky voice and a stitched smile can turn any desk into a stage. With a few clever habits, your hands will start inventing characters as easily as breathing.
Here are practical, adorable puppet-making ideas that feel doable even on busy days. Each one has visual charm, clear benefits, and easy ways to make it your own.
1. Pick a Cozy Character Theme That Guides Every Choice
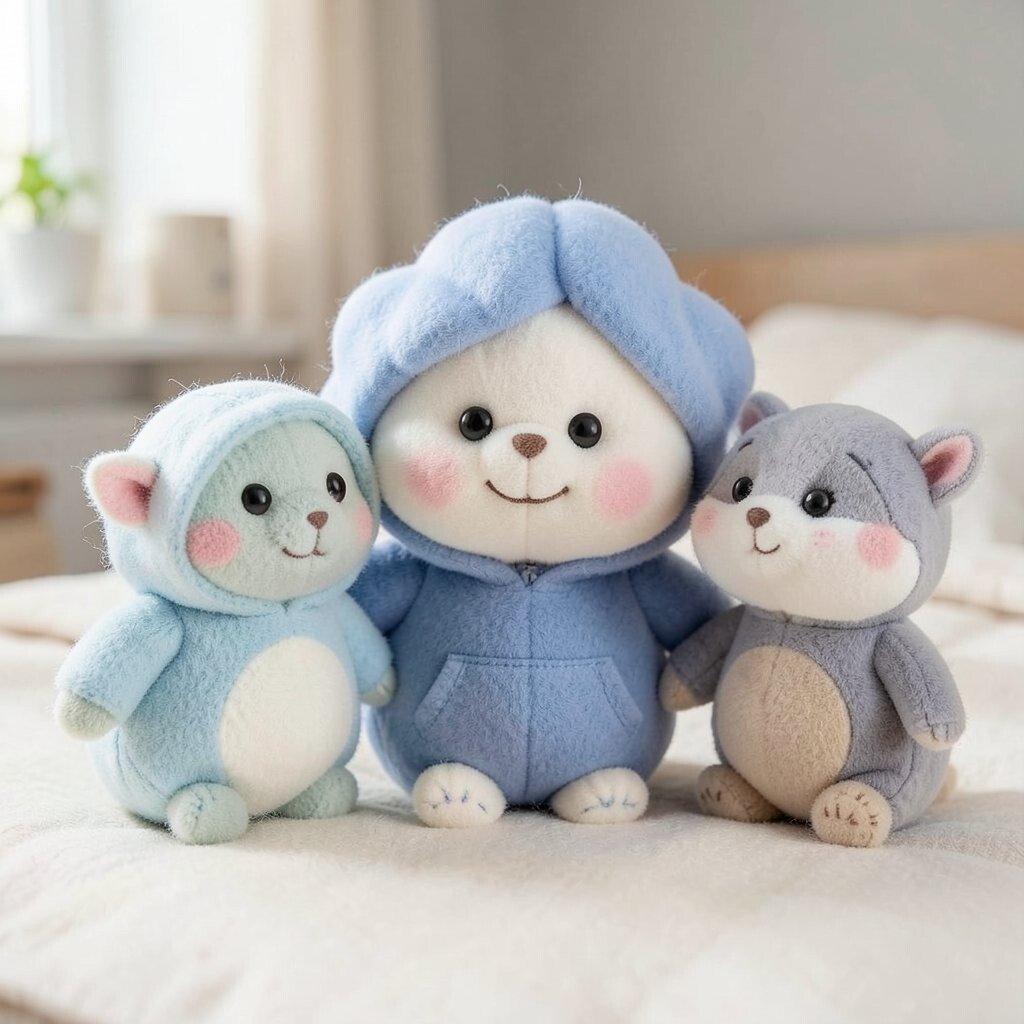
Start by choosing a mood for your puppet family, like “rainy day animals” or “tiny space gardeners.” Once the theme is in your head, fabric colors, face shapes, and even stitch choices fall into place.
For example, a cuddly cloud theme might use soft felt, pale blues, and rounded cheeks that look like marshmallows. You’ll enjoy building faster because every piece you pick already fits the story, not just the craft basket. Personalizing becomes simple too since your theme can match a kid’s favorite season, bedtime book, or the hero hoodie you all wear.
2. Make the Face Expressive with Simple Shape Stacking
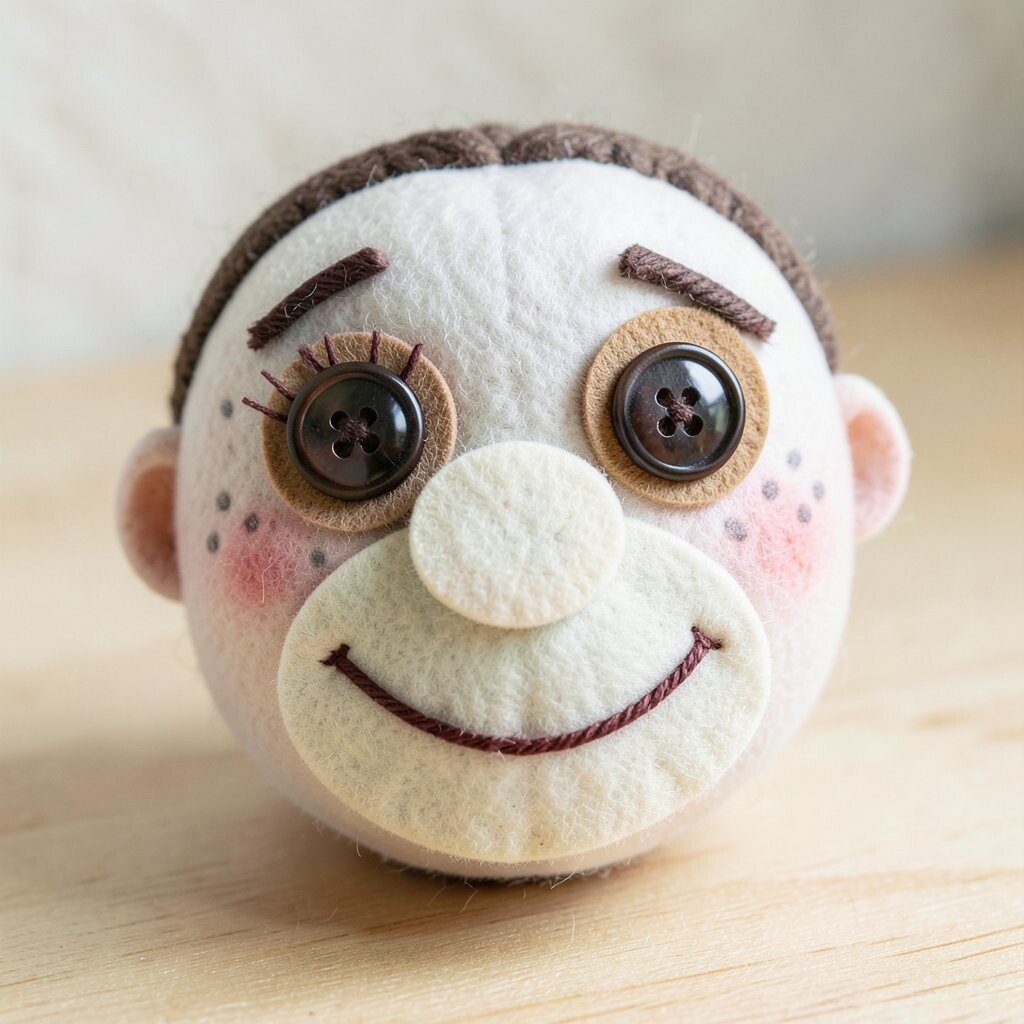
Use layered shapes for the face instead of trying to draw everything at once. Big eyes made from buttons or felt circles instantly create that cute, watch-me energy.
Try stacking a slightly lighter oval for the muzzle, then adding a curved smile with a contrasting thread. When the mouth is lifted a little on one side, your puppet looks cheerful even before you move it. This method also saves time because you can adjust expressions by swapping one small shape rather than redoing the whole face.
For uniqueness, vary eye distance and eyebrow angles like a real character designer would. A puppet with sleepy eyelids feels different from one with wide, glossy eyes, even if both use the same materials. Keep it budget-friendly by using leftover felt scraps and yarn ends for lashes or freckles.
3. Use Weighted Hands for Smoother Puppet Movements
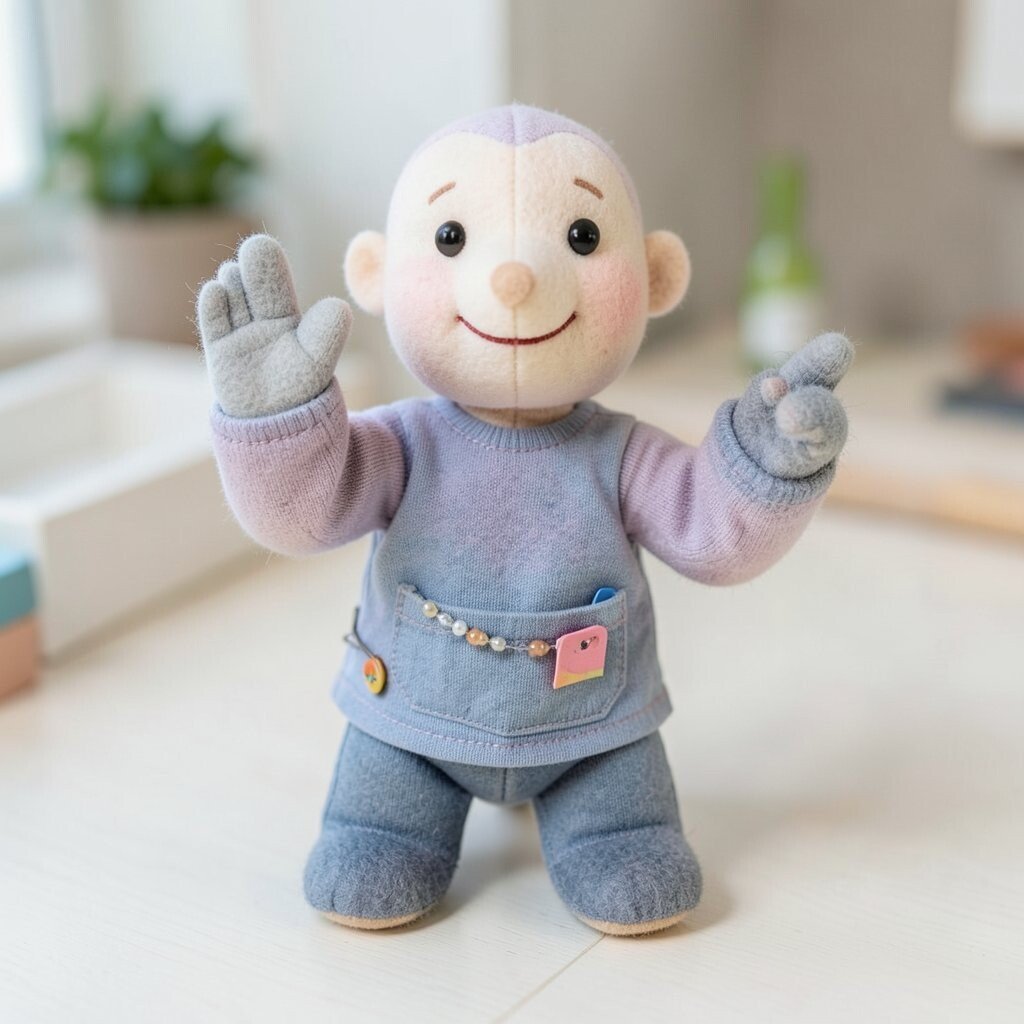
When a puppet feels floppy, the magic dies because it doesn’t sit right while you perform. Add a little weight to the hands so the puppet pauses in the fun moments.
You can slide small magnets into a fabric pocket, tape a few beads inside a sleeve, or stitch a bit of sand-filled felt. These small changes help the puppet hold its posture when you wave or point. The result looks more lively on camera or in person, and it also makes practice less tiring because your movements don’t fight the puppet.
If you love current trends, you’ll notice many modern puppets look “alive” during short videos, and weight helps you get that smooth look. For personalization, make the weight match the character vibe, like heavier “strong” hands for a superhero or lighter “floaty” hands for a fairy. Just keep the weight snug so nothing shifts during play.
4. Build a Mouth That Can Really Talk

A cute puppet gets extra charm when the mouth moves with your voice. Even a simple hinged mouth makes it feel like your character is answering, not just sitting.
Try cutting two felt mouth panels and sewing them with a small hidden loop at the corner, then attaching them to a finger motion. A brighter inner mouth color, like pink or warm orange, makes the expression pop under any lighting. If you want practical control, align the mouth so opening and closing doesn’t twist the face.
5. Choose Fabrics by Texture First, Colors Second
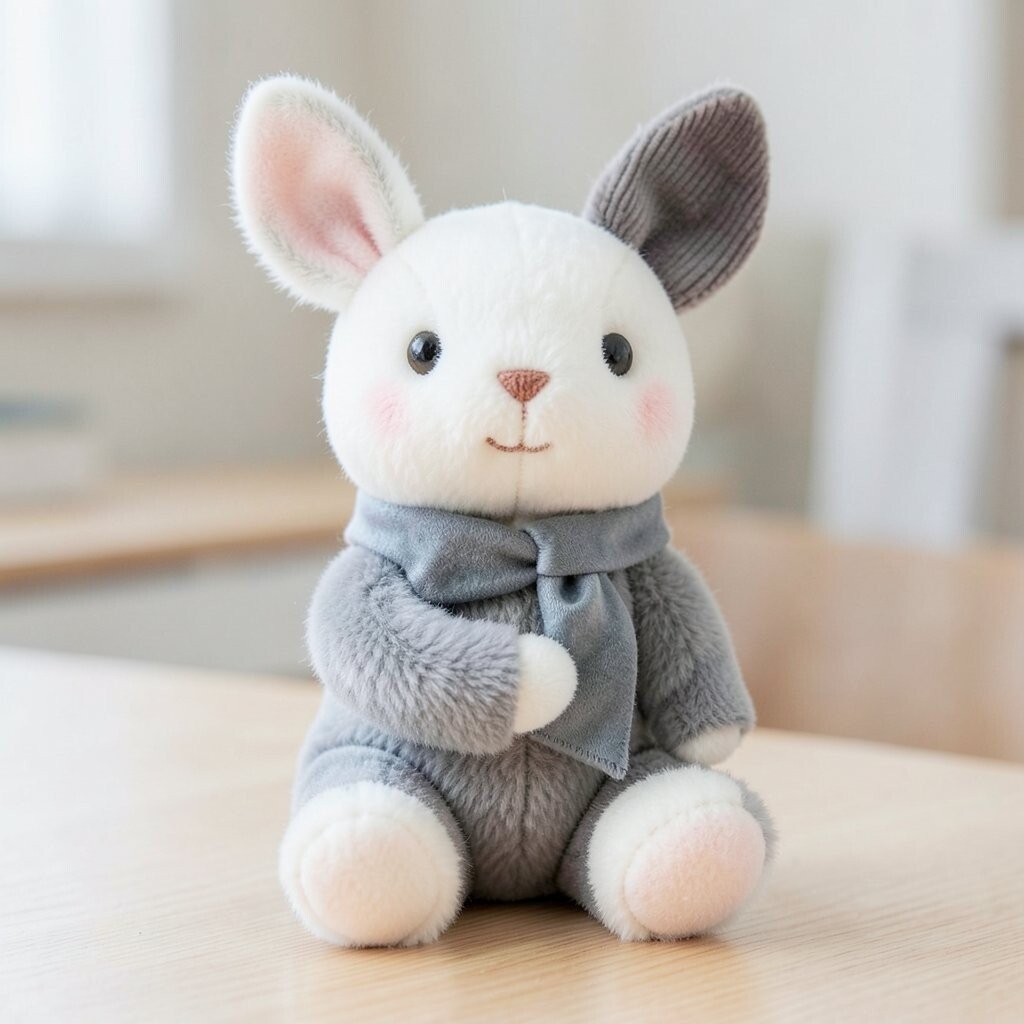
Pick materials that feel good to hold, because puppet joy starts at touch. Soft fleece, chenille, and plush felt create that “I want to hug this” look without extra decoration.
Then choose colors that support the texture, like mixing fuzzy white with muted gray for a sleepy bunny. You’ll benefit from quicker decisions since texture often suggests the palette naturally. For personalization, add one special texture spot, such as a silky scarf fabric or a corduroy ear patch, so your character feels one-of-a-kind.
If you’re keeping costs in check, search for small off-cuts from craft stores or repurpose old hoodies. Thrift shops also have surprising fabric gems like faux fur trims and cozy sweatpants. This approach keeps your puppet budget-friendly while still giving it a rich, modern look.
6. Create a Fast Body Pattern Using Reusable Templates
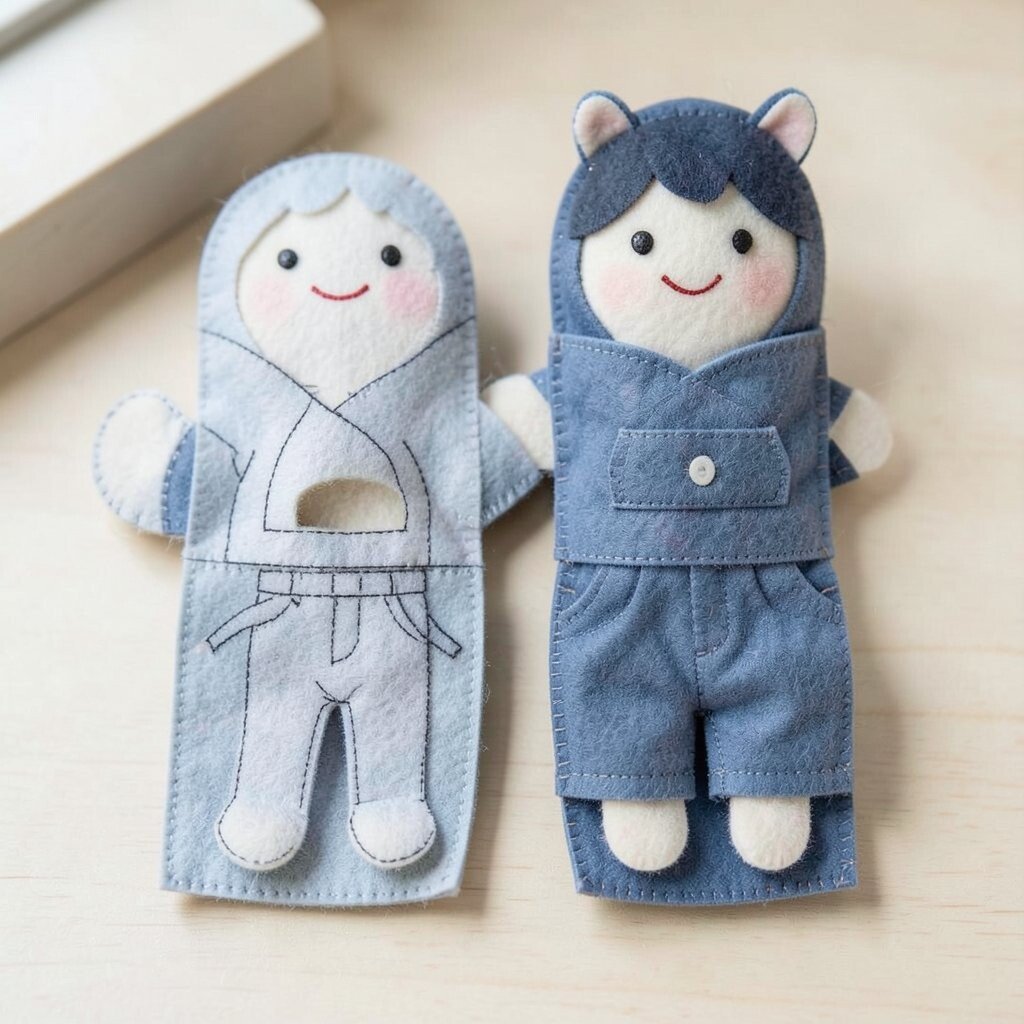
Instead of starting from scratch every time, make a simple body template you can reuse. A basic tube or glove-style body helps you focus on face and costume details.
Trace your template onto felt or fabric, then cut two mirror pieces and stitch along the edges. Leave an opening for turning, or use a method that keeps the seams tidy so the puppet looks neat. The benefits are clear: less measuring, fewer mistakes, and faster sessions for making a whole cast.
To personalize, adjust the body size for different characters, like taller for a lanky friend or rounder for a cuddly one. You can also vary clothing by adding detachable outfits, which keeps the craft flexible for new ideas. If you’re following current trends, detachable accessories are popular because they make content changes easy for short performances.
7. Add Tiny Accessories That Signal Personality
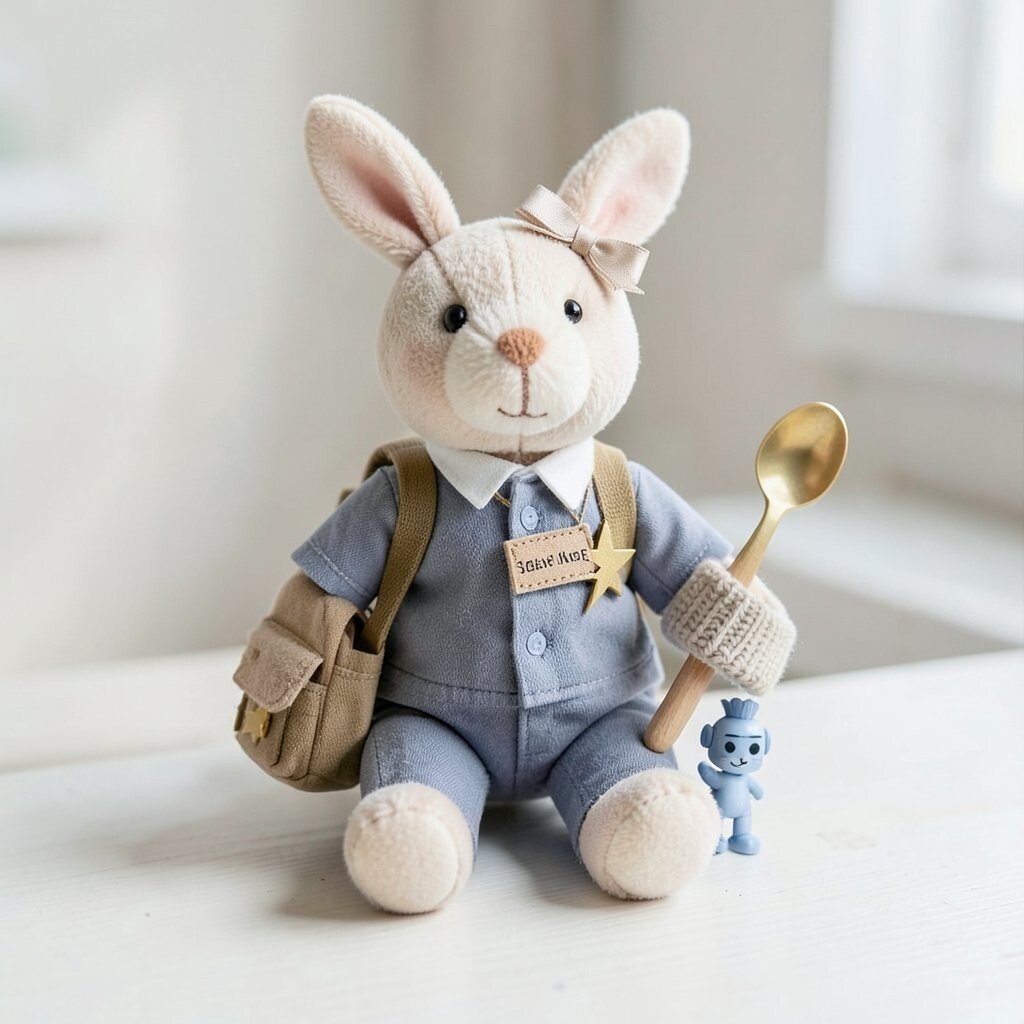
A puppet becomes memorable when it wears small clues, like a star-shaped badge or a stitched-on name tag. Even a simple hair bow made from scrap ribbon makes the character feel personal right away.
Try making accessories that match everyday objects your audience loves, like a mini backpack for school vibes or a spoon prop for “chef” energy. The practical benefit is that accessories help you tell the story without long explanations, since people spot them instantly. Uniqueness shows up in details, so don’t be afraid to mix themes, like a bunny with a thunderbolt charm or a robot cat with a knitted ear warmer.
8. Seal Seams and Edges for a Clean, Durable Finish
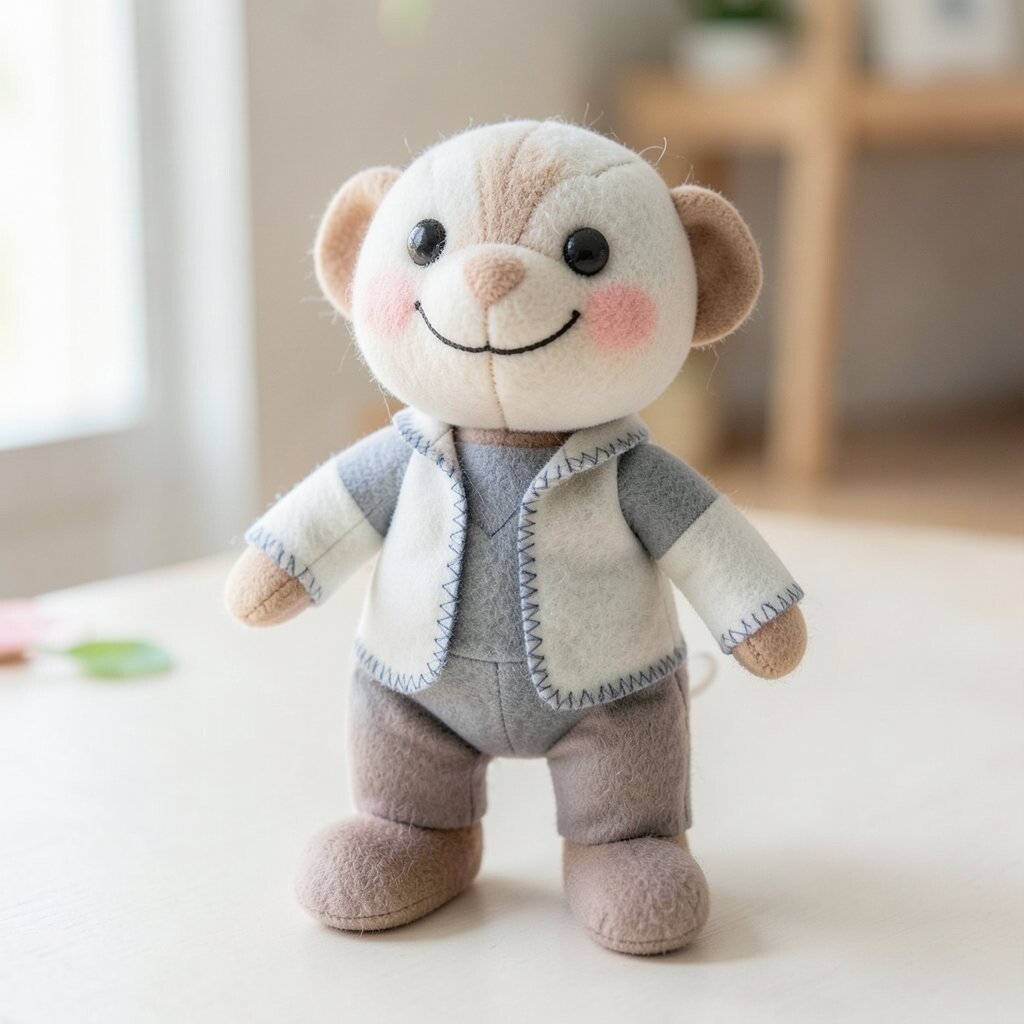
Nothing ruins a cute look faster than loose threads or messy edges, especially after a few puppet shows. Taking a moment to seal and tidy seams helps your puppet look polished for longer.
You can use a simple zigzag stitch, apply fabric glue to pressed edges, or fold a thin strip of felt as a neat border. A clean edge also improves safety, since fewer fibers poke out. This matters when a puppet is used by kids or shared for events, where you want it to stay sturdy without constant repairs.
9. Make Eyes with Shine Using Safe Craft Materials
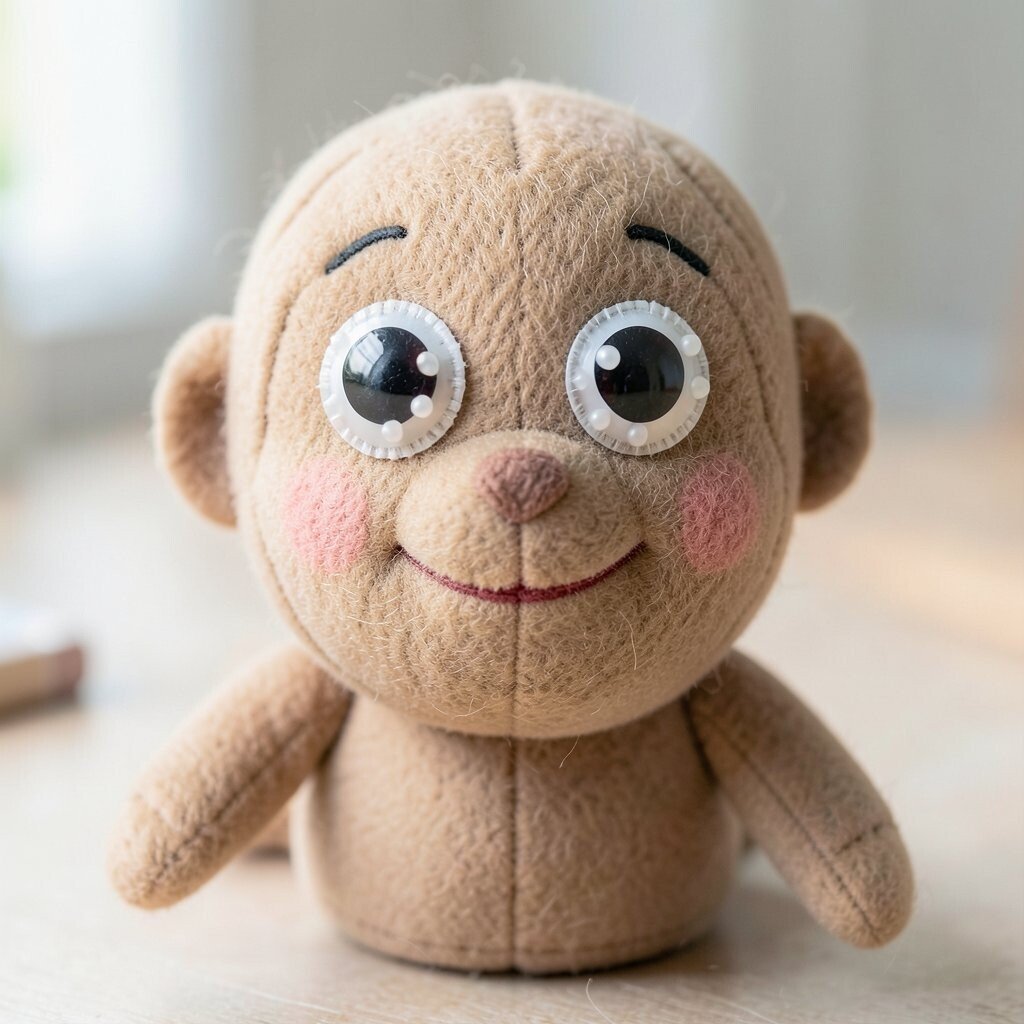
To get that “wow” expression, focus on eye shine. A little reflective highlight makes eyes look like they’re alive, even when the puppet is still.
Use small white beads, tiny buttons, or felt dots for highlights, then add a ring around them for structure. The visual effect is immediate, and it boosts cuteness without complex painting. For personalization, change the highlight position for different moods, like putting it higher for wide-awake excitement.
Cost considerations are easy here because highlights can be made from leftover bead scraps or tiny sticker pieces on felt. If you’re aiming for current trends, many makers now favor bold eyes with simple shapes rather than heavily painted details. That style looks modern, photographs well, and stays forgiving when you adjust later.
When you sew eyes on, test the placement by holding the puppet at arm’s length. You’ll quickly learn which side looks friendliest, and your character will feel more balanced.
10. Design Costumes That Move with Your Puppet Hand
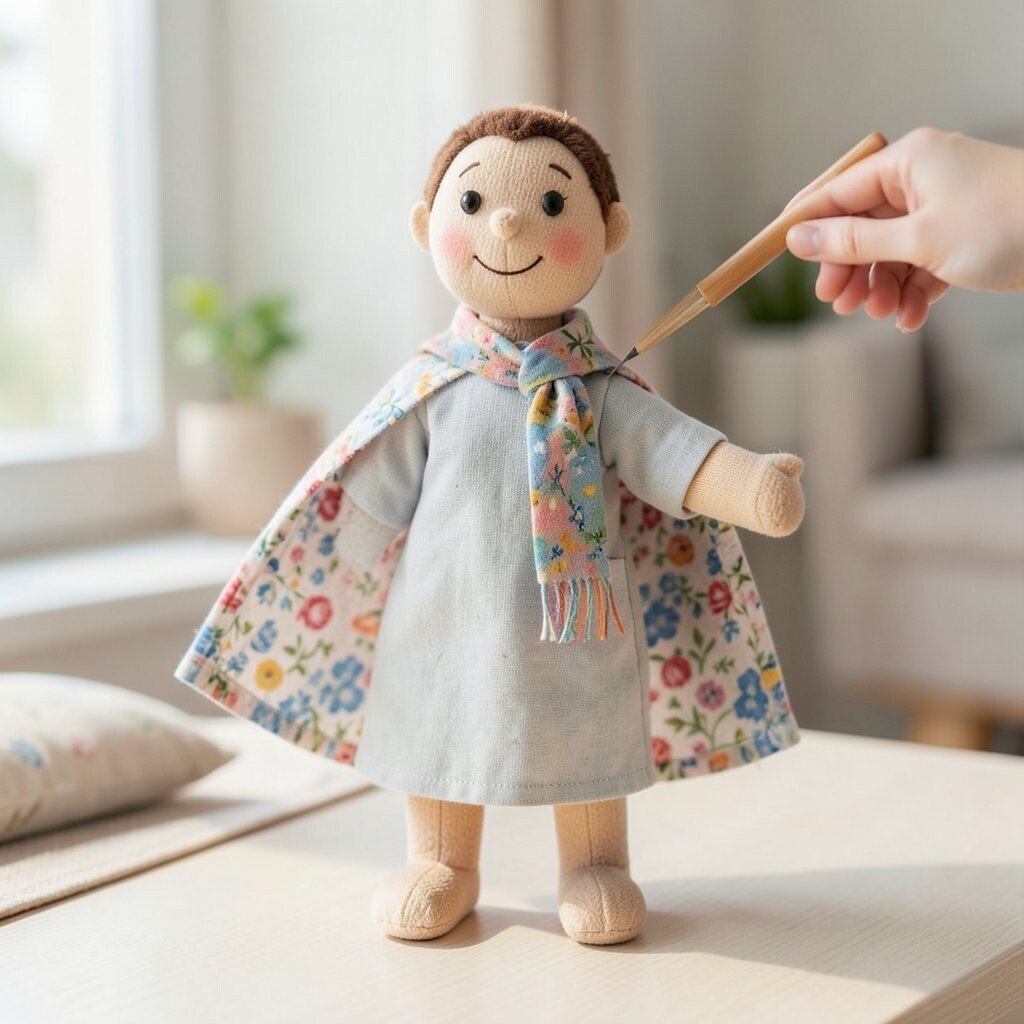
A costume that gets in the way can make puppetry feel frustrating. Instead, plan clothes that allow your hand to slide and your face to move freely.
Choose a simple tunic or robe shape that opens at the sides, then attach it with elastic or velcro so you can remove it. This improves performance and makes quick costume changes possible, which is great for group play or repeated shows. For uniqueness, use one signature garment element like a cape made from patterned cotton, or a scarf that matches your theme colors.
11. Create a Voice Character by Adding Breath-Friendly Props

Your puppet’s personality also comes through in how it speaks, pauses, and reacts. Small props can help your voice feel connected to the character even when you’re not using audio.
Try a soft “whisper” scarf that you lift, or a tiny handheld charm that you shake when your puppet “talks.” These movement cues make performances more fun to watch, and they help you remember timing during practice. Personalization gets exciting here since you can tailor the prop to the character’s job, like a mini microphone for a singer puppet or a tiny book for a story-reader.
For cost, focus on scrap materials first, like leftover ribbon, yarn loops, and cardboard cutouts wrapped in felt. Keep everything secure so no small parts fall off during play. If you want a fresh vibe that fits current trends, consider making props that match popular social-media-style skits, where quick gestures replace long narration.
12. Practice a “Make It Again” Plan for Quick Improvements

The fastest way to level up is to create a follow-up puppet with the same basic structure. When you repeat a pattern, you can aim your energy at one improvement at a time.
Pick one element to refine, like making the mouth hinge smoother, adding stronger eye shine, or improving hand weight for steadier motion. You’ll benefit from better results without feeling overwhelmed, because you already know the overall steps. Uniqueness still stays alive since each repeat can get a new theme, costume color, or accessory set.
For personalization, give your puppet siblings matching traits with one twist, like three animals with different hats or three characters with different facial expressions. Cost considerations are also easier because you’ll use leftover supplies from the first project. Keep your momentum going by setting aside a small “puppet kit” box so tools, buttons, and thread are always ready for your next round of charming experiments.


