Your shelves can look like they belong to a magazine spread with just a few smart choices. The backdrop behind them is where the magic usually starts.
When you pay attention to what sits behind and around your shelf items, the whole room feels more finished. Even small tweaks can make your space feel warmer and more personal.
1. Paint the Wall a Shelf-Safe Color
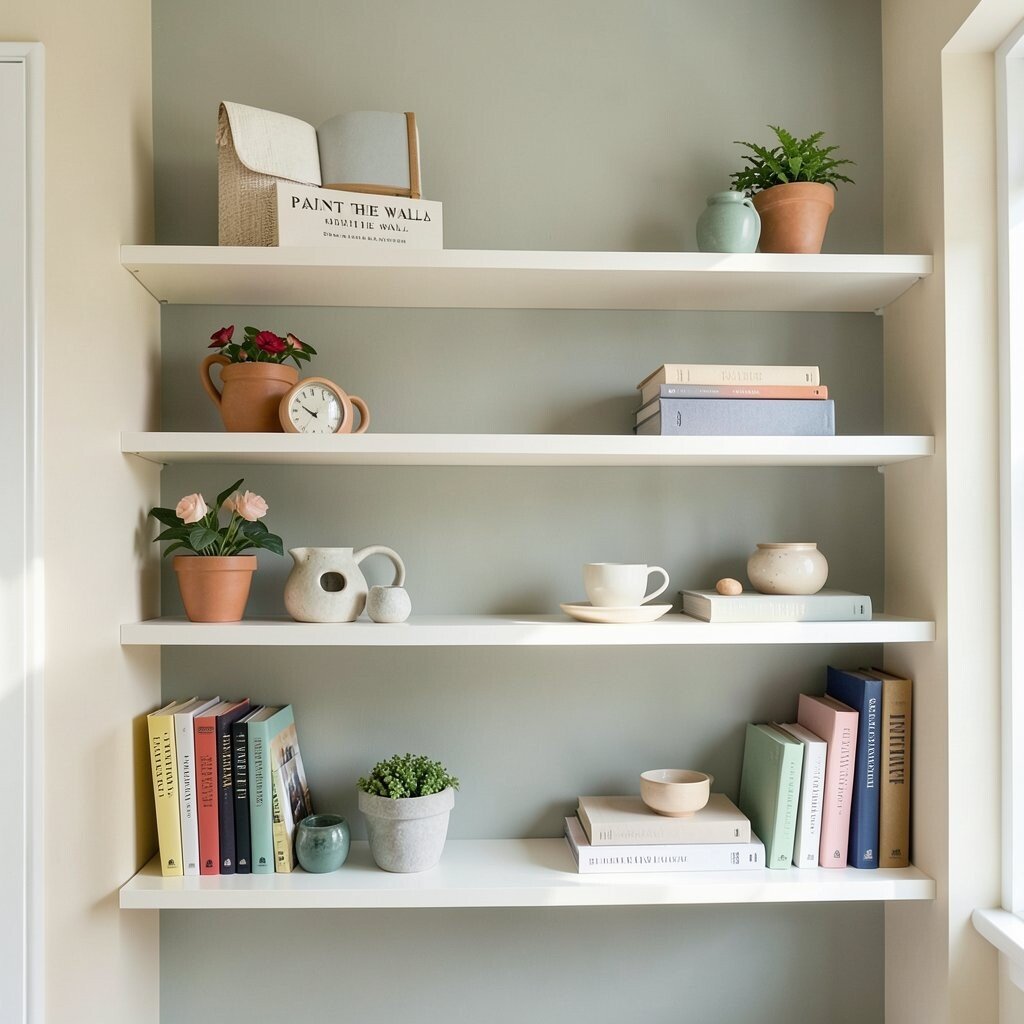
A fresh color behind your shelves makes everything on them pop. It also helps the background feel intentional instead of unfinished.
Choose a shade that matches your room’s mood, like warm cream for cozy scenes or a soft greige for an airy look. Test a small area first, especially if your wall gets strong daylight or shade. Keep the finish practical too, since shelves live near daily fingerprints and dust. A washable eggshell or satin finish can save you time later. If you rent, use removable paint or peel-and-stick wall panels to keep things flexible. Pick a color that supports both colorful decor and simple everyday items.
2. Add a Textured Back Panel for Instant Depth
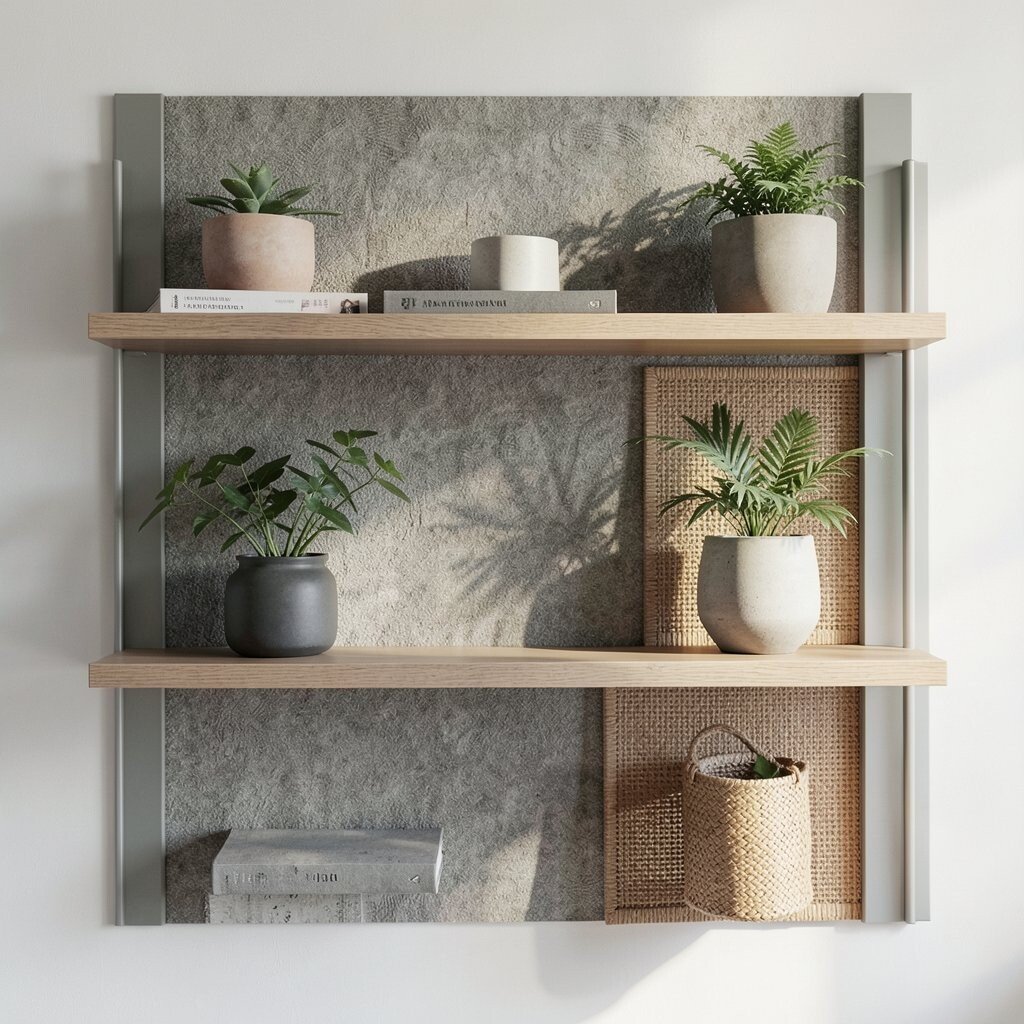
Textures make shelves look richer, even when you use simple objects. Think of subtle wood grain, felt panels, or a lightly distressed surface behind your display.
When light hits a textured back, shadows add depth and make items feel more layered. You can choose a neutral texture if your decor is colorful, or go bold with a deep tone for a dramatic vibe. Measure the inside width and height before buying, so the panel fits neatly behind the shelf line.
For an easier setup, use pre-cut boards or modular panels that slide into place. This can also hide wall flaws like scuffs and patch marks. If you love a modern look, try smooth slats with thin spacing, which keeps the backdrop clean. For a softer feel, use woven or cork-style panels that look great with plants and ceramics.
3. Frame the Shelf Area with Vertical Molding Lines
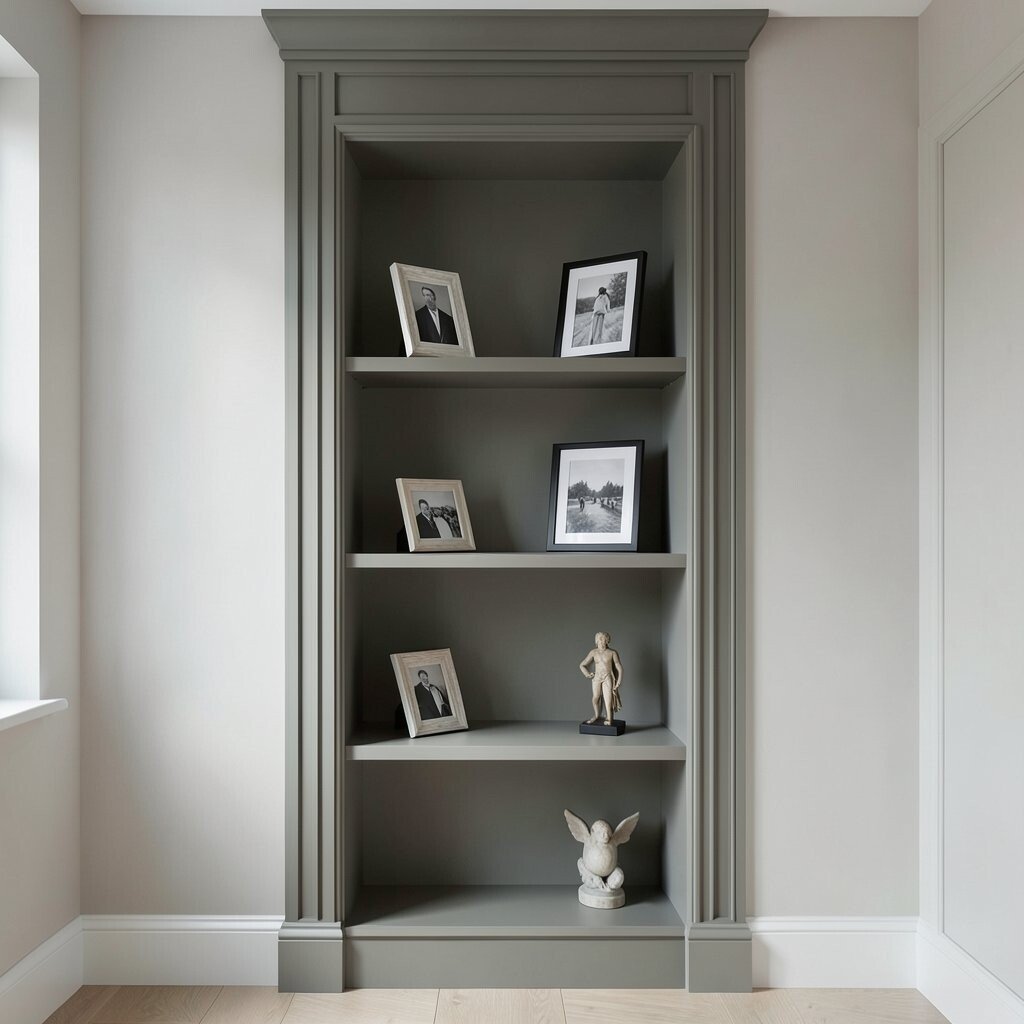
Thin vertical lines around the shelf area can guide the eye and make the space feel taller. They also add structure without cluttering your display.
Use removable molding strips or stick-on trim for a renter-friendly option. Keep the spacing even so the pattern looks neat and calm. Painting the trim the same color as the wall gives a subtle, elegant effect. Painting it a darker or lighter shade creates a crisp contrast that looks high-end.
If your shelves are built into a niche, molding can help define that niche like a feature wall. You can also add a simple top trim piece to make the shelf look like it belongs in a designed space. This pairs well with open shelving, framed photos, and small sculptures. Pick a finish that matches nearby woodwork so the whole room feels coordinated.
4. Use Backlighting to Create a Cozy Glow
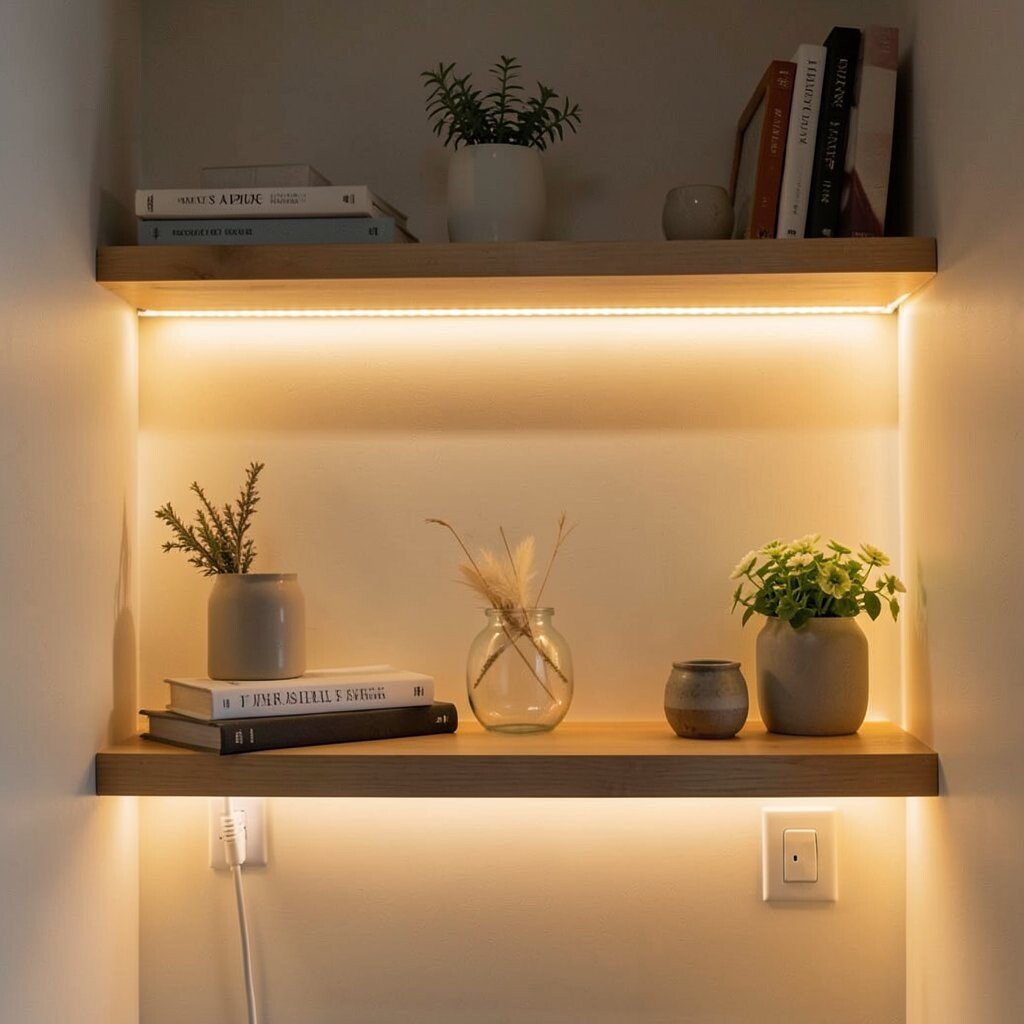
Soft light behind shelves can make your decor look brighter and more welcoming. It’s like giving your room a gentle evening mood without much effort.
Warm white LED strips look cozy and work well for most styles. Place the light along the back edge so it shines outward rather than into your eyes. Consider a dimmer switch if you want more control for different times of day. Cable routing matters, so plan how you’ll hide the wire before installing.
5. Hang a Large Artwork or Mirror Behind the Shelves
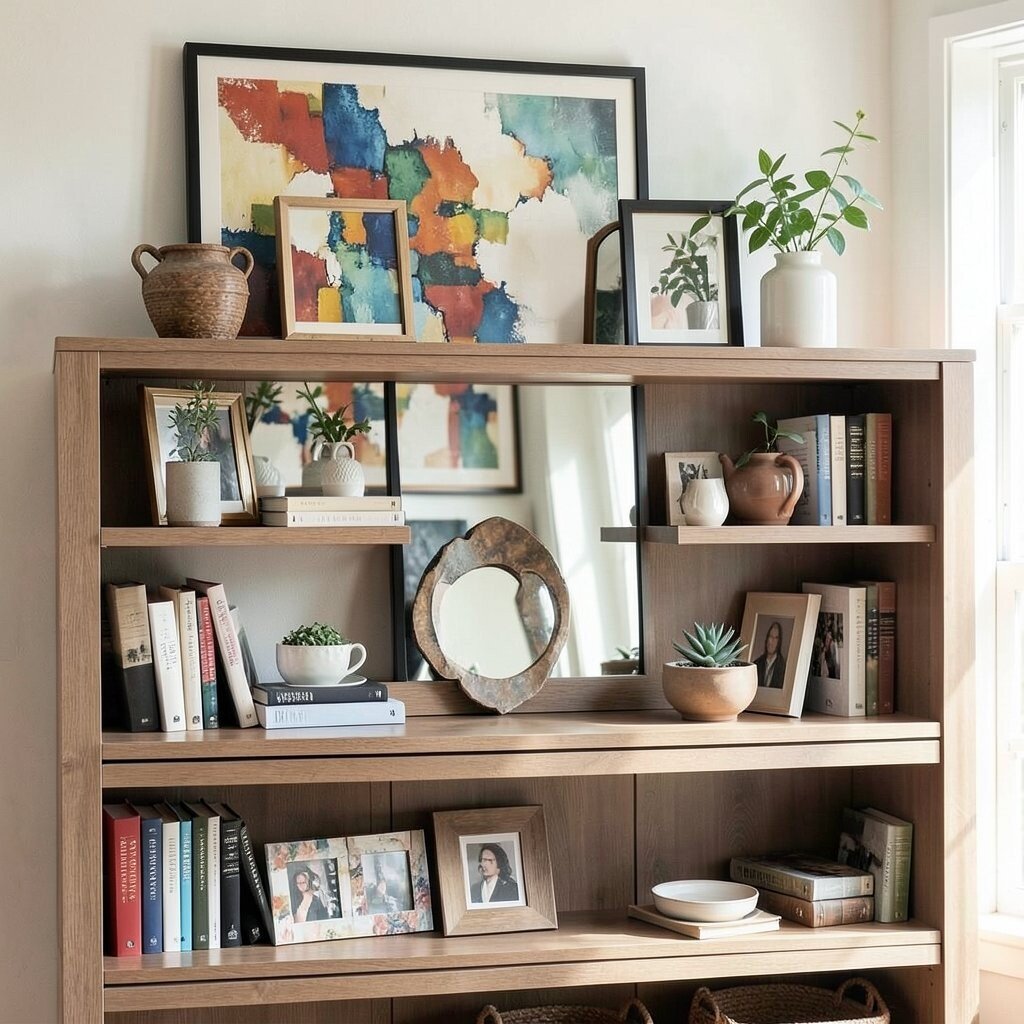
A big piece behind your shelf instantly gives it a focal point. Even when your shelves are styled, the art or mirror makes the whole setup feel complete.
Mirrors add brightness because they bounce light across the room. Choose a frame color that matches your hardware or your main furniture wood tone. If you prefer art, go for something with colors that repeat in your shelf items. That repetition makes the space feel curated, not random.
For practicality, use picture hanging hardware rated for the weight. If you’re worried about stability, anchor securely into studs when possible. You can also rotate art seasonally for a fun refresh. A mirror can look especially great in small rooms because it helps the background feel bigger.
6. Try a Pegboard Back for a Workshop-Friendly Look
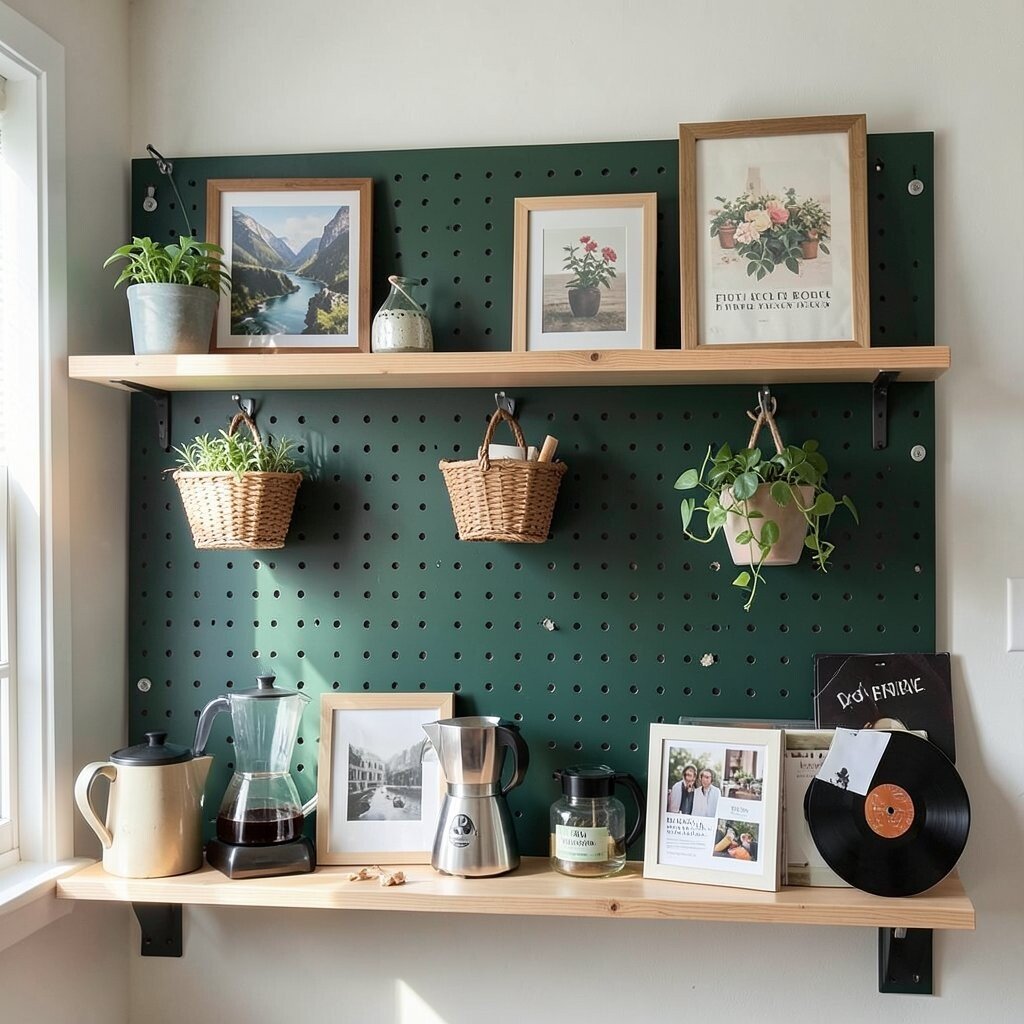
Pegboard behind shelves makes the space feel practical and creative. It also lets you add small hooks and clips for a tidy display.
Paint the pegboard a bold color for personality, like deep green or charcoal, or keep it light for a clean, airy vibe. Use it to hold lightweight items like framed prints, tiny baskets, or hanging plants. This approach gives you more storage while also acting as a backdrop.
Keep the items spaced so the pegboard stays readable, not overloaded. Group pieces by size and color to make styling easier. You can personalize with your hobbies, like coffee tools, craft supplies, or vinyl record accessories. Budget-wise, pegboard is often less expensive than custom panels, especially if you buy standard sheets. If you want a renter-friendly setup, use a removable pegboard system or freestanding backboard frames.
7. Create a Gallery of Contact-Card Style Photos
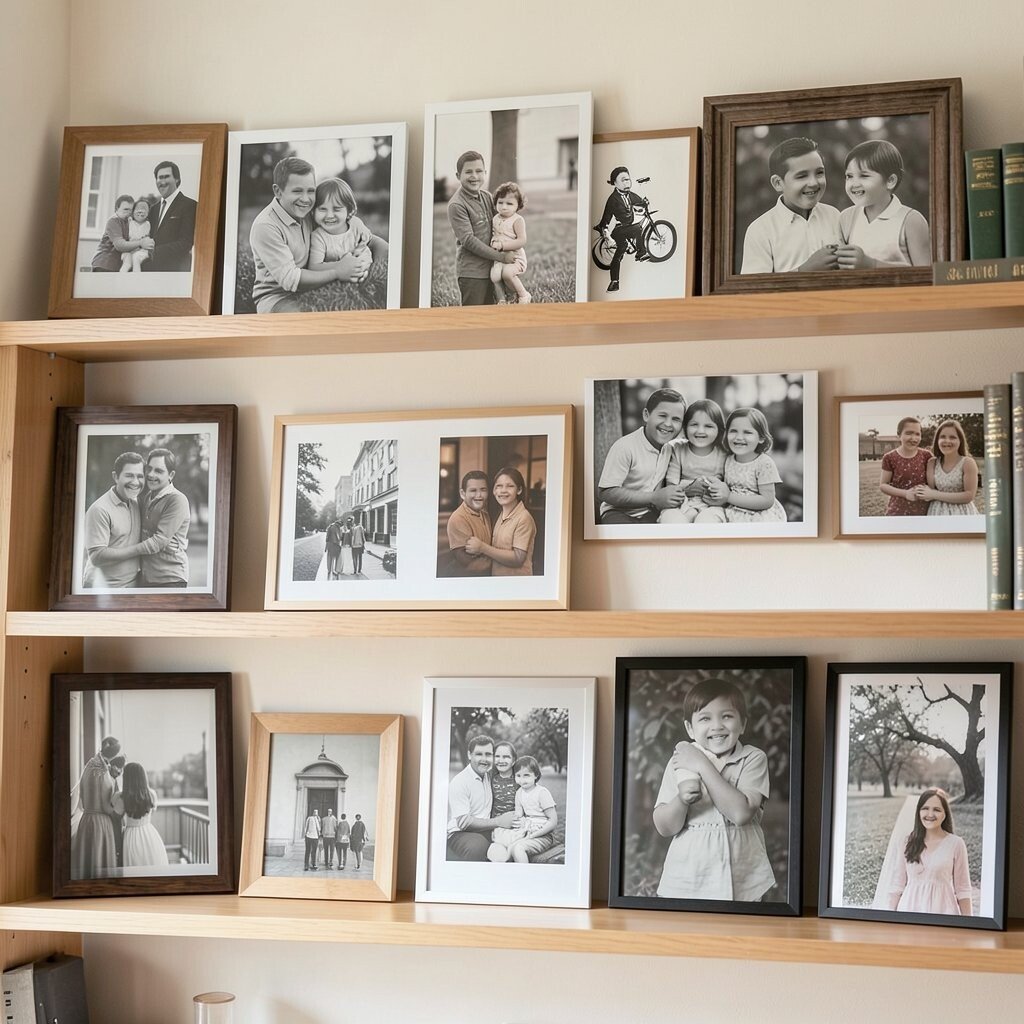
Photo clusters behind shelves can feel nostalgic and meaningful. They also create a lively backdrop without taking up extra shelf space.
Use matching frames or a unified color palette so the gallery looks neat. Black-and-white images tend to work with many decor styles, while warm-toned photos fit cozy spaces. Print sizes that match the shelf width so the arrangement looks balanced. Consider placing the gallery at eye level for a strong visual impact when someone walks in.
If you want a playful twist, include one or two larger images to break up the pattern. Laminate or use glass covers to protect photos from dust. This is a great place to personalize with family snapshots, travel memories, or even your favorite art prints. It’s also an easy trend-friendly look because gallery walls remain popular in many modern homes.
8. Layer in Floating Shelving with Different Heights
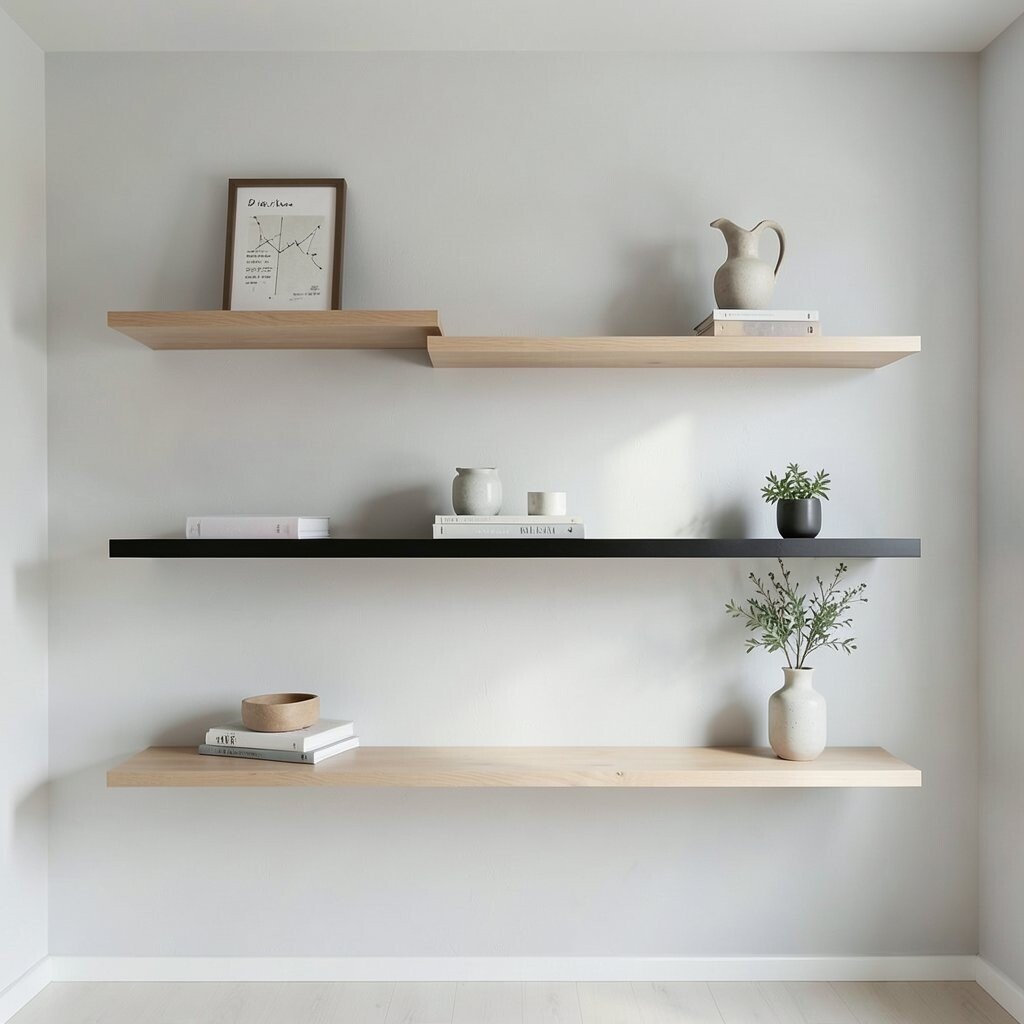
Varying shelf heights behind your main shelf line adds a built-in background effect. Even if you keep items minimal, the layered structure makes your wall feel styled.
Start by measuring how much wall space you have and how deep your shelves can be. Choose a few narrow floating shelves so the background doesn’t feel heavy. Place taller items toward the ends and shorter decor in the middle for a smooth rhythm. This method also helps you organize small objects, which keeps your main shelf from looking messy.
If you want a cost-smart approach, use affordable shelves and focus on consistent spacing. Keep the finish coordinated, like all light wood or all black. Personalize with rotating decor by swapping items on different shelves. This layered look fits many current trends, including vertical display styling and “collected over time” arrangements.
9. Add a Roll of Wallpaper Just Behind the Shelf Line
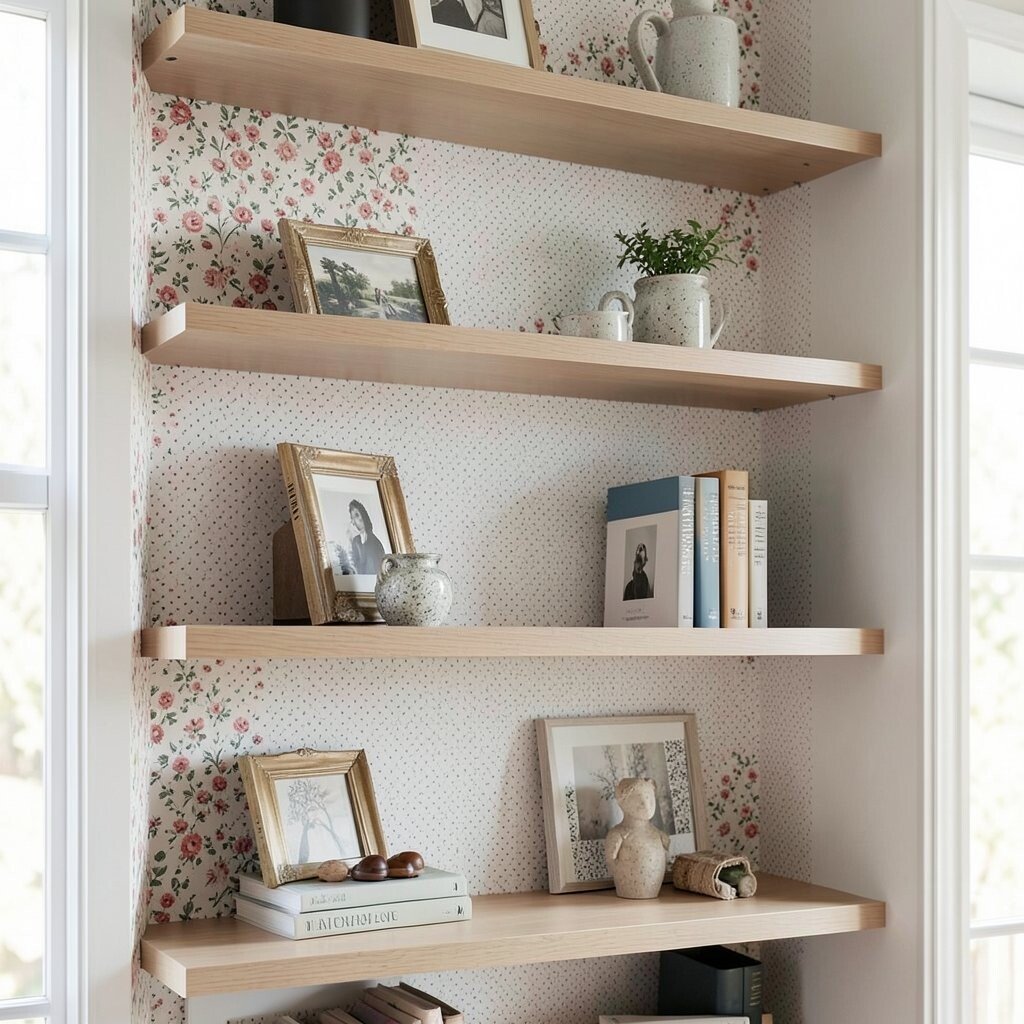
Wallpaper behind shelves can look like a surprise feature every time you notice it. It adds color and pattern without covering the whole room.
Choose a pattern with a scale that works at shelf depth, such as small florals, subtle dots, or gentle stripes. If your shelves hold bold items, pick a calmer pattern so the background doesn’t compete. For a crisp result, apply wallpaper only to the visible area behind the shelf and stop where the wall becomes covered. That keeps it clean and budget-conscious.
Use a smoothing tool and take your time at the edges, because shelf back areas show seams. If you’re unsure about commitment, use removable wallpaper and test a small section first. This is a great way to personalize with your favorite print while keeping the rest of your decor flexible. It’s also a trend-friendly way to add “framed” color that feels modern and stylish.
10. Style with a Curated Color Band Across the Back
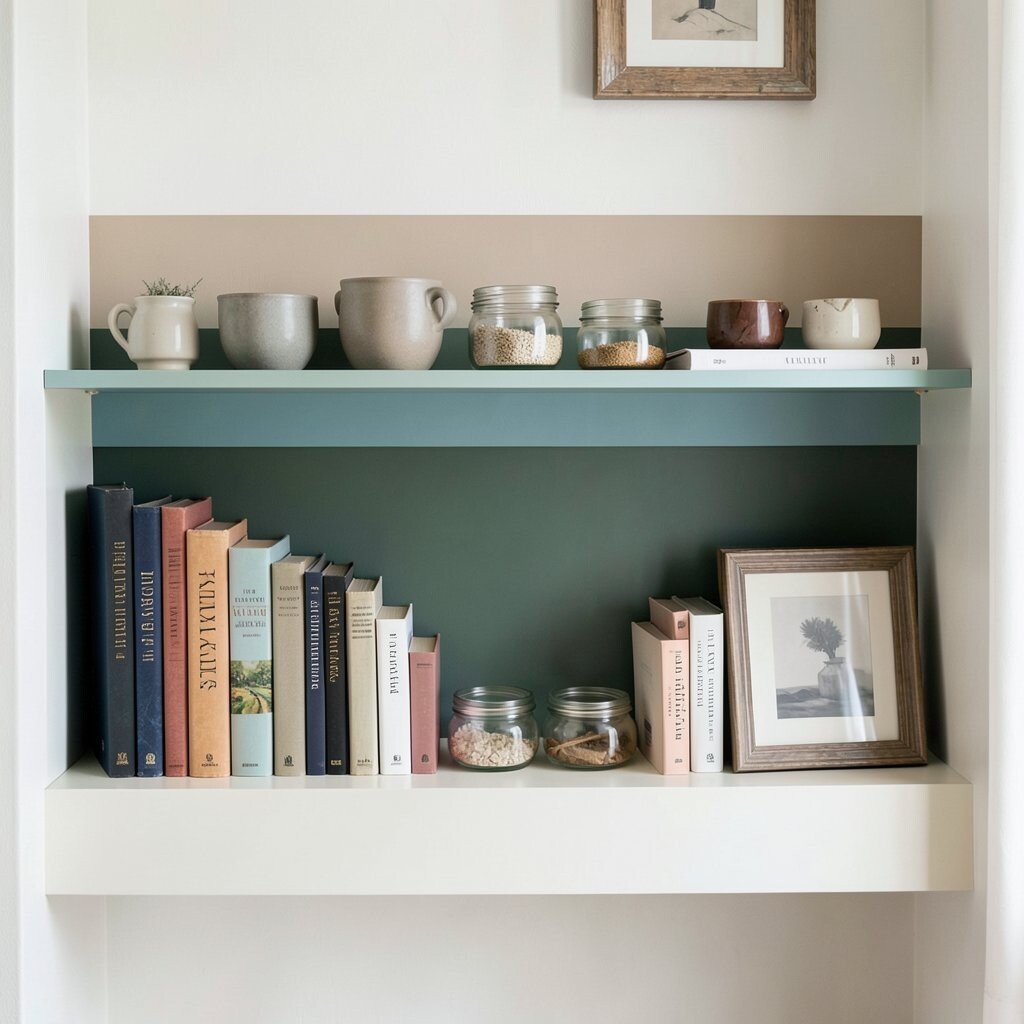
A color band across the back of your shelf setup makes the whole arrangement look intentional. It’s like giving your decor a shared theme.
Pick one or two main colors and keep the background items leaning toward those shades. You can use books, fabric, or small decor pieces to form a gentle horizontal line. For example, place a row of muted ceramics at the back, then build your front layer with contrasting accents. This makes your items feel grouped and helps the eye move smoothly.
To keep it practical, use categories you can reuse, like matching book spines, consistent jars, or a set of identical frames. Rotate seasonal pieces by swapping out just the top accents. This kind of styling also helps you avoid clutter because you’ll know what belongs in the band. Cost considerations are simple here since you can start with basics you already own. Thrifted frames, old books, and found ceramics often create a beautiful and unique look without overspending.
11. Cover the Back with Fabric for a Soft, Luxurious Feel
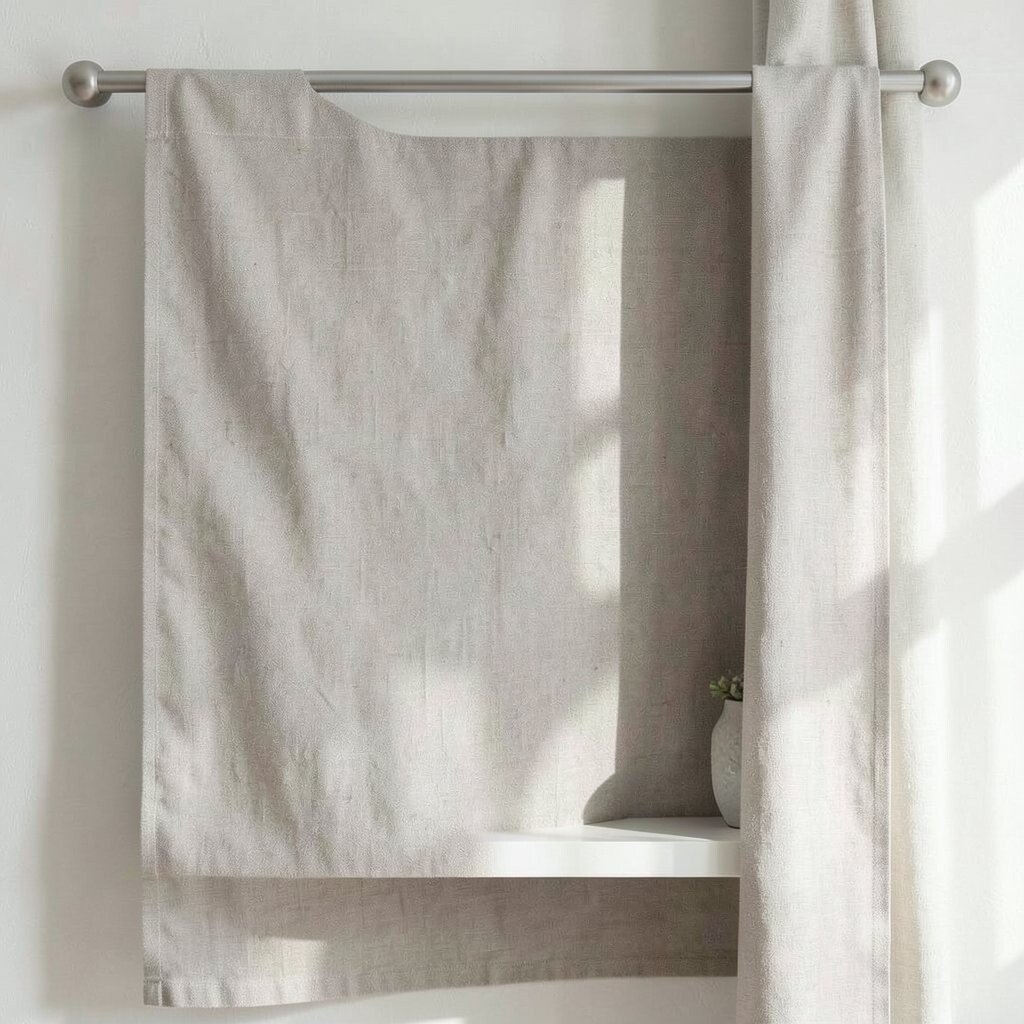
Fabric behind shelves creates a soft backdrop that feels cozy and calm. It also helps blur visual noise from the wall behind the display.
Choose linen, cotton, or a textured neutral fabric if you want a relaxed look. Stretch it across a simple backing board or use a tension rod style approach. A simple fabric panel can look luxurious even when you keep the decor items minimal. Pick colors that match your room textiles like curtains or throw pillows for easy coordination.
If you love changing styles, fabric is an easy swap. You can switch it for different seasons, holidays, or just your mood. For cleanliness, choose a fabric blend that resists dust or is easy to spot clean. This approach is often budget-friendly because a single yard of fabric can cover a whole shelf background. Personalization feels natural here, since you can use patterns you genuinely love.
12. Build a Mini “Trail” with Decorative Steps and Objects
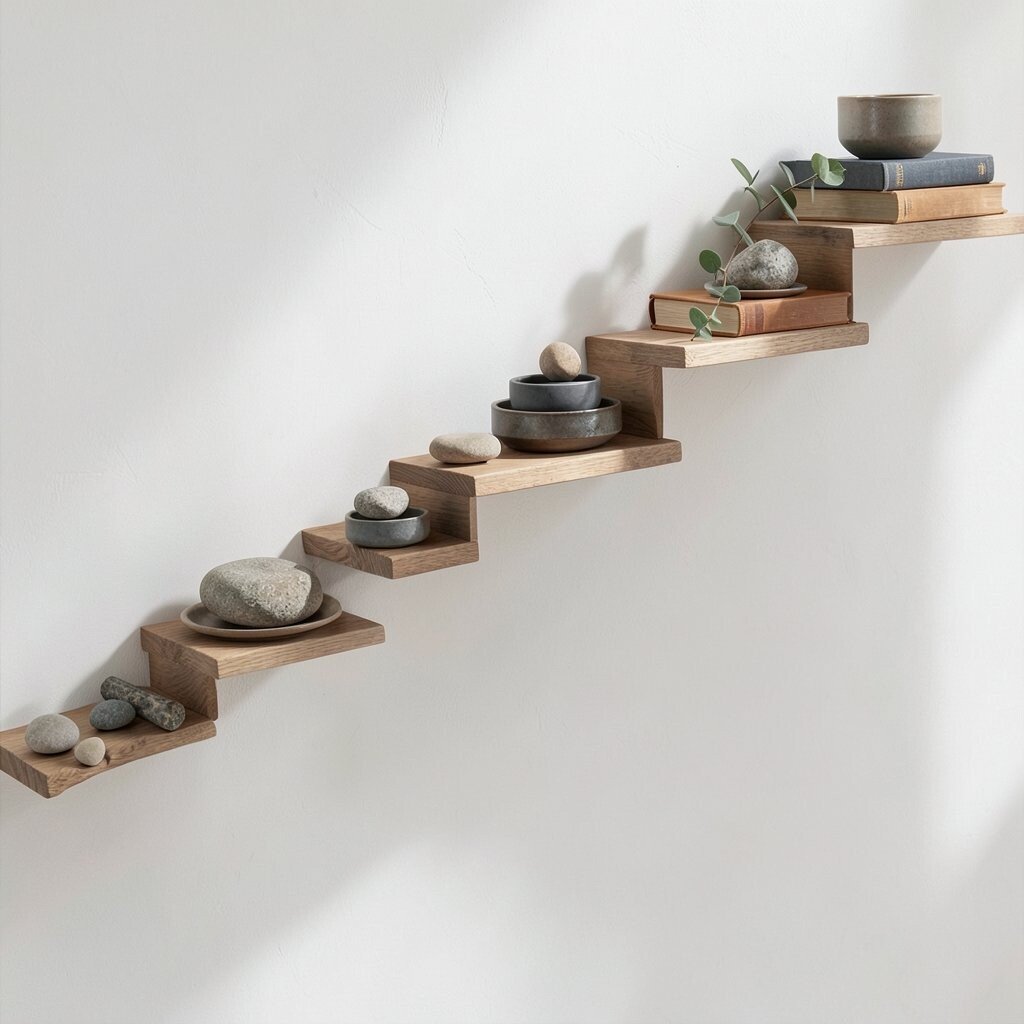
A trail effect behind your shelves brings movement to a static wall. You arrange items like stones, books, or stacked trays so they create a gentle diagonal path.
Start with one focal object at one side, then place smaller pieces step-by-step toward the other. The visual rhythm makes the shelf feel curated and dynamic. Choose materials that make sense together, like wood, ceramic, and metal in a related color family. If you want a clean look, use mostly solid items and keep the colors restrained.
For practical styling, use trays or risers to keep small objects stable and aligned. Consider adding one plant or branch at the end of the trail to soften the lines. This idea is unique because it gives your shelf background a story without needing large art. It also works with current trends toward “vignettes” and intentional grouping. Cost-wise, you can build it slowly from thrifted pieces and a few consistent risers or trays.