The right photo board can turn a plain wall into a creative engine. When you mix images with small choices, inspiration starts showing up on schedule.
1. A Travel Memory Mood Board With Real Ticket Texture
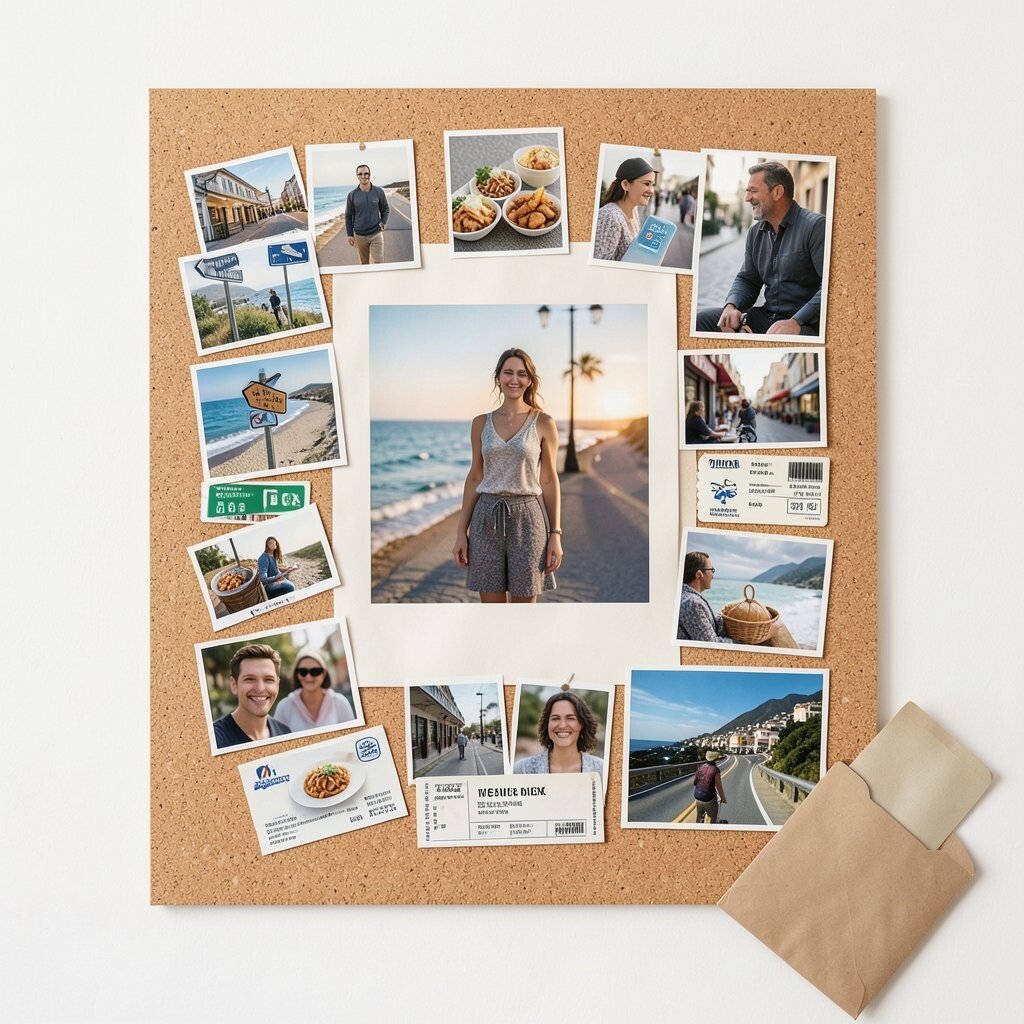
Pick a sturdy cork board or poster board and cover part of it with a thin layer of matte paper so photos look soft and grounded. Add travel shots alongside tiny pieces like bus tickets, boarding passes, or hotel key cards for a tactile vibe that feels more real than a screen.
Use a consistent color theme, like warm sand tones or cool ocean blues, so the board tells one story. Place your most meaningful photo in the center, then build outward with smaller images that show the journey steps, like street signs, food, and faces. For practical setup, keep a small envelope on the side for extras, then swap images seasonally when you feel stuck.
2. A Color-Blocked Photo Board Using Fabric Swatches
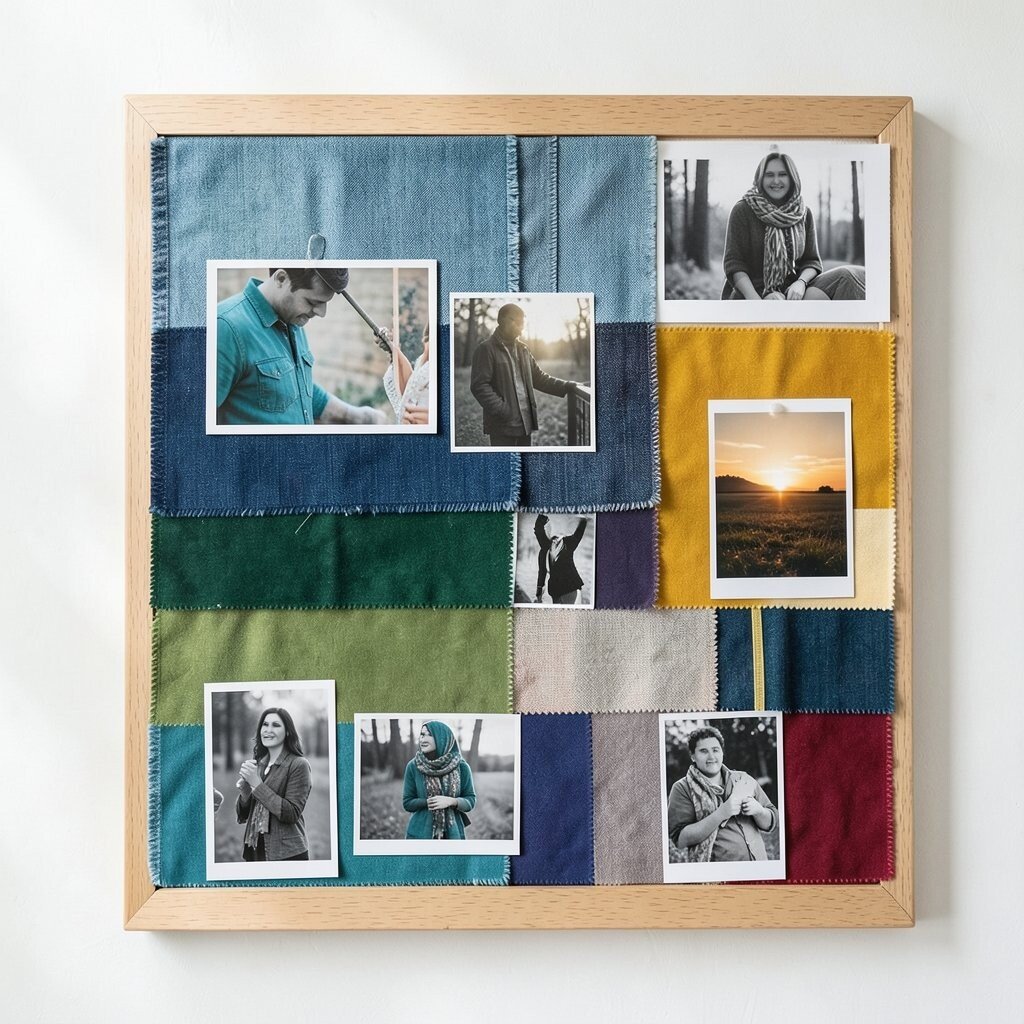
Choose a board size that fits your space, then map out sections using strips of fabric in your favorite colors. Pin or tape photos so each photo sits near a fabric swatch with matching tones, like teal near a teal shirt photo or mustard near a golden sunset picture.
To make it unique, mix in fabric textures such as denim, linen, or velvet so the board has visual depth. This also helps your creativity because your eyes can “read” the board by color and texture, not just subject matter.
Try a practical rule: limit yourself to a few main colors and add black-and-white photos as contrast when everything starts to blend. For cost considerations, visit thrift stores for scarves or small fabric pieces, and use leftover scraps from old projects. A current trend is mixing analog materials with clean layouts, so a neat grid with soft photo edges will feel modern.
3. A “People I Notice” Board With Portrait Crops and Quotes
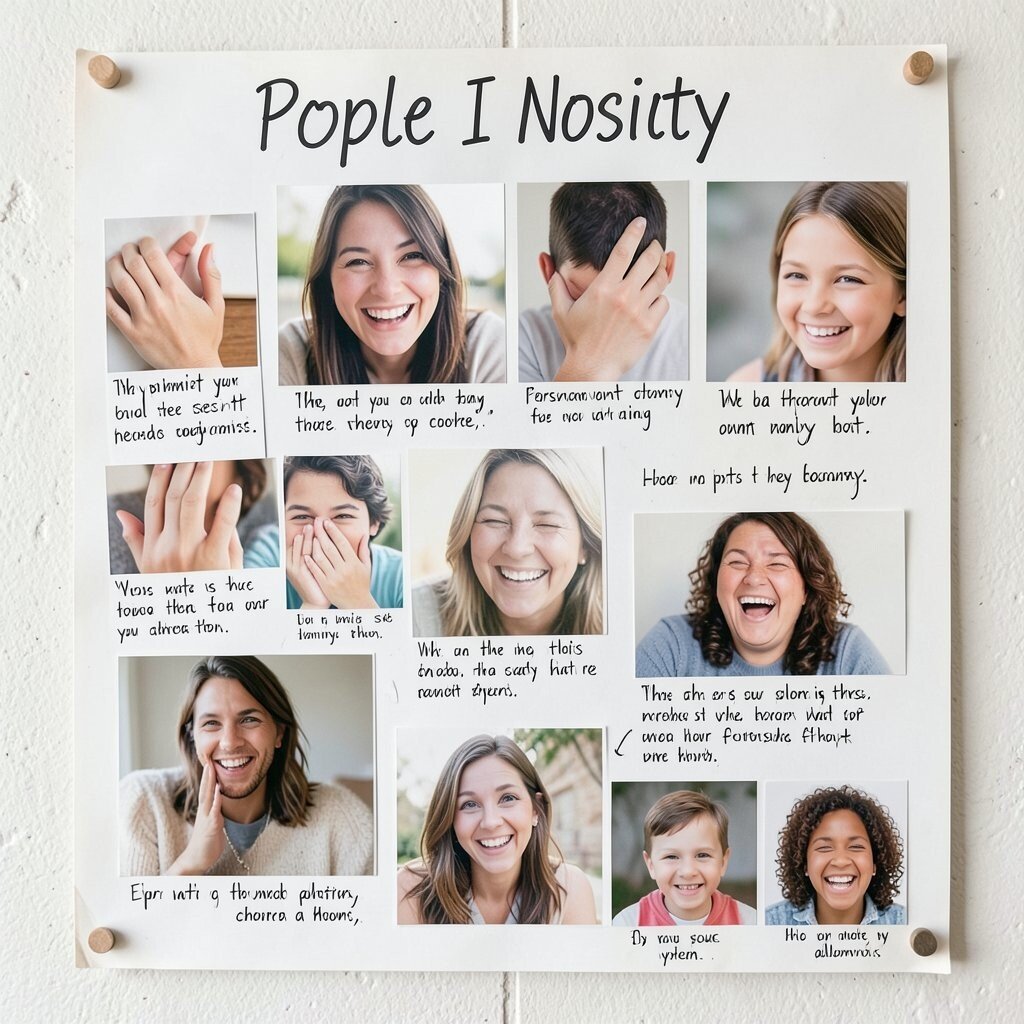
Collect portrait photos, then crop them close so you focus on hands, smiles, and eyes instead of full outfits. Print a few images in slightly different sizes so the board feels alive, like it’s moving even when you stand still.
Add small text elements, but keep them short and handwritten, reflecting what you noticed about that person, such as the way they laugh or the color they chose. Use a consistent font style, or only one marker color, so the words support the photos rather than compete.
For benefits, this type of board sharpens your attention and makes your next photo session more intentional. Personalize it by including friends you see often, local community photos, or even portraits from your own family albums. If you want a budget-friendly approach, use regular photo paper prints and print quotes on plain scrap paper for a simple, stylish finish.
4. A Weekly Goals Photo Board With a Mini Planning Corner
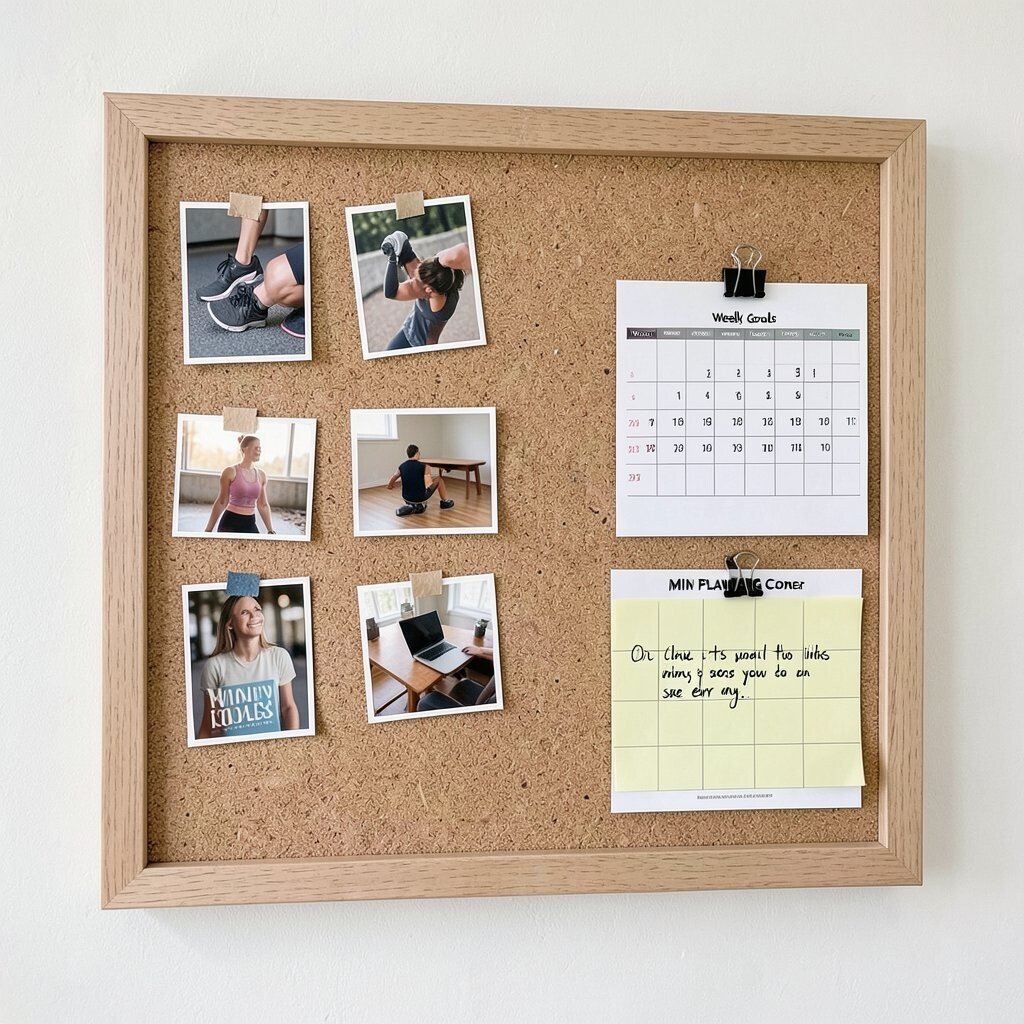
Dedicate one side of the board to goals by pinning photos that represent each week’s focus, like workout shoes, a desk scene, or a book cover. Keep the images small and grouped, so you can swap them quickly without rebuilding the whole look.
In the remaining area, add a mini planning corner using a calendar print or a sheet of sticky notes with one clear action written in your own words. This benefits your routine because your brain links goals to images you can see every day. For practical tips, use binder clips or washi tape hinges so photos come off cleanly when the week ends.
5. A Kitchen Theme Board With Food Photos and Spice Color Clues
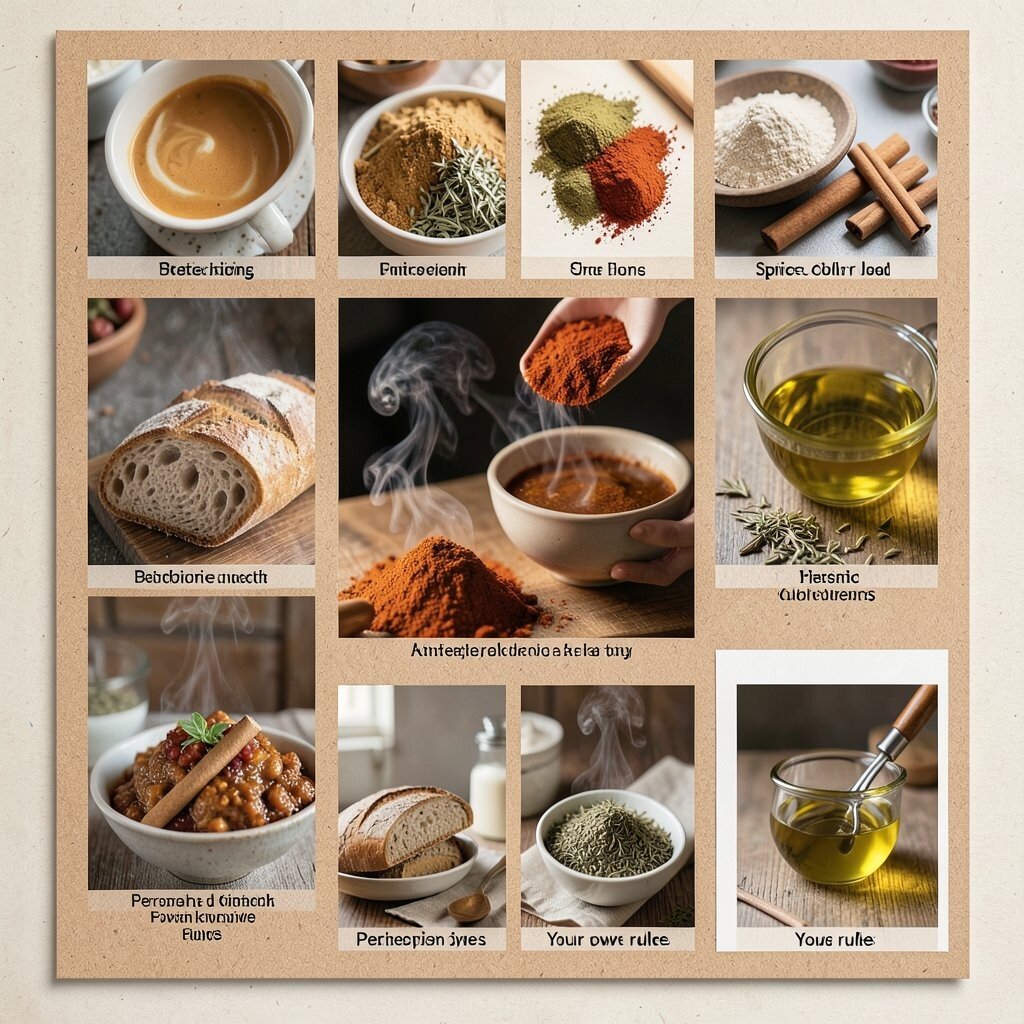
Start by choosing a board that can handle humidity, like cork or laminate-backed paper, then arrange your food photos by mood instead of recipe type. Add tiny swatches of spices, like paprika, cinnamon sticks, or dried herbs, placed near matching images for instant visual signals.
Keep things unique by using close-up shots, such as textures of bread, steam curls, or the shine on olive oil. Your practical benefit is that you’ll remember flavors and plating ideas faster, which helps when you cook something new and want a quick direction.
Personalize it by adding your own “rules,” like a photo of your favorite bowl or a snapshot of a kitchen tool you love. For cost considerations, print photos at home using regular settings and gather spice samples from your pantry. Current trends include cozy warm lighting and overhead flat lays, so mimic that style by photographing from above with a natural window light.
6. A Nature Pattern Board With Leaves, Scales, and Sky Shots
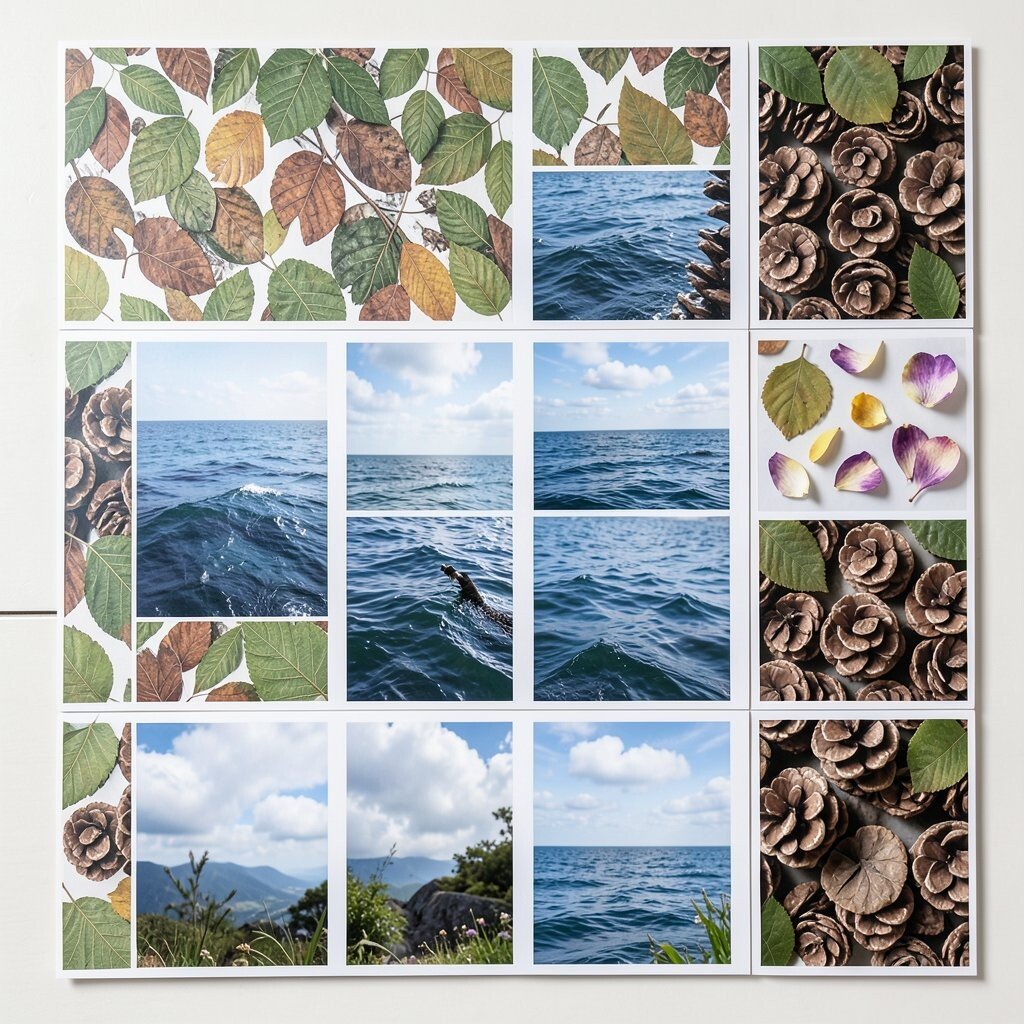
Collect photos that show patterns, like leaf veins, tree bark, ocean ripples, or cloudy skies, then print them in similar sizes for a clean rhythm. Add a few real textures by gluing small leaf cutouts or pressed petals next to the matching photo so it feels both visual and real.
To make it practical, leave space at the edges for future finds, since nature keeps offering fresh shapes. This board’s uniqueness comes from blending photos with tiny physical samples, which gives your creativity more than one sense to work with. If you want a budget option, press leaves from walks and use a simple glue stick for secure placement.
7. A Film Still Board With Cinematic Lighting and “Scenes”
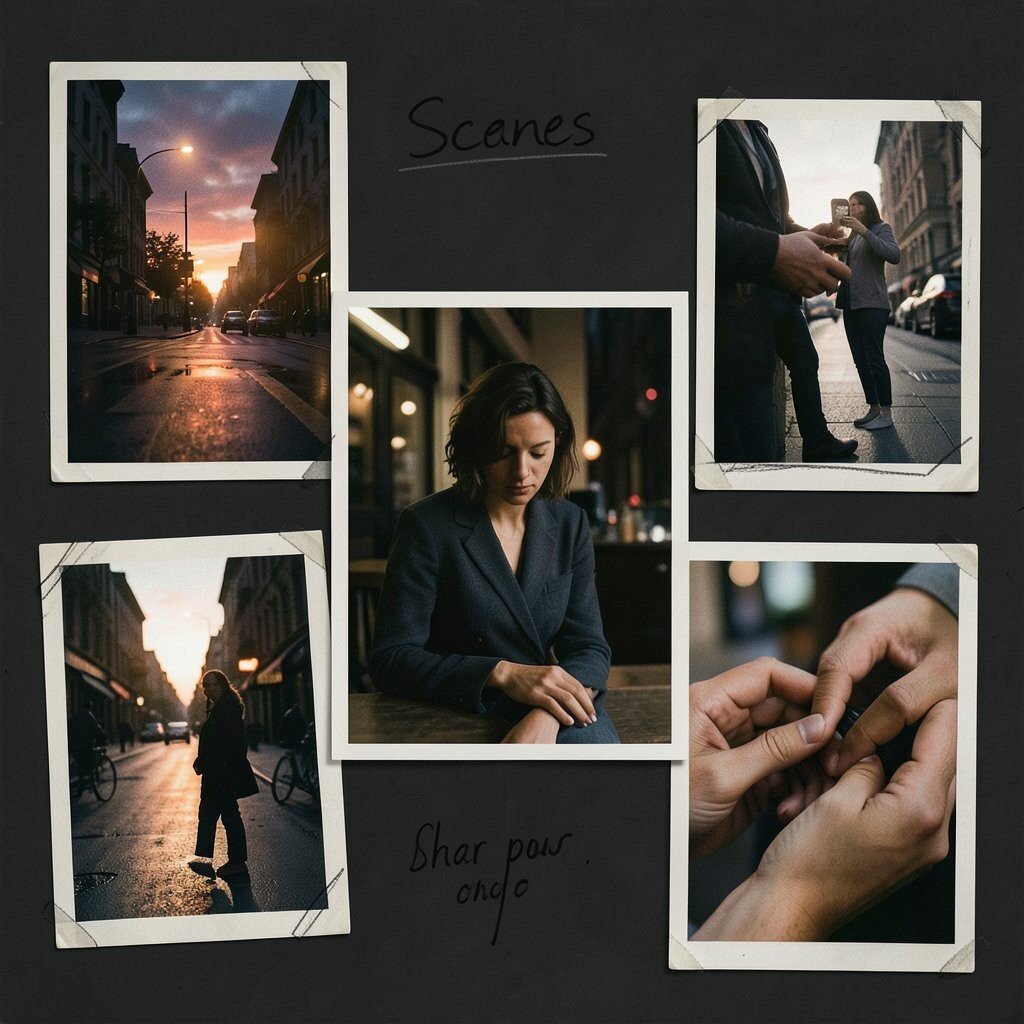
Pick a theme that feels like a movie, then choose photos that share similar lighting, like sunset glare, street lamps, or window shadow. Print them with a slightly darker look and arrange them like “scenes,” with one hero image in the center and supporting images around it.
For benefits, this setup trains you to think like a director, focusing on mood, contrast, and composition before you take the next shot. Personalize it by adding small frames drawn by hand, or by writing the “scene” name in pencil to avoid messy ink changes later.
Keep it actionable by pinning photos of camera angles you want to practice, like low-angle steps or close-up hands. Cost considerations are easy here because you can use free online editing tools for prints and keep your layout minimal with black cardstock backgrounds. A current trend is vintage-inspired color grading, so leaning into warm highlights and soft shadows will feel right.
8. A Bedroom Dream Board With Color Calming and Soft Edges
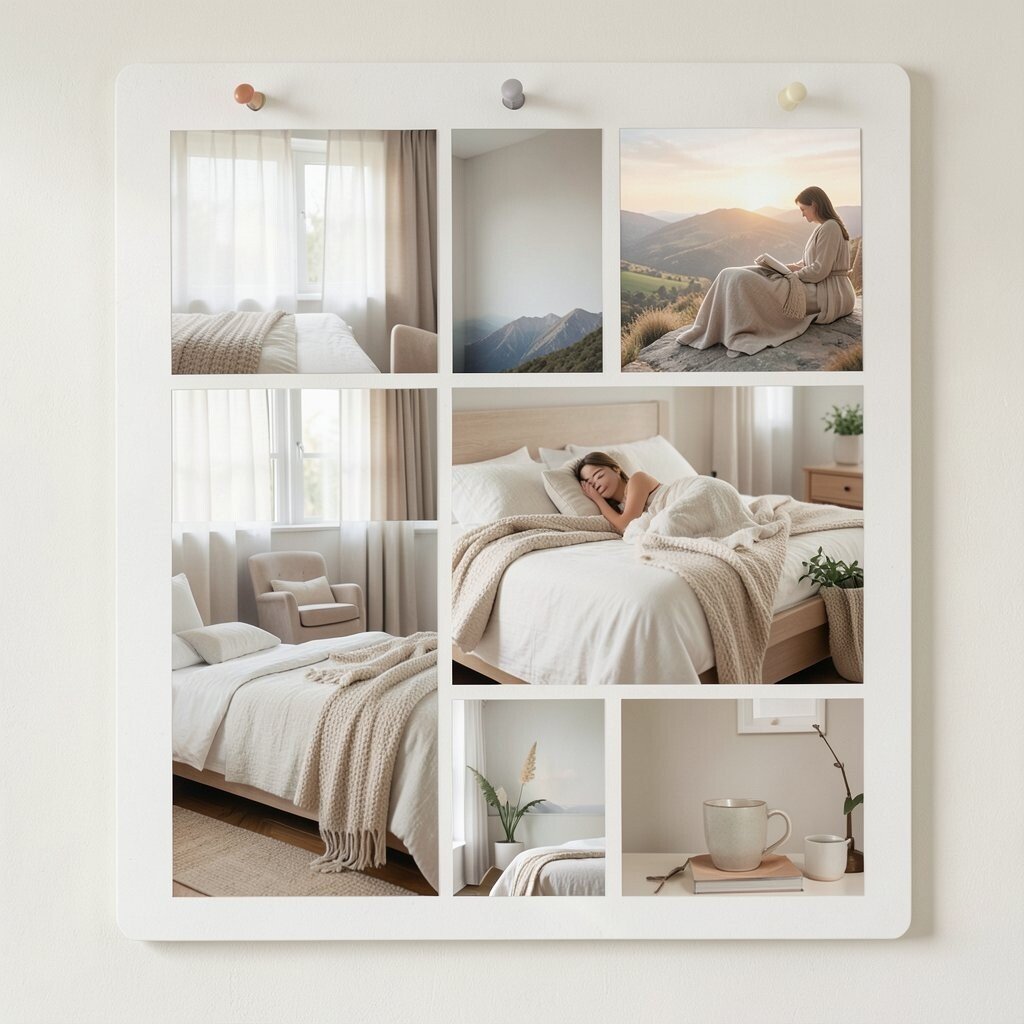
Choose calming images, like light curtains, cozy blankets, and gentle landscapes, then print photos with a matte finish so they don’t look too shiny. Arrange them to match how you move through your room, keeping the most relaxing image at eye level when you lie down.
Add personalization by including photos of your favorite mug, your reading chair, or small decor items you already love. The practical benefit is that this board becomes a visual reset, helping you feel settled when you’re tired. Use inexpensive materials like foam board and simple push pins, and keep costs low by reusing old printouts or magazine photos.
9. A Sports Hobby Board With Gear Close-Ups and Action Frames
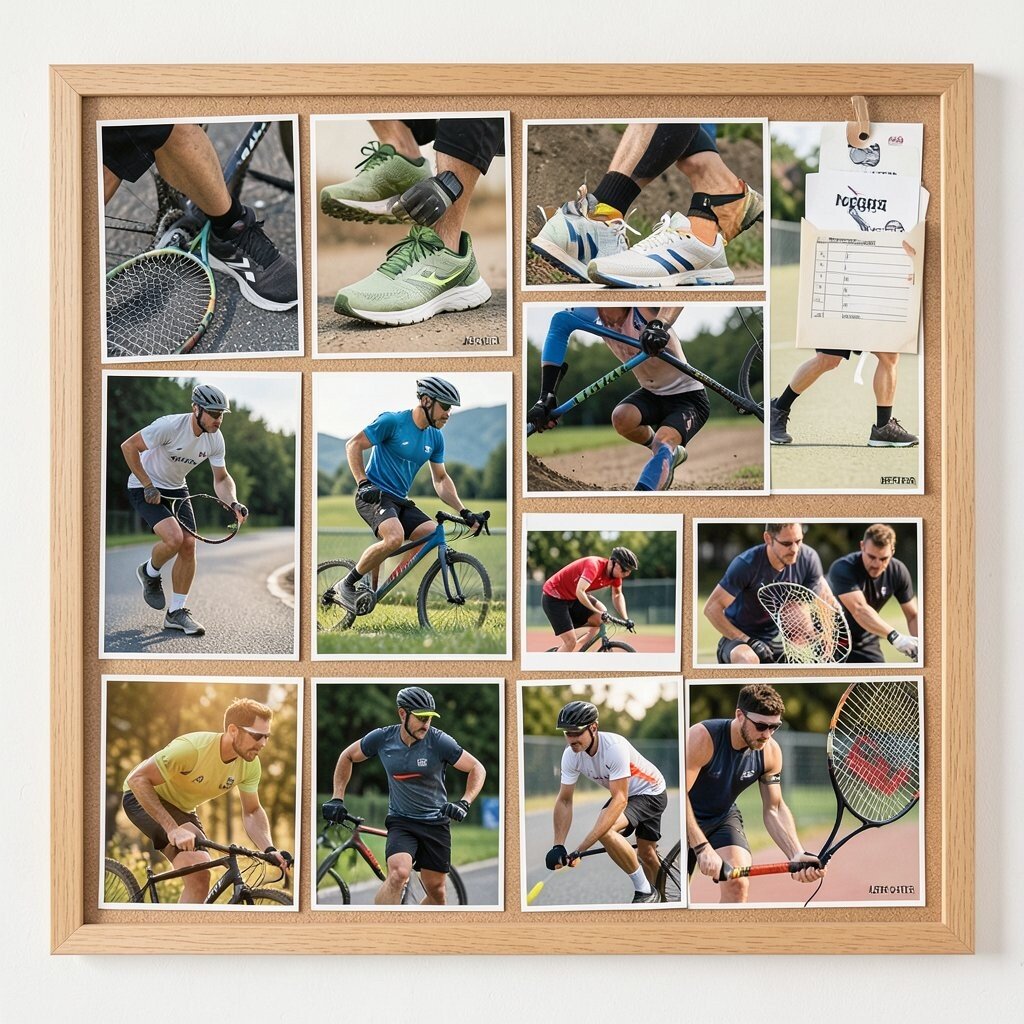
Build your board around what you train with by pinning close-up photos of your shoes, gloves, racket strings, or a bike handle. Include a few action shots too, but keep the main focus on gear details so your layout feels crisp and personal.
To keep it unique, add small “before and after” images, like your first try versus your improved form, even if they’re phone photos. This benefits your progress because you can see how your equipment choices and technique have evolved over time.
For practical tips, attach a pocket using an envelope behind the board so you can store workout checklists or replacement laces. Personalize it with color highlights that match your favorite team colors or your own gear shade. If you’re budget-minded, print a few images and then add texture using tape patterns instead of buying expensive decor.
10. A Workplace Focus Board With Brand Colors and “One Next Step” Images
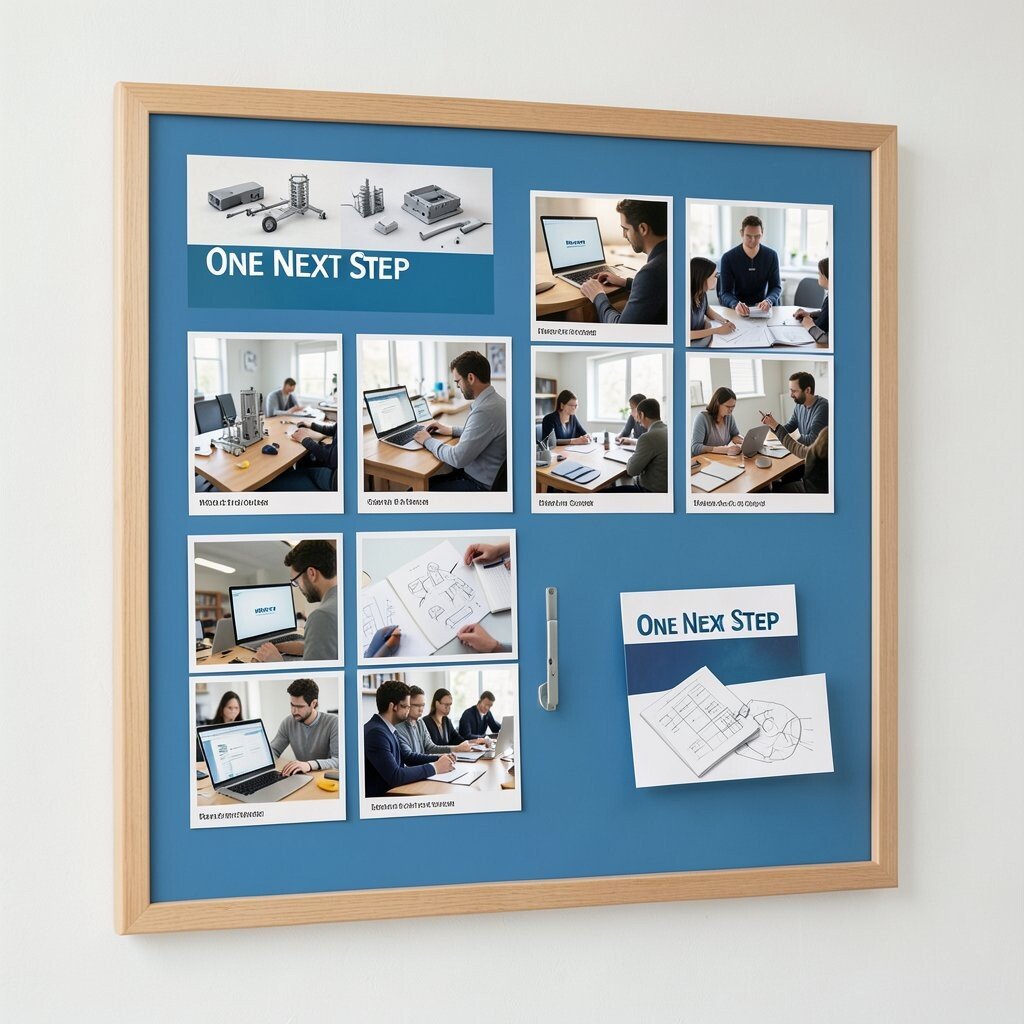
Use your professional goals as the theme and pick photos that match your work style, like neat desks, prototypes, sketches, or collaboration moments. Keep the board aligned with your brand colors so it feels consistent with how you want to think and work.
Add a small cluster for your next step by pinning one image that represents action, such as a laptop screen, a notebook page, or a deliverable you want to create. This is helpful because your brain connects the image to a simple behavior you can repeat. For cost considerations, you can print in black and one accent color by editing photos to keep the vibe clean.
11. A “Before and After” Board With Growth Photos and Learning Moments
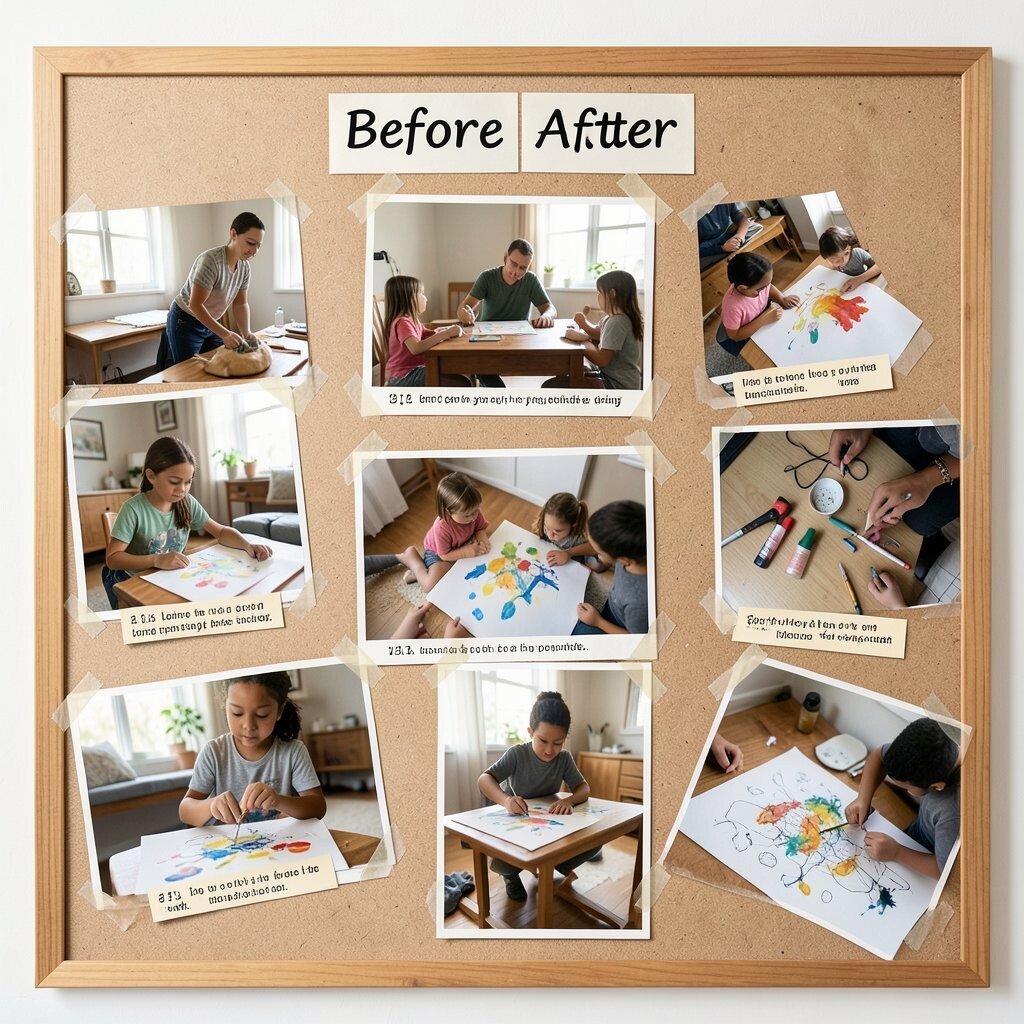
Gather photos that show progress, like a room you changed, a skill practice series, or an art piece evolving over time. Place them in a way that tells a story, with the earliest photo starting one corner and later photos building toward the center.
Make the board unique by adding small paper strips with dates and one sentence about what you learned, keeping the writing short so the photos remain the hero. This benefits creativity because you’ll notice patterns in your improvement, not just the final result. Personalize it by including behind-the-scenes images, like your setup tools or messy drafts, which makes the board feel honest and motivating.
For practical tips, use clear tape over edges so photos stay secure when you move the board or switch prints. Cost stays manageable because you can print a handful of key frames instead of every attempt, and you can use scrap paper for the notes.
12. An Abstract Texture Photo Board With Glass, Paper, and Shadows
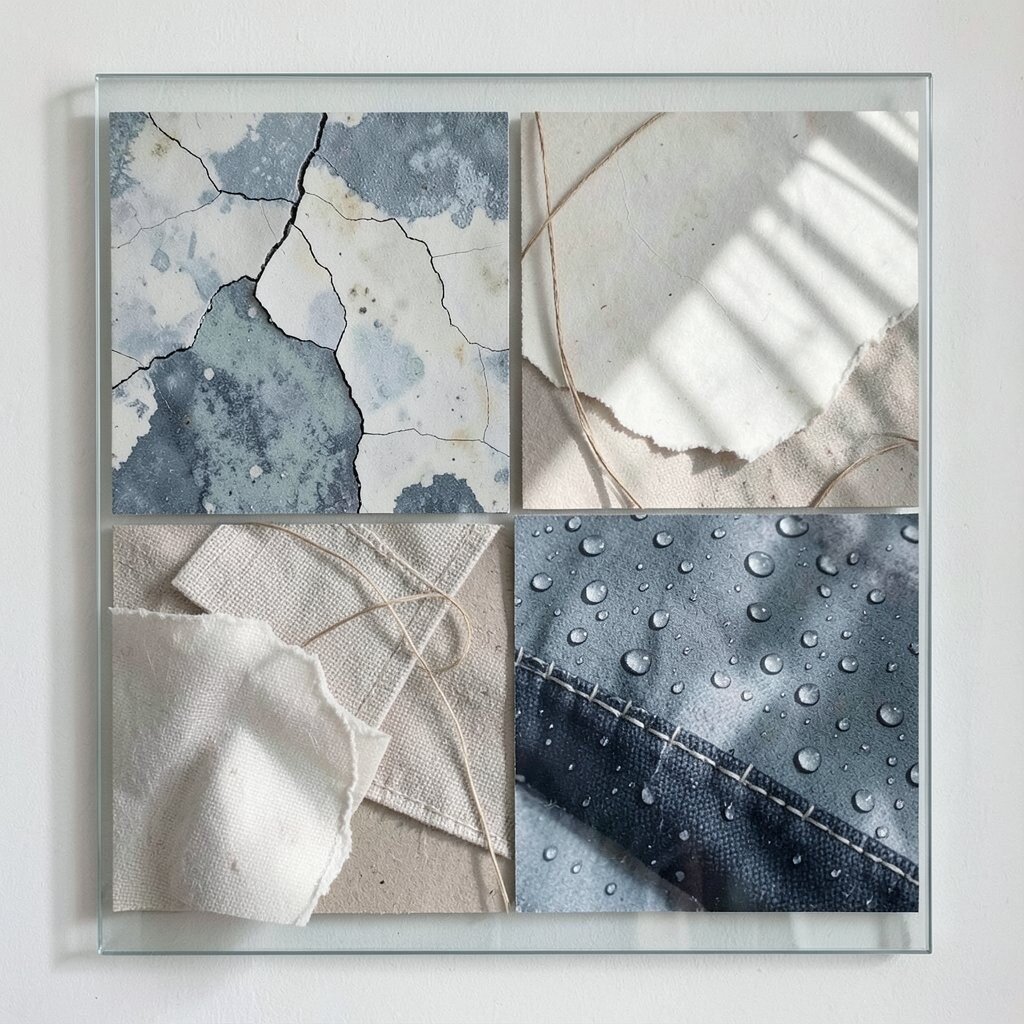
Choose abstract photos that highlight texture, like cracked paint, fabric stitching, water droplets, or light passing through blinds. Print them slightly larger than you think you need, then arrange them close together so your board feels like a close-up gallery.
Add uniqueness by mixing in non-photo textures, such as thin string, a small piece of textured cardstock, or a torn paper edge. The practical benefit is that this board trains your eye to see details, which improves any future photography, even for everyday scenes.
13. A Book and Reading Aesthetic Board With Page Quotes and Cover Collages
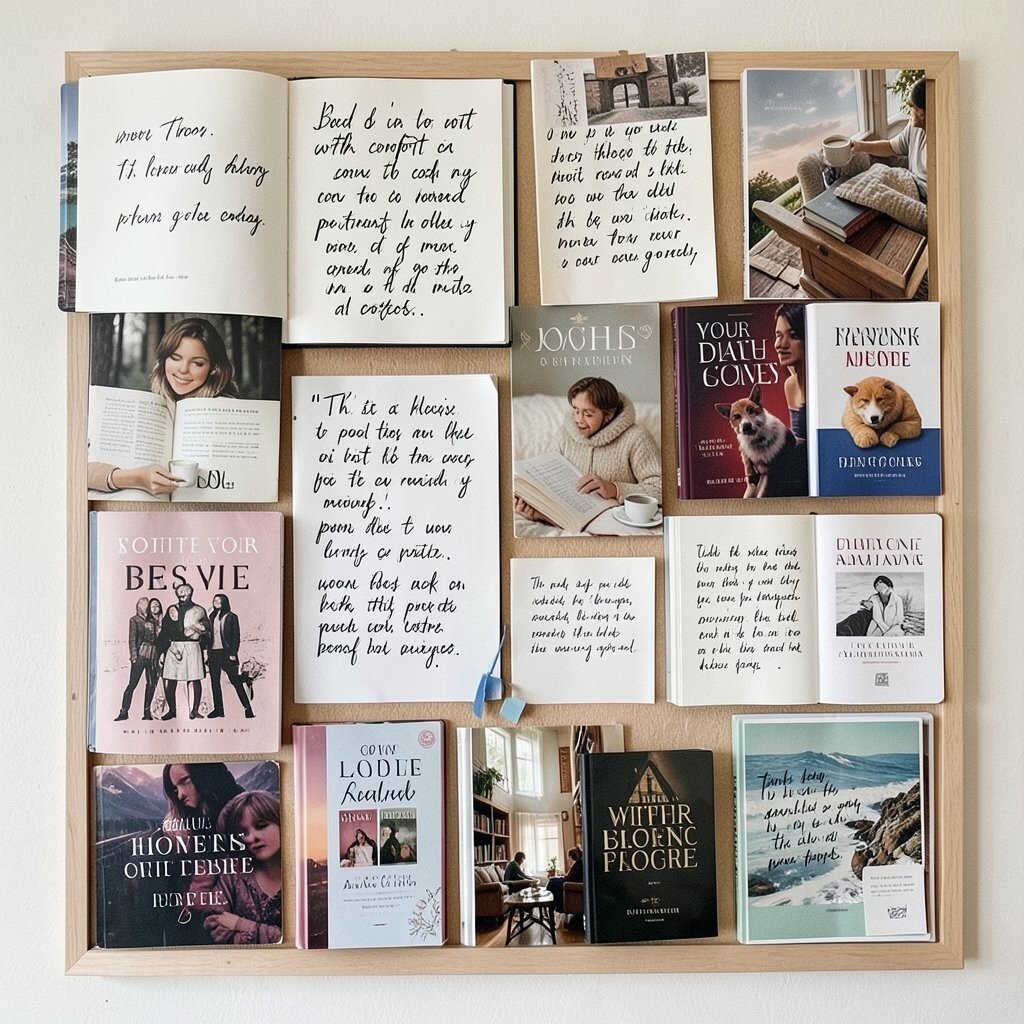
Collect cover photos or print images of books you love, then add close-ups of pages, handwritten notes, bookmarks, or shelf items. Build the board as a collage with lots of overlapping, so it feels like reading is happening all around you.
Personalize it by printing your favorite lines in your own handwriting, using pencil for a softer look if you like. This benefits you because you’ll associate books with comfort and motivation, which can make it easier to pick up reading when life gets busy. Keep costs low by using library printouts of book jackets or taking quick photos of your shelf.
Current trends include maximalist layouts and layered paper textures, so don’t worry about perfect spacing. If you want practical organization, group books by mood, like cozy, adventurous, or thoughtful, and place them in separate clusters.
14. A Pet and Home Love Board With Portraits, Leashes, and Favorite Spots
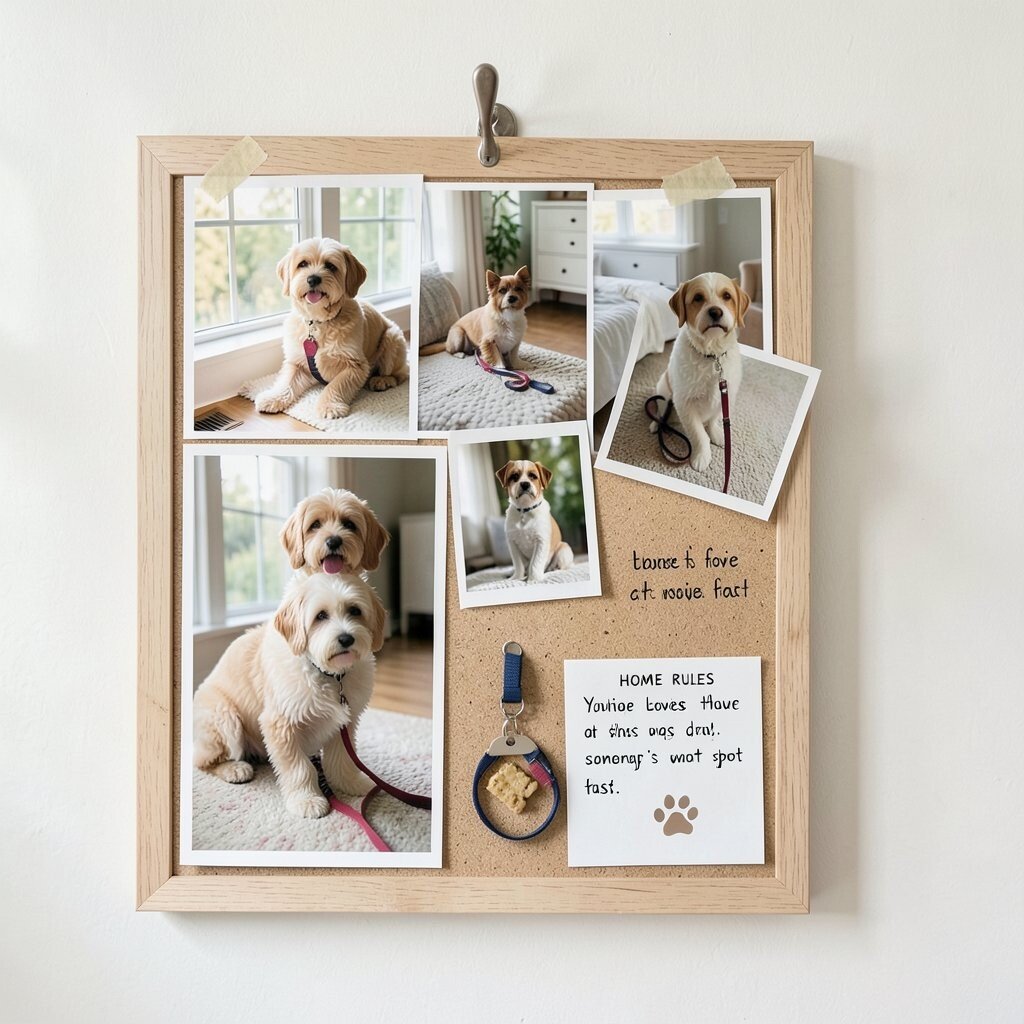
Choose photos of your pet in their favorite places, like by the window, on the rug, or in their bed, then print them in a consistent color style. Add a few small items that match the theme, like a photo of a leash, a tag close-up, or a tiny printed paw print shape.
For benefits, this board becomes a comfort object, especially on days when you miss home or feel stressed. It’s unique because pets bring emotional meaning, and that meaning shows up visually even when the layout is simple.
To make it practical, attach one photo near a hook for supplies so you can grab what you need fast, like grooming items or treats. Personalize it with a “home rules” section written small in your own words, but keep the focus on images so it still feels warm and playful. For cost considerations, print photos at home and use tape hinges for easy swapping as your pet’s favorite spots change.
15. A Community Lights Board With Street Signs, Events, and Night Atmosphere
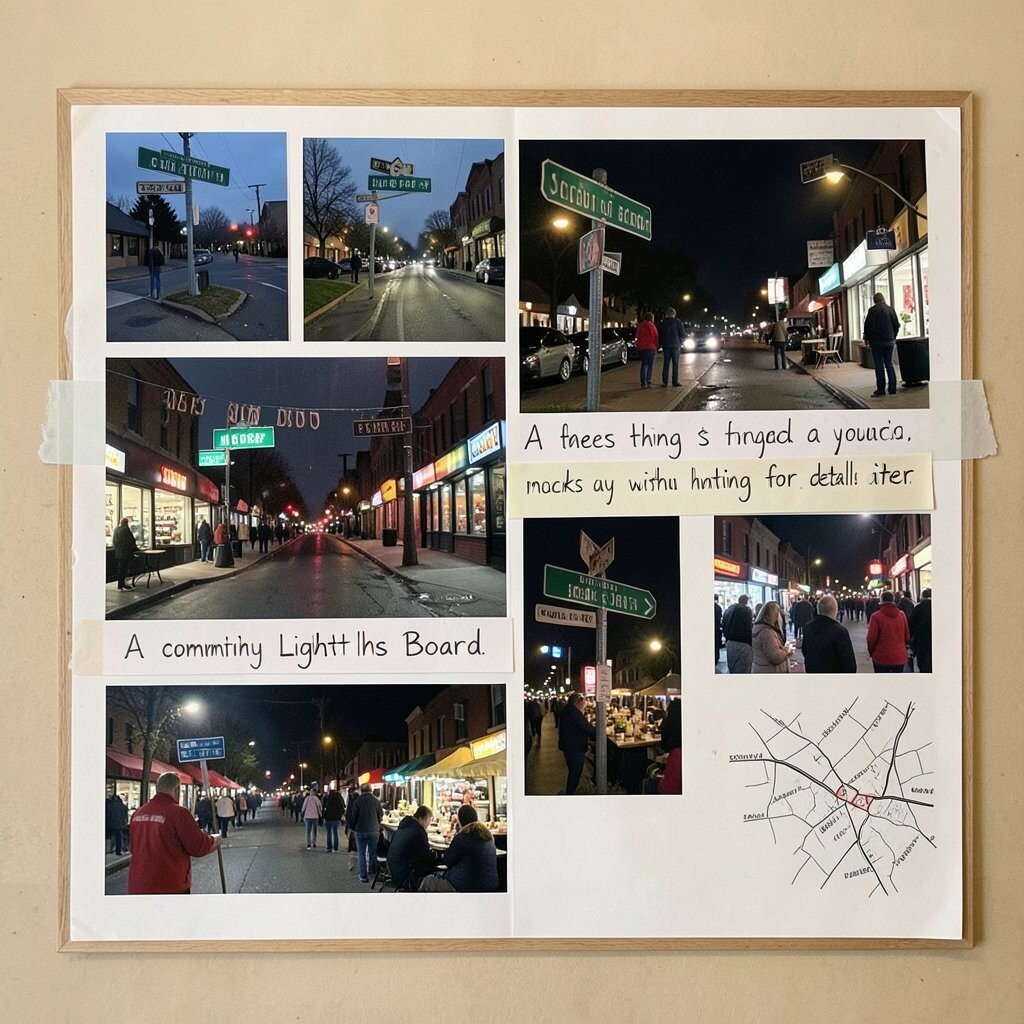
Build your board around the charm of your area by collecting photos of street signs, local shops, small event posters, and evening lights. Choose images with similar nighttime tones so the board looks cohesive, like a gentle glow even in daytime.
Add practical tips by including a few photos that remind you to attend things, like markets, festivals, or classes, then write one quick reminder in pencil. This benefits you because it turns “someday” ideas into a visible plan you can act on without hunting for details later.
Make it unique by layering the images with thin strips of translucent paper so light-y effects feel baked into the background. For personalization, add a small map sketch of your favorite route or the places your camera keeps returning to. Cost stays friendly since you can print a small set of key shots and reuse magazine paper or old envelopes for layering textures.